Our Title Builder stamps are so versatile! Not only can they create unique titles on your layouts, but they can also create beautiful and unique page backgrounds, as design team member Jennifer McMurtrey is sharing with us today on a new scrapbook layout! Let’s see how she got creative with our two latest Title Builder volumes!
Hey Elle’s Studio friends! It’s Jen today with a fun layout featuring the awesome new Title Builder Vol. 4 Stamp! This month I wanted to do something a little different to create a unique background, so I pulled out the new stamp, along with the Title Builder Vol. 3 Stamp to see what I could come up with.
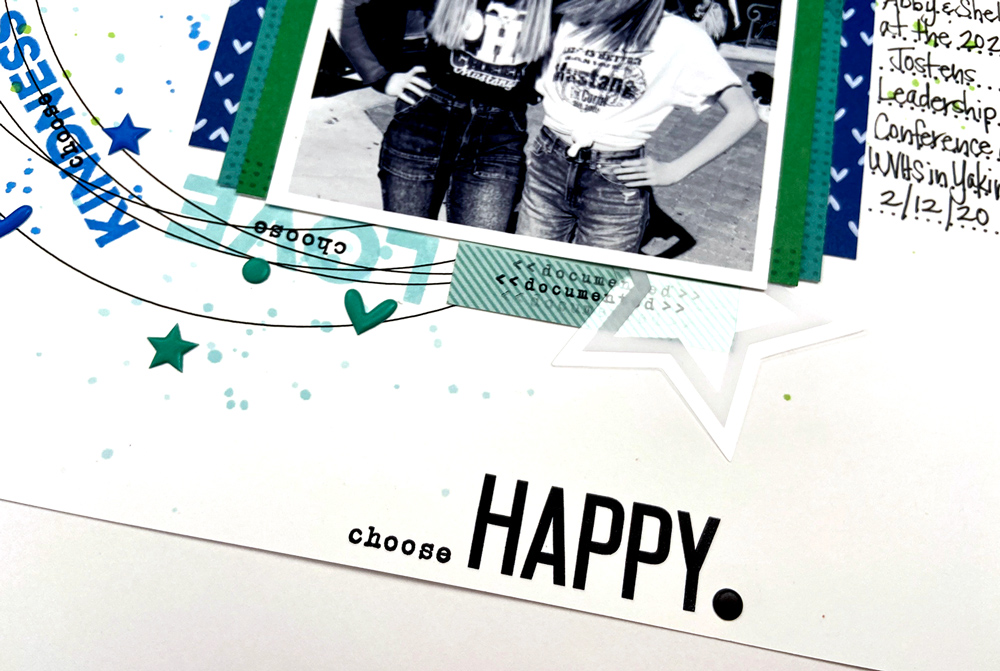
First, let’s take a look at the completed layout:
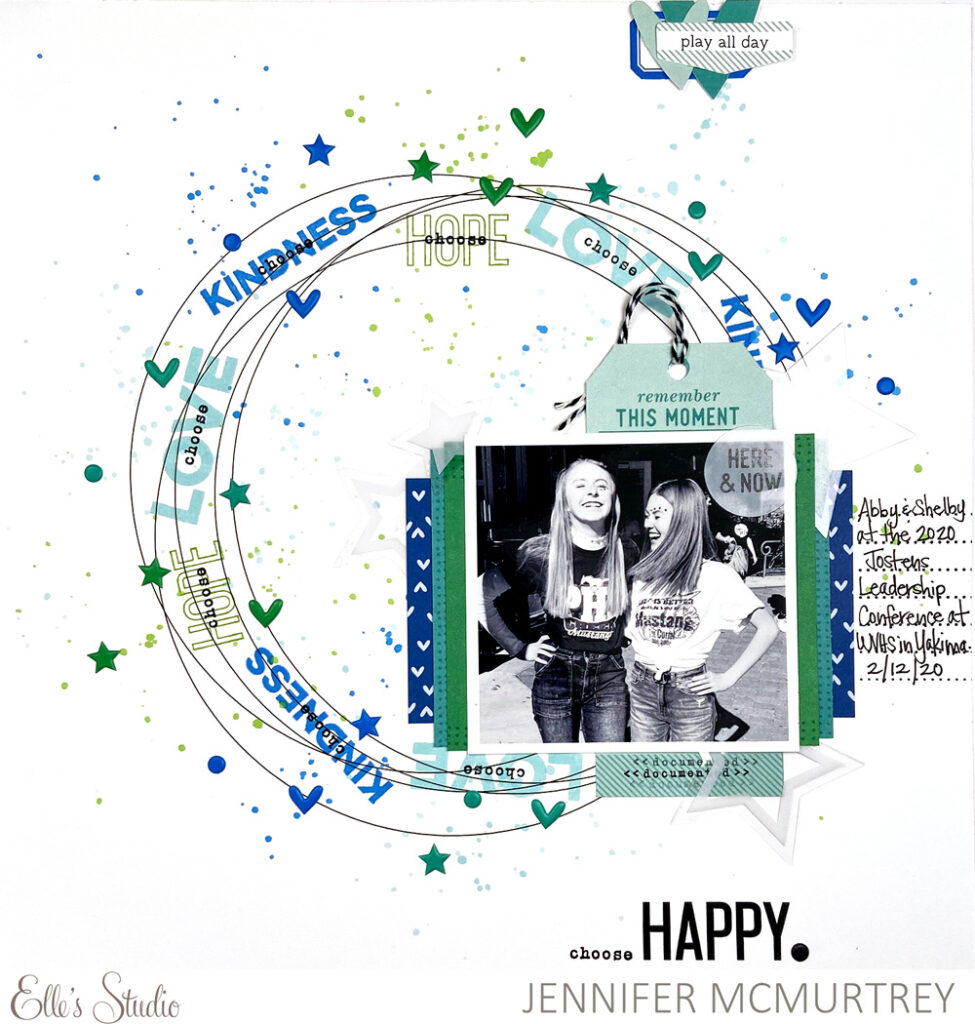
Supplies | March 2020 Kit, Go See Do Acetate Die Cuts, Tiny Shapes and Dots Puffy Stickers, Title Builder Vol. 4 Stamp, Title Builder Vol. 3 Stamp, Noted Vol. 2 Stamp, Mini Dated Extras Stamp
Once again I’ve been “perusing” my daughter’s social media accounts looking for pictures to use on projects. I came across this gem and fell in love immediately!
Going into this project, I had an idea of how I wanted to create the background and what I wanted it to look like. I began by using smooth cardstock with a black sketch pen on my Silhouette Cameo. I created a circle and duplicated it several times, offsetting each one as I went along. The technique is simple but I love the effect!
Using both Title Builder Vol. 3 and Title Builder Vol. 4 Stamps, I stamped each sentiment three times using coordinating colors. To isolate the “choose” sentiment, I cut apart the “choose to be” stamp from Title Builder Vol. 3 prior to stamping with it. I’ll admit it scared me a little, but the stamp is still usable as one word or three!
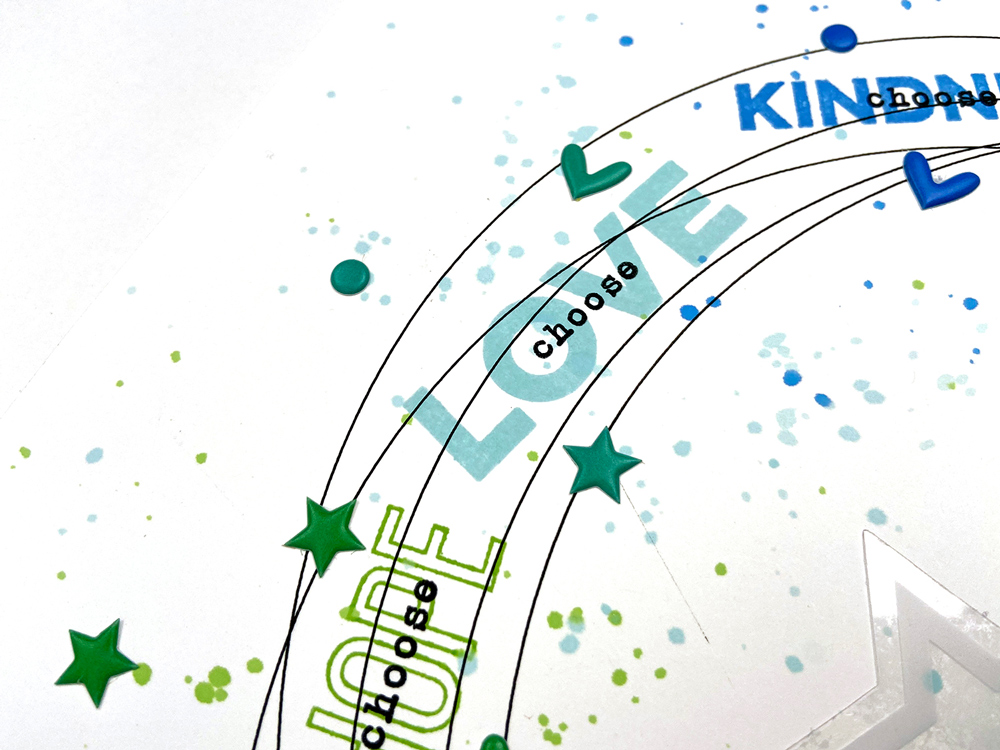
The ink splatters were next using the same inks blended with water and a paint brush. I splattered the inks to coordinate with the words so the colors are in sections and feel more intentional.
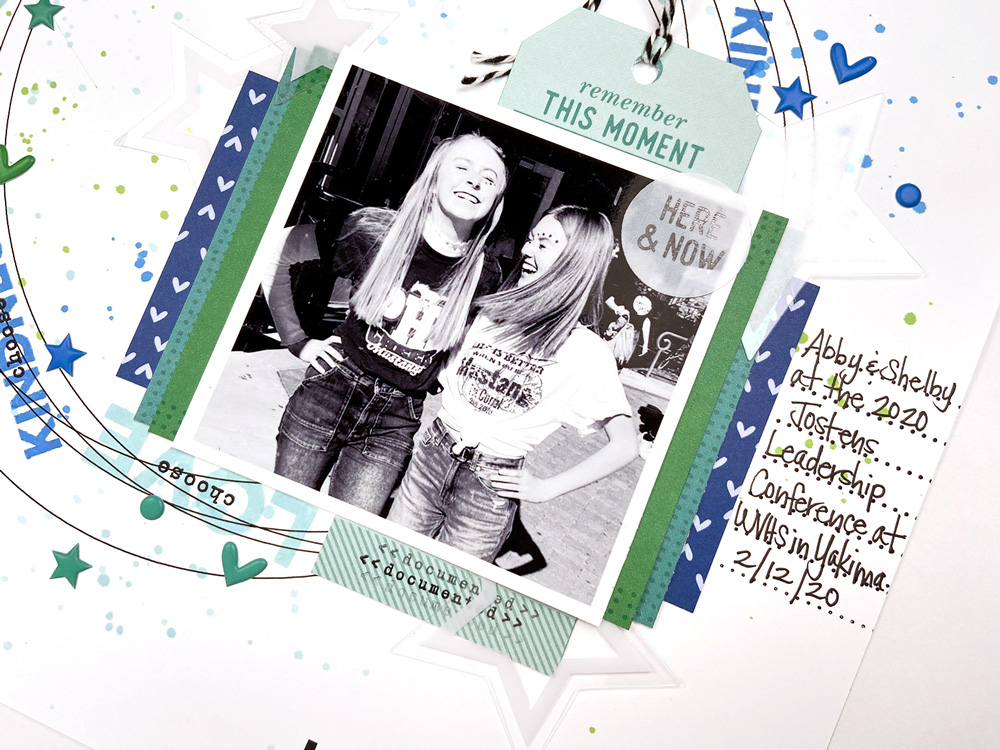
Using the March 2020 Kit, I went to work layering journaling tags that I cut in half behind the photo. Along the same lines, I cut the “This Moment” tag in half and stamped it using the Mini Dated Extras Stamp prior to placing it behind the picture. This is a great technique to use to stretch your product a bit and get more use out of what you have. I followed those with a few stars from the Go See Do Acetate Die Cuts.
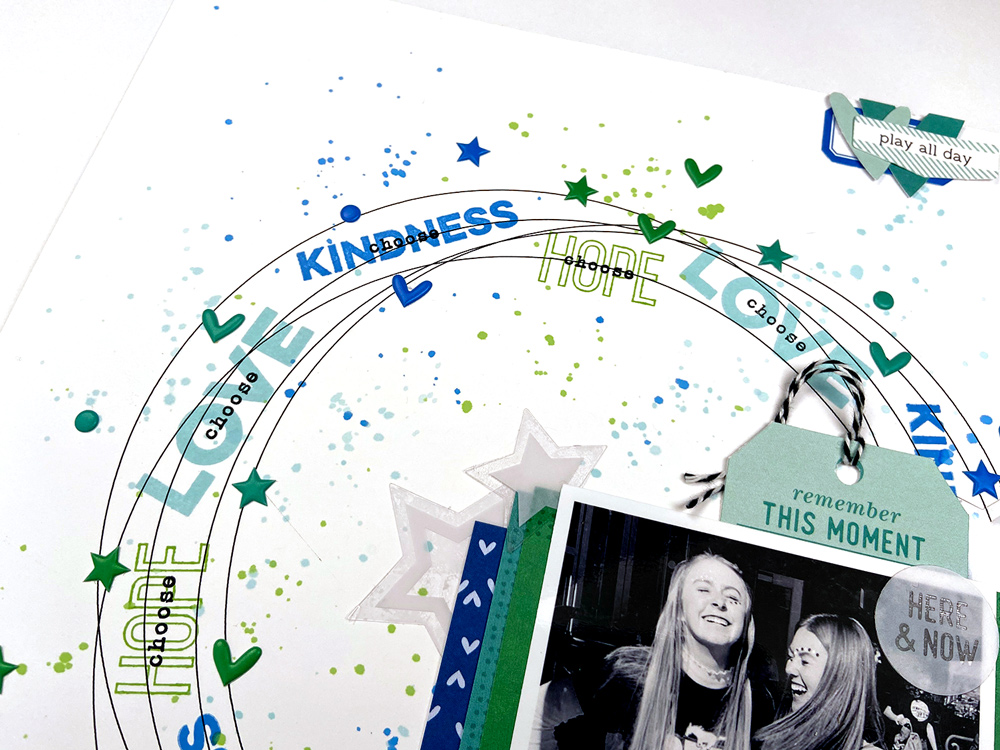
To create balance, I layered a few die cuts along the top border of the layout and stamped the “choose happy” sentiment in black on the bottom.
Because I love texture and dimension, I used the Tiny Shapes and Dots Puffy Stickers quite liberally around each of the stamped sentiments. It was the perfect touch and really made the stamped words pop. Finally, I stamped the dotted lines to the right of the picture using the Noted Vol. 2 Stamp and added my journaling.
Isn’t this a fun project!? The best part: It was simple to create using the supplies I already had on hand. Bonus!
So, break out those stamps and let’s see what you create! Remember to use #EllesStudio when posting your projects on social media, and you just might be featured on the blog. Yay!
Thanks for stopping by today and I hope you are inspired to create!
