
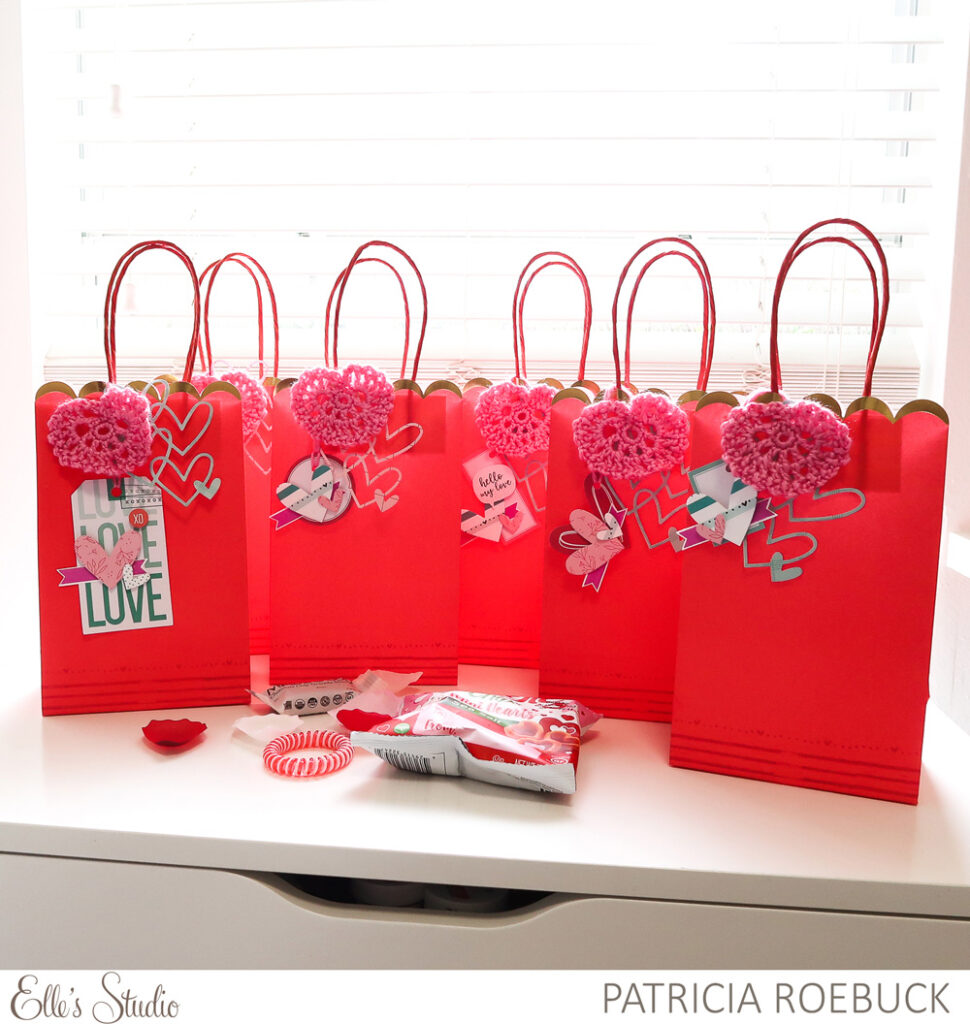
We are continuing Valentine’s Week here on the blog with gift bags—we all have surprises to give out on Valentine’s Day, right? Design team member Patricia Roebuck is with us to share how easy it can be to customize store-bought gift bags using our January kit and add-ons! Let’s see her sweet gifts!
Hello Elle’s Studio Friends! Valentine’s Day is just around the corner! Today’s post will give you ideas for treat bags: what to fill them with, and how to decorate them with the Elle’s Studio January kit and extras. Let’s get started!
Supplies | January 2020 Kit, You Are Loved Die Cuts, Love Is 6 x 8.5 Paper Stack, ‘Tis the Season 6 x 6 Paper Stack, Love You Lots Stamp, Love You Lots Metal Die
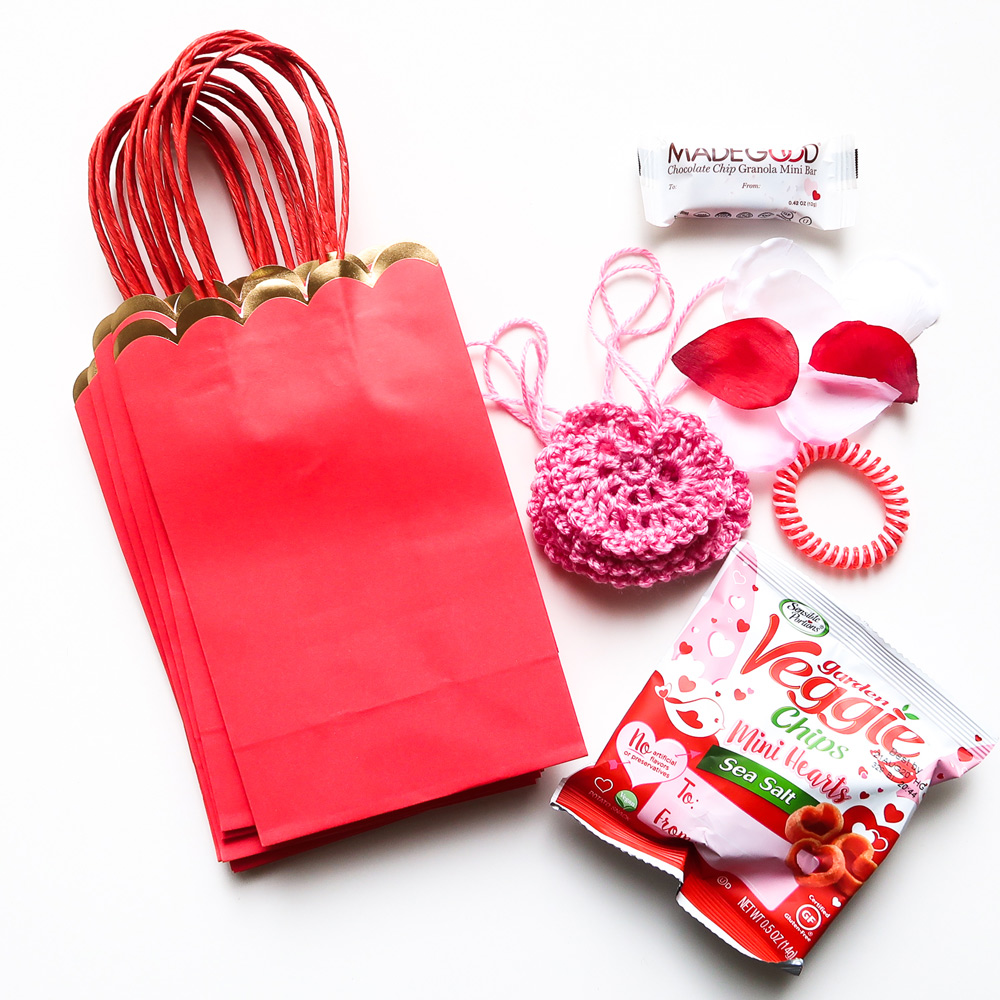
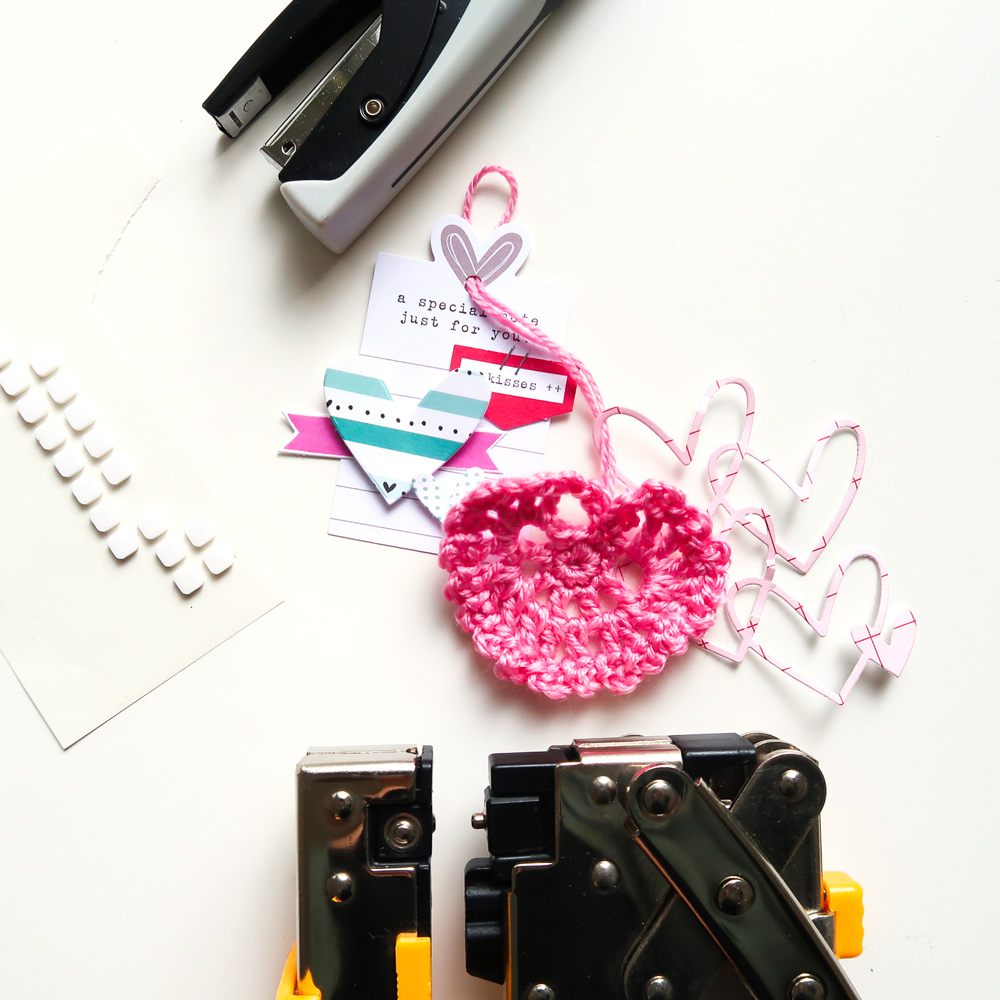
My treat bags include Veggie Mini Heart Chips, Made Good Mini Bars, a coiled bracelet, and rose petals. Everything was found in the Valentine’s section at Target, except for the rose petals, which were in the Dollar Spot. I decided on large, solid red bags found at Michael’s for two reasons: it would fit the Veggie Chips bag, and the Elle’s Studio products would show up beautifully against a solid color versus a decorated cellophane bag. I also found the pink yarn at Michael’s. The crochet pattern for the lacy heart is from Happy Berry here, but this idea would still work without it!
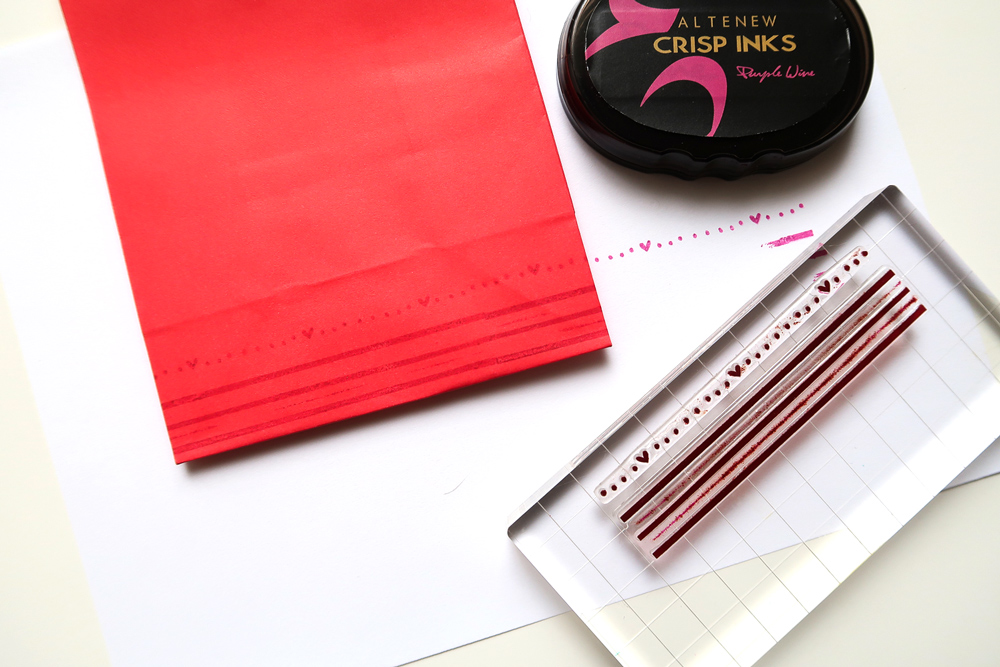
I wanted to keep the bag simple to keep the emphasis on the tags, but I began by adding just a little bit of stamping for texture and color at the bottom of the bag using the Love You Lots Stamp in a shade darker than the red bag. Dye ink will dry and lighten, so use it is important to use a darker ink, even if it is not the same color as your bag.
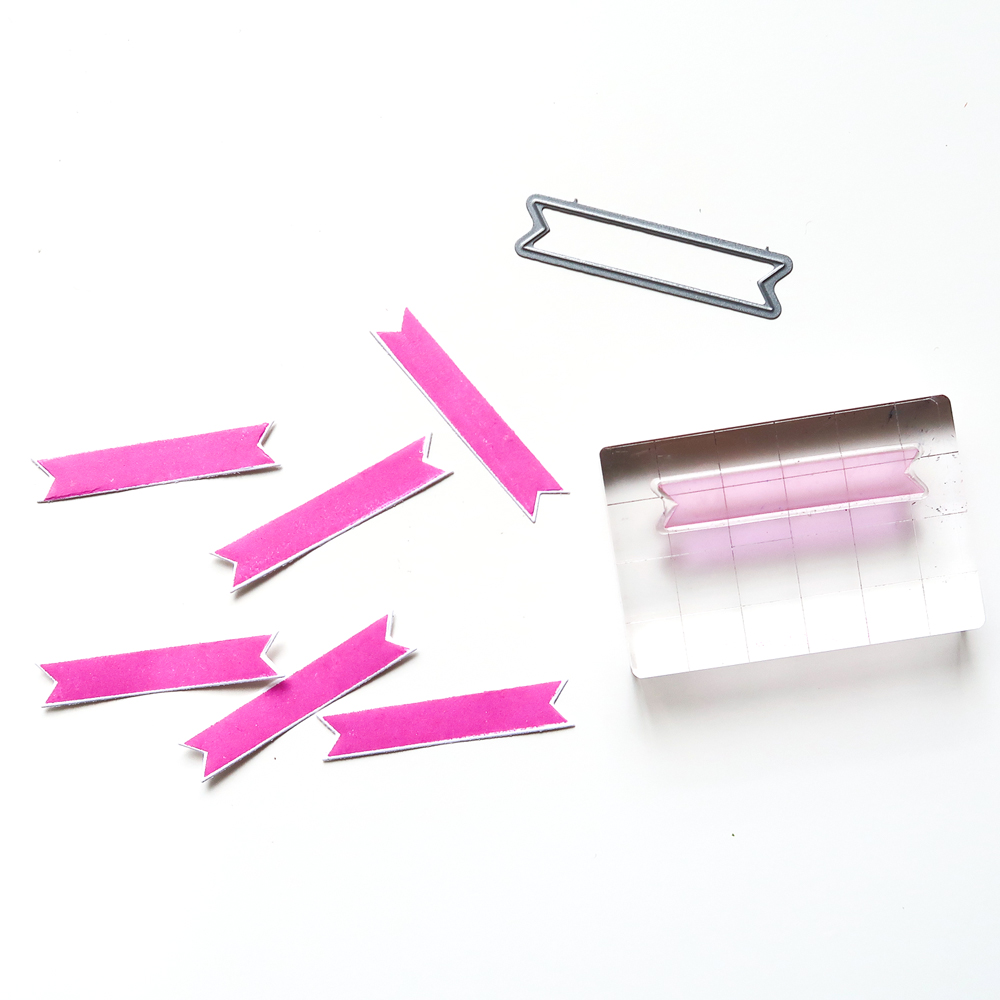
When I create treat bags, I like them all to follow the same design. I used the Love You Lots Stamp to stamp pink banners, cutting them out with the matching Love You Lots Metal Die. This will create a consistent design for each tag, making assembly quick.
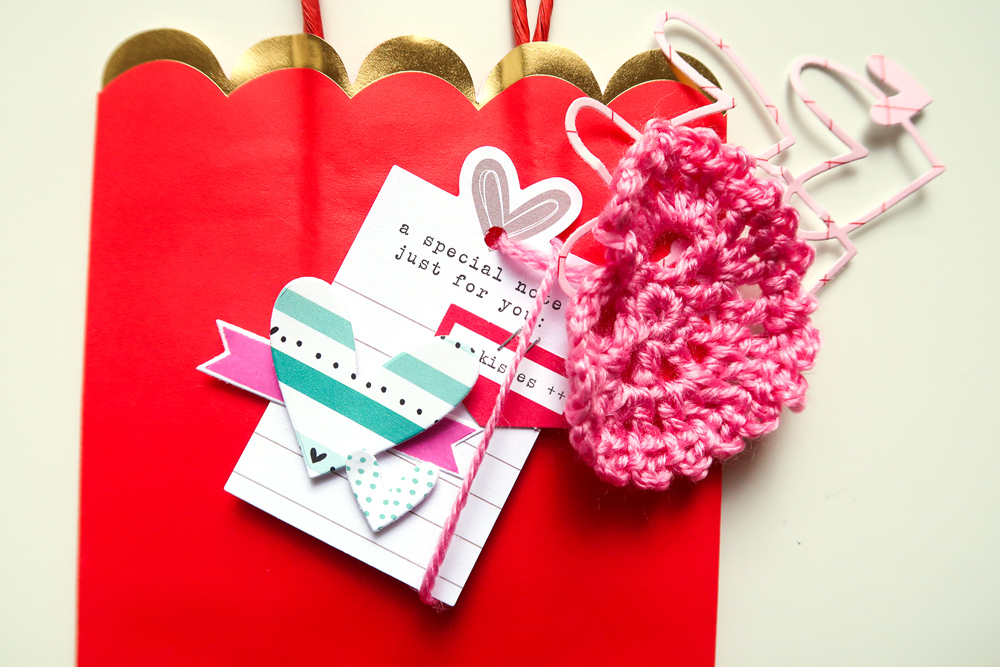
I began each tag by starting with a You Are Loved Die Cut as the base, topping with my pre-stamped and cut pink banner, and a large die cut heart, adhered using dimensional adhesive. I then added a smaller die cut heart next to it, and then stapled or adhered a die cut from the January Kit. I repeated this layering process for the amount of tags I needed, punching a hole at the top of each tag and threading the crocheted heart through.
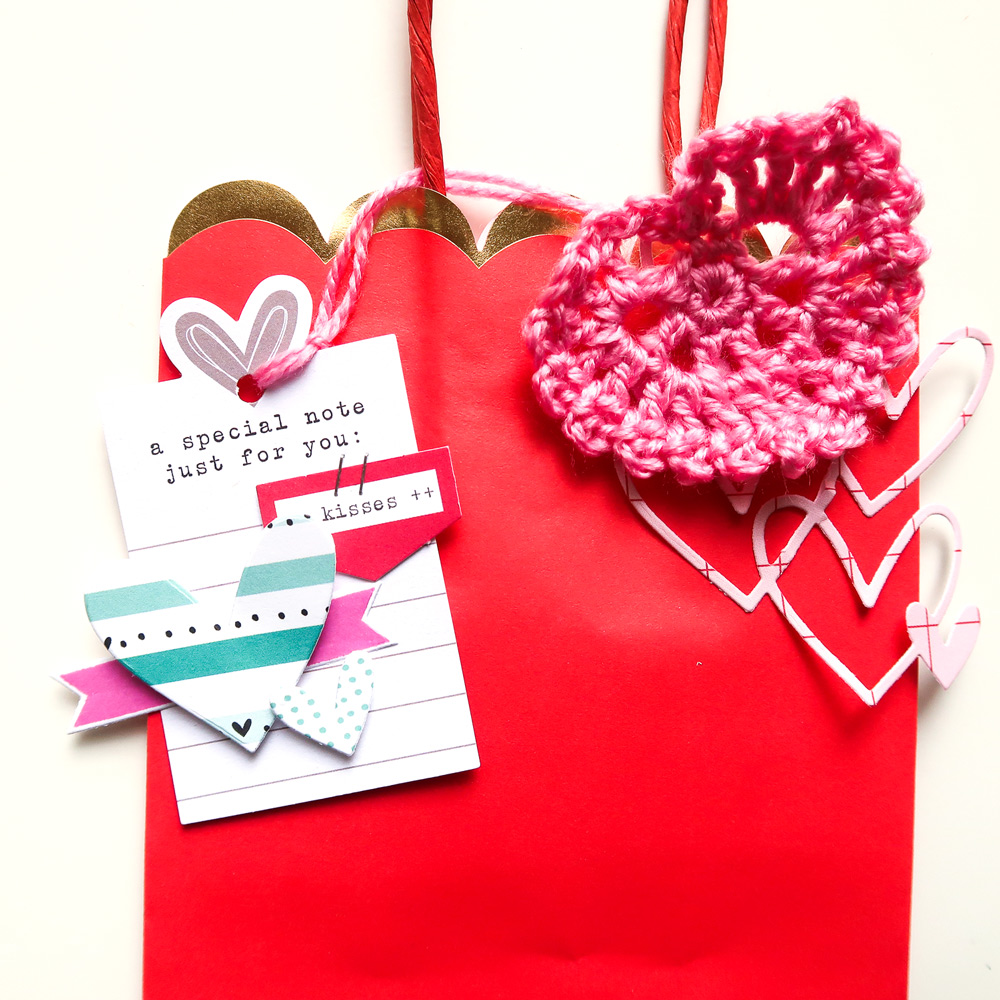
I attached the crochet heart by taking the top loop threaded through the tag and looping it completely around the tag, pulling through until the tag was completely attached.
Next, I hung the completed decoration over the handle of the bag. If you don’t have a crocheted heart, twine or ribbon would work just as well to add a different texture!
There are so many possibilities with the January kit and extras to decorate your treat bags!
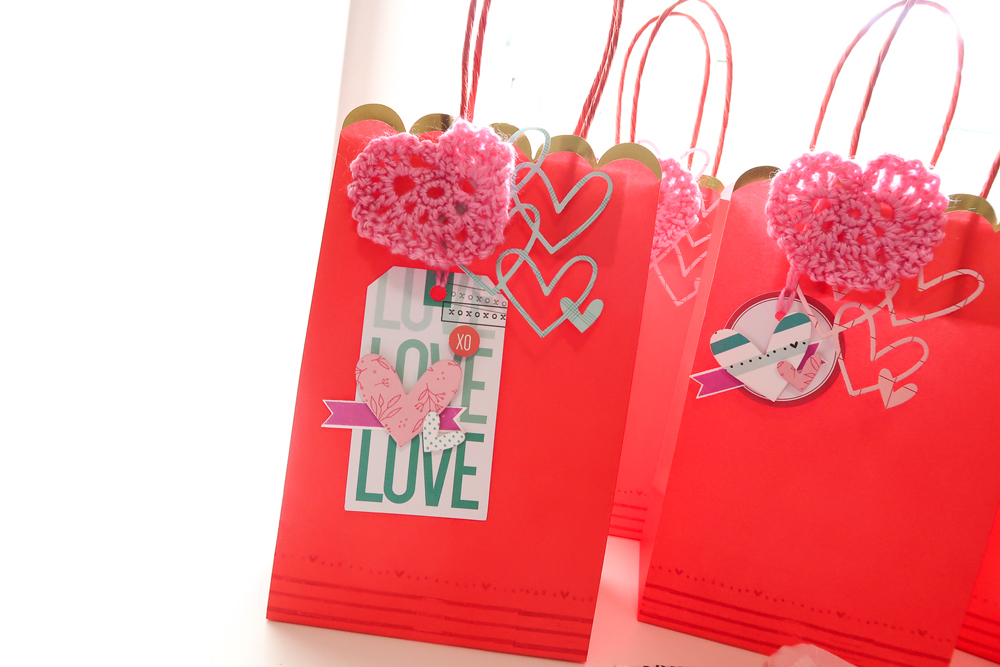
These handmade bags add a thoughtful touch to gifts for friends, family, teachers, or anyone else you care about!

Don’t put away your January kit and extras just yet—visit your local craft store and pick out simple bags so that your tags that you attach to your bags can stand out. Beautiful packaging really adds to the excitement of getting a gift! Happy Valentine’s Day!
