
We are so excited to kick off Halloween week here on the Elle’s Studio blog! All this week, we’re bringing you inspiration for projects to help you celebrate and document your Halloween celebrations! Today, we’re starting with greeting cards—they’re so fun to create and can make someone’s day! Amanda-jayne Baldwin is with us to share two shaker cards using our October kit and add-ons that we know you’ll SCREAM for! Let’s take a look!
Hi, friends! It’s Amanda here, and today I am sharing two spook-tacular Halloween greeting cards using the fabulous October Kit & new releases!
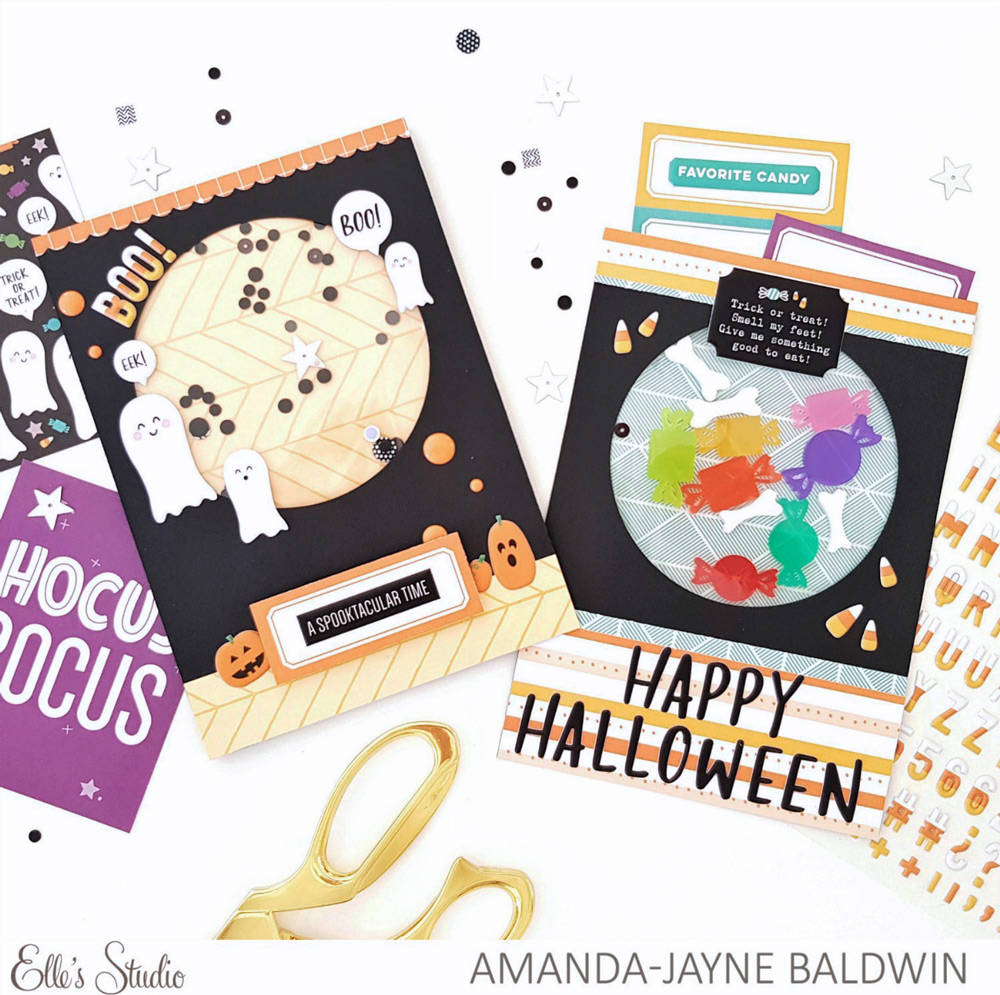
Supplies | Halloween Journaling Tags, October Labels, Candy Corn Puffy Alphabet Stickers, Halloween Puffy Stickers, Halloween Acrylic Treats, Home Sweet Home 6 x 6 Paper Stack
Say BOO!!! Aren’t they just the cutest?! Halloween is all about the element of surprise, and having fun! And nothing screams childhood fun like a pocket (err, shaker pocket) full of candy!
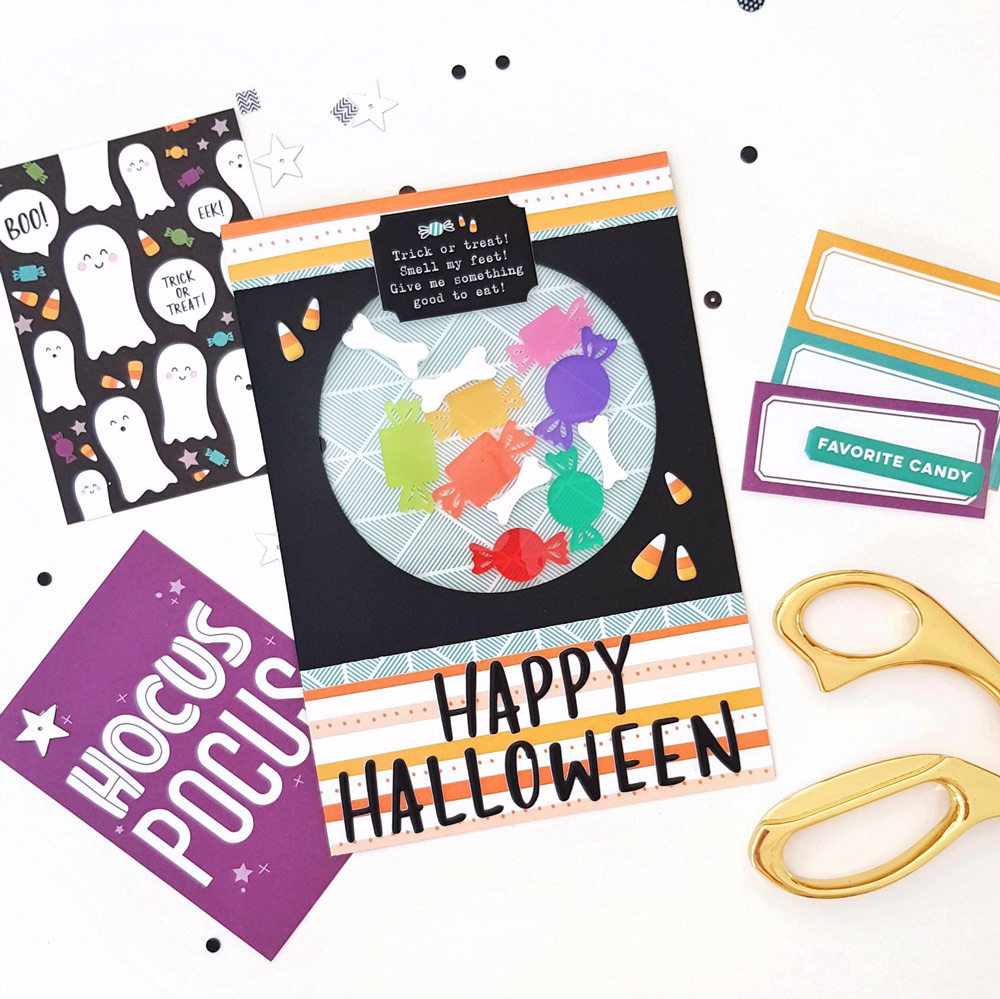
This card will have your recipients guessing if it’s a trick or a treat, as it is such a fabulous card, but you can’t eat the candy, ha! Plus, it has the perfect sentiment for Halloween!
Shaker pocket cards are really easy to create and give your cards that extra wow factor! Okay, enough of the chatter! Hocus Pocus, it’s time to focus! For these cards, I used two sheets of black cardstock. I cut each piece to the following specifications: 10″ x 7″ to create the cards, plus a 5″ x 7″ sheet to create the shaker window.
I scored & folded the 10″ x 7″ sheets of card at the 5″ mark to create the card bases. For the card fronts, I used a circle cutting tool to cut a large circle window at the top of the 5″ x 7″ sheets of cardstock.
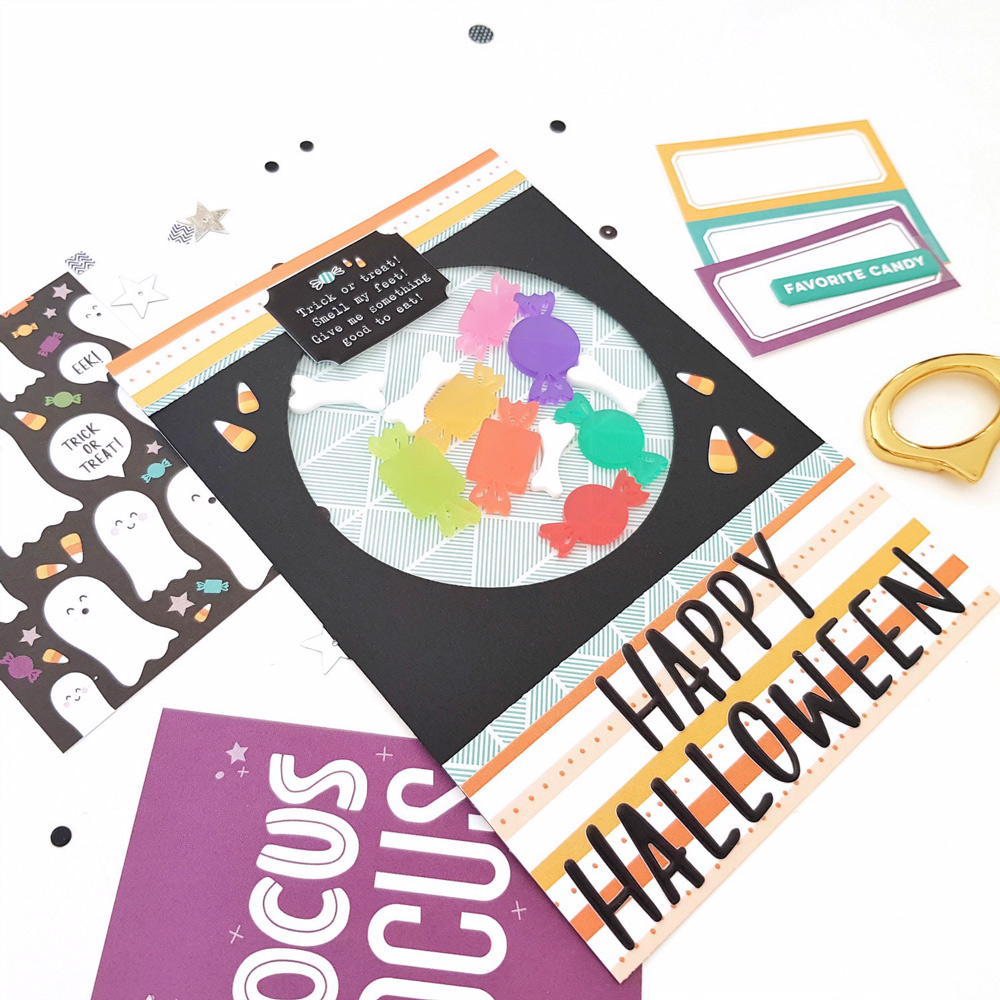
For this particular card, I placed the Halloween Acrylic Treats into a cellophane bag, and then sealed it off. I used hot glue to back this bag of sweet treats to the circle window, and then positioned the teal Home Sweet Home Paper Stack patterned paper behind it all. I love the added interest of the pattern paper behind the window. It is so much more interesting and fun than the plain black cardstock!
While I had this patterned paper handy, I also added a trim of it to both the top & bottom of my card front. I overlapped this patterned paper with another trim, this time cut from the striped 6″ x 4″ Halloween Journaling Tag. I added lots of the Halloween Puffy Stickers to embellish, and adhered it all to one of the 5″ x 7″ card fronts.
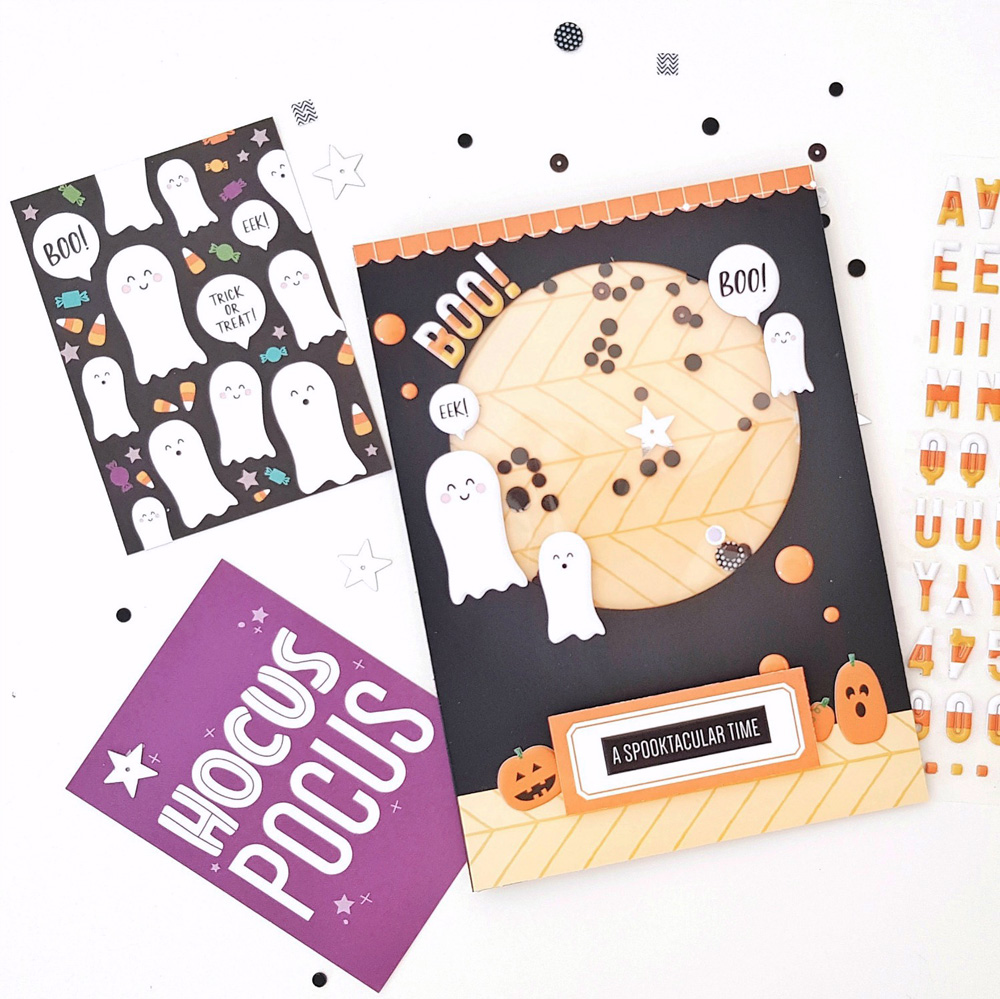
For the spooky boo card, I used the same technique to create my shaker window, but replaced the Halloween Acrylic Treats with some black and silver star sequins from my stash. I also used patterned papers from the Home Sweet Home Paper Stack to back my circle window, and trim the top & bottom of the card front.
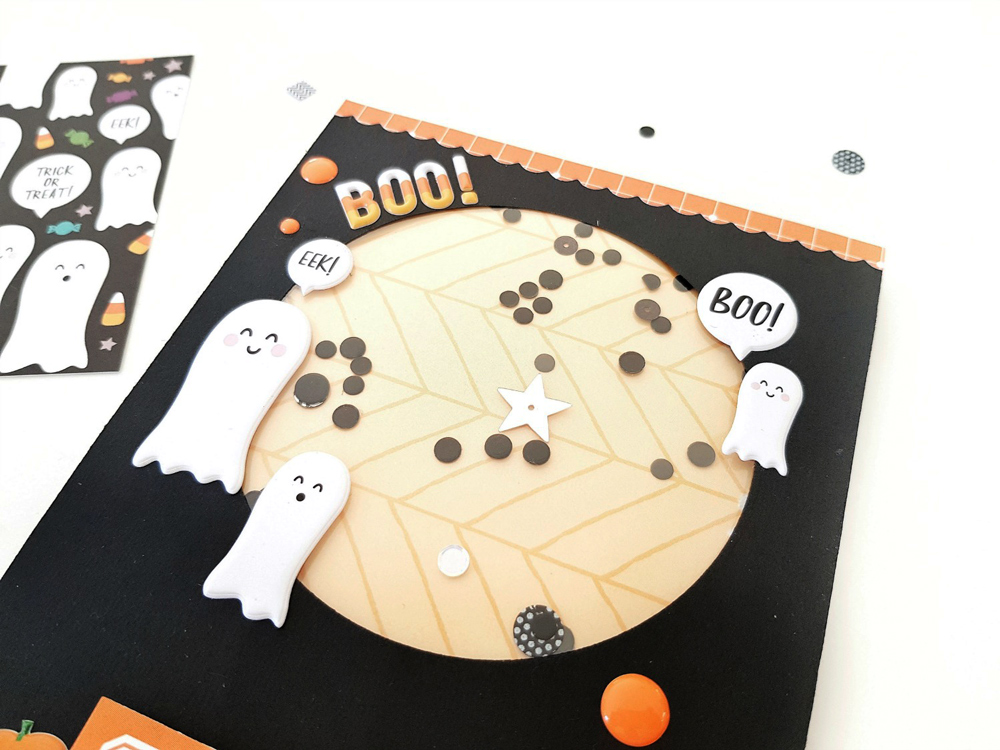
I embellished with the ghosts and pumpkins from the Halloween Puffy Stickers, and then added the “Boo!” sentiment using the Candy Corn Puffy Alphabet Stickers. Those alphas are the best!
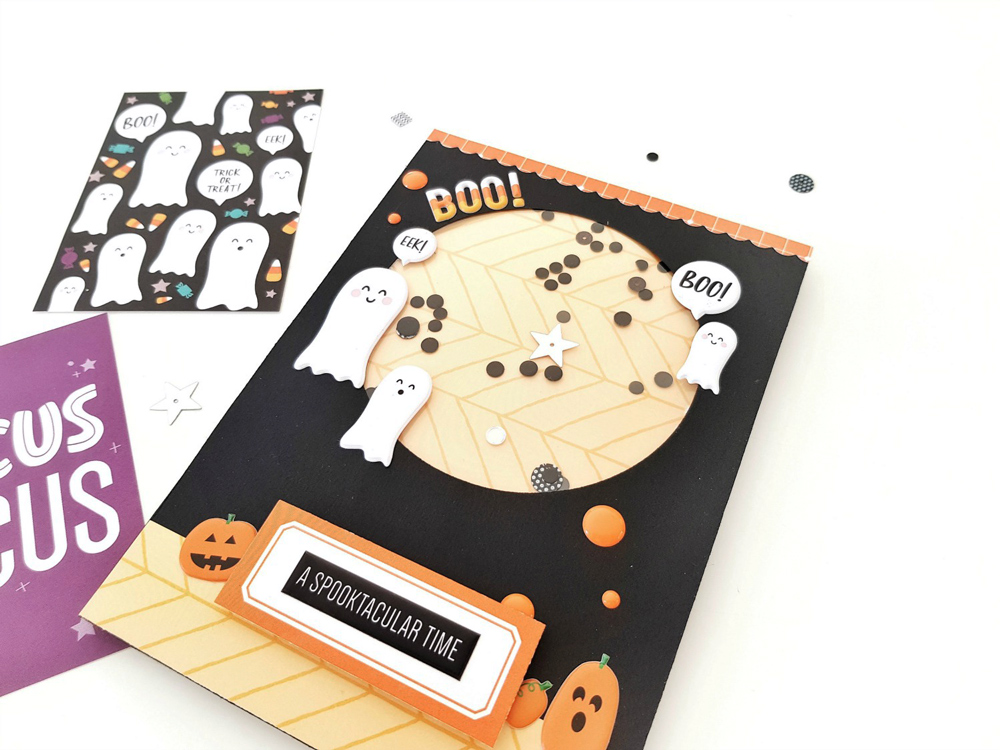
For finishing touches, I foam mounted one of the October Labels and added the “a spooktacular time” Halloween Puffy Sticker sentiment, as well a scattering of orange enamel dots from my stash.
And there you have it: trick-or-treat greeting cards that scream fun! I hope I have put a spell on you to get creating some frightfully fun cards!
Happy Halloween!

Are you inspired by Amanda’s spook-tacular shakers? Show us the Halloween cards that you create using our October 2019 Kit and add-ons on Instagram using the hashtag #EllesStudio, or in our Facebook Group!
