Hello, friends! It’s Meghann Andrew here with you today and I hope you’re having a wonderful, crafty weekend! It has been a while since I scrapped a Disney memory, and since the days are counting down to our next trip to “the most magical place on earth,” I decided it was time to pull out the colorful Magical Memories collection! But, when I went to craft my title, I realized that the word I needed was featured on the Title Builder Vol. 3 Stamp, so I combined the two to create a most happy 8-1/2″ x 11″ layout! Take a look:
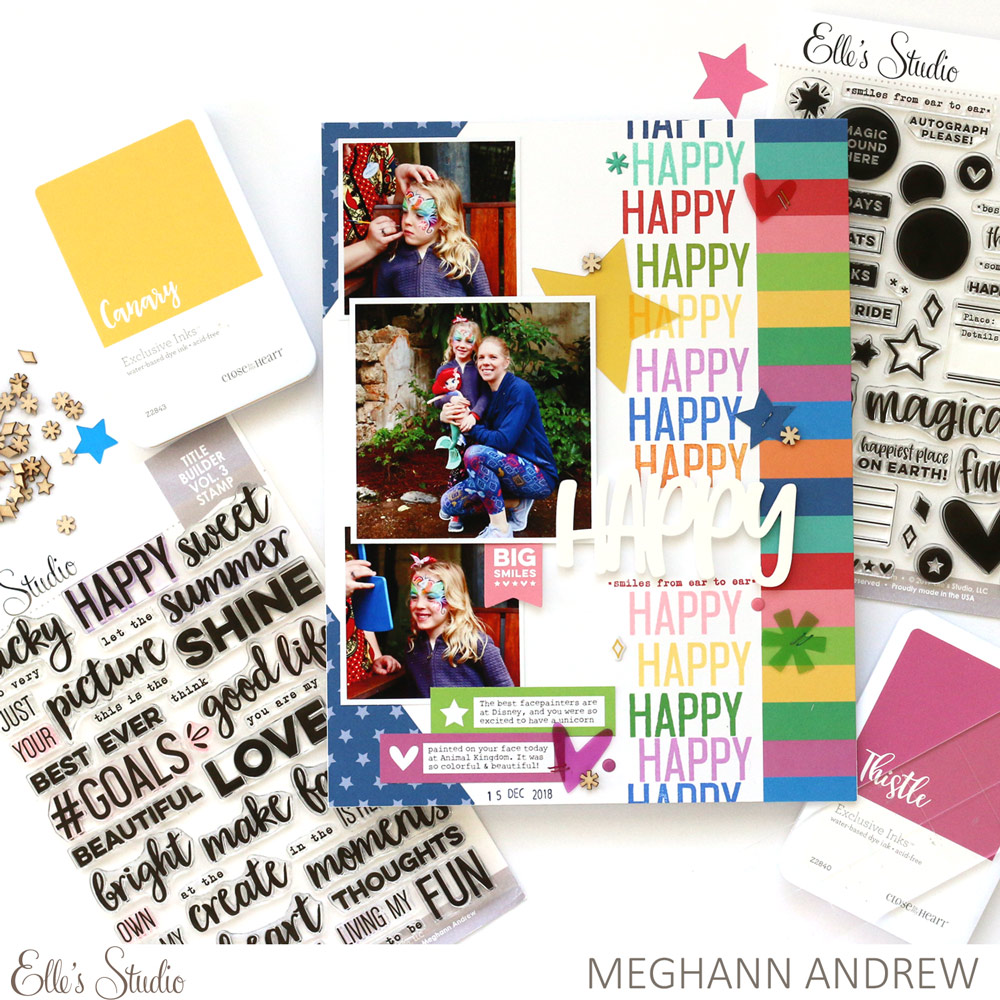
Supplies | Magical Memories Journaling Tags, Magical Memories Acetate Die Cuts, Magical Memories Puffy Stickers, Magical Memories Happy Acrylic, Magical Memories Wood Veneer Confetti, Magical Memories 6 x 6 Paper Stack, Magical Memories Stamp, Title Builder Vol. 3 Stamp
This page documents my daughter’s delight at having her face painted while visiting Animal Kingdom in Disney World last year—a great memory to record. To match all of the beautiful colors on her face, I grabbed the colorful striped pattern in the Magical Memories 6 x 6 Paper Stack, cut it into two 1-1/2″ x 6″ pieces and added it to the right edge of my layout.
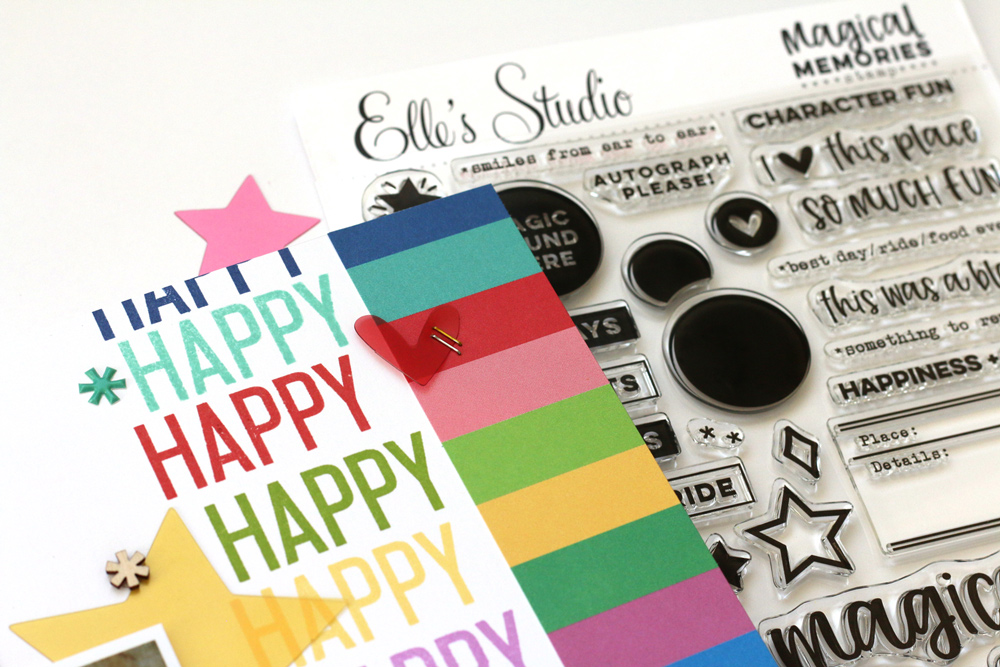
This is when I decided that I wanted my title to be a BIG part of my layout, and what better word to use for a Disney memory than “happy?” I grabbed the Title Builder Vol. 3 Stamp and matched my ink colors to the colors in the paper to create a waterfall of my chosen word along the right side of the page.

Mixing font styles and colors in titles creates eye-catching contrast, and I decided to break up the monotony of my stamped “happy” word with the Magical Memories Happy Acrylic, adhered at the center of the column. To finish off my title, I stamped “*smiles from ear to ear*” from the Magical Memories Stamp under the acrylic word. I just love how this magical stamp pairs with Title Builder Vol. 3 Stamp to create this bold and fun design!
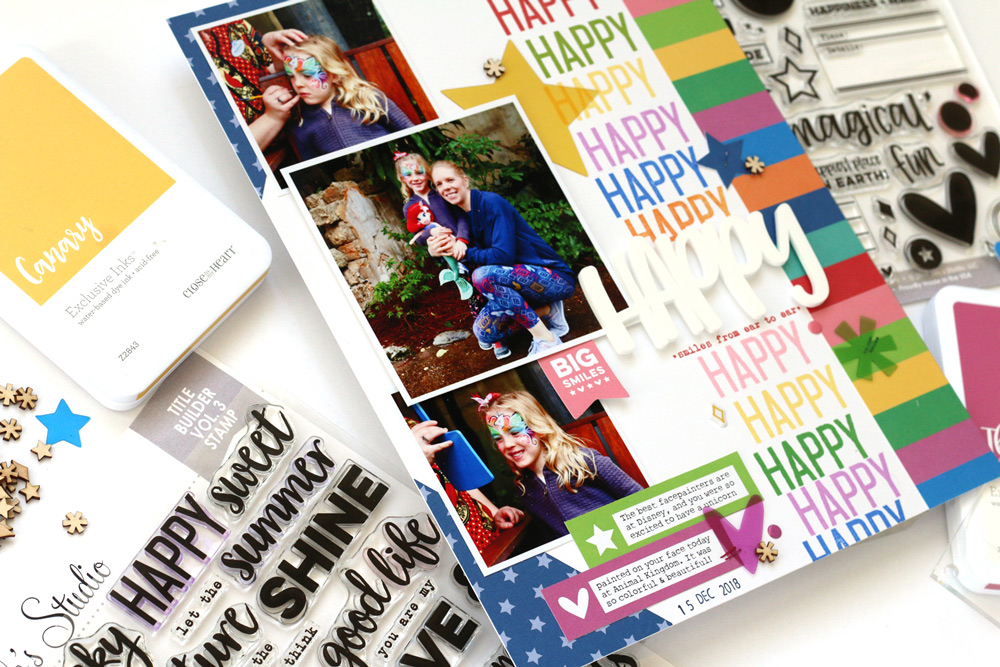
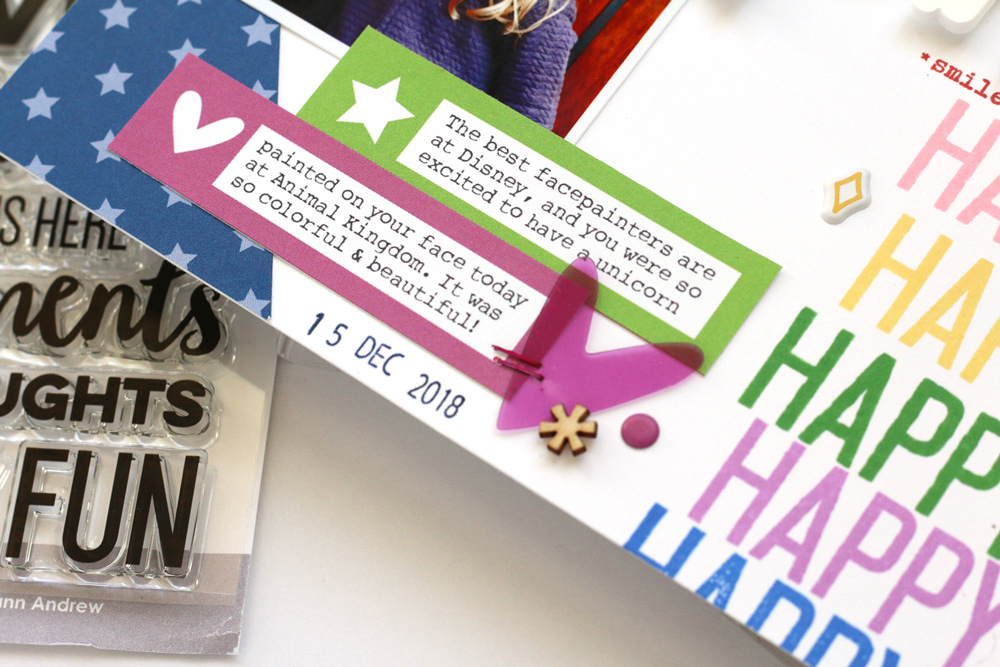
Three photos on the opposite side balanced out the weight of my title column, and I added triangles of the dark blue star pattern from the Magical Memories 6 x 6 Paper Stack at the corners to add more weight. My journaling was added to the icon cut-apart tag from the Magical Memories Journaling Tags and placed at the bottom of my photos, matching the colors to the “happy” words at the right.
I kept my embellishment light, knowing that the two columns of my photos and my title needed to be kept as the focus. Matching the colors on the stamped word and striped patterned rows, I added Magical Memories Acetate Die Cuts and Puffy Stickers from the top to bottom of my page, and finished off with a sprinkle of Magical Memories Wood Veneer Confetti to add a neutral texture.
I am so “HAPPY!” with how this page turned out, and I’d love for you to watch it come together in this process video:
Thanks so much for watching! I hope you try combining the Title Builder Vol. 3 Stamp with the Magical Memories collection to craft a truly memorable, magical moment!