Even if you may not have back-to-school photos to document this month, there is still a lot to learn in life, and a lot to document with our August kit and extras, which have a school-themed, start of autumn feel! Let’s take a look at how design team member Amanda-jayne scrapped some gorgeous photos that were not from the first day walk to school!
Hi, friends! Welcome back to the Elle’s Studio blog! It’s Amanda here, and today I am sharing some more inspiration with the fabulous August 2019 Kit and new release items! There are SO many awesome new elements and add-ons to this month’s kit, and I challenged myself to incorporate most of them into my layout! Here’s what I created with them:
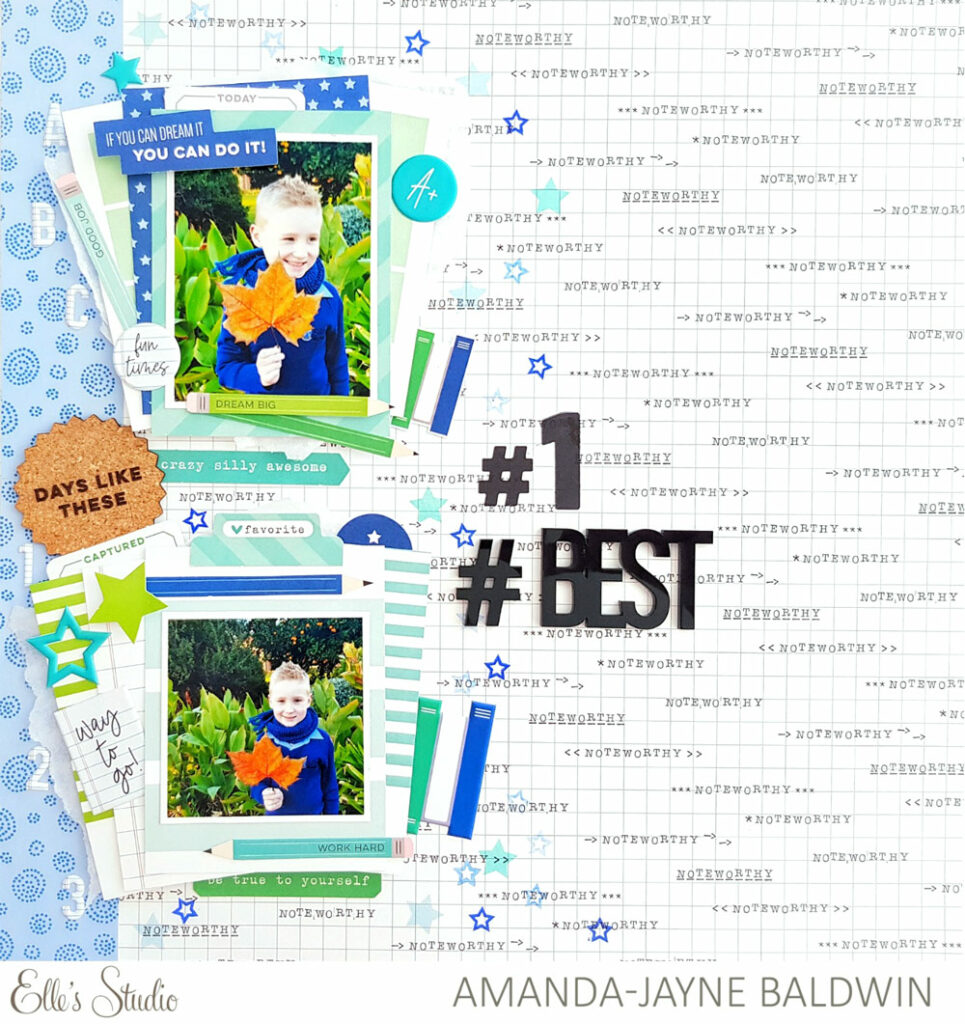
Supplies | August 2019 Kit, Makes Me Smile Cork Circles, Back to School Puffy Stickers, Notebook Puffy Alphabet Stickers, Title Builder Vol. 3 Acrylic, Back to School Stamp, Sunshine 6 x 6 Paper Stack, Noteworthy 12″ x 12″ Paper Collection
Whoa! What a fun school-themed page! It may not be back-to-school time in Australia where I live, but this theme in the August Kit works perfectly for any school occasion. It is really versatile, and ideal for my sweet boy’s photos.
I started my layout with the Noteworthy repeat print 12″ paper and 1 1/2″ strips of the blue pattern in the Sunshine 6 x 6 Paper Stack. I butted these two strips together on the left hand side to create a feature point and anchor for my design.

Next, I stamped up a mix of blue and teal stars with the Back to School Stamp. I used both types of stars, and positioned them to the right of the Sunshine paper strips. As I had planned to only use the left hand side of my page, I was to careful to avoid stamping further than the center of the page. I love the pop of color the stars add to the background!
Design tip: The use of tiny stamped icons, and or shapes, is a great alternative to enamel dots or sequins, especially for masculine pages.

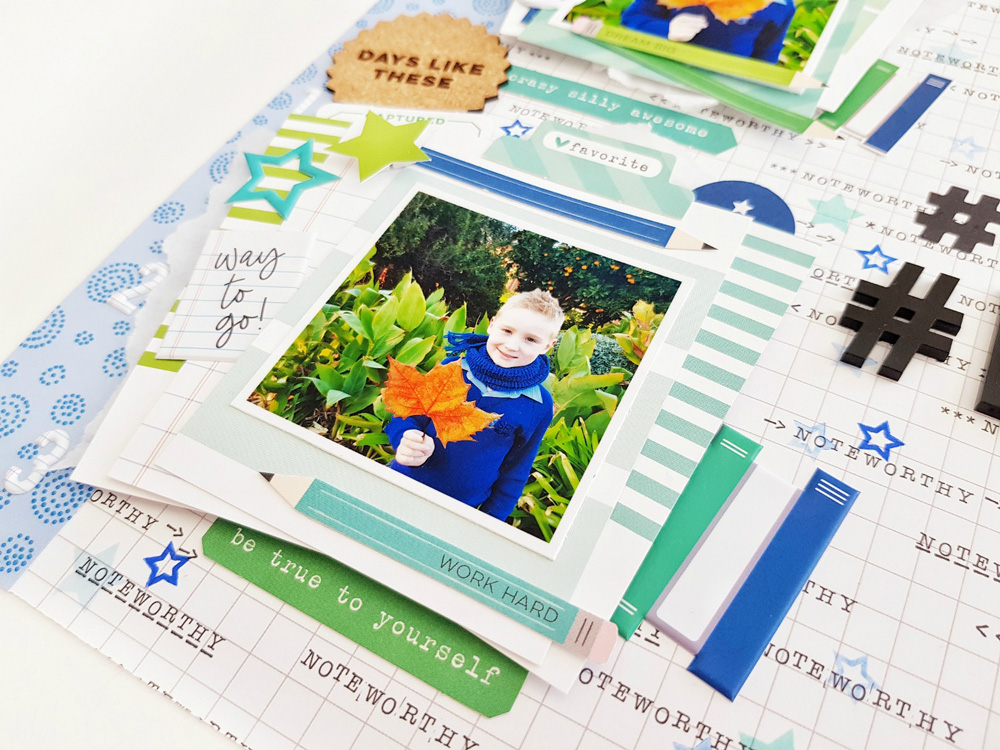
The next step in creating my layout was to form the photo clusters and layers. For this, I used a mix of 3″ x 4″ journaling tags and die cuts from the August Kit, 3″ x 4″ cuts from the Sunshine 6 x 6 Paper Stack papers, and the Back to School Puffy Stickers. The pencils and book stack embellishments were fussy-cut from the tags included in the August Kit. At the base of the photo layers, I added a torn sheet of tissue wrap, followed by some foam tape. This added both texture and dimension to the clusters.
To unify the two photo clusters, I used one of the Makes Me Smile Cork Circles as focal embellishment between them. This draws attention to both photos, and in turn, connects the images.
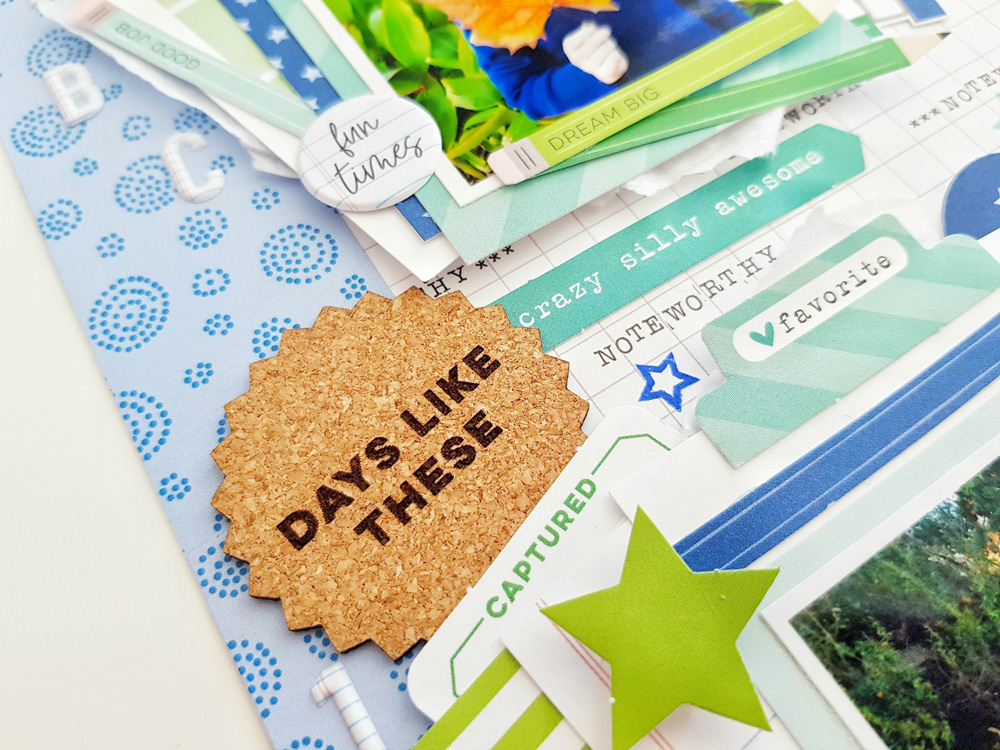
You’ll also spy the Notebook Puffy Alphabet Stickers travelling down the left side of both clusters too. The use of the “A, B, C” and “1, 2, 3” stickers is not only a fun way to incorporate more of the school theme, but it also an orderly pattern that subtly encourages further connection between both photos.
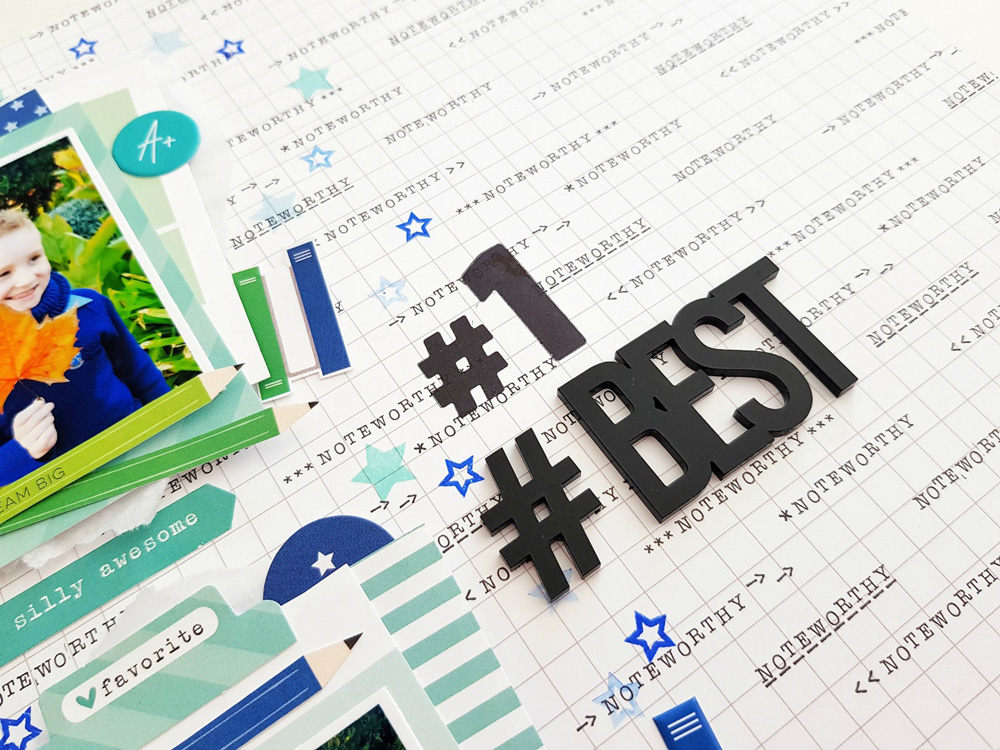
For a finished look, I stamped the “#1” from the Back to School Stamp and followed it with the “#BEST” word from the Title Builder Vol. 3 Acrylic.
And there you have it: a really effective layout from such a relatively simple design! I hope I have inspired you to get creating with the fabulous August Kit and extras today!