Hello! It’s Patricia with you today! Whether you have past memories from a Disney trip to document or have a trip planned, using the new Magical Memories collection in your pocket pages takes you to the magic of the trip and the experience instantly. One thing I have always loved about a Disney trip is trying to find the hidden Mickeys around the park. That same idea can be so easily done with this new collection while meeting a princess, or two or three!
Supplies | Magical Memories Journaling Tags, Magical Memories Puffy Stickers, Magical Memories Acrylic Hearts and Stars, Magical Memories Wood Veneer Confetti, Magical Memories Phrase Stickers, Magical Memories At The Castle Wood Veneers, Magical Memories Acetate Die Cuts, Magical Memories 6 x 6 Paper Stack, Magical Memories Stamp
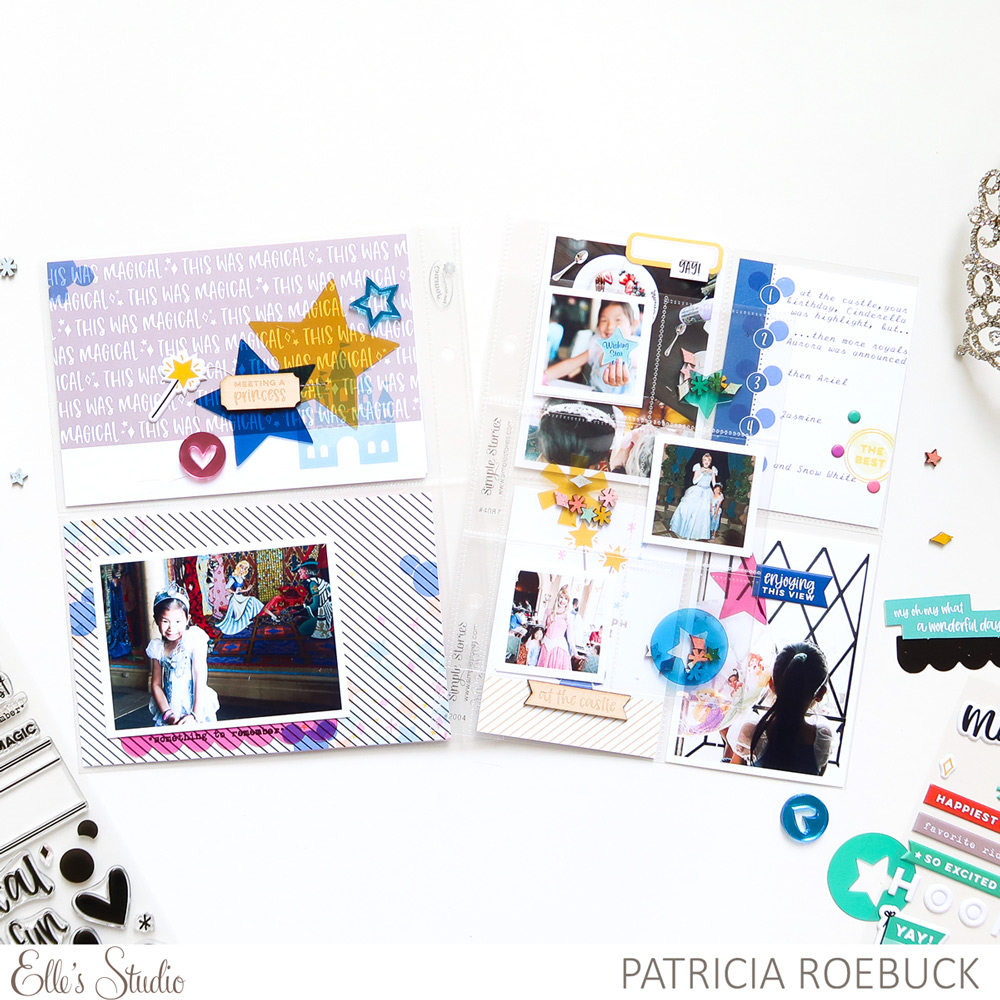
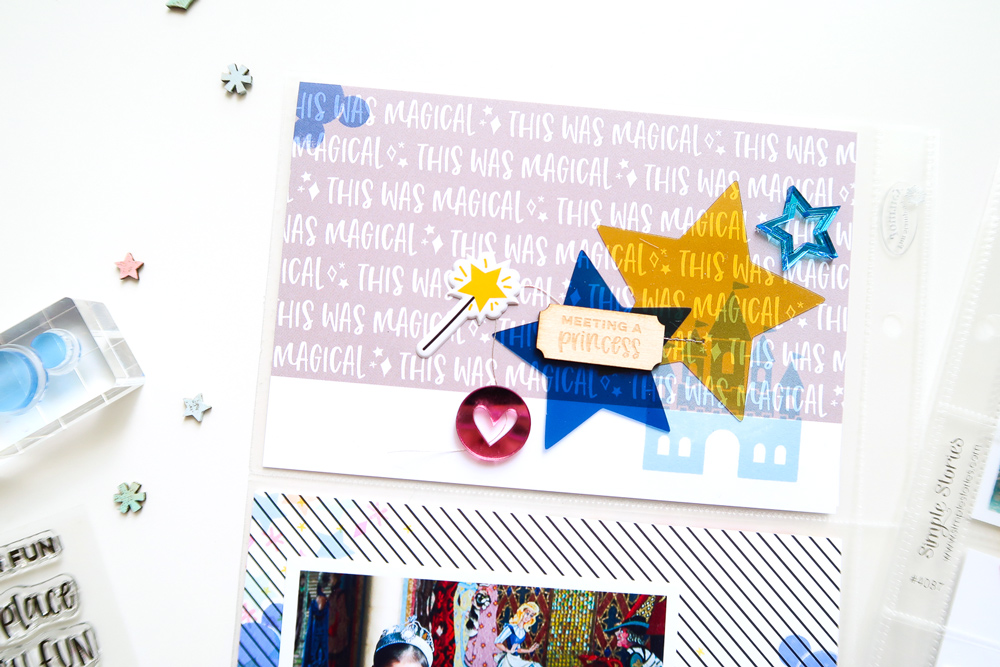
There are so many ways to add texture, color and dimension in your pocket pages and still capture what the memory is all about. For my title card, the Magical Memories Journaling Tags and Stamp created the base of the layers, then the amazing new Magical Memories embellishments finished my title card with that “ooh ahh” that you expect from all things Disney related.
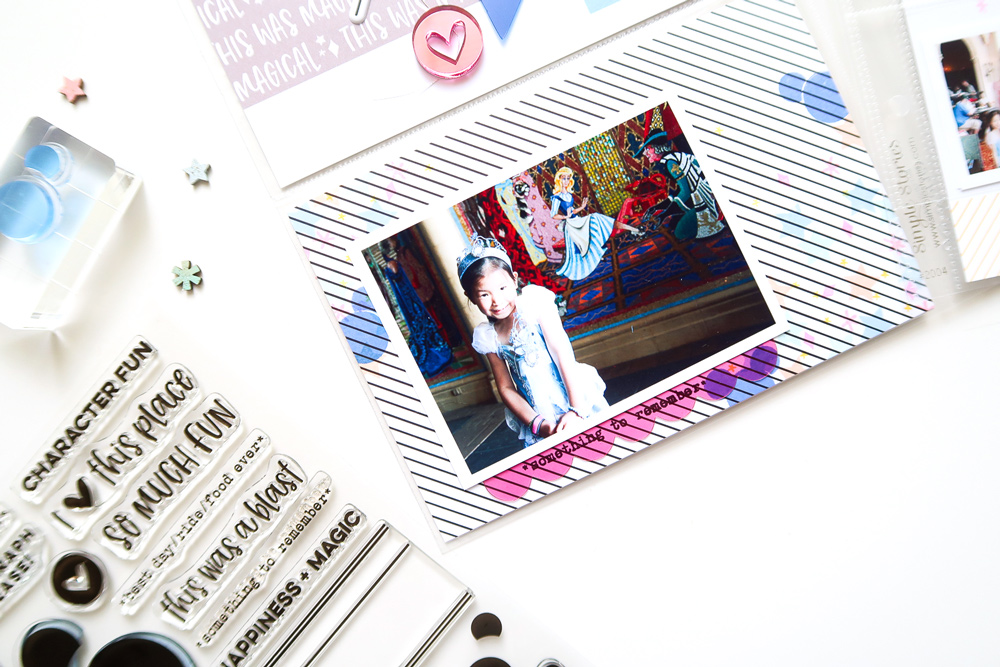
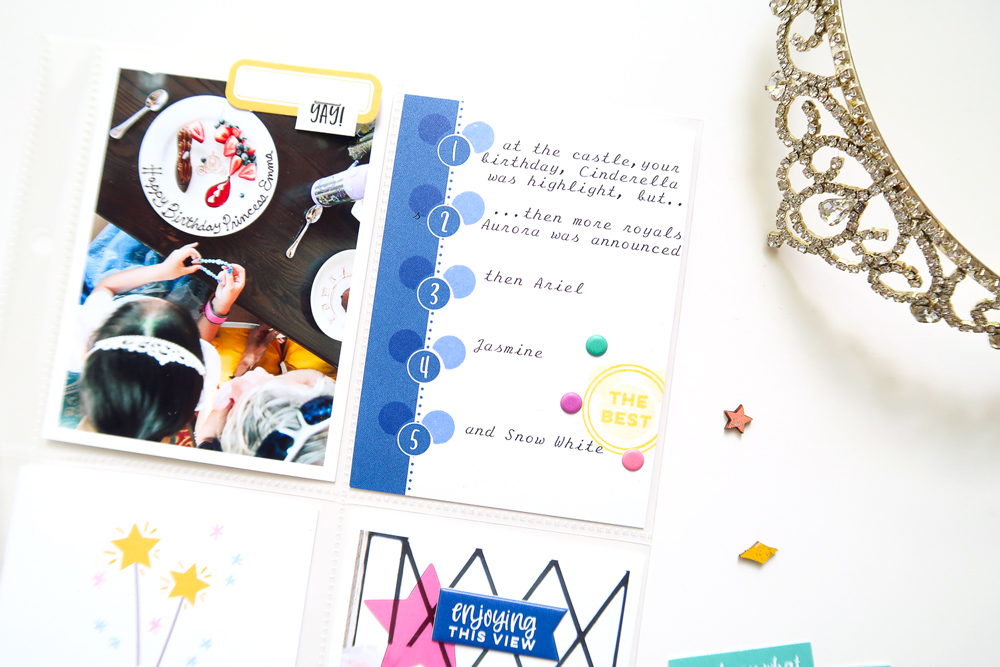
Instead of printing a 4″ x 6″ photo to completely fill my next pocket, I used the patterned paper trimmed to fit the pocket, then created a cascade effect going along the lines of the paper using the Magical Memories stamps in various inks to coordinate with my photos. The sentiment, “something to remember” from the Magical Memories Stamp is not only perfect to capture this memory, but a cute way to peek through the Acetate Die Cut, layered under my 3″ x 4″ photo. This card has lots of layers, but is relatively flat because of the stamps and acetate.
I think it goes without saying that most of us have a lot of photos from our Disney experiences. The small 2″ x 2″ pockets really help to get lots of photos documented, but also are a great base for adding to the layered look of your spread. I printed my photos smaller than the 2″ x 2″ pockets so that there would be some see-through to the next page.
I continued the see-through look by using the Acetate Die Cuts and the Wood Veneer Confetti to fill the rest of the pockets. I painted each confetti on both sides, let them dry, then added a translucent glitter paint over them for that extra sparkle. These pockets were perfect for meeting the princesses.
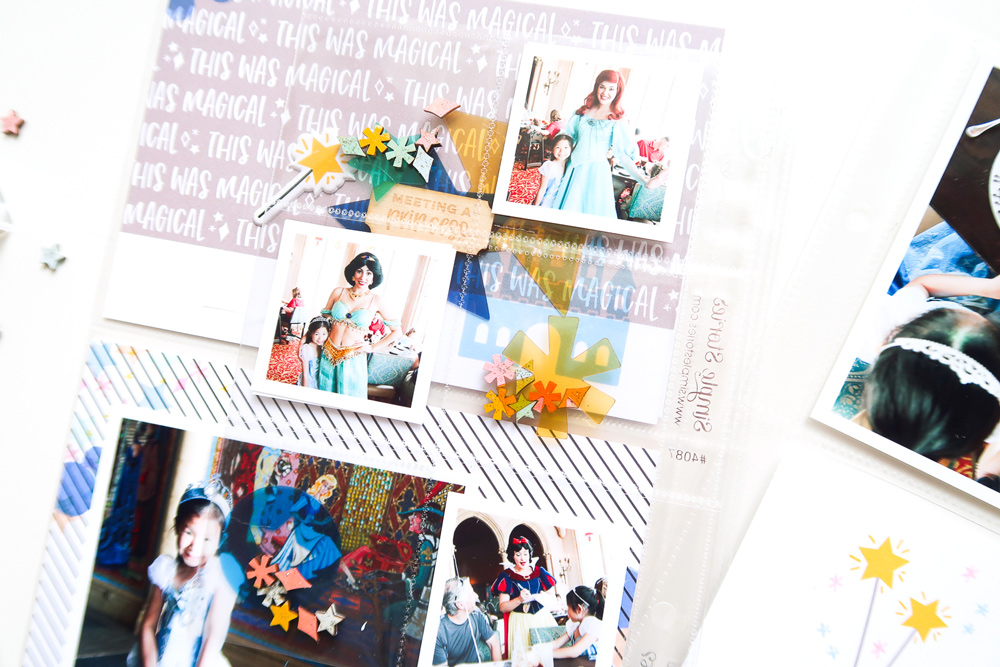
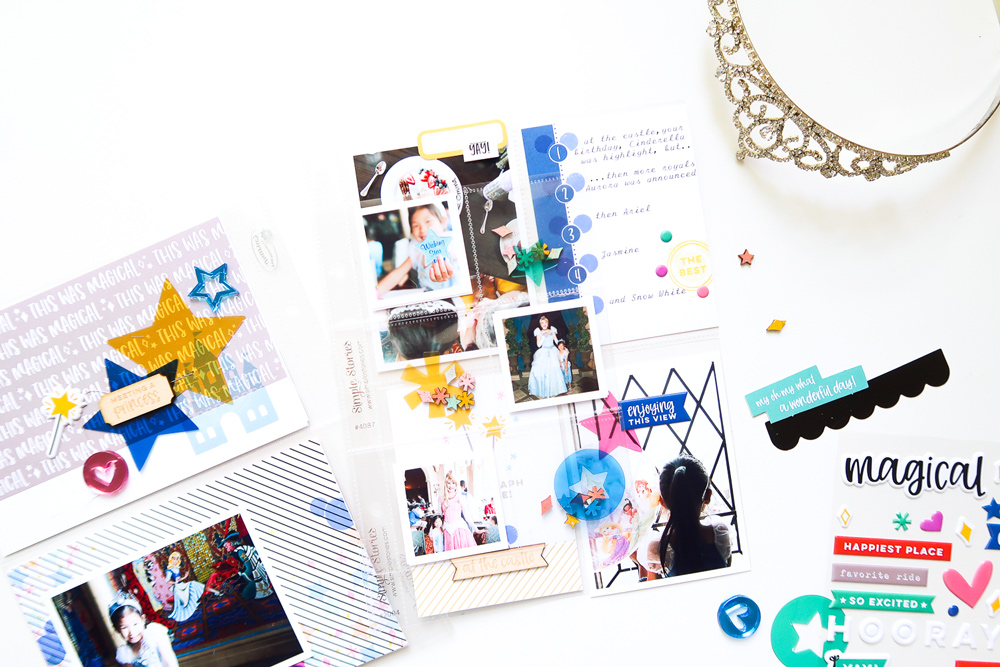
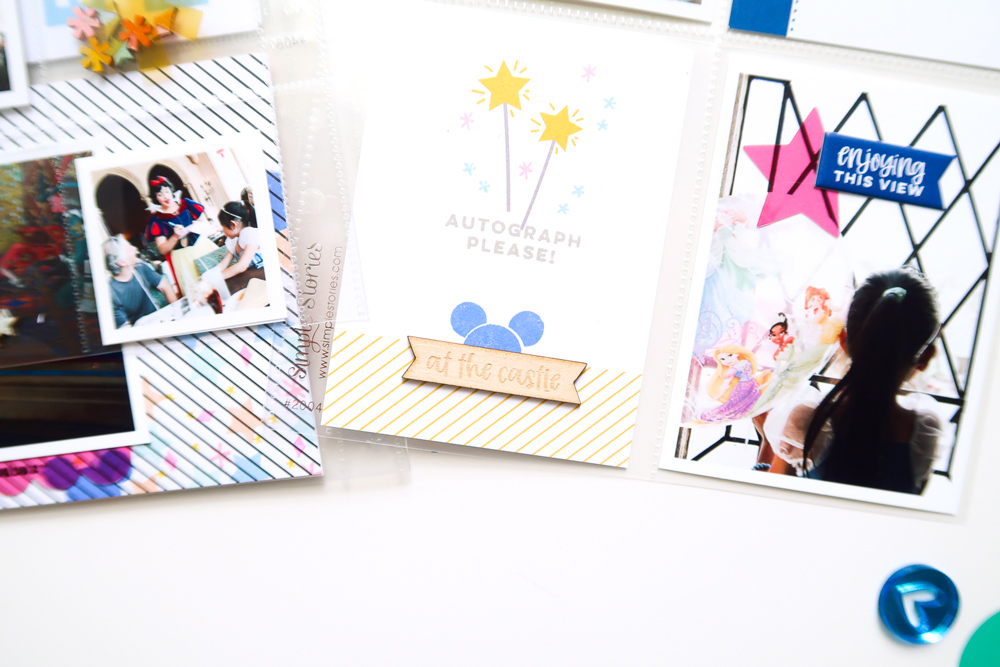
For my next page, I used my most favorite photos that really captured the feel of our time at the castle to complete this memory, filled them in the 3″ x 4″ pockets, then filled the rest of the pocket page with Magical Memories Journaling Tags.

This collection offers so many easy ways to bring you right back to that memory. The Journaling Tag die cuts, Phrase Stickers, Acetate Die Cuts, and a Puffy Sticker added the perfect touch directly to my photos. Similar to the cascade effect I created on the patterned 4″ x 6″ pocket with the Magical Memories Stamp, I worked with the design of the journaling tags to add more stamping to them, then finished them with puffy stickers, and the “at the castle” banner wood veneer piece from the At The Castle Wood Veneers.
Have you found all of the Mickeys? You should have spotted a total of 11! I absolutely loved working with the Magical Memories Stamp to re-create that same magical feeling from our Disney trip.
The Magical Memories collection has so many fun ways to add hidden Mickeys. Pick a favorite, like I did by using the Magical Memories Stamp, or use some of the new embellishments to add even more ways, and re-create the magic of your Disney memories!
