Just because it’s handmade, doesn’t mean that it has to be complicated, and Candace Perkins is the perfect member of our design team to show us how beautiful simple can be. Let’s take a look at some new spring cards that she created for us today!
Hello friends! It’s Candace here to share a few simple and fun spring cards using the March Kit and extras. I love spring time! I love the bright colors and fun embellishments that are always released at this time of year to go with our photos & memories! If you have been following my work on the blog for a while, you know that I am a simple scrapper at heart. I like clean lines and designs in my layouts and the same goes for my cards.
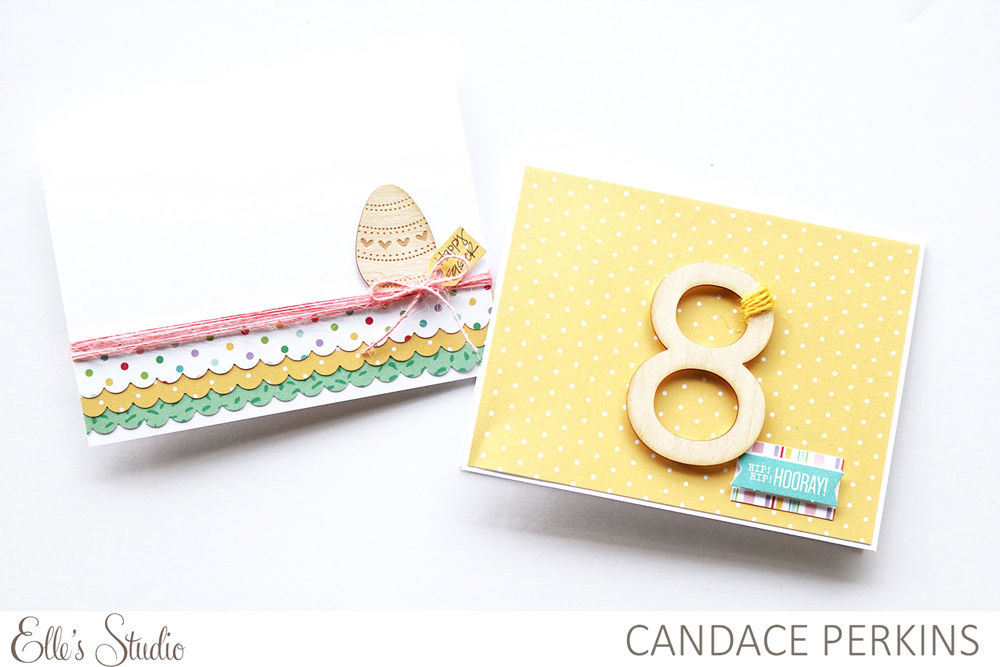
Supplies | March 2019 Kit, Springtime 6 x 6 Paper Stack, Large Wood Veneer Numbers, Wood Veneer Easter Eggs
The base of both cards are A2 size (4.25″ x 5.50″) made from white cardstock. I like to start my cards here, with a clean, strong base to create from.
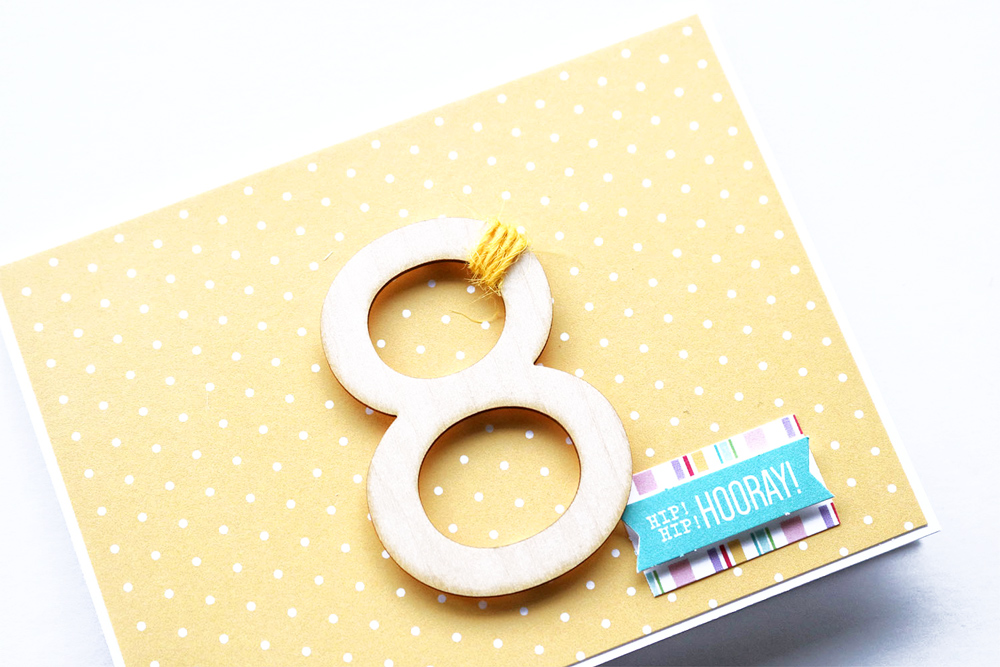
For my first card, I cut down yellow patterned paper from the Springtime 6 x 6 Paper Stack so it was .25″ smaller than the base, to leave a small white border around the edge of the card. Next, I wrapped a bit of yellow twine around a Large Wood Veneer Number “8”. I chose the number eight because my little guy’s birthday is coming up next month and I wanted to create a handmade card just for him! To add a bit more color to the card, I layered a few of the die cuts from the March Kit with a perfect birthday sentiment! I like simple cards, but I also like dimension. I chose to pop both the die cut sentiment and the large wood veneer number up off the base of the card with adhesive squares. I love the simple, clean look of the card with a pop of color and dimension.
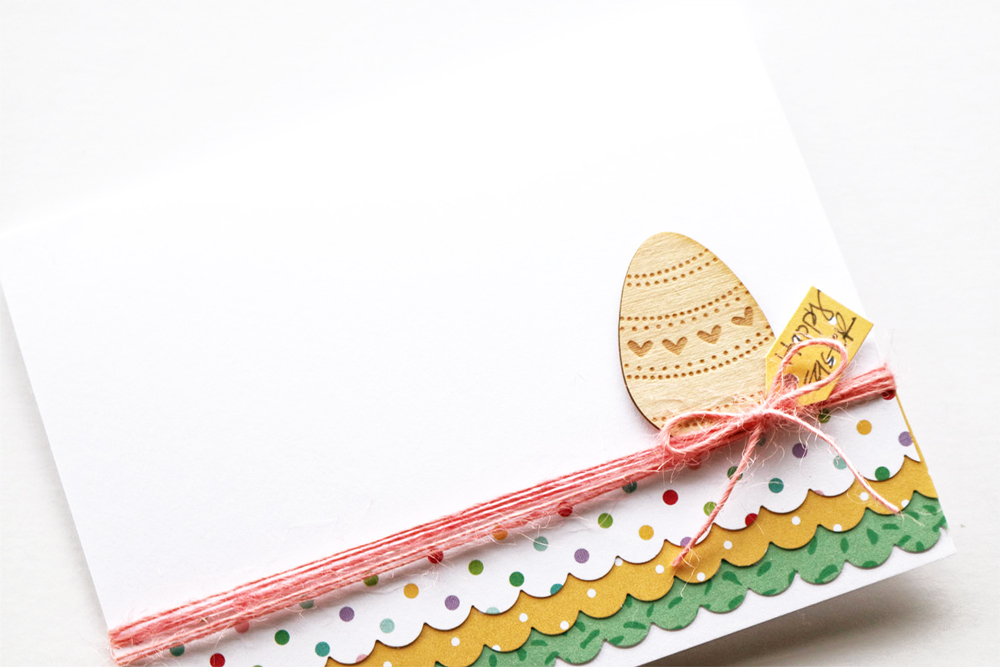
The second card I chose to make was a little Easter card. I adore the Wood Veneer Easter Eggs in the shop and really wanted to find a way to use one on a card. I started by cutting three strips of paper from the Springtime 6 x 6 Paper Stack. Each strip was .5 inch wider than the previous strip. Next, I ran the strips through a scallop punch to add a bit of detail to the edge. After adhering the scalloped pieces down to the base I wrapped a bit of twine around the top edge. This adds a fun texture to the card and helps to hide to raw edge of the paper. I tucked one of the Wood Veneer Easter Eggs under the twine and for a final touch added a little “Happy Easter” tag. So cute!
I had so much fun creating spring cards using the March Kit and extras release! I would love to see what cards you create using the spring embellishments! Have fun and don’t forget to tag #EllesStudio on Instagram, so that we can swoon over your creations!
Have a beautiful day!