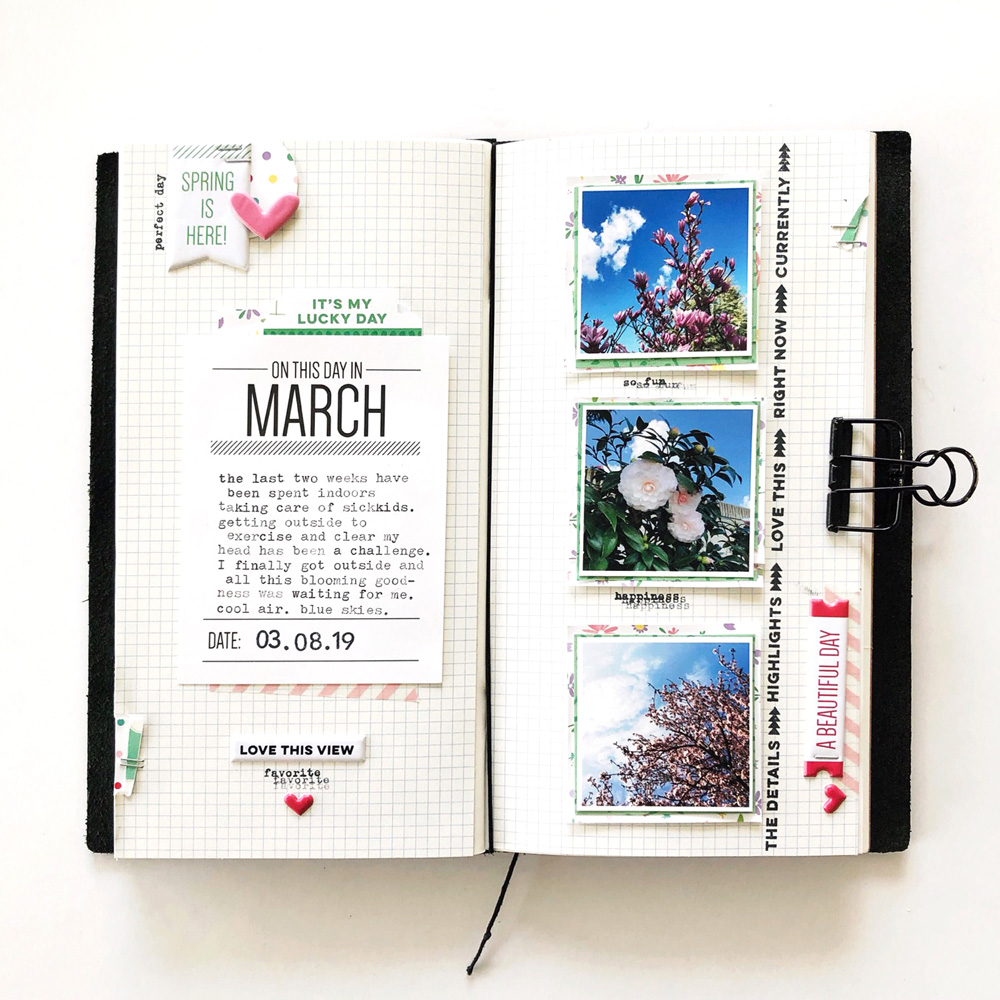
We have loved the traveler’s notebook spread and mini album that March guest Melissa Morrelli has shared with us this month. Her clean, documentary style works perfectly with ES product! Today, she has another traveler’s notebook spread to share with us, and we know it will inspire you to document a single day in more detail. Let’s see what she created!
Hi friends! It’s Melissa here back to share my final project using the March Kit and extras. Today’s project is another traveler’s notebook spread. As much I appreciate the compact size of a traveler’s notebook, there have been times when I’ve wanted to document more than 1-2 pictures. My go to method for sharing multiple photos in my traveler’s notebook is making a photo strip or grid of some sort with smaller sized photos.

Supplies | March 2019 Kit, On This Day In March Journaling Tags, Spring Puffy Stickers, The Details Stamp, Springtime 6 x 6 Paper Stack
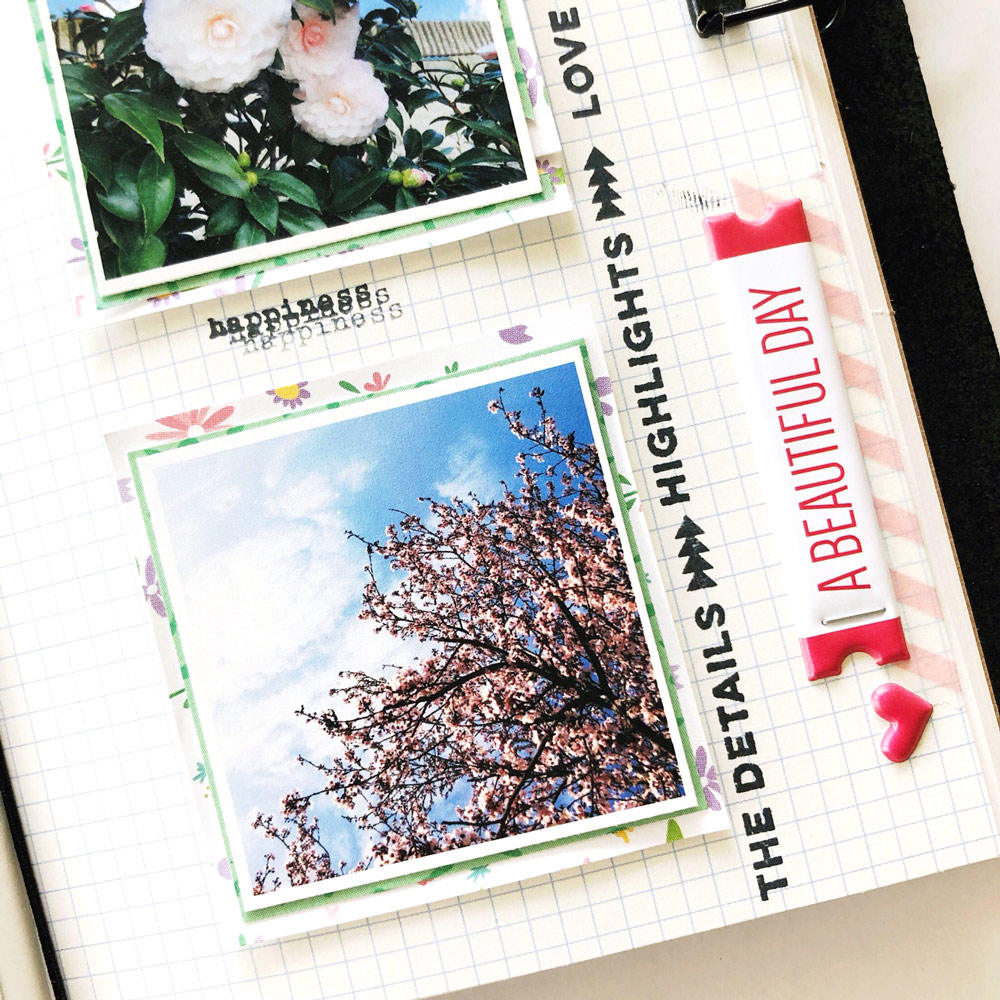
When creating a photo strip/grid, the first thing I decide on is how many pictures I want to use on my layout. Then I can decide on what size I should print my photos at. For this layout, I wanted to share three photos, so I went ahead and printed my photos at 2.25″ x 2.25″.

For my background, I used some grid paper. On the right side of my layout, which is where I decided I wanted to place my photos, I backed all three of my photos with the cute floral and green grass looking paper from the Springtime 6 x 6 Paper Stack. Then I moved over to the left side. I typed out my journaling on one of the awesome On This Day In March Journaling Tags. Once I had the placement of my photos and journal tag that I was happy with, I adhered them down to the background.

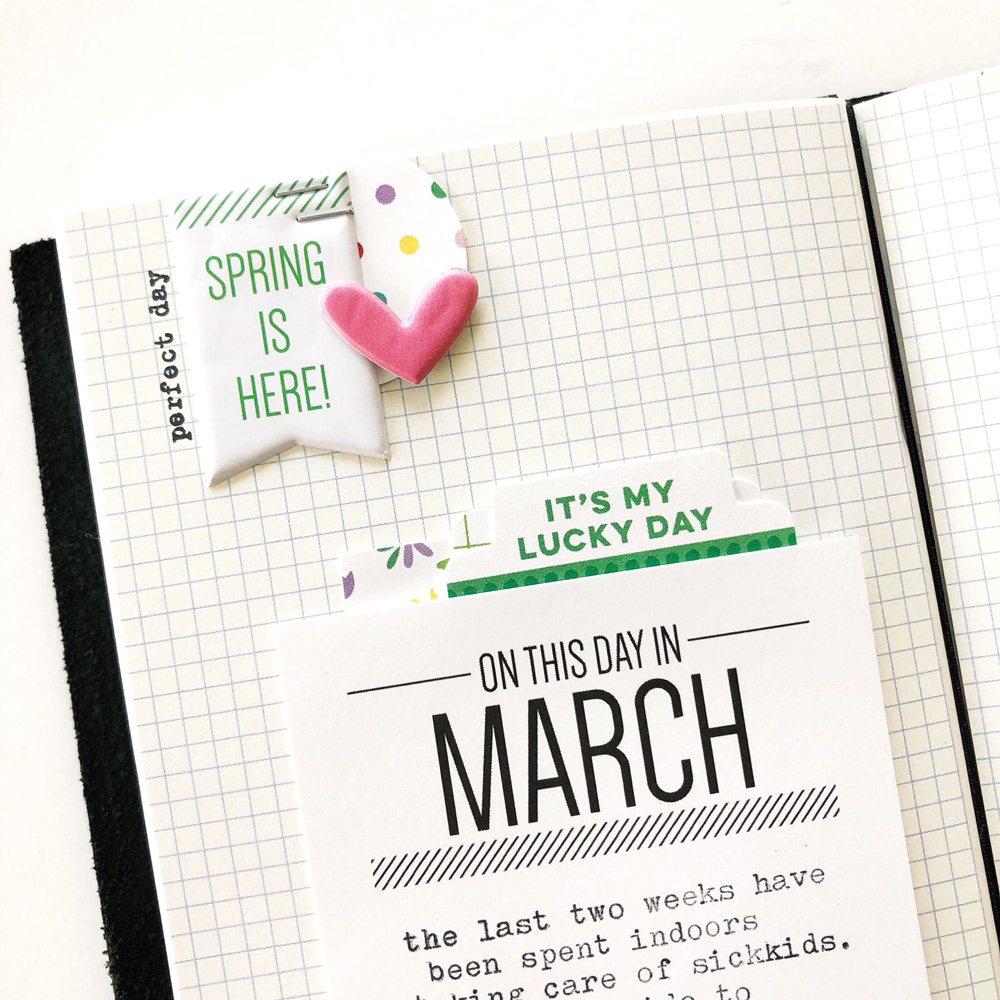
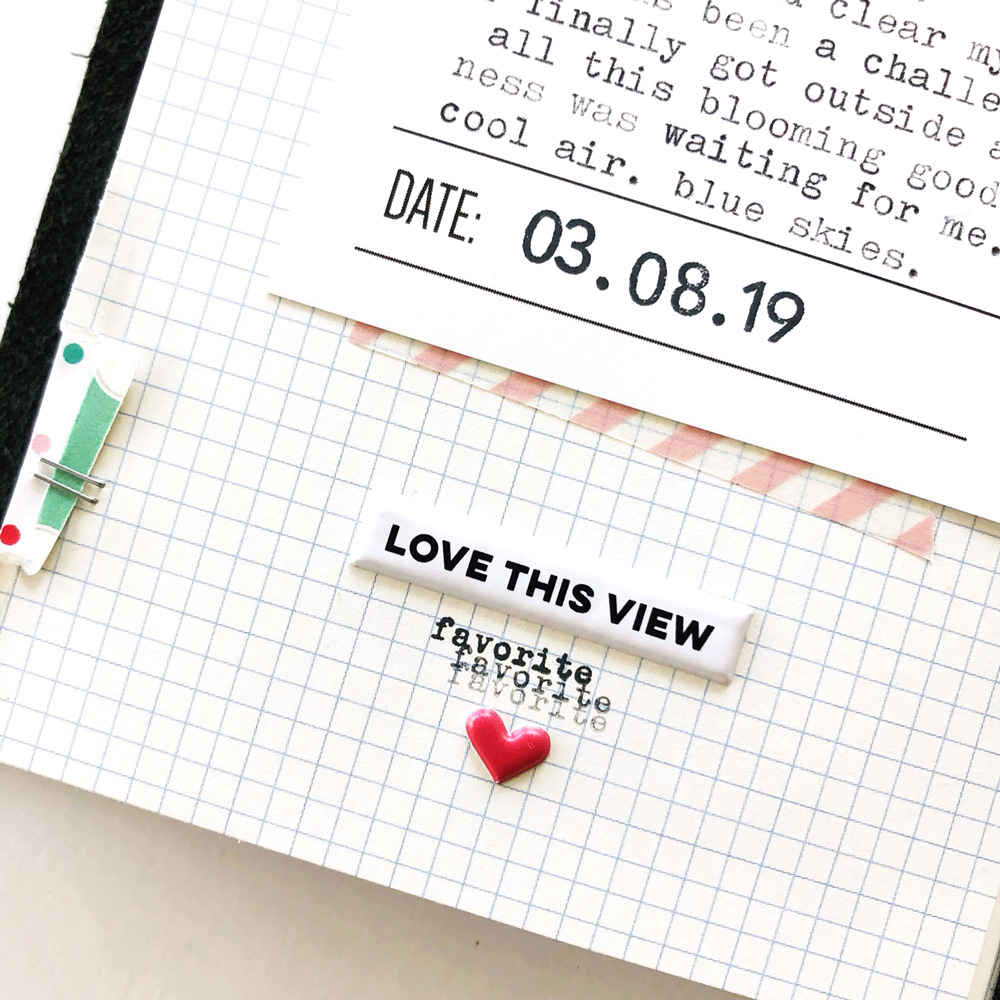
To embellish this layout, I knew I wanted to use the “Spring is Here!” Spring Puffy Sticker. I created a little cluster with it, a pink puffy heart and a circle I punched from the cute polka dot paper from the Springtime 6 x 6 Paper Stack. I used mostly puffy stickers to embellish throughout this layout. I also used small scraps of paper and the “It’s My Lucky Day” tab from the March 2019 Kit behind my journaling tag. Then, I grabbed The Details Stamp and added a few of the small phrases throughout the layout. I also used the bolder phrases with the arrows to stamp up against the entire length of my photo strip.

As a last minute decision, I tore the edges of my paper on the left side (towards the bottom) and right side (towards the top) to add in just a tiny bit more of that super cute polka dot paper. I folded over the ripped edges and stapled them down with my tiny attacher.
It has be a real pleasure, friends. I hope I’ve inspired you to create something fun this month!

Hello, Elle’s Studio fans! I’m Melissa Morrelli, an obsessed picture taker and story teller. I am so thrilled to be a guest designer this month for Elle’s Studio. My absolute favorite method for documenting my family stories is in a traveler’s notebook—I really appreciate the compact size! My other paper love is making mini albums for special occasions (birthdays, holidays and vacations.) I live in California with my family, my favorite subject to photograph and tell stories about. We are an active family and we love the outdoors (you can always find us where the wild things are!) There’s never a dull moment in my life and there is always a story to tell.
I really hope I have inspired you to make something fun!
Thank you so much for your beautiful projects this month, Melissa! Be sure to follow her Instagram feed, @melissamorrelli, for more mini album and traveler’s notebook inspiration.
