Hey there, Elle’s Studio friends! It’s Meghann Andrew with you today, and I’m so excited to be here just a few days before the March reveal! You may remember that for the February release, I created this layout, about a day at the Tate Modern Museum in London:
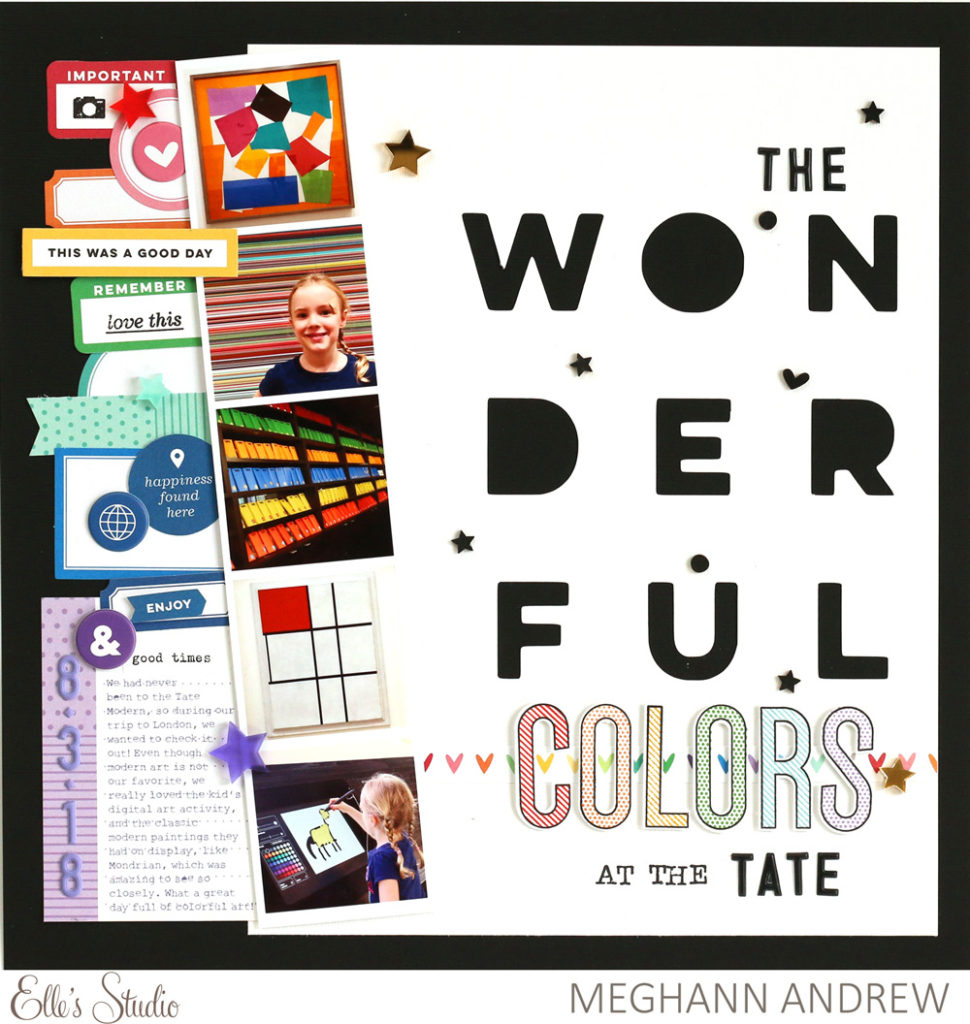
When I created this page, I cut several of the large, “wonderful” backgrounds from white cardstock. I love having die cuts on hand so that I don’t have to get on my computer when the mood to create strikes—it’s a big time-saver! With this extra “wonderful” die cut I decided to create another layout, this time at an 8-1/2″ x 11″ size, but I took some cues from my original 12″ x 12″ page to make creating my new page, documenting our first father-daughter dance, quick and easy!
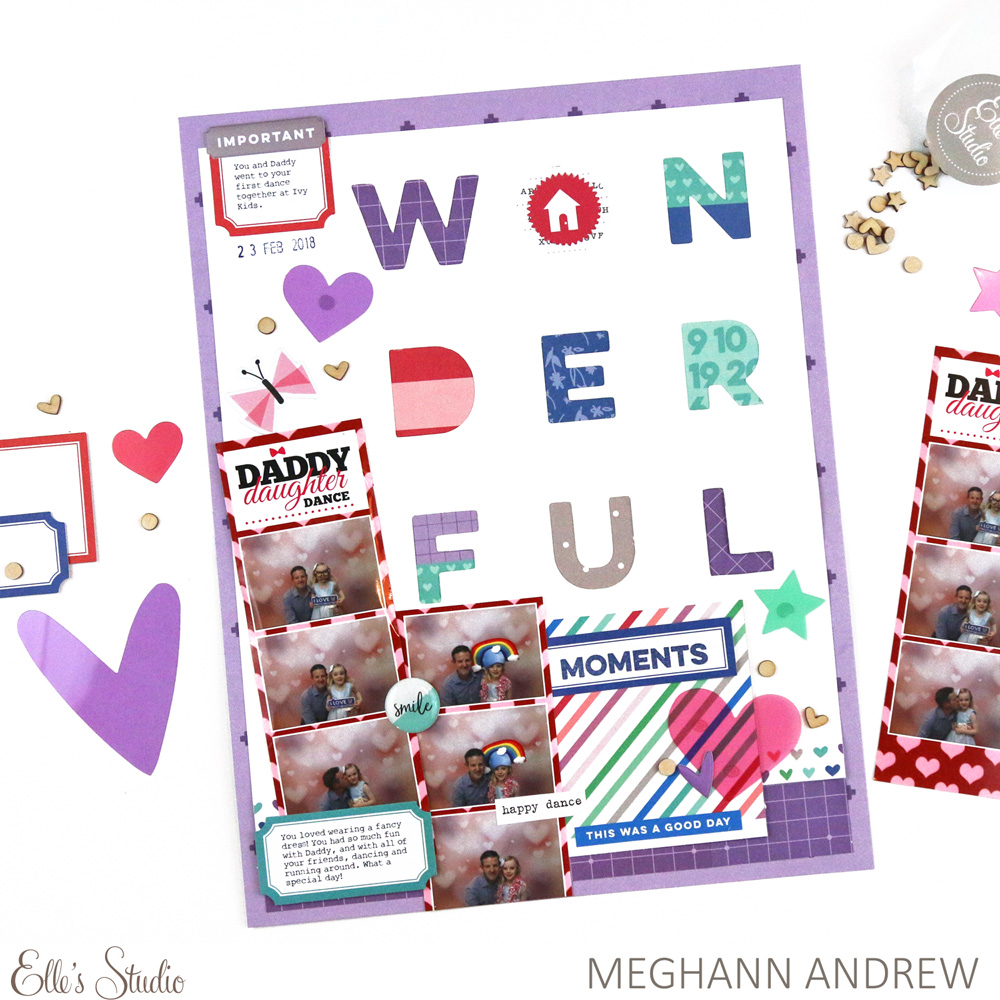
Supplies | Good Day Printables, February 2019 Digital Cut File, Bright Die Cut Labels, Real Life Phrase Stickers, Heart and Star Acetate Die Cuts, Wood Veneer Confetti, All My Heart 6 x 6 Paper Stack, Title Builder Stamp, Noteworthy Epoxy Stickers, Noteworthy Puffy Stickers, Noteworthy 12 x 12 Paper Collection
Instead of leaving my die cut background blank against my purple Noteworthy paper frame, I backed the letters with small pieces of paper from the All My Heart 6 x 6 Paper Stack. I chose bright, bold colors to get the maximum amount of contrast from the white background, just like on my original layout, which had a high-contrast black against white title.
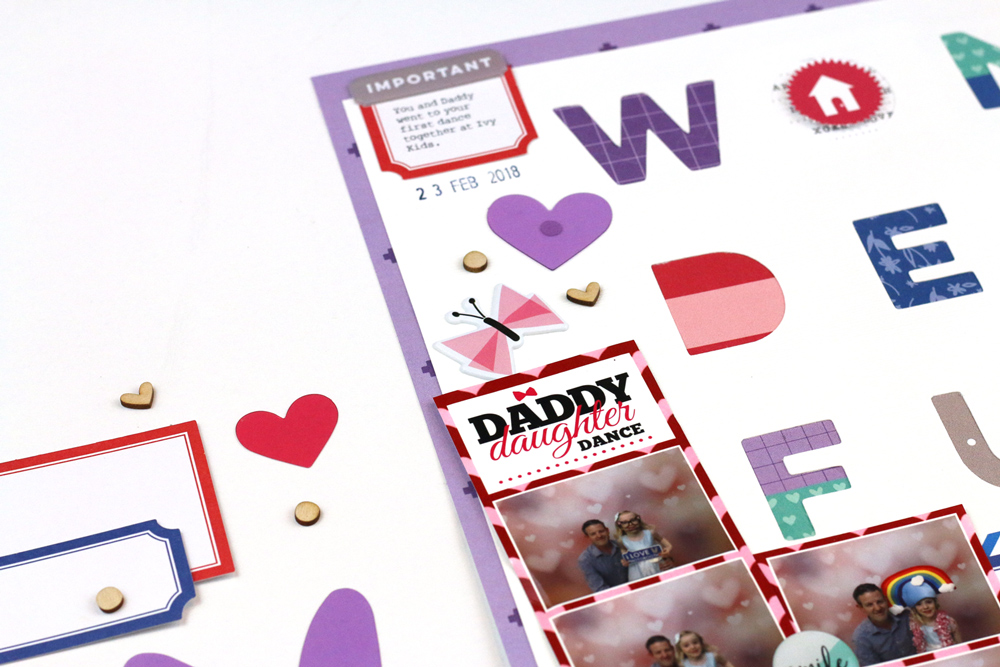
Just like in my previous layout, I used long photo booth strips—two on this layout. I placed these along the left edge of the page. Because I had less room with the smaller layout size, I was not able to line the left edge with labels, but I still arranged my embellishment along a “L” design on the page, starting with a cluster of a Bright Die Cut Label, Heart Acetate Die Cut, Noteworthy Puffy Sticker and Wood Veneer Confetti at the top left corner of the page.
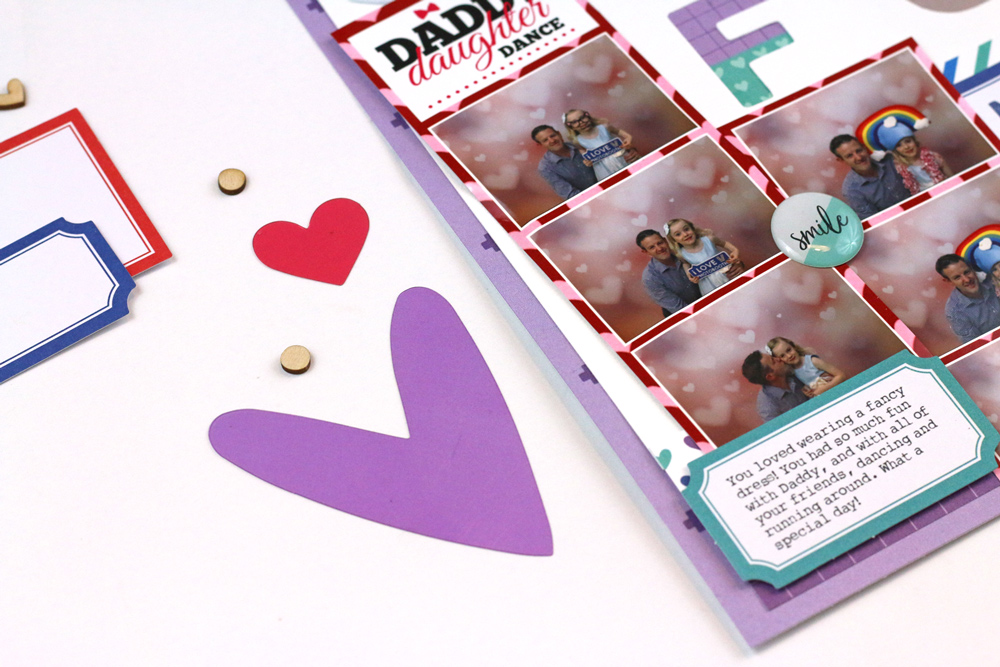
Following down to the bottom left corner of the page, to create the bottom corner of the “L,” I added more journaling with another Bright Die Cut Label, the “smile” Noteworthy Epoxy Sticker to the center of the photos. Just like in my last layout, where I used a colorful row of hearts to then draw your eye across to the right of the page, I did the same on this layout using the diagonal striped 3″ x 4″ tag from the February 2019 Digital Cut File.
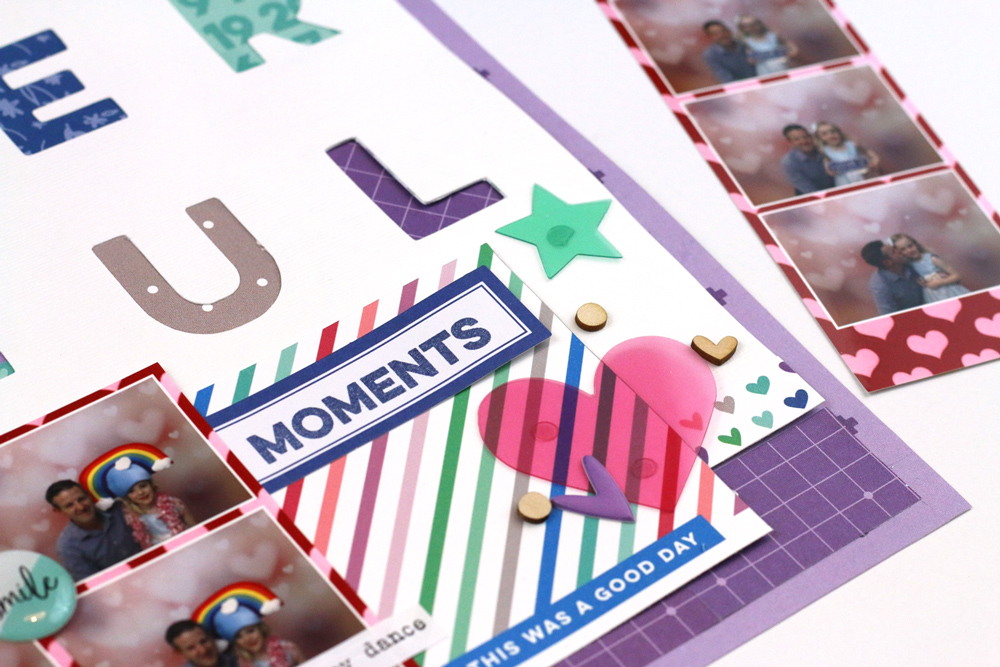
On the digital tag, underneath my title, I added the second word of my title, “moments,” using the Title Builder Stamp and another Bright Die Cut Label. This was also the perfect place to add a few more Heart and Star Acetate Die Cuts, Puffy Stickers, and Wood Veneer Confetti pieces to finish off the “L” design.
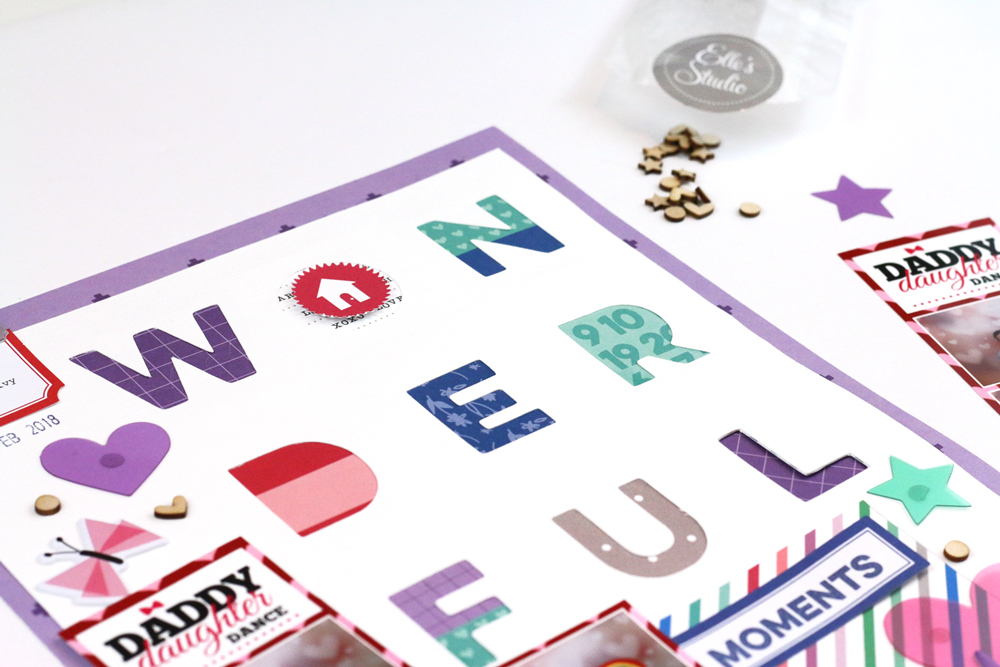
With the same versatile “wonderful” die cut background from the February 2019 Digital Cut File, I created a completely different layout, using cues from my original page. I loved being able to document another special memory in a quick, but beautiful way! Thanks for stopping by, and be sure to start cutting duplicate die cuts to save time creating!

