We have just introduced two fun sets of wood veneers to our shop this month, the Wood Veneer Snow Globes:
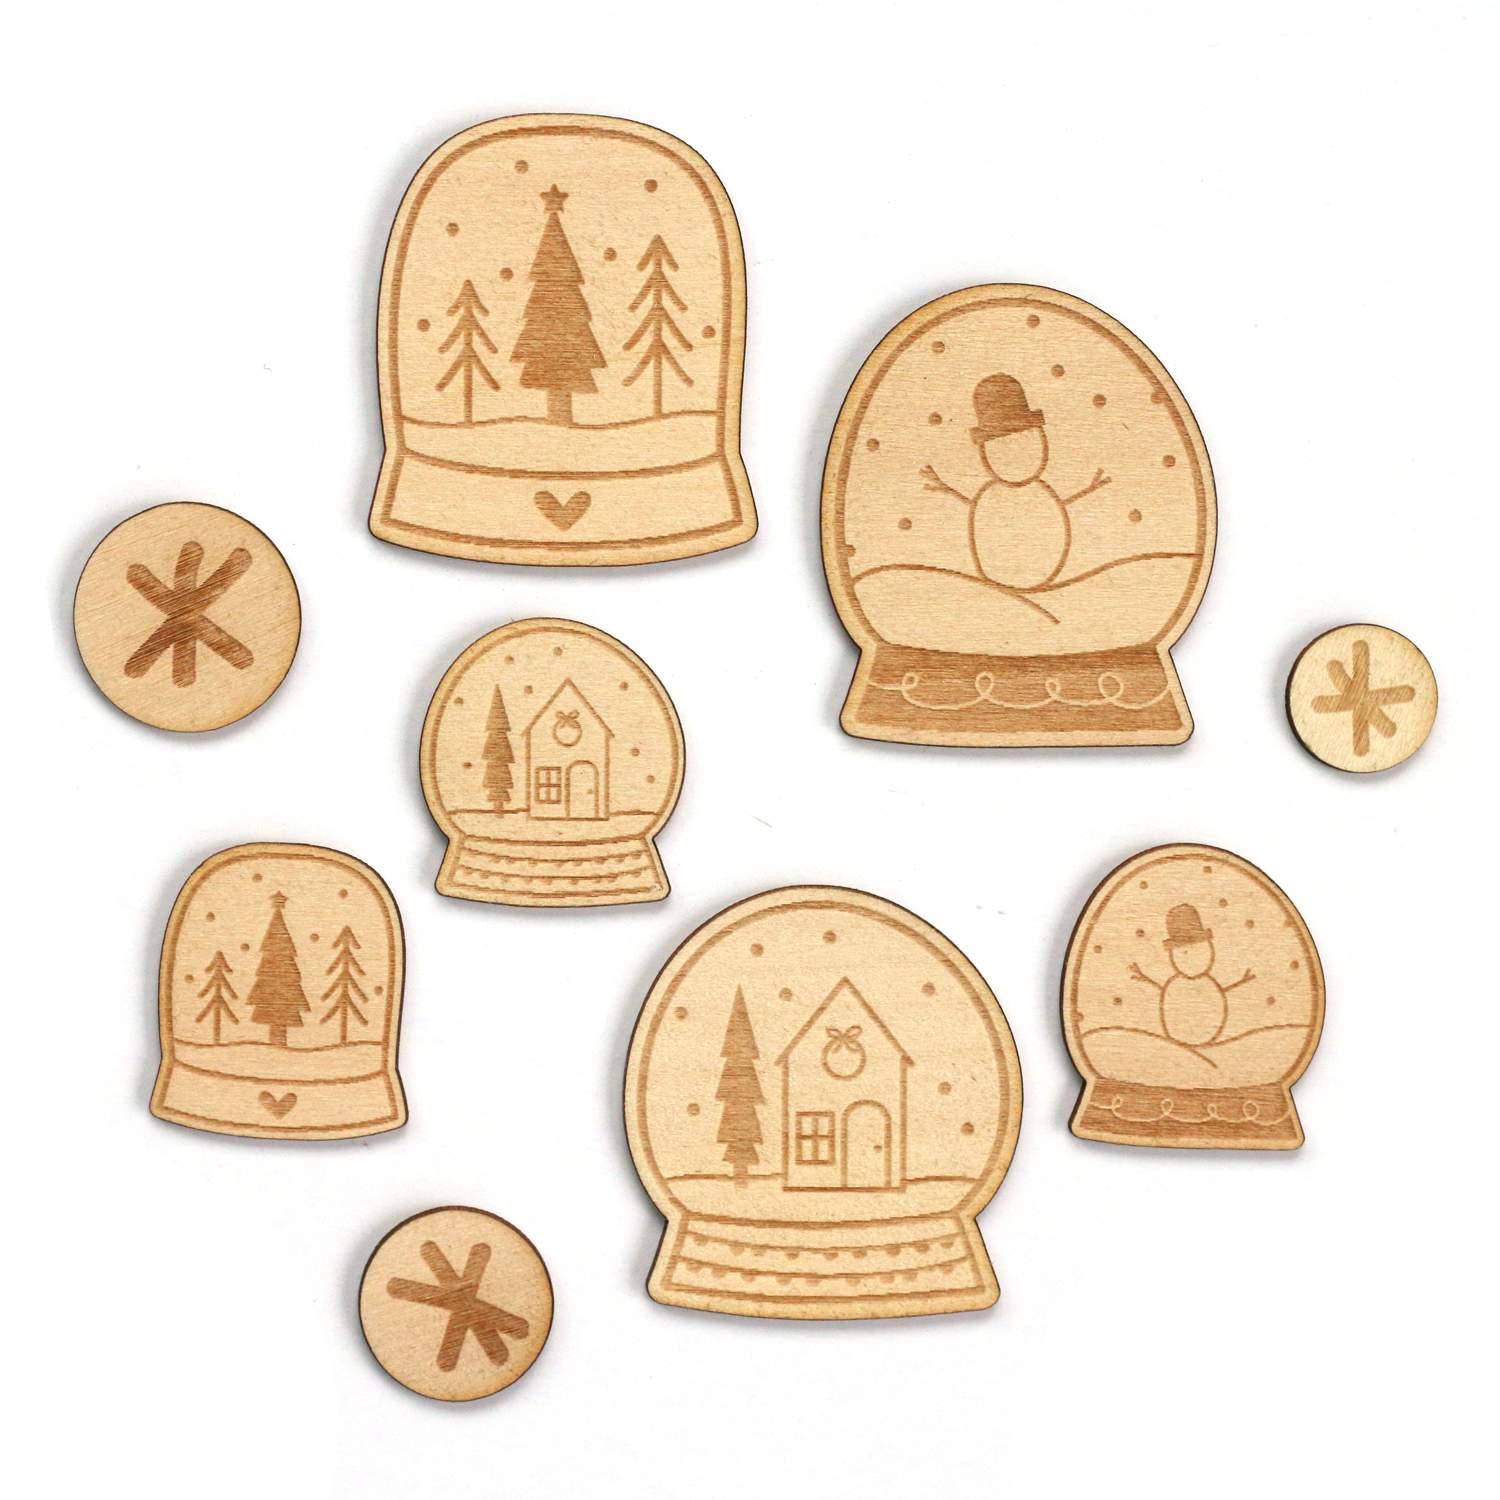
and the Large Wood Veneer Snow Globes:

Today, design team members Wendy Antenucci, Candace Perkins, and Daniela are with us to illustrate how versatile these products are, and can be used on cards, in pockets and on layouts! Let’s see how each of them used these fun little (and BIG!) embellishments:
Wendy | Have you ever seen such a cute product? I chose to use the Large Wood Veneer Snow Globes as the main focal point of my cards.
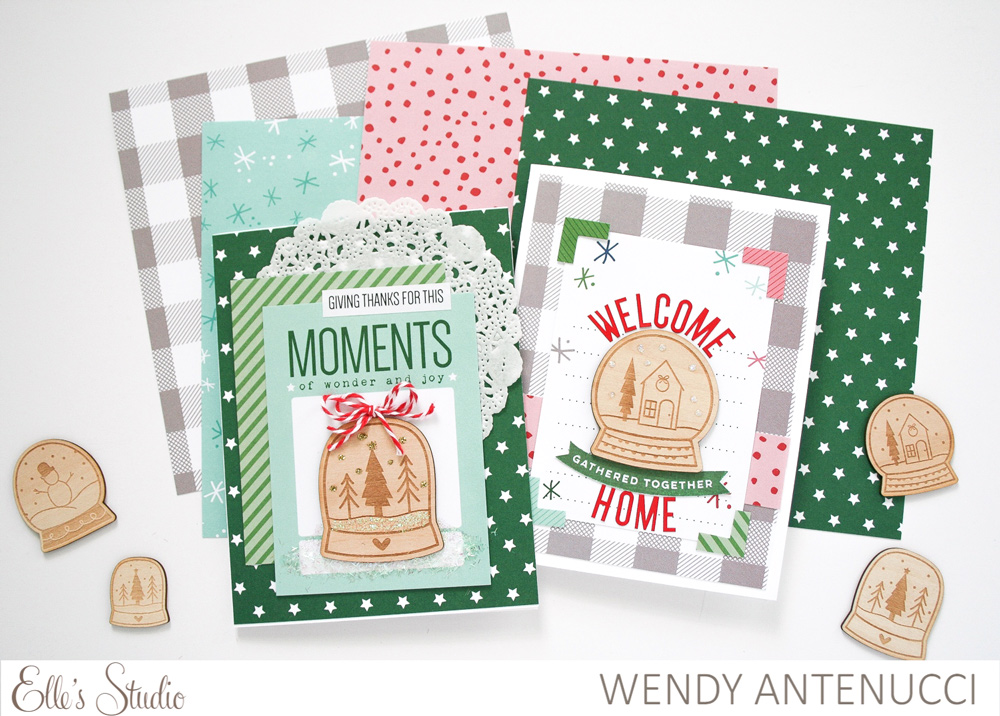
Supplies | November 2018 Kit, This Season Phrase Stickers, Large Wood Veneer Snow Globes, Merry Moment Stamp, Merry and Bright 6″ x 6″ Paper Stack
I did a little layering with some of my tags and scraps, a little embellishing and stamping, and I added finishing touches with some sparkly snow! On this card I added in some mica flakes to further the snow globe idea and tied a cute bow on the globe.
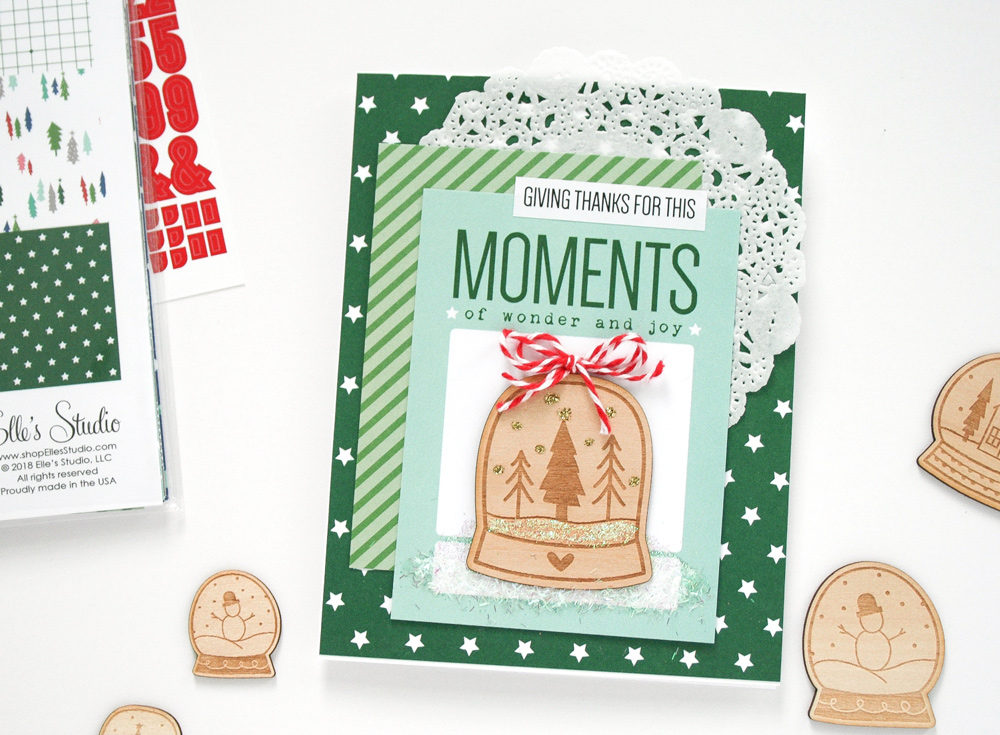
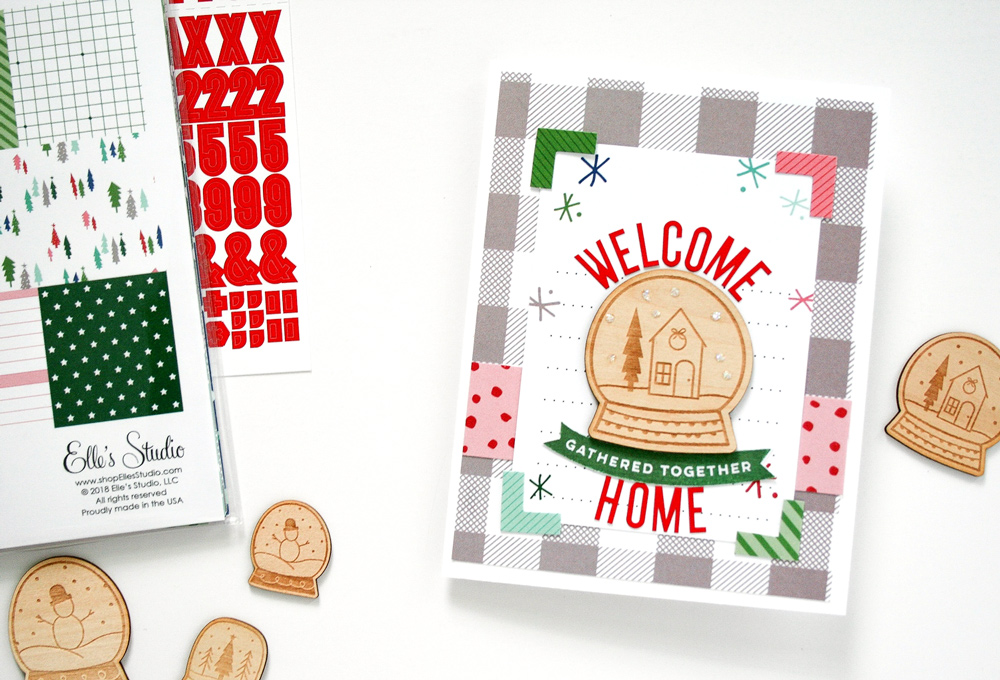
Flecks of sparkles look like snow falling, housed on a warm plaid blanket to welcome you home!
Candace | This month I was so excited to see these new, adorable wood veneer snow globes! These little beauties are SO fun and versatile! I had so much fun playing with the globes that they made their way on to every project that I created this month! For today’s project, I created a few inserts for my December documentation project.
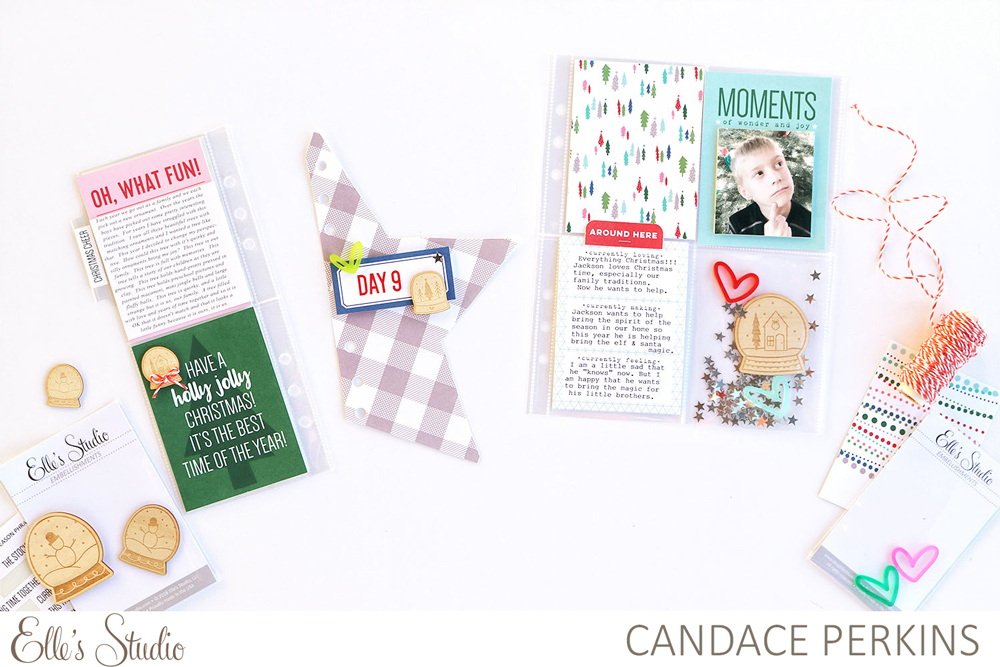
Supplies | November 2018 Kit, Good Cheer Journaling Tags, November Labels, Jane Alphabet Stickers – Red, This Season Phrase Stickers, Wood Veneer Snow Globes, Large Wood Veneer Snow Globes, Christmas Hand Drawn Acrylic Hearts, Merry and Bright 6″ x 6″ Paper Stack
For my first insert I worked with two vertical 3″ x 4″ pockets, adding one of the Wood Veneer Snow Globes along with a small piece of red twine tied in a bow to a filler tag from the Good Cheer Journaling Tags. How cute and simple is that?
Next, I used a star template to cut half of a star out of paper from the Merry and Bright 6″ x 6″ Paper Stack, adding a Wood Veneer Snow Globe to the November Label on the front.
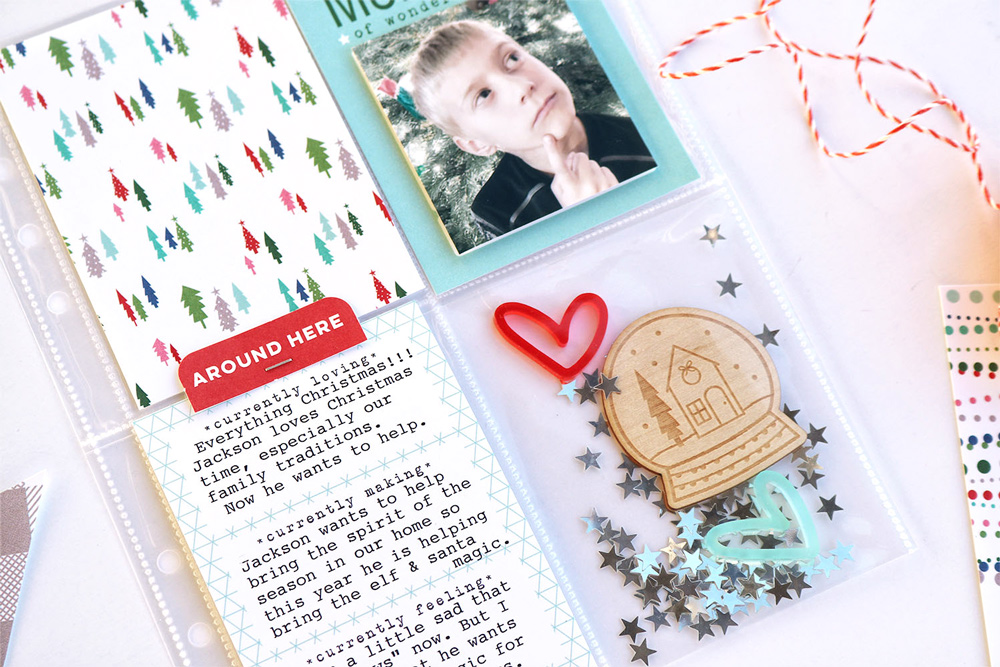
On the last insert I wanted to create a clear pocket to add fun and interest to the spread. I started by filing the other pockets with photos, tags and journaling to document my memories and tell my story for the day. To create the clear pocket, I added a two Christmas Hand Drawn Acrylic Hearts, a Large Wood Veneer Snow Globes and some silver star sequins from my stash. I LOVE this little festive pocket!
I hope this inspired you and gave you a few new ideas how you can use both of the Wood Veneer Snow Globes in your pocket pages this month! Have fun!

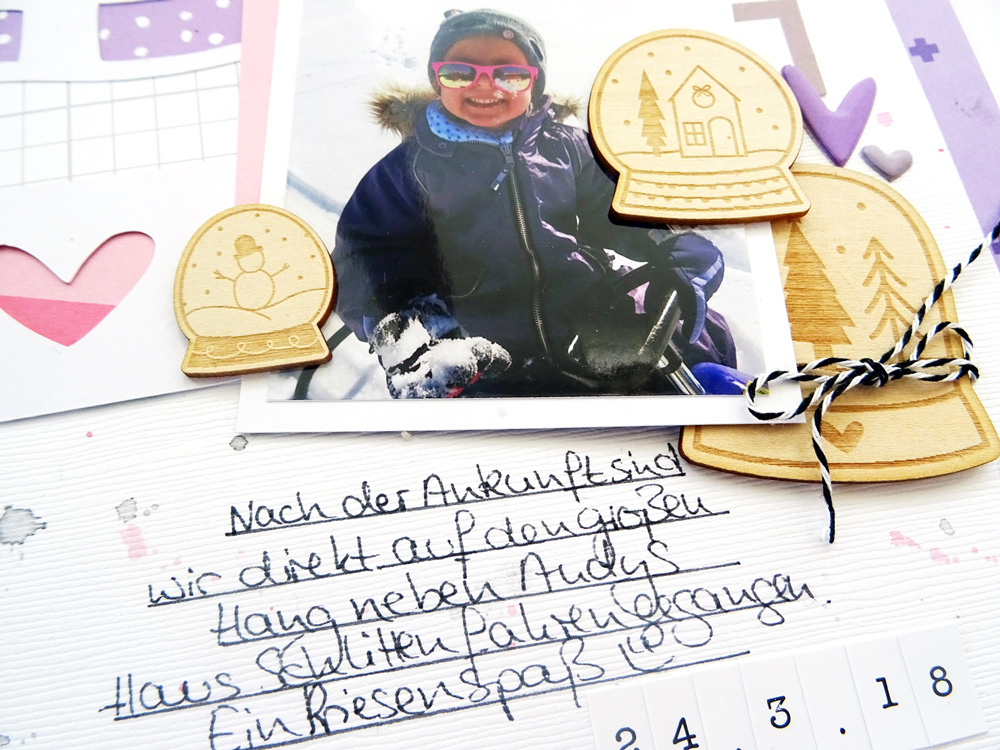
Daniela | Hi there! I guess you are as crazy about these cute snow globes as I am! The different sizes offer so many possibilities and I used mine to create a 12″ x 12″ layout. I also used the digital cut files to cut a big snow globe, which I used as a background for my pictures and the wood veneers.
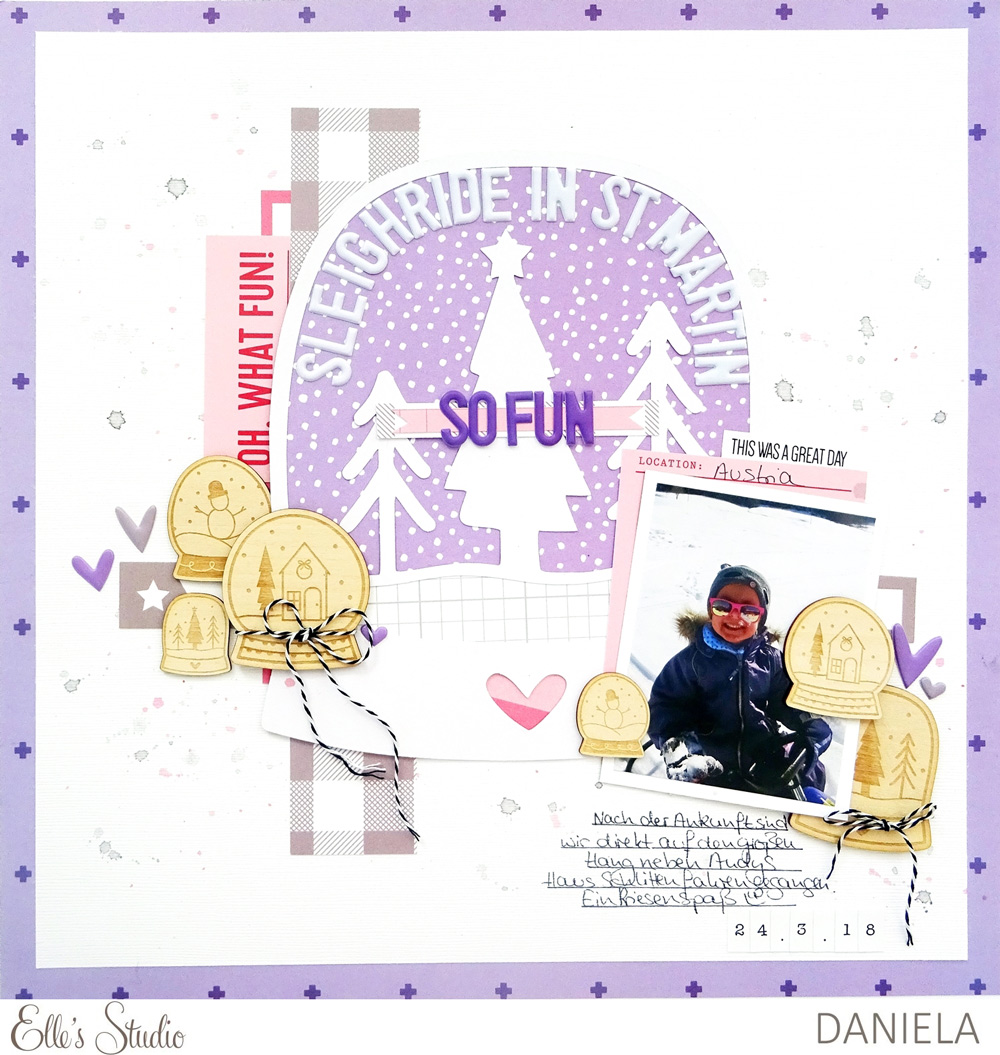
Supplies | November 2018 Kit, November 2018 Digital Cut File, November Labels, This Season Phrase Stickers, Hazel Alphabet Stickers – White, Wood Veneer Snow Globes, Large Wood Veneer Snow Globes, Puffy Heart Stickers – Spring Mix, White Puffy Alphabet Stickers, Merry and Bright 6″ x 6″ Paper Stack, Noteworthy – 12″ x 12″ Paper Collection, Noteworthy – 6″ x 6″ Paper Stack
I created clusters and used three snow globes in different sizes together on each side of the paper snow globe. I also used black and white twine to add a special detail to the big snow globes and I really like the contrast built this way.
Have fun using your wood veneers. They are too cute to be left in the drawer! Thanks for stopping by!

We can’t wait to see how you use these sweet wooden embellishments! Share a project using them on Instagram with the hashtag #EllesStudio so that we can take a look! You could win a gift certificate to the shop and be featured on our blog just for inspiring us!
One Product Three Ways: Snow Globe Wood Veneers