How often do you kill your Elle’s Studio monthly kits? If you needed a little inspiration to pull out your May kit again before our June reveal, you have it today with Amanda-jayne Baldwin! She’s sharing an awesome layout, designed with a bit of creativity and the bare-bones of what she had left of her May 2018 Kit. Let’s take a look at what she created:
Hi Elle’s Studio friends! It’s Amanda here, and today I am sharing how I use up the left overs of my kits! Stash bust, kill your kit, call it what you want: the point is to use it all and be creative while we wait for our next kit to arrive!
The May 2018 Kit was an absolute stunner, and I made some truly pretty pages from it. But now what? When I looked at what I had left over as a whole, there wasn’t a commonality between anything! I had a few 3″ x 4″ tags, one 4″ x 6″ tag, and some die cuts left from the exclusive May Kit. I also had remnants of the Puffy Heart Stickers & Play All Day Phrase Stickers, some of the May Labels, as well as the Hazel Stamp! I had a bit of this and bit of that, until I grouped everything by color! Here’s what I came up with:
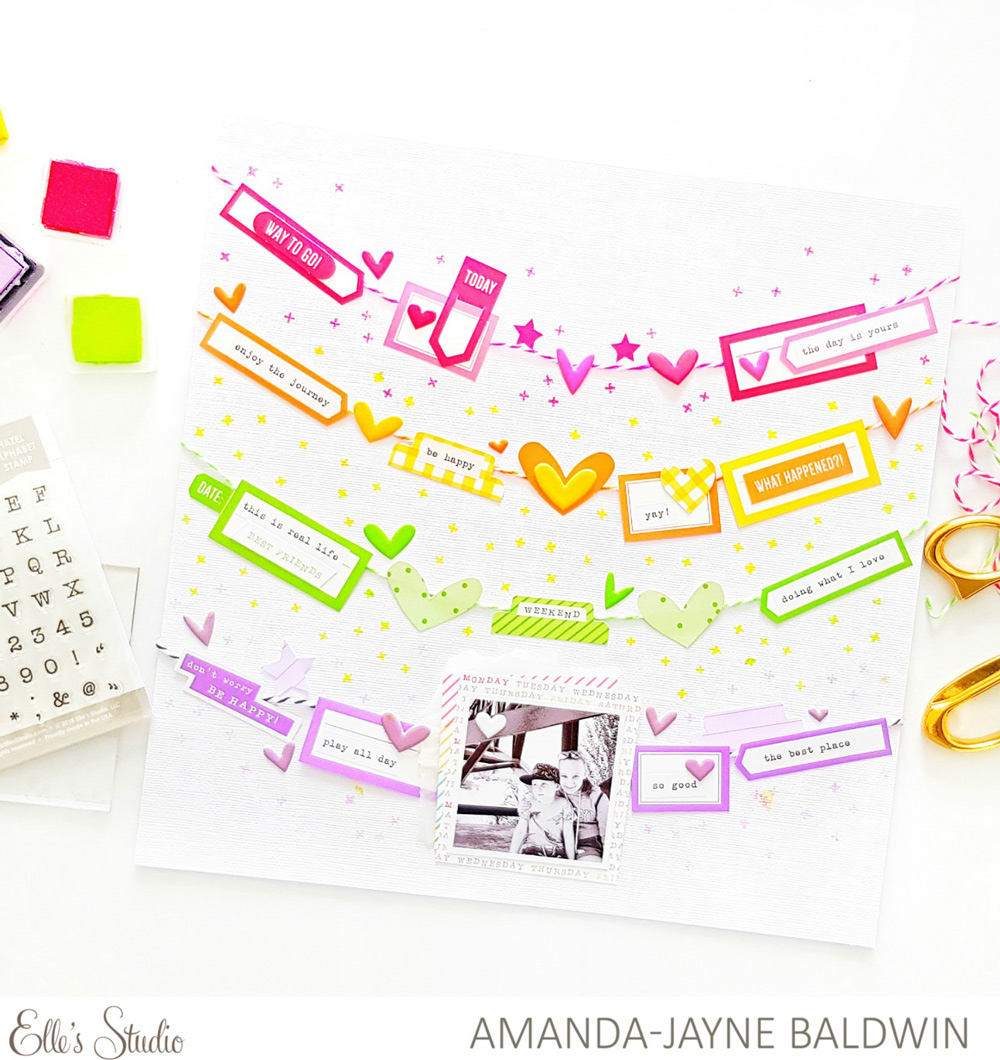
Supplies | May 2018 Kit, May Labels, Play All Day Phrase Stickers, Puffy Heart Stickers — Spring Mix, Hazel Alphabet Stamp
How fun is this?! Inspired by party banners, I decided to suspend my color blocked scraps together! I used some baker’s twine and ink from my personal stash, but otherwise everything else is from the May Kit and add-ons. Here’s a closer look for you:
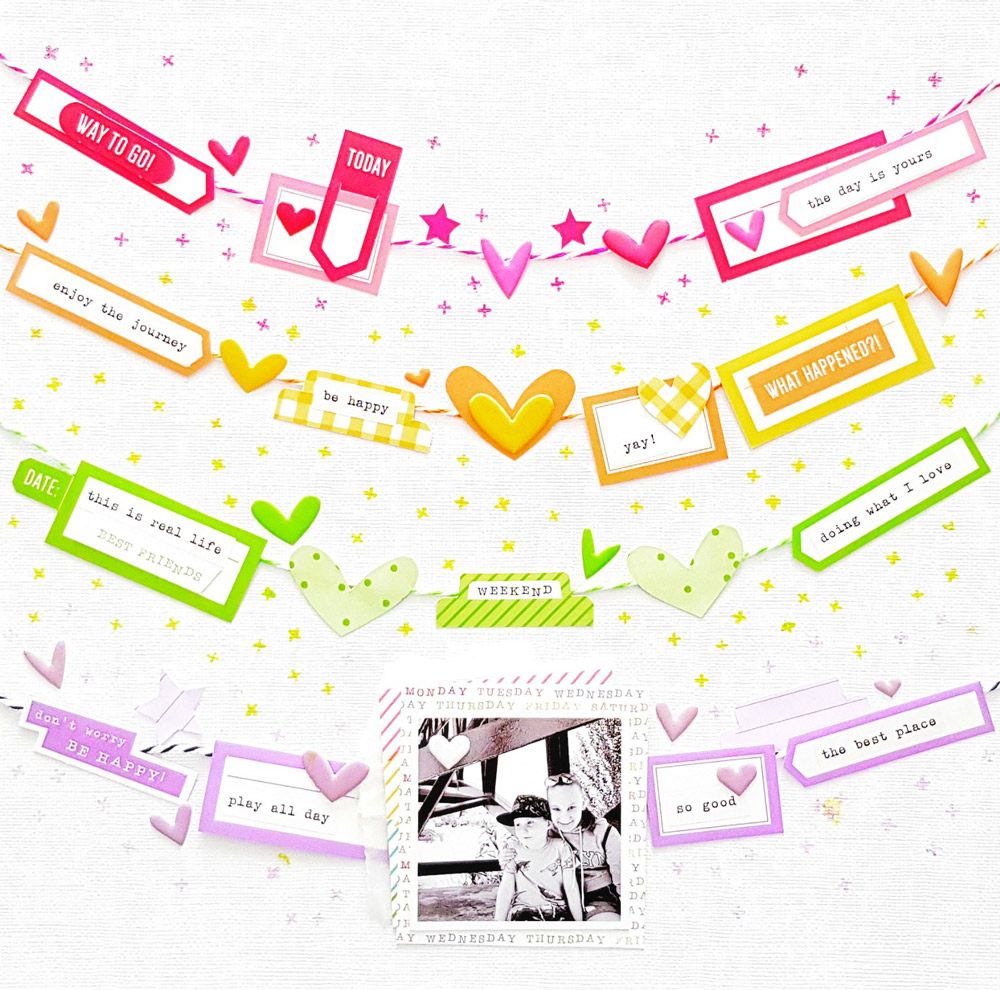
How did I get SO many pieces? Lots of clever cutting using the May Kit 3″ x 4″ tags.
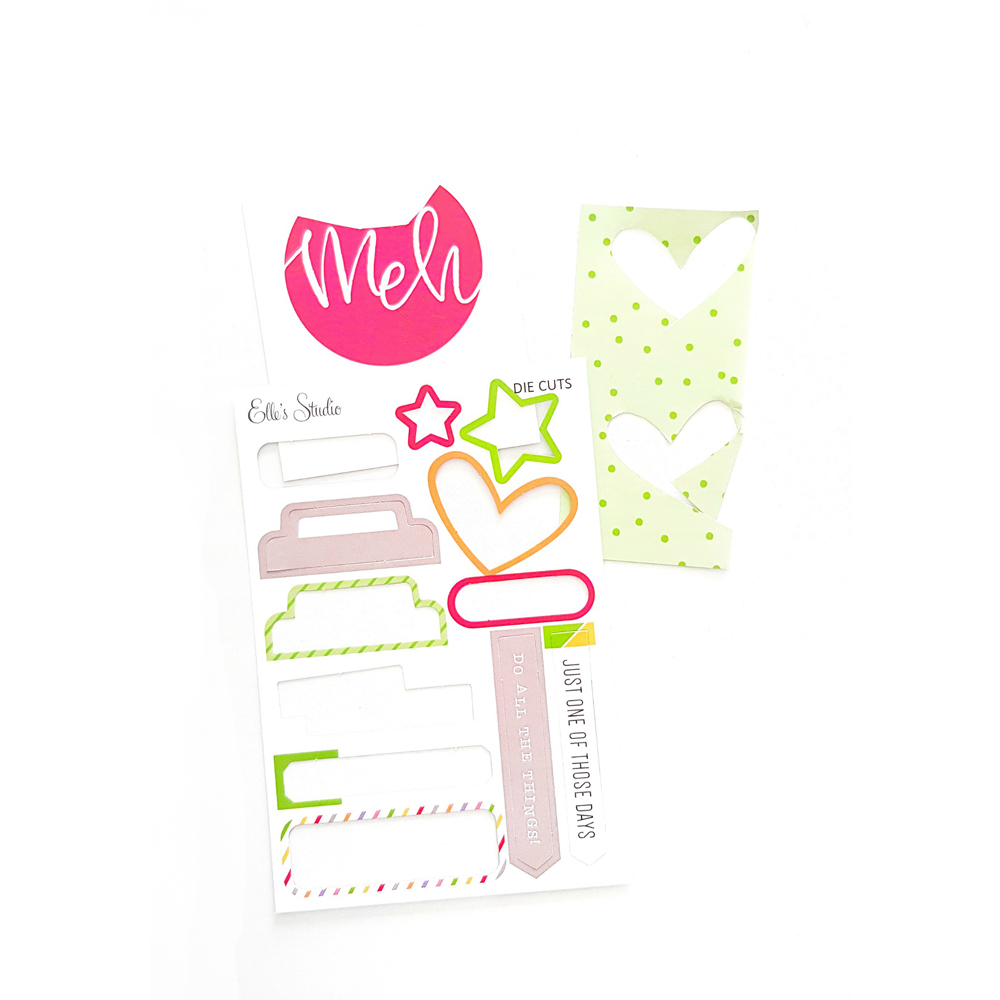
I used the negatives from the May die cut sheet as a stencil and drew the hearts, stars and tabs on the leftover 3″ x 4″ tags. I then fussy-cut them out to reveal ‘more’ embellishments than I actually had on hand.
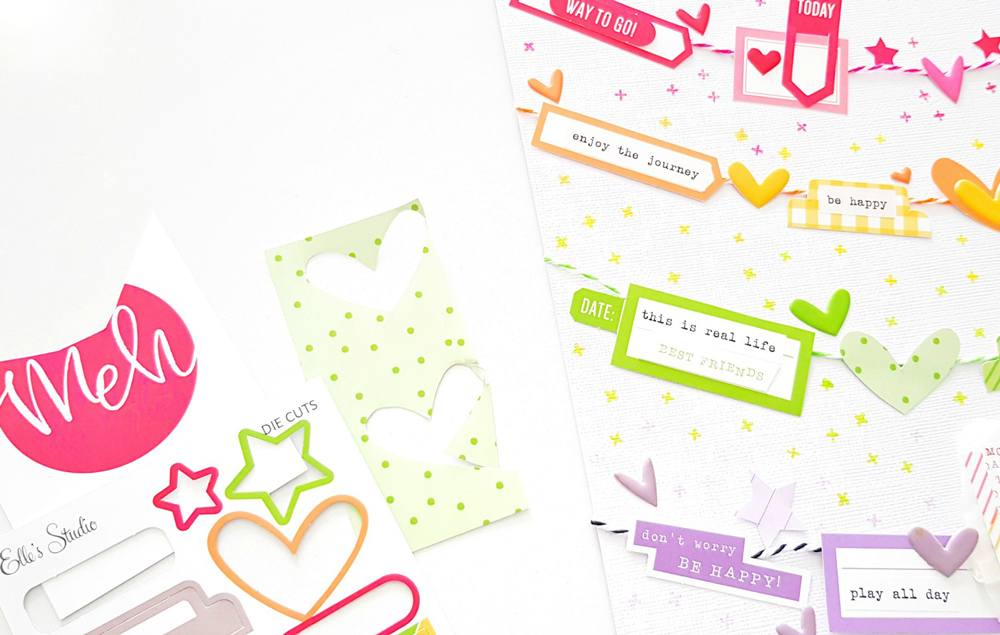
While I had my trusty scissors handy, I fussy-cut the arrows from the 3″ x 4″ tag that featured 5 arrows on it, as well as the leftover labels. I also trimmed up the 4″ x 6″ tag into smaller squares to matte beneath my photo. I added the Play All Day Phrase Stickers to many of these embellishments, and then strung them along the twine in color blocks. To keep the design more cohesive, I kept the color blocks in rainbow order.
Tip: Having analogous colors together is more orderly and pleasing on the eye!
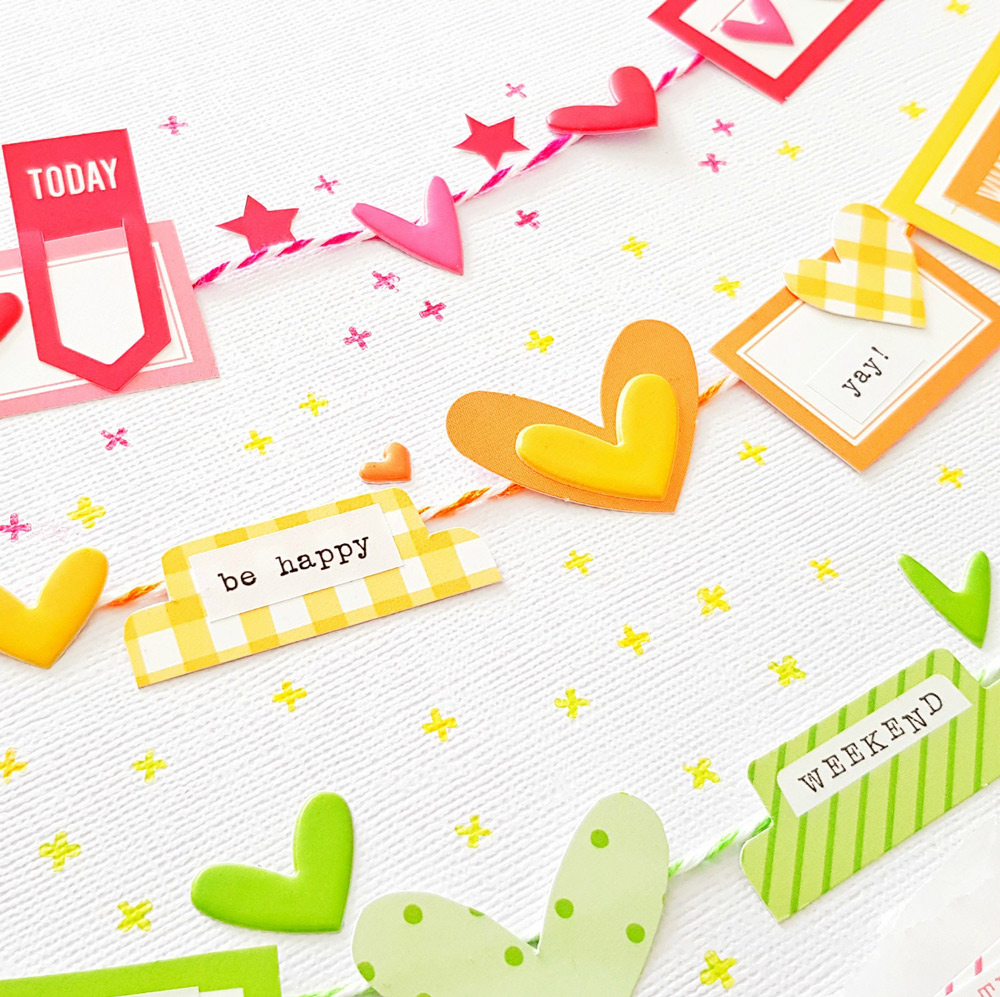
To strengthen the color block feature, I repeat stamped the plus sign symbol from the Hazel Alphabet Stamp. I stamped at varying angles to create a confetti appearance, and used coordinating inks. This stamping works beautifully with the banner design, and brings it all together!
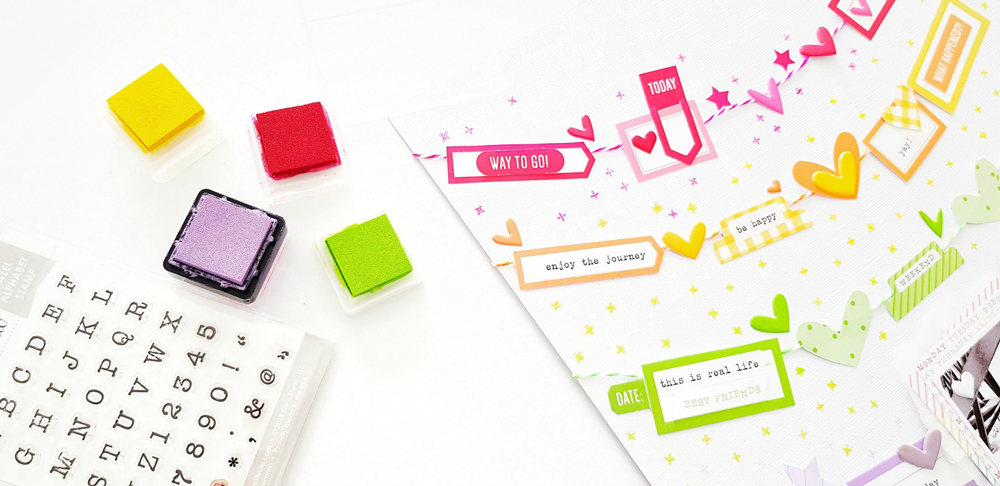
I positioned some of the Spring Mix Puffy Heart Stickers onto the twine, and scattered others around the banner in their color block. To ensure my photo is the true hero of my layout, I placed it in the center of my final banner.
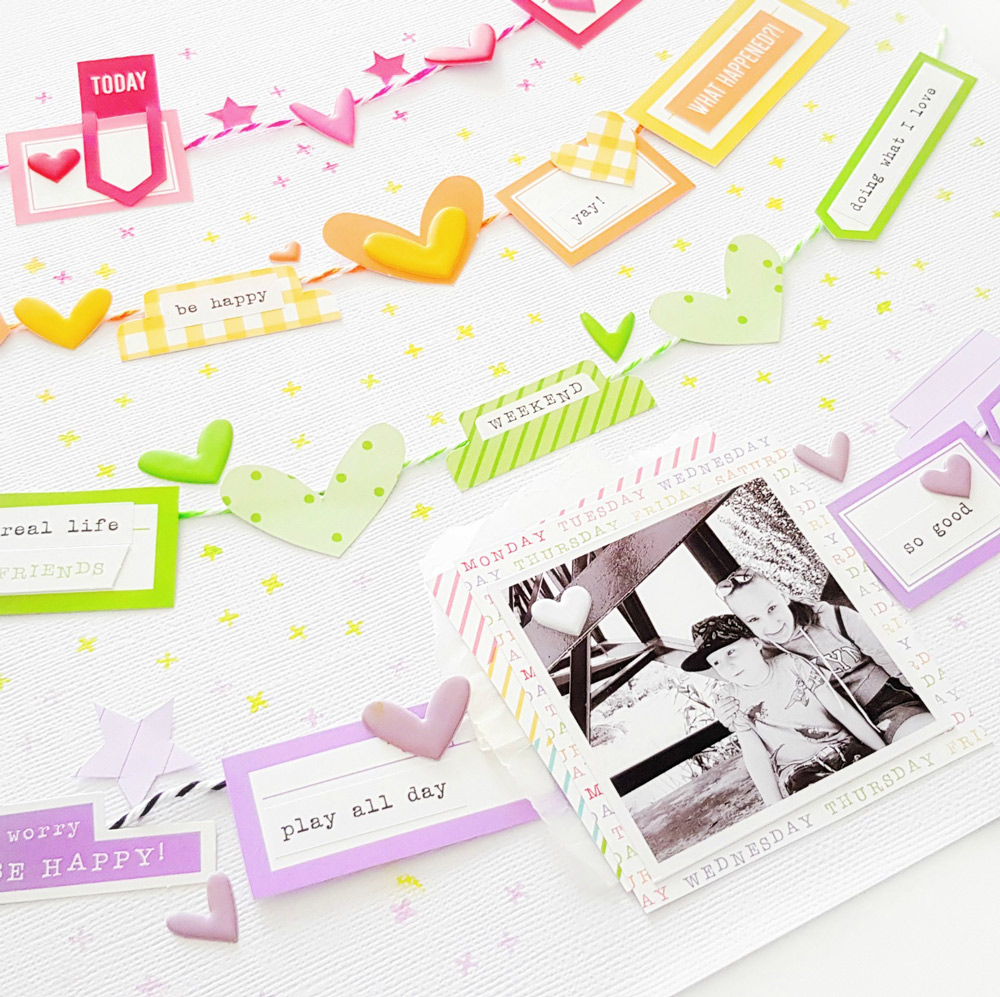
And there you have it! Kill your kit with a little creative fussy cutting, stamping and color blocking! I hope this inspires you to use up the last of your May Kit—just in time for you June kit to arrive!

Share how you’re using the scraps of your May Kit on Instagram using the hashtag #EllesStudio! You could win a gift certificate to the shop, and be featured here on the blog, just for sharing and tagging!
Killing Your May 2018 Kit with Amanda-jayne Baldwin
