Our newest product, the Title Builder Vol. 2 Stamp, designed to help you build titles on your scrapbook layouts, pocket pages and traveler’s notebooks is not only wonderful used on its own, or in the Title Builder Vol. 2 Bundle, it is also fabulous when paired with your favorite scrapbook collection, like Heather Leopard is showing us today with Noteworthy!
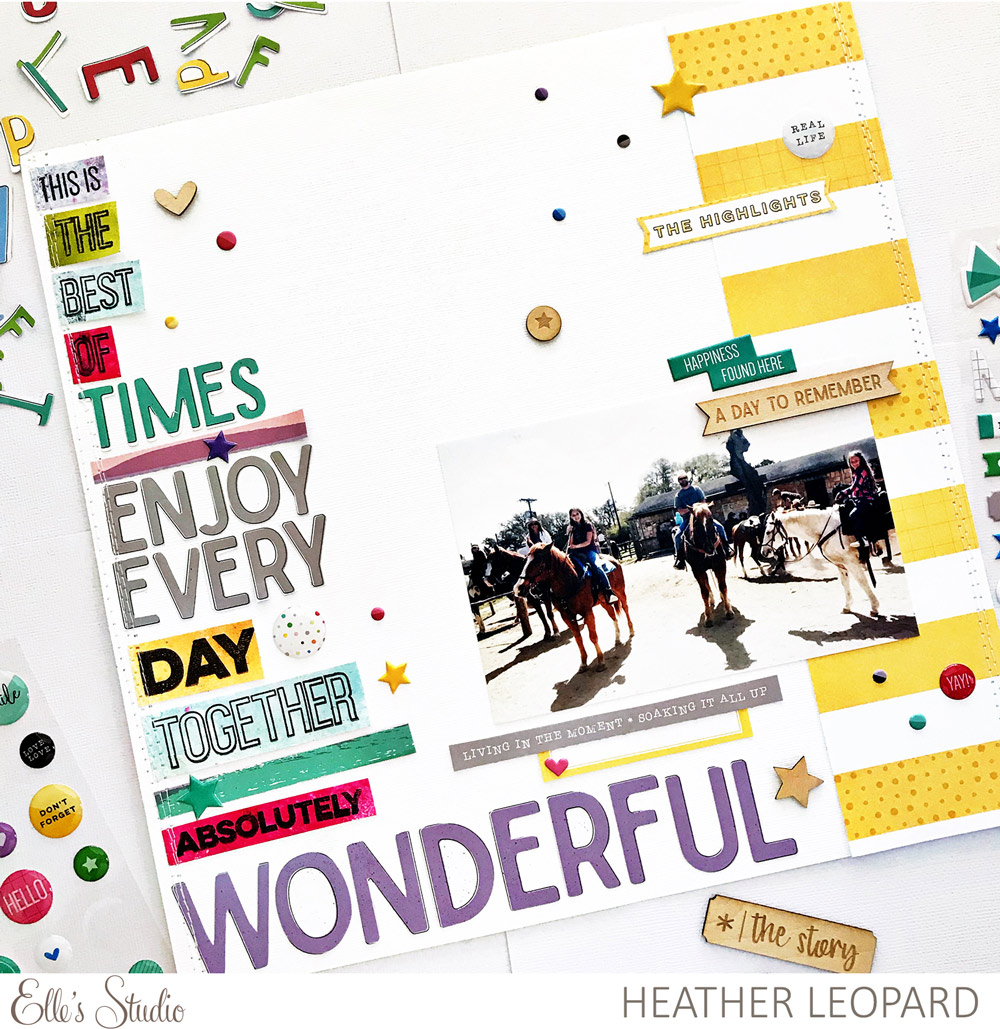
Hi everyone! It’s Heather Leopard here with a scrapbooking layout using the new Title Builder Vol. 2 Stamp and the Noteworthy collection. This project can be easily recreated by stamping on patterned paper or cardstock but I chose to dabble in a bit of mixed media to create something different.
Supplies | Title Builder Vol. 2 Stamp, Noteworthy Blank Labels, Noteworthy Word Labels, Noteworthy Cutouts, Noteworthy Wood Veneer, Noteworthy Puffy Stickers, Noteworthy Epoxy Stickers, Live Laugh Love 6″ x 6″ Paper Stack, Noteworthy 12″ x 12″ Paper Collection
I knew I wanted to mix stamped words from the awesome new Title Builder Vol. 2 Stamp with some of the words from pattern #3 in the Noteworthy 12″ x 12″ Paper Collection. I also knew that I wanted to create a super long title about spending family time together. What I didn’t know was what photo I wanted to use. That said, I have tons to choose from so I knew it wouldn’t be too hard, so I created this layout completely based on the structure for the title. That’s kind of scary but also kind of fun to start with a title!
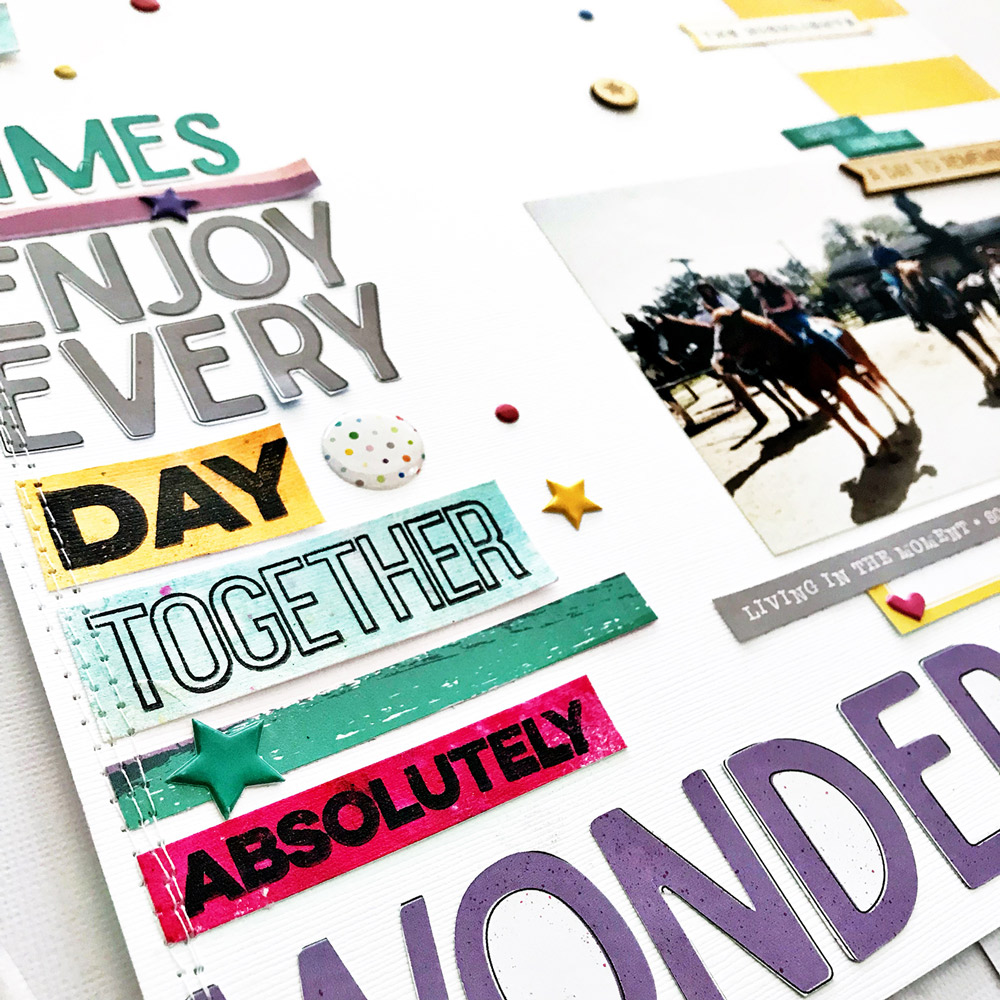
There’s a lot of awesome words included on the Noteworthy patterned paper #3 and I wasn’t sure which ones I wanted to use but I knew I wanted to cut them out. I also knew I didn’t want to cut them all out by hand so I used my Silhouette and the PixScan to cut practically all the words out. I think that was a bit of pro-scrap-tination, if you you know what I mean. While the words were cutting, I decided to play with gesso and mists to create some colorful backgrounds to stamp on. I wanted a watercolor effect so I played around with 5 colors. Once dried, I had to figure out what I wanted to say in the title. I ended up choosing three phrases and I stamped the same words from the Title Builder Vol. 2 Stamp over each color, to have a variety of colors to choose from for each word. Once I had all the words cut out from both the patterned paper and the stamped words, I lined them up against the left side of the paper, adding a patterned paper strip from the Live Laugh Love 6″ x 6″ Paper Stack between the phrases. I also stitched over the words to secure them down.

I decided to scrap a photo we took together on a recent trip to the dude ranch. We went on long horse rides in the Texas hill country several times a day and had a great time together doing all the activities the ranch offered. I decided to keep the layering behind the photo light and instead anchored it with a long patterned paper to even the page out. I also chose to add a couple of embellishments, like the Noteworthy Wood Veneer, Noteworthy Puffy Stickers and Noteworthy Epoxy Stickers over and around it to draw the eye around.
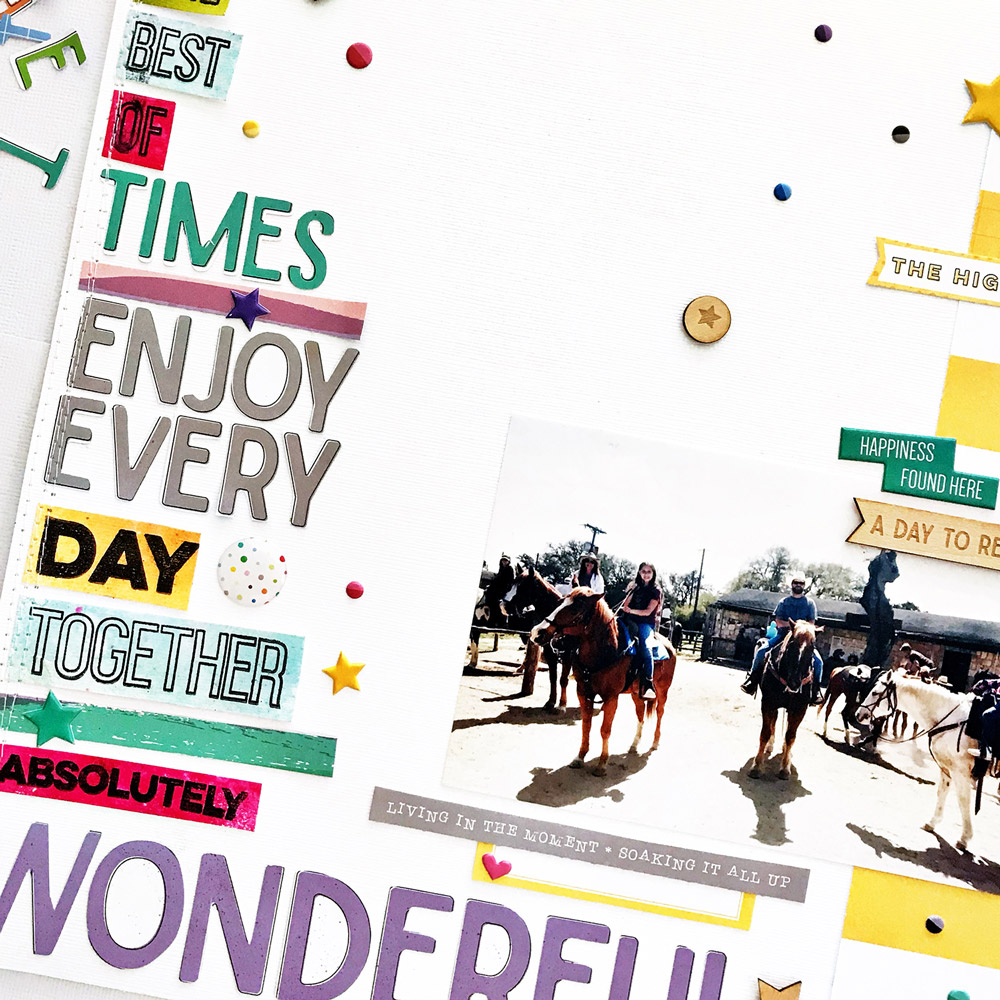
I still need to add journaling under the “highlights” Noteworthy Word Label. There’s so much to say about this experience and I still need to put my thoughts together.
Thanks so much for stopping by today. If you’d like to see how this came together, check out my YouTube channel!
Starting with a Title with Heather Leopard