With all of the new product in the shop this month, it was hard to choose just one for our One Product, Three Ways, but with a new year looming, we wanted to highlight the versatile Monthly Puffy Stickers. Today Candace, Maggie and Meghann are showing us three fabulous projects you can create using these awesome stickers. Let’s take a look.
Supplies | December 2017 Kit, Monthly Puffy Stickers, Monthly Wood Veneer Tabs, Monthly Journaling Tags, Twinkle Puffy Stickers, Winter Chipboard, Wood Veneer Clips
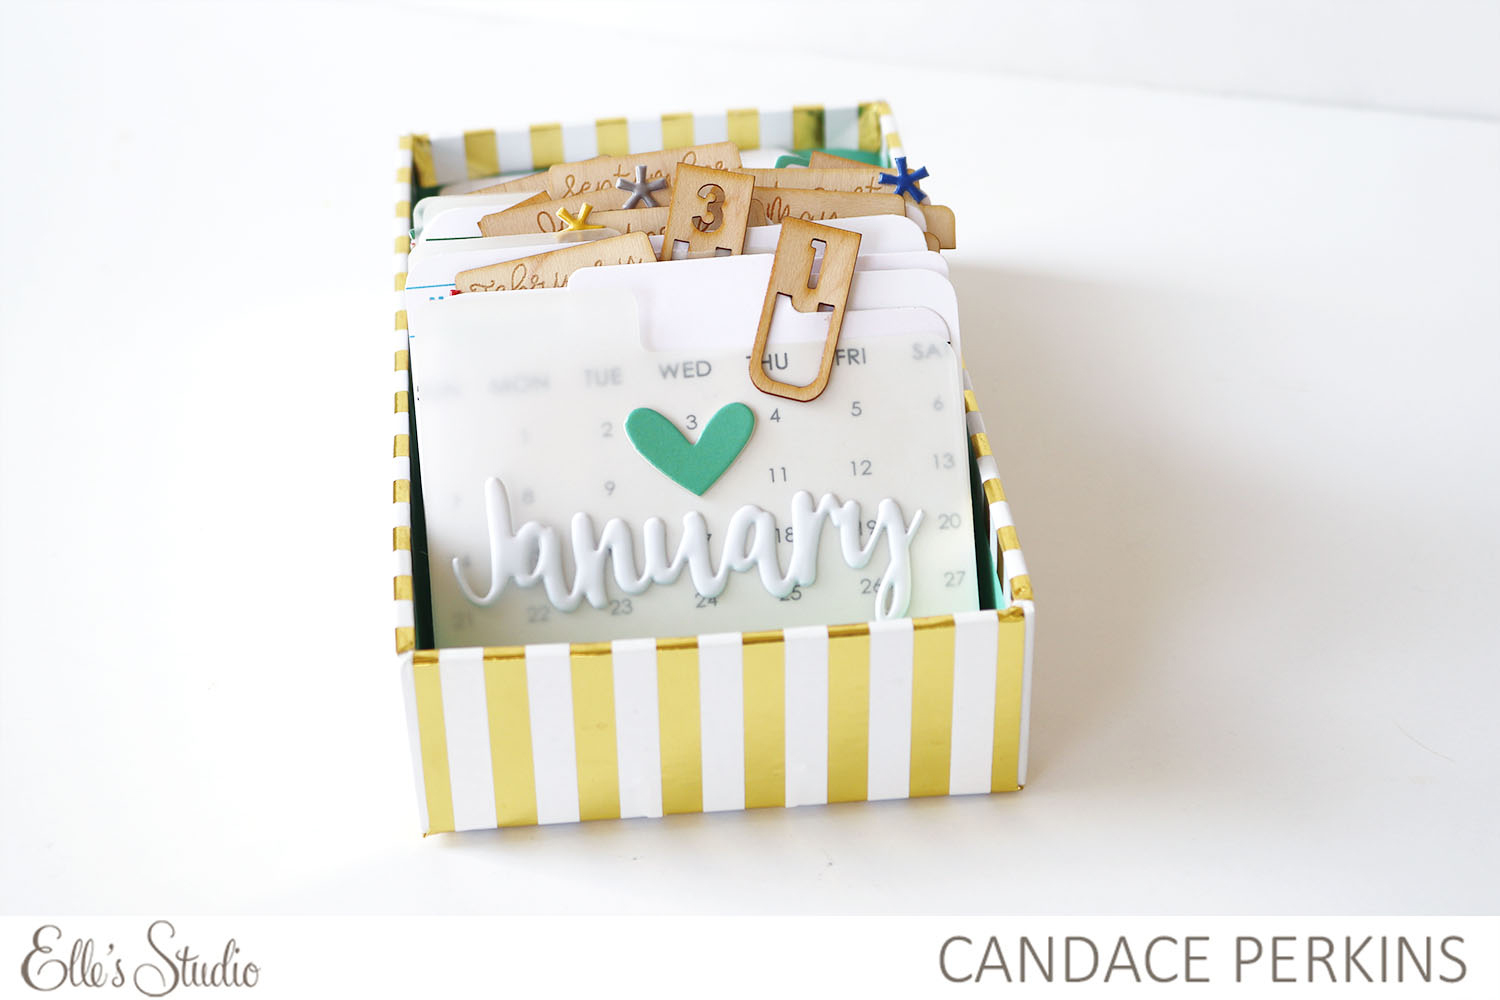
Candace | I chose to use the fun Monthly Puffy Stickers to create a desktop calendar to easily document the fun highlights of 2018! To create transparency, I layered the stickers over vellum so the calendar behind could still be seen.
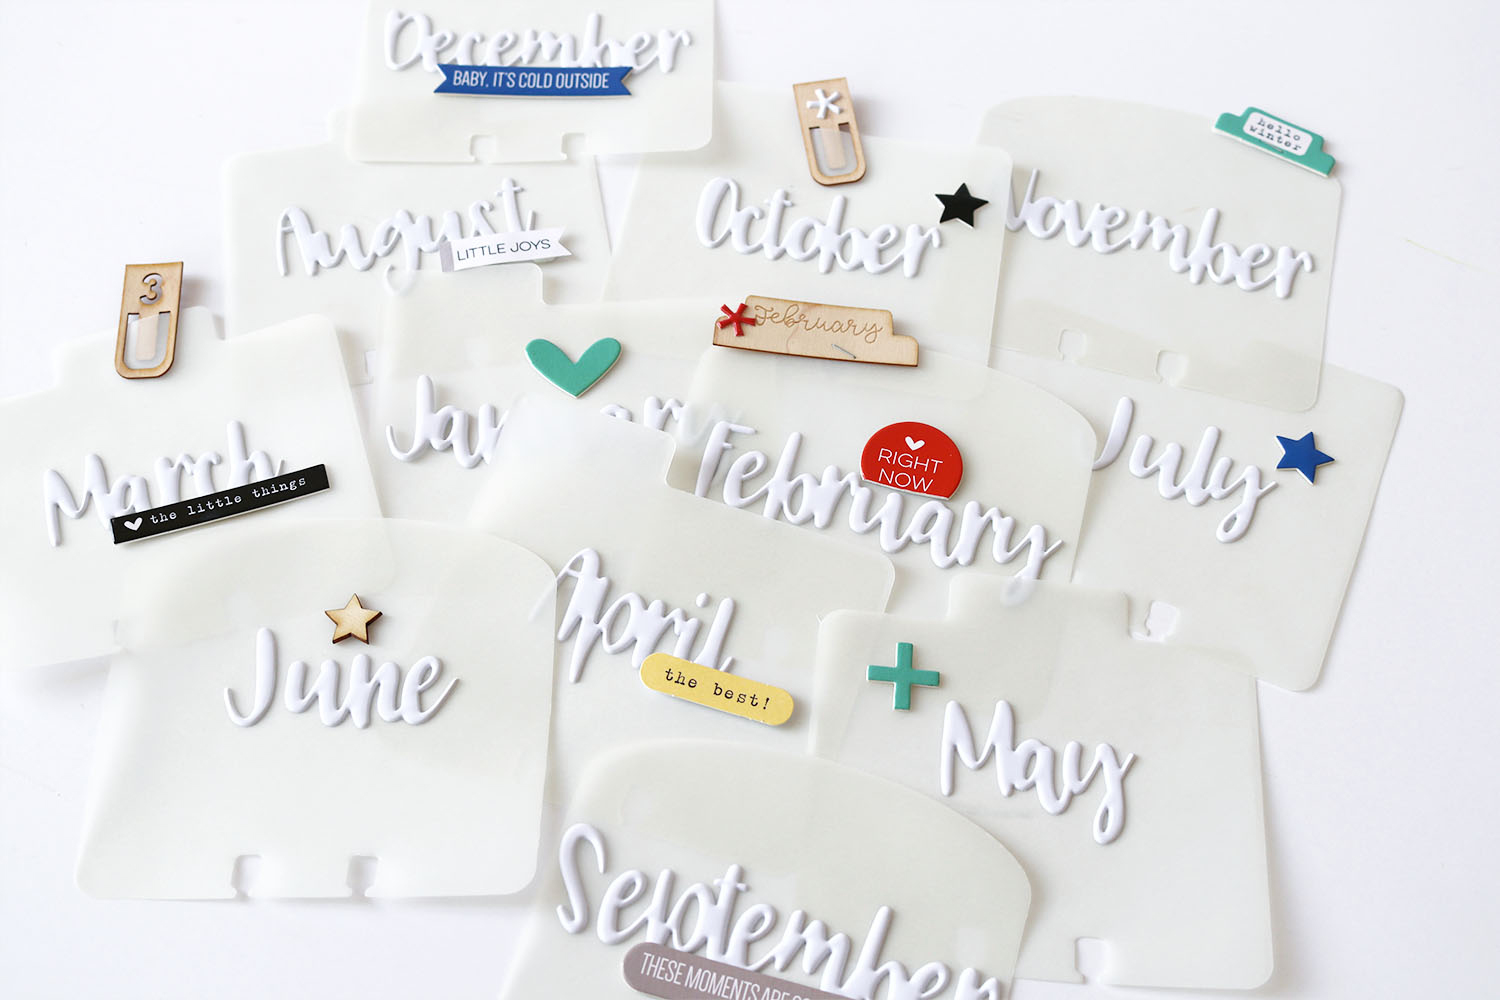
To add a little more color to the flip calendar I added various pieces of chipboard, stickers and wood veneers.
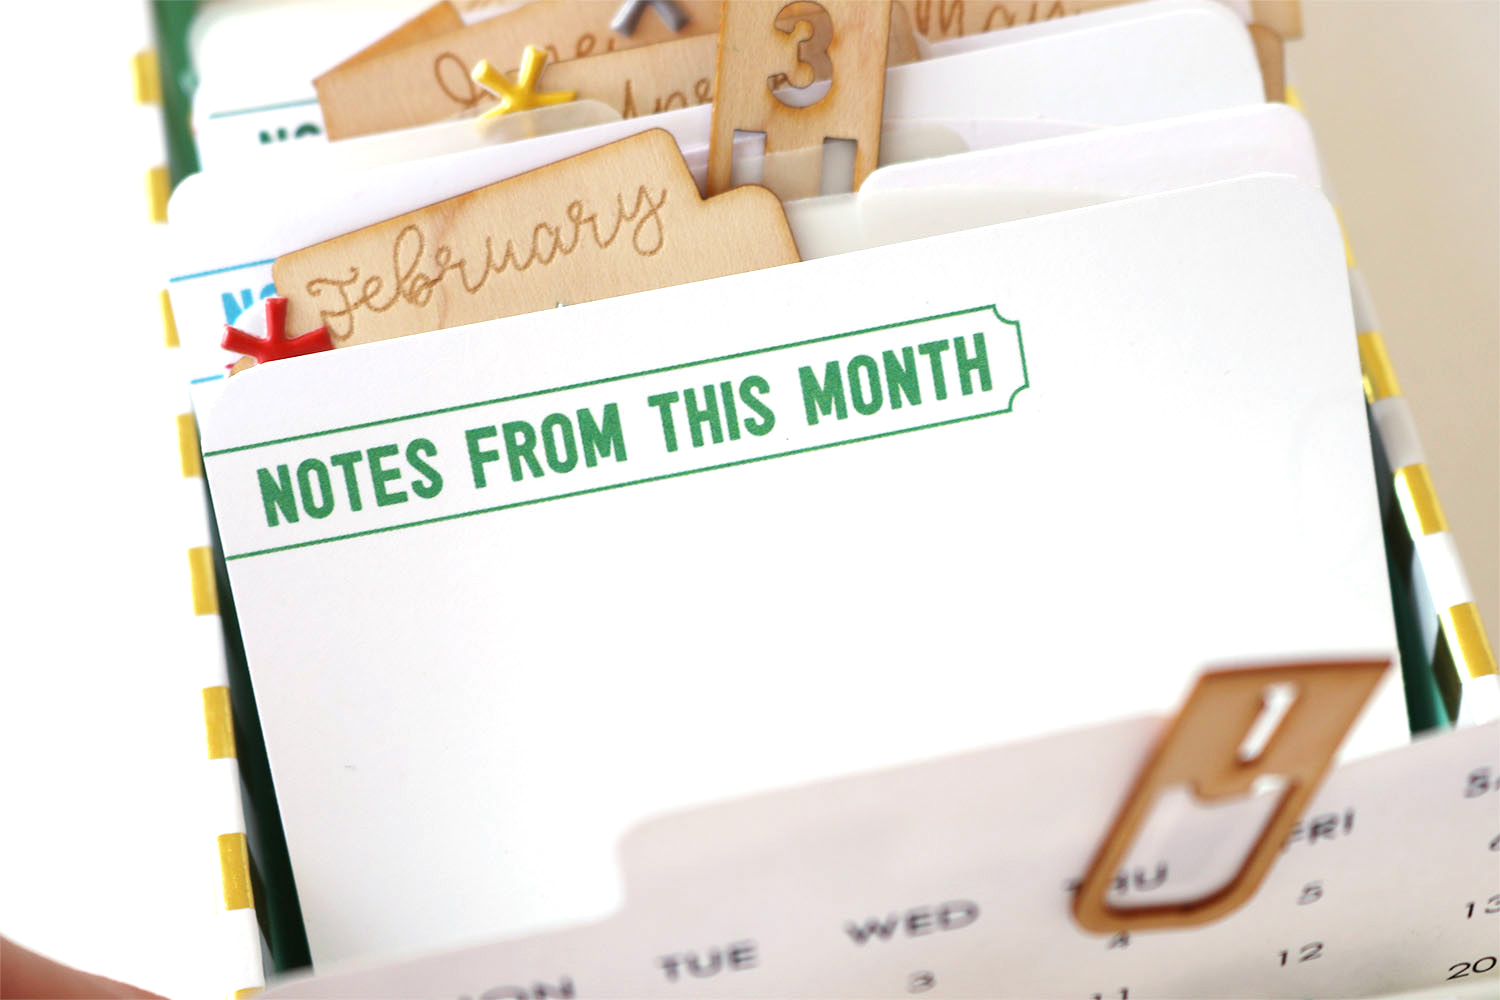 To create a place to add journaling or photos each month to highlight our special family moments and memories, I cut down the Monthly Journaling Tags to fit into the desktop calendar and give me space just for this!
Supplies | December 2017 Kit, Monthly Puffy Stickers, Winter Chipboard, Winter Wood Veneer Words, Time Stamp
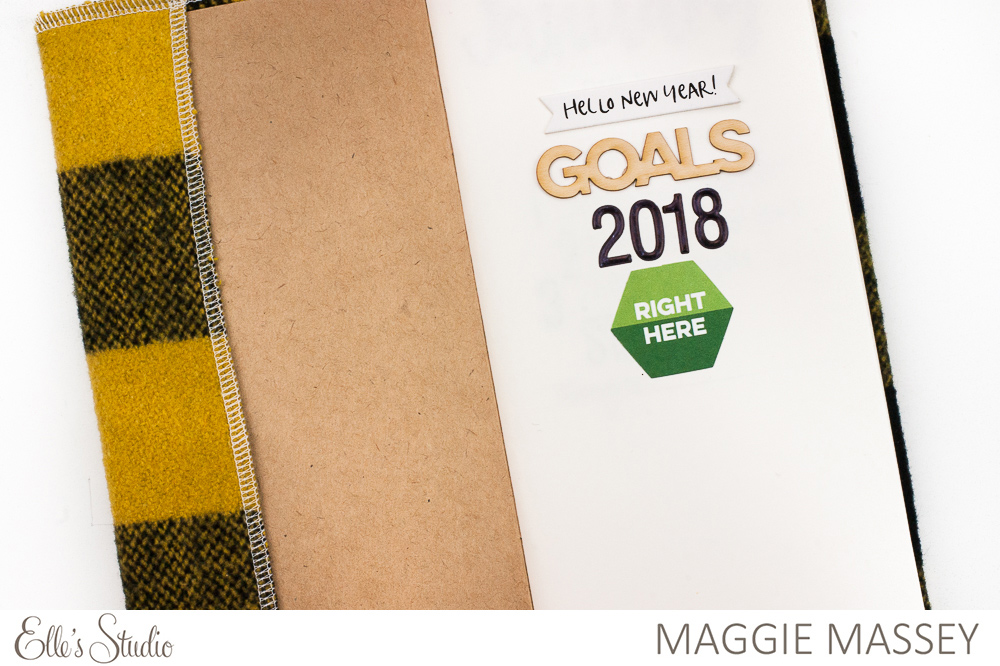
Maggie | I used the Monthly Puffy Stickers to help highlight my new projects for each month in 2018. I used some bright, beautiful Sharpies to color them, and then I got to work setting up my Goal Tracker. I’m all for keeping things really simple (I find that it helps me stay on course), so all I did to prepare my pages was add the month, spaces for my 3 biggest goals, and a few blank pages to jot down how I’m doing.
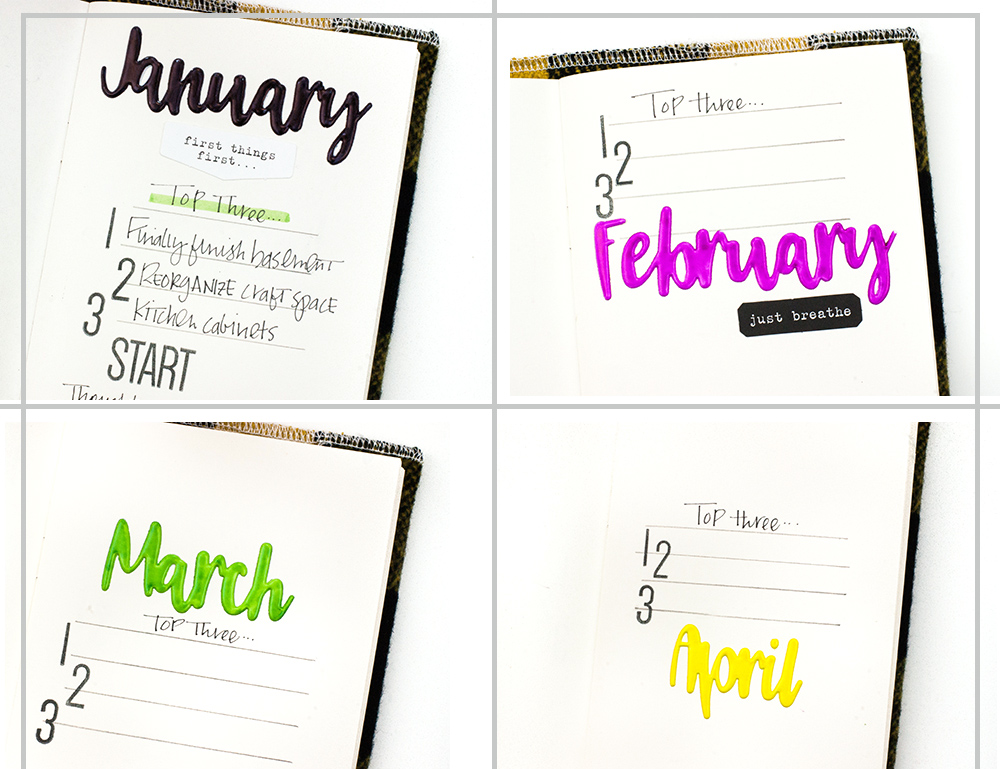
I’ve already got my January projects written down. Who knows? Maybe I’ll even get a jump start on them in the next few weeks! Thanks so much for taking a look.
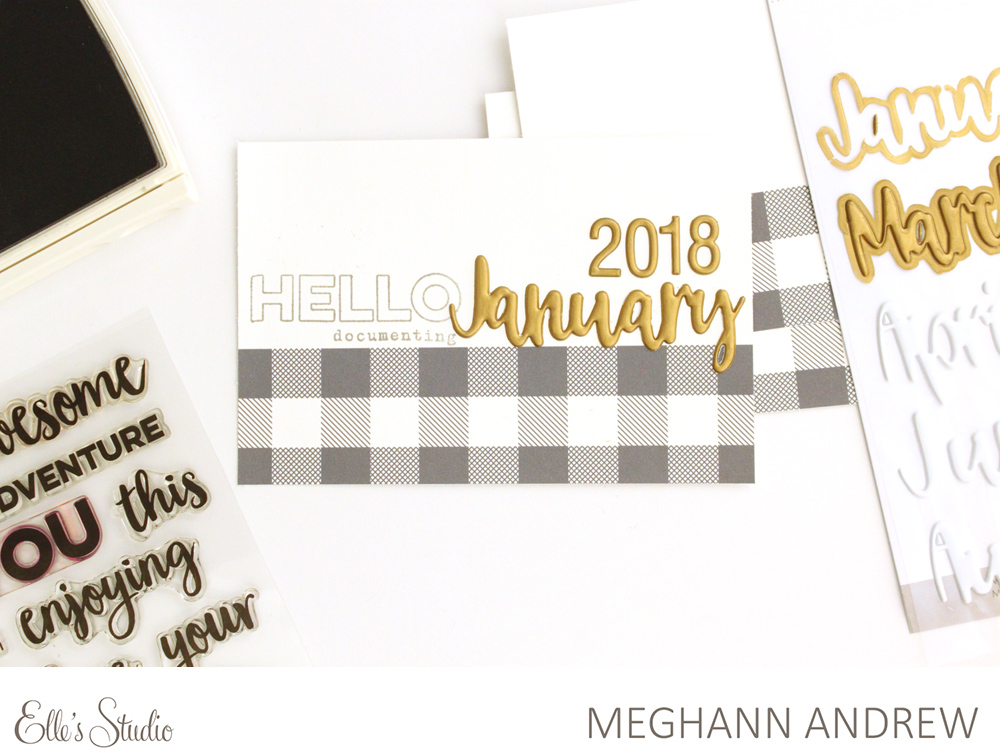
Meghann | I used a Sharpie product, just like Maggie, but I chose to color the Monthly Puffy Stickers with a Sharpie oil-based gold paint pen. By using a neutral metallic hue, I can standardize 4″ x 6″ month markers for all of my monthly pocket page spreads in 2018! 
Next, I opened the Love This Printables digital file, and chose the buffalo check 3″ x 4″ tag. I resized it to 4″ x 6″ in Photoshop Elements, then desaturated the color 100% to give me a beautiful gray—a great neutral to use throughout the year that should work for any spread that I create.
Supplies | Love This Printables, Monthly Puffy Stickers, Title Builder Stamp
I printed twelve total 4″ x 6″ tags—three per page on a heavy-duty smooth, white cardstock. Before adhering my gold metallic Monthly Puffy Stickers on the right side above the pattern, I stamped “hello” and ” documenting” on the left in gray ink using the versatile Title Builder Stamp. Since January kicks off a new year, I also added “2018” to my first tag. I can’t wait to use these in my 2018 pocket page documentation!
Did you add the Monthly Puffy Stickers to your basket this month? We can’t wait to see how you use them in your memory-keeping and documentation! Be sure to post on Instagram and use the hashtag #EllesStudio so that we can take a look!
One Product, Three Ways: Monthly Puffy Stickers