We designed the Title Builder Collection to help scrapbookers come up with titles on their layout, but Nancy Damiano is with us today sharing how you can also use the Title Builder supplies as design elements on your cards or pages! So clever! Let’s see what she created.
Hey everyone, it’s Nancy here with a look at the brand new Title Builder Collection. Let’s take a closer look at how we can get creative with words.
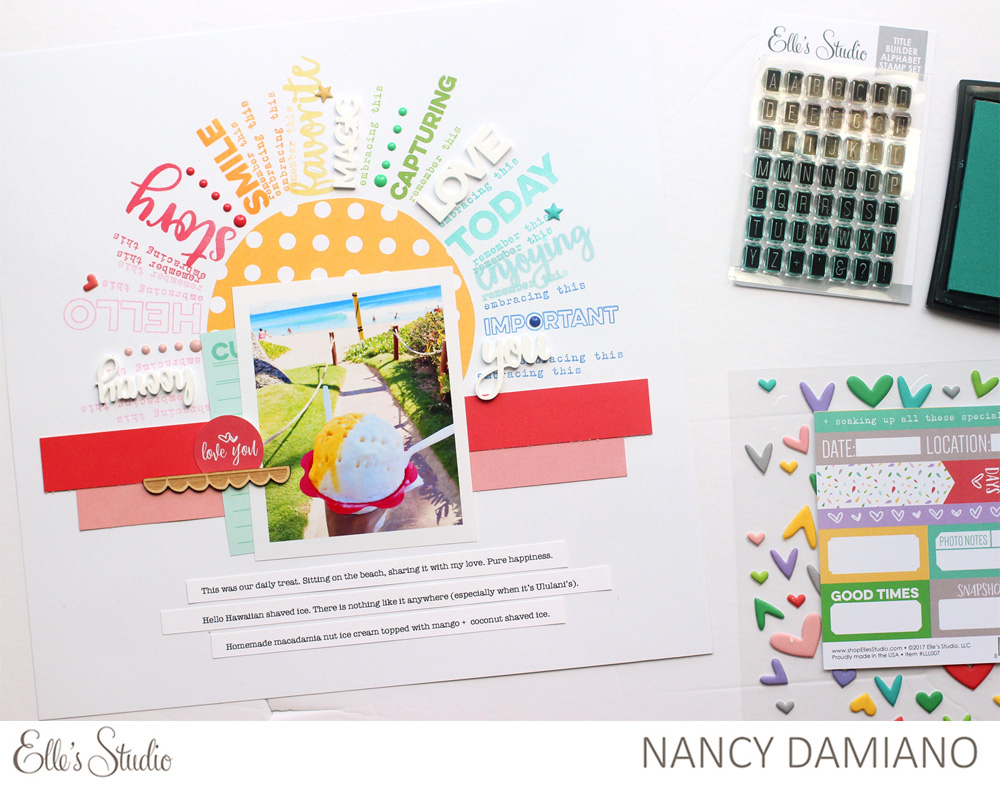
Supplies | Title Builder Bundle, Title Builder Stamp, Title Builder Acrylic, Live Laugh Love 12″ x 12″ Paper Collection, Live Laugh Love Wood Veneer, Live Laugh Love Bits and Pieces, Live Laugh Love Enamel Dots, Puffy Heart Stickers
While you can certainly create many traditional titles with this stamp set, I wanted to do something a little bit different to push the design envelope. My idea was to use as many of the stamps as possible – a word overload!
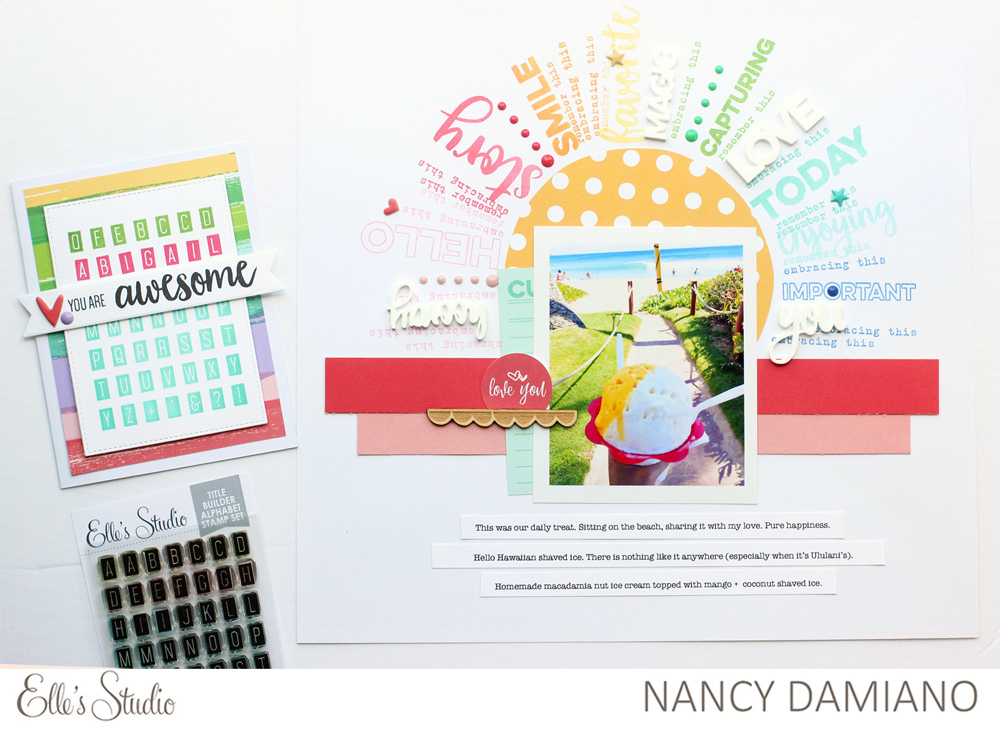
Start the design by cutting out a 4.75” circle of yellow polka dot paper from the Live Laugh Love 12″ x 12″ Paper Collection and adhering it to the center of the page. This will be your guideline for getting a perfect word arch. Use pigment ink to get the best coverage and remember to heat set the ink so that it doesn’t smear.
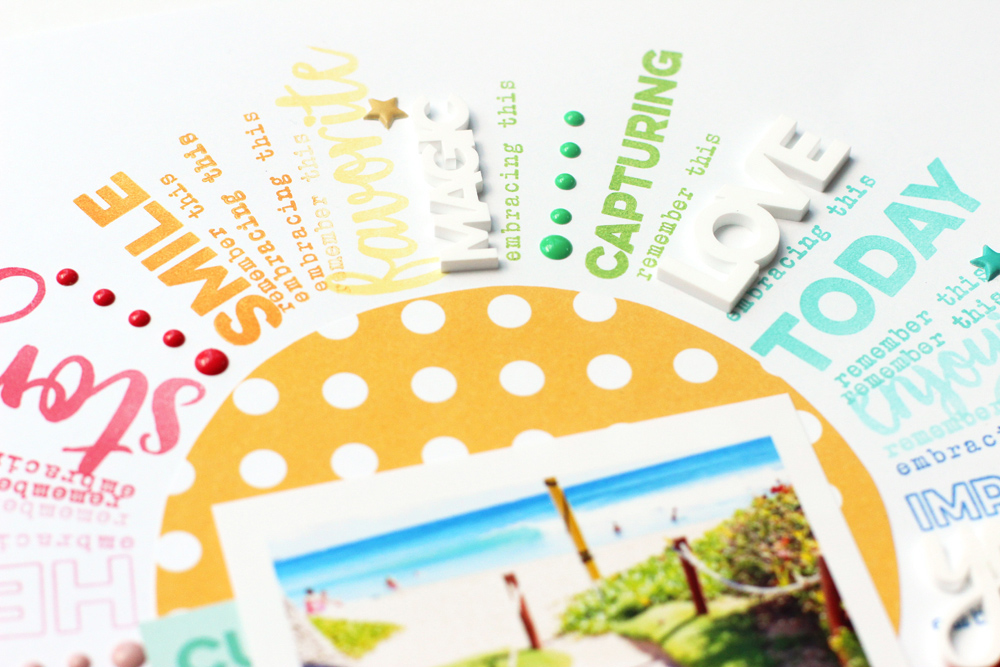
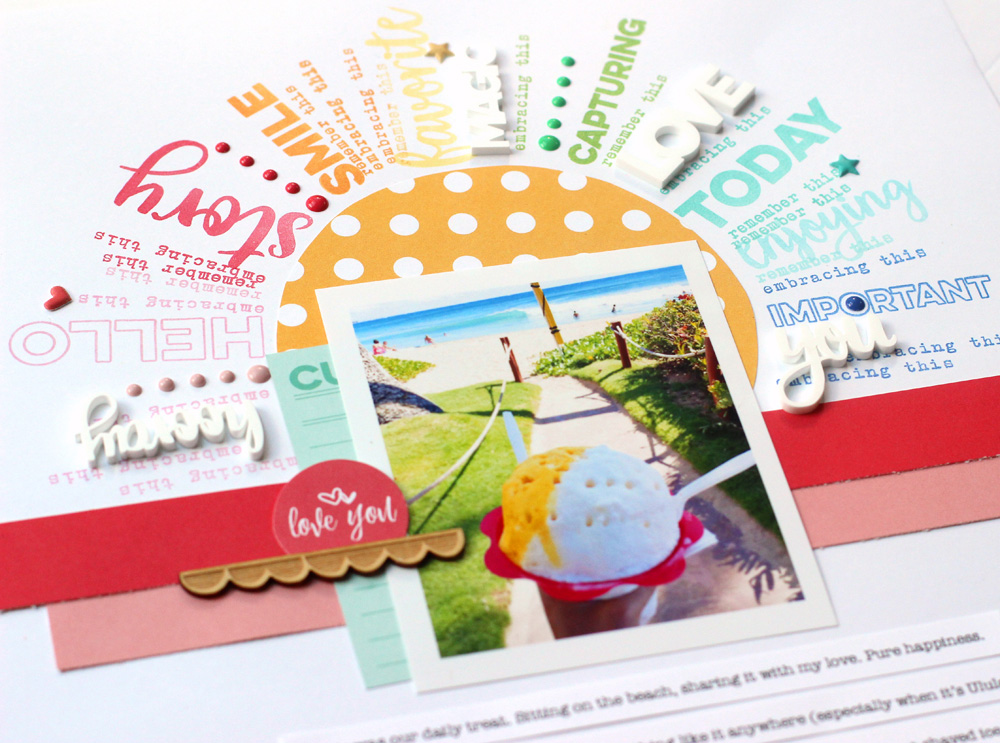
Alternate the larger script words and smaller lines of text from the Title Builder Stamp, along with the Title Builder Acrylic until you make your way around the circle. Lastly, fill in some of the blank spaces with rows of enamel dots. Remember, you can always go back and add a few more lines of stamped text where you need it. Notice that some of my stamped text overlaps. That’s helps create the arch of words.
Now let’s take a look at the Title Builder Alphabet Stamp. Again, I chose to use every single stamp in the set.
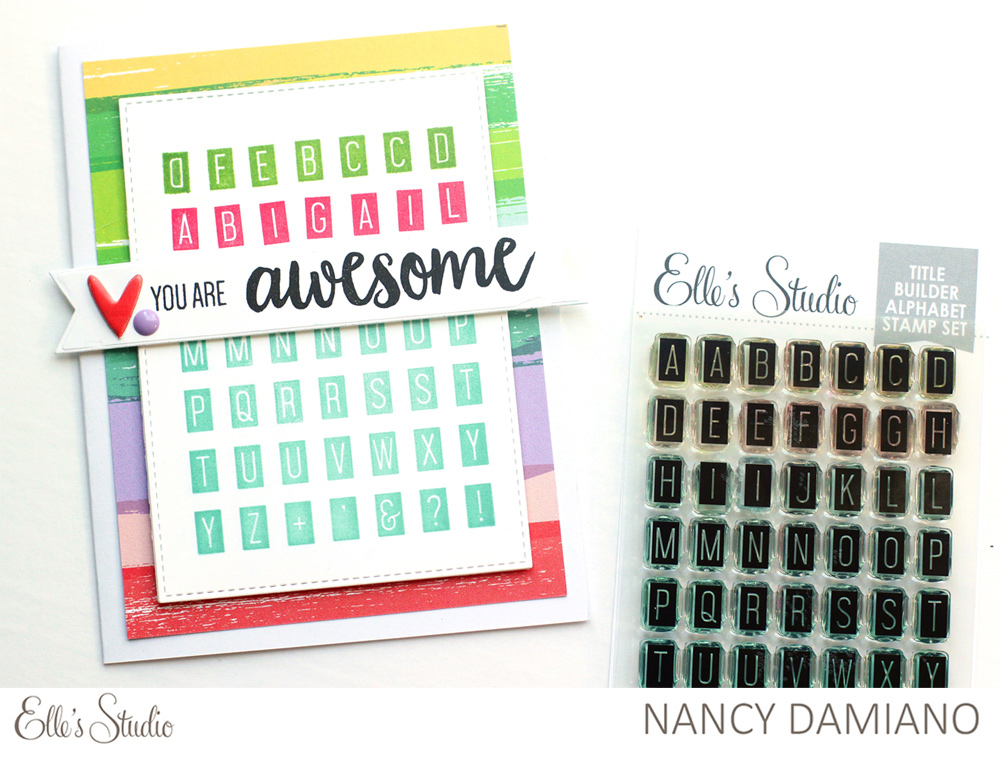
Supplies | Title Builder Bundle, Title Builder Stamp, Title Builder Alphabet Stamp, Puffy Heart Stickers, Live Laugh Love 6″ x 6″ Paper Stack, Live Laugh Love Enamel Dots
To create this card, peel the backing off the stamp set. Remove the individual stamps from the second row only. Spell out the name of your card’s recipient in that same row, replacing the missing stamps as you go. Be careful to place the stamps down in a reverse image!
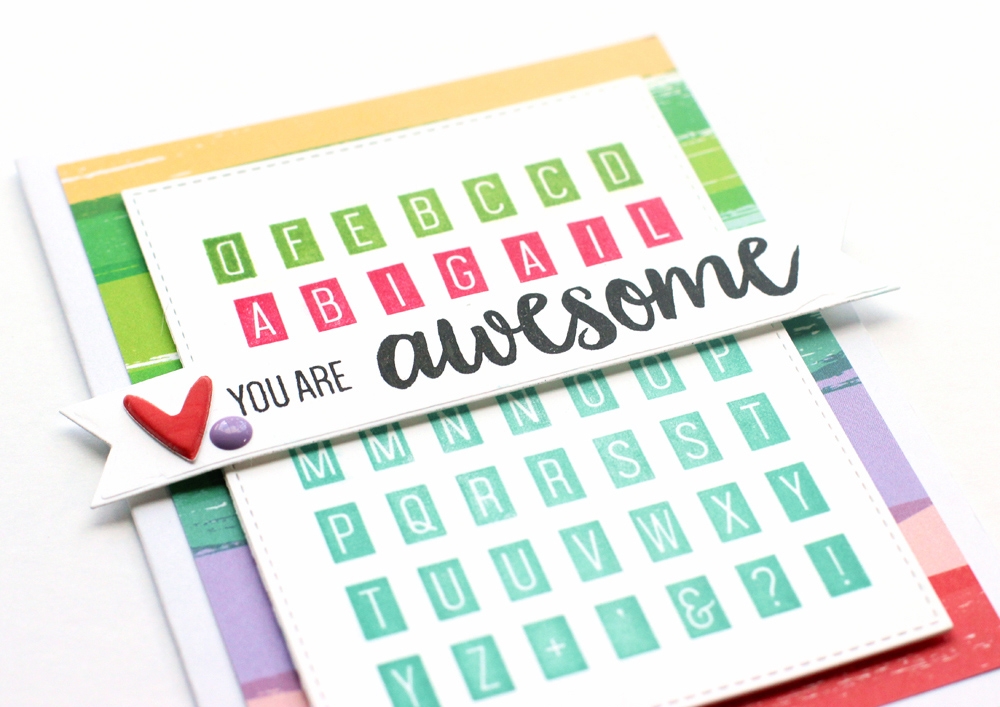
You should now have a block of text, still on the clear backing that the stamps came on. Place a little removable adhesive on the flat side of that clear backing and mount onto a clear acrylic block. Perfect spacing made easy!
I inked one row at a time, using a Post-It note as a mask. Row by row, until the card was completed. Place the finished piece on a sheet of rainbow patterned paper from the Live Laugh Love 6″ x 6″ Paper Stack and it’s almost done. The final step is to use the Title Builder Stamp to create the “you are awesome” sentiment. A sprinkle of a puffy heart and enamel dot complete the card.
Thanks so much for stopping by the blog today. I hope you’ve been inspired to make a stamped text inspired layout of your own! Don’t forget to pick up the Title Builder Bundle today!