If you checked out the new projects created by our design team with the new June releases, you may have seen that we’re going just a bit crazy over the new guy in the shop— Stanley. Our new perfect alphabet stamp comes in both a solid and outline, and today Neela, Laura and Daniela are sharing how they used them on their projects! Let’s take a look at what they created.
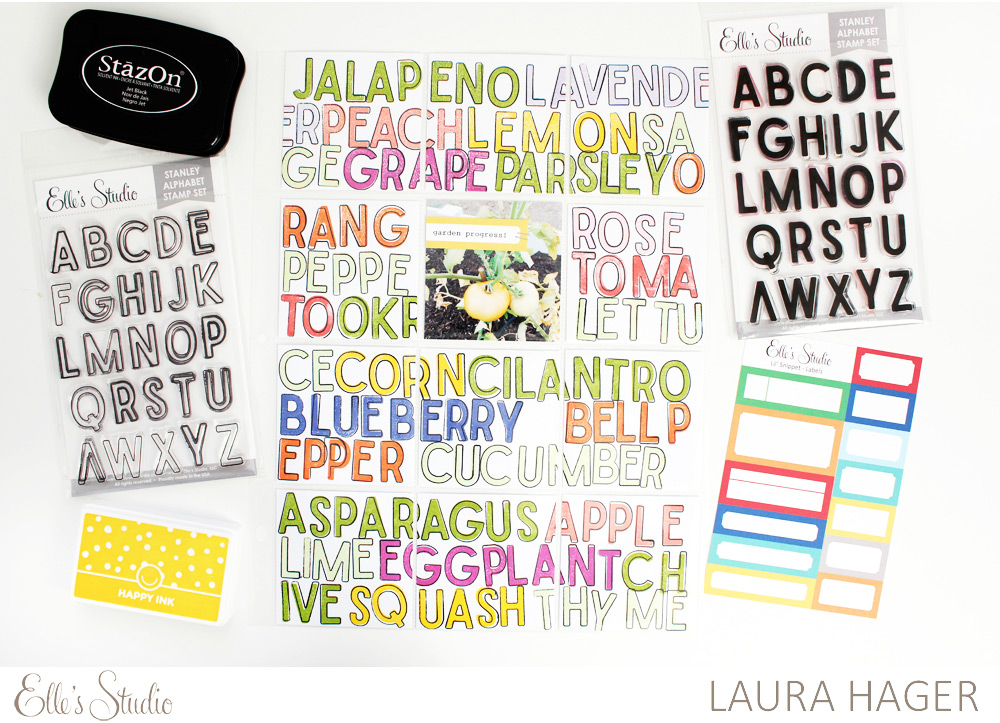
Supplies | Stanley Alphabet Stamp – Solid, Stanley Alphabet Stamp – Outline, June Labels
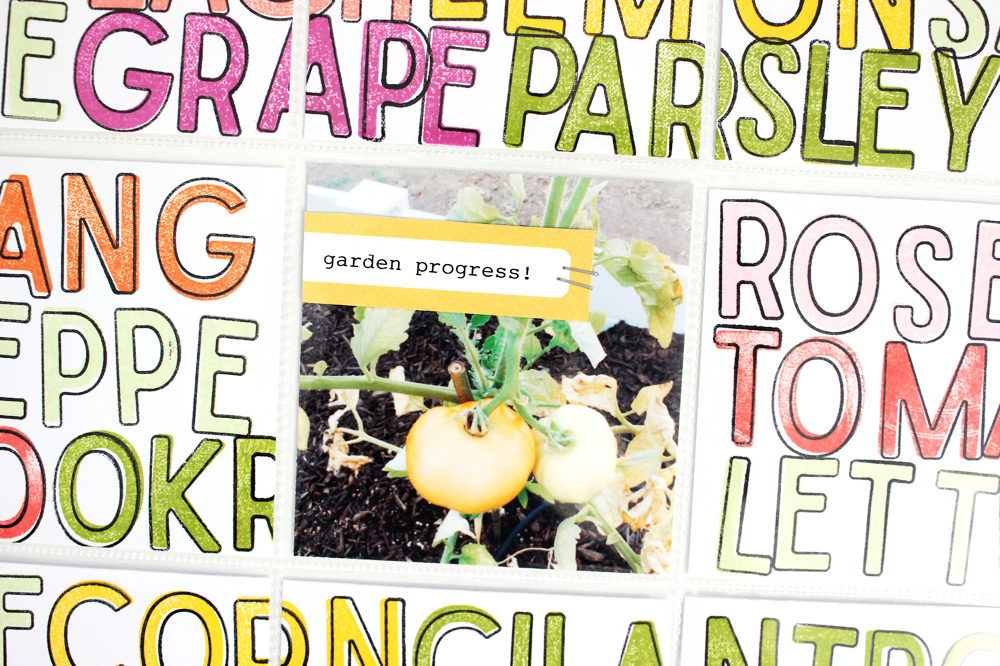
Laura Hager | This was one of the most fun scrapbook layouts I’ve made. It was so fun to experiment and play with the different ink colors. I’ve been working a lot on my garden, so I wanted to document some of the plants I’ve added and that I hope to add soon. The Stanley alphabet stamp sets are so great! There are so many possibilities for this combination of stamps. To make this layout, I first cut twelve 3″ x 3″ squares of white cardstock. I set them all out and then started stamping. I stamped the first name of a plant with the solid alphabet and then another continuing across, then down to fill up the entire page. I made sure to switch up the ink colors, so the same color wasn’t adjacent to itself. When I added all the colors, I went back over the words with the outline alphabet in black. Lastly, I added a current photo of my garden and a June Label that I typed on. I love how this layout turned out! It was so fun to work on and the colors really brightened my album!
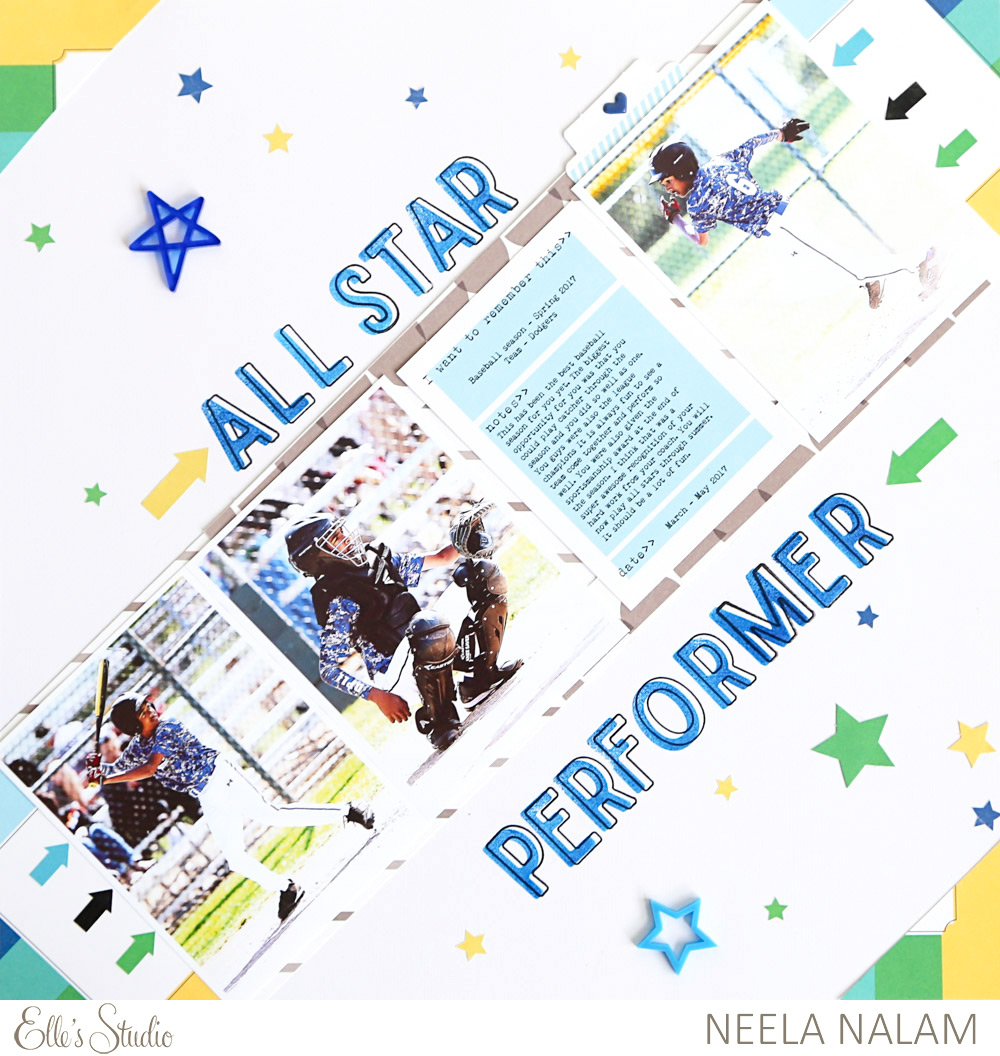
Supplies | June Kit, Stanley Alphabet Stamp – Solid, Stanley Alphabet Stamp – Outline, Patriotic Stars and Hearts Mixed Acrylic, Tiny Star Stickers, Puffy Heart Stickers, Arrow Stickers, Live Laugh Love 12″ x 12″ Paper Collection
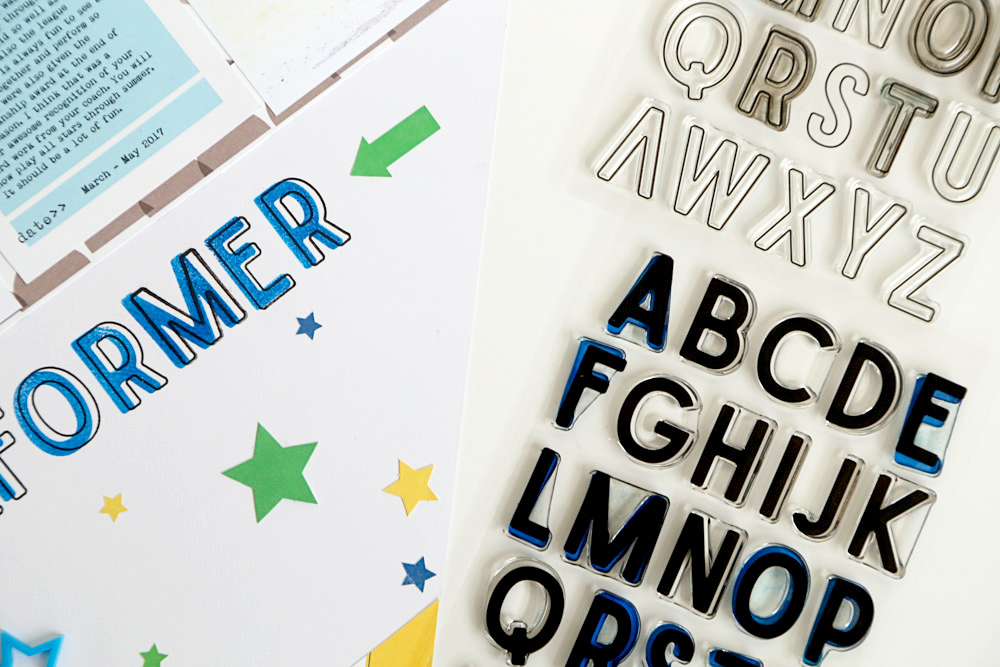
Neela Nalam | You have to trust me when I say that I am not a great stamper, but these stamps are forgiving! For my project, I decided to use the stamps to create a title. I wanted to use both the filled and the outline stamps. I first stamped the solid alphabet with StazOn blue ink, then stamped the outline alphabet slightly to the right of the filled letter with black ink. This gave the letters a dimensional feel. There was a lot of movement in the photos from my son’s baseball season, but I wanted to bring in more by placing the photos at an angle, so I followed suit with the title and other embellishments.
Supplies | June Kit, Stanley Alphabet Stamp – Solid, Stanley Alphabet Stamp – Outline, Patriotic Stars and Hearts Mixed Acrylic, June Labels, White Puffy Alphabet Stickers, Live Laugh Love 12″ x 12″ Paper Collection
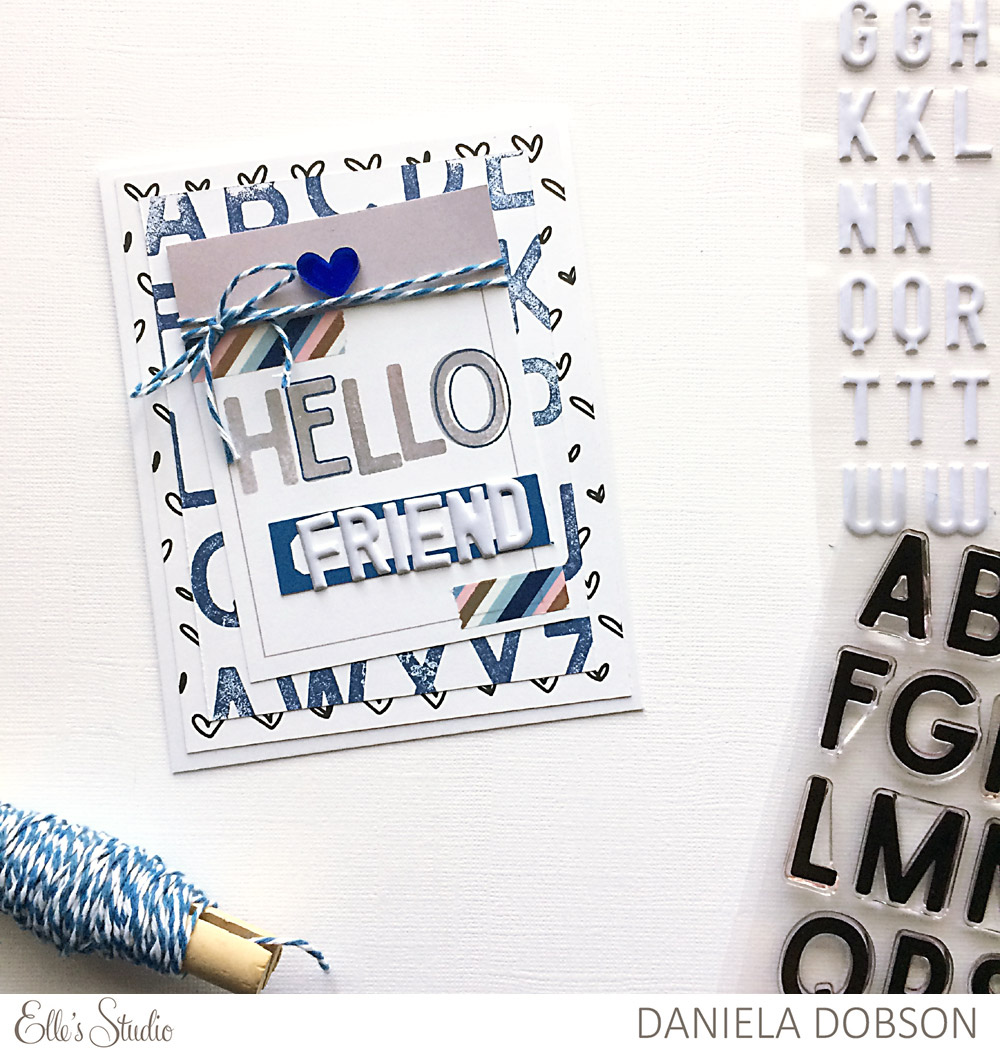
Daniela Dobson | I used the solid alphabet to stamp on white cardstock with blue ink. The easiest way to do this is to lay the stamps, still on the transparent package backing, face up on your desktop, ink them carefully by dabbing your ink pad to the stamp surface, and pressing a piece of cardstock on the surface of the stamps, applying pressure evenly all over to the stamped image.
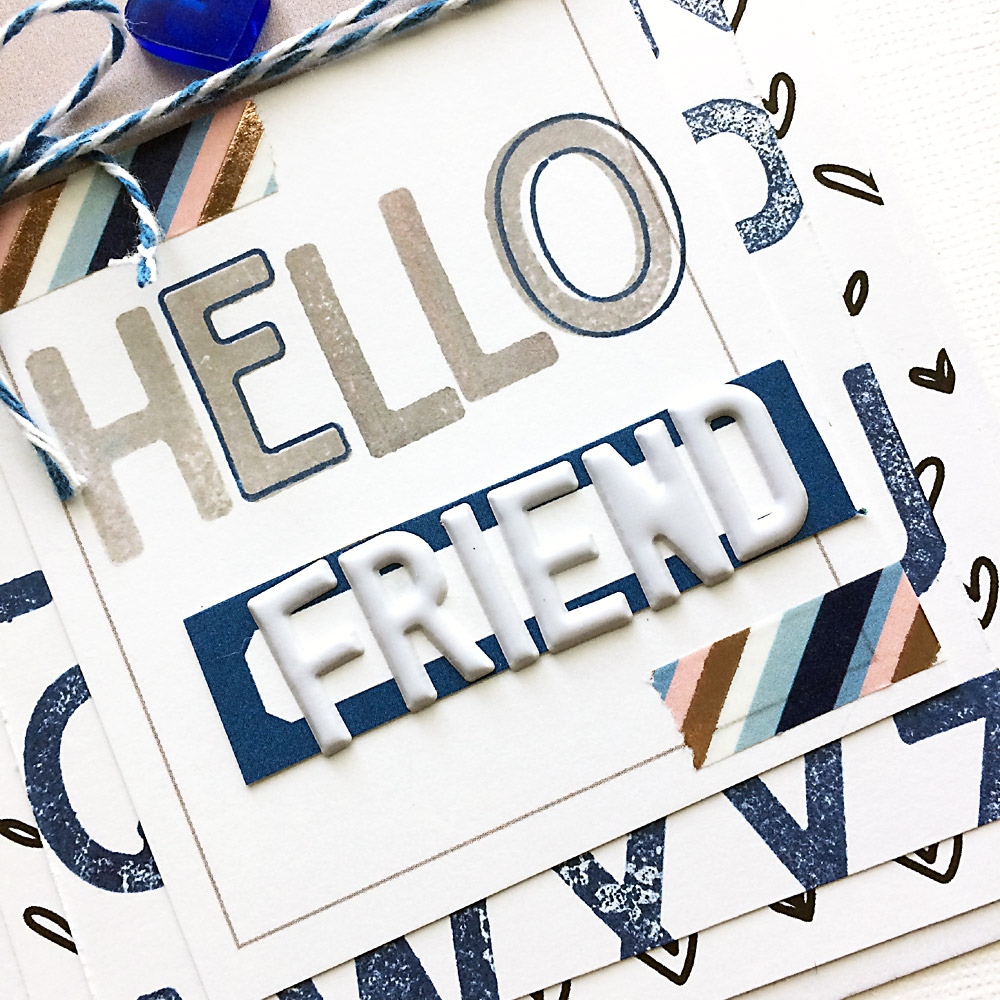
To embellish the front I added a journaling card with stamped “hello,” using the same blue ink and then outlining some of the letters with black ink using the Stanley outline alphabet. I added “friend” using the White Puffy Alphabet Stickers to a blue June Label.
How will you use the Stanley alphabet stamps on your projects? Be sure to share your creation on Instagram, using the hashtag #EllesStudio for a chance to be featured here on our blog, and win a gift certificate to the shop!
