Hello! It’s Meghann Andrew with you today! As you may know, I am the Classroom Coordinator here at Elle’s Studio, and I am so proud of the classes that have been produced here, giving you inspiration from some of the most talented designers in the industry. The Everyday Adventures Mini Album Class was no exception, and seeing the projects come into my inbox was like opening a present for each and every submittal! I typically don’t get to create a project myself for the classes, but I was so inspired by the content, as well as the amazing projects created by the contributing designers, I just had to create my own mini album based on little facts about my daughter at her current age—and what could be more “everyday” than that?
Supplies | Everyday Adventures Mini Album Class with Stamp & Digital Files, Everyday Adventures Product Bundle, Jonah Alphabet Stamp, Dated Stamp, The Story Of Stamp
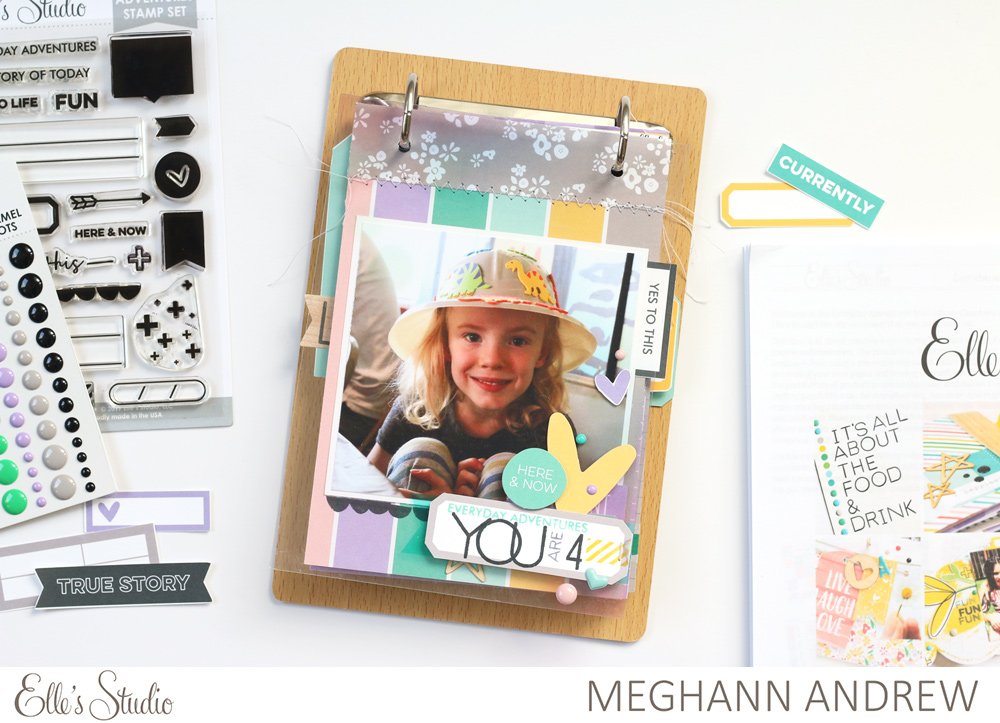
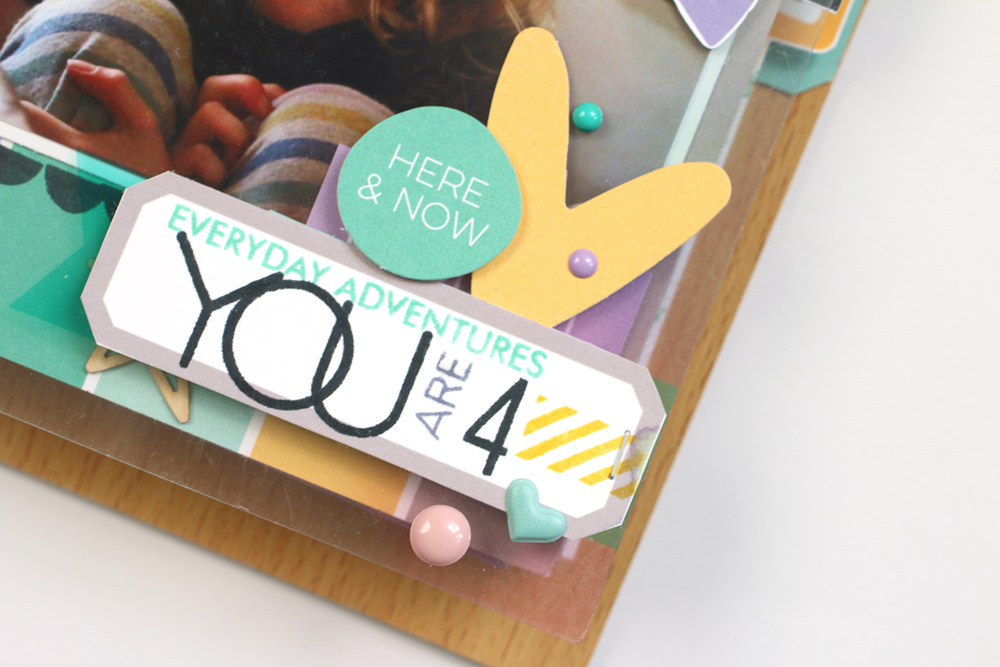
Like the mini album created by Barbara Picinich in the class, I unknowingly used the same flipboard style wooden album! I was so drawn to her clean and graphic design, and I wanted my album to be similar in that sense. I removed the filler pages that came with the album, but kept the transparent acetate cover, attaching a grouping of embellishment in the bottom right corner, which included the stamped title, “You are 4,” using the Jonah, Dated and The Story Of Stamp.
My first page features the image that you see on the cover, since it was only separated with a transparent cover page. Patterned paper created the foundation for my album pages, just like Jennifer Gallacher’s mini album in the class. On the first page, I used the patterned stripe from the Live Laugh Love 6″ x 6″ Paper Stack and as Mel Blackburn’s recommended in her class lesson, I only used these colors throughout the entire album to make it cohesive from page to page.
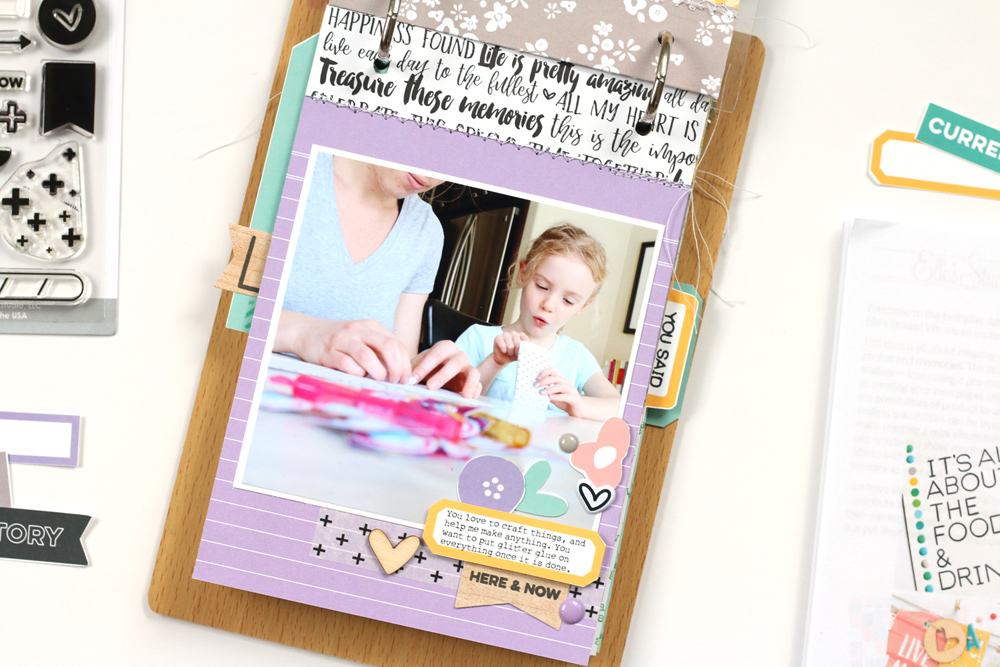
Since the pages were only 6″ long, and I wanted mine to be 7″ to fit with the album, I cut a coordinating pattern to the same width of the page, 4.75″ and 2″ high, scoring it in half and sewing the bottom edge to the top of my patterned paper, giving me elongated pages.
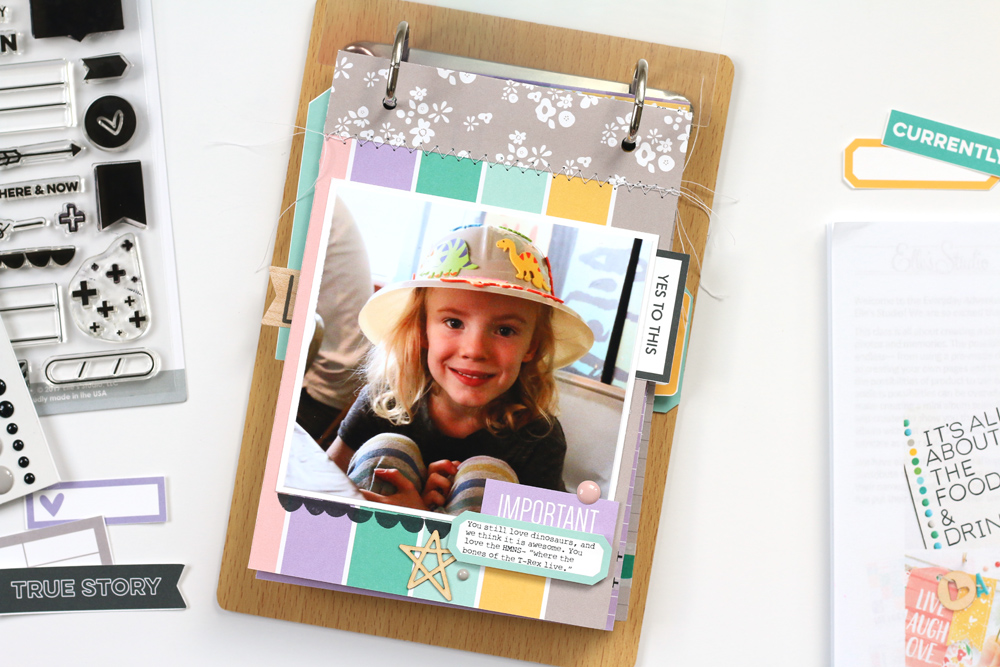
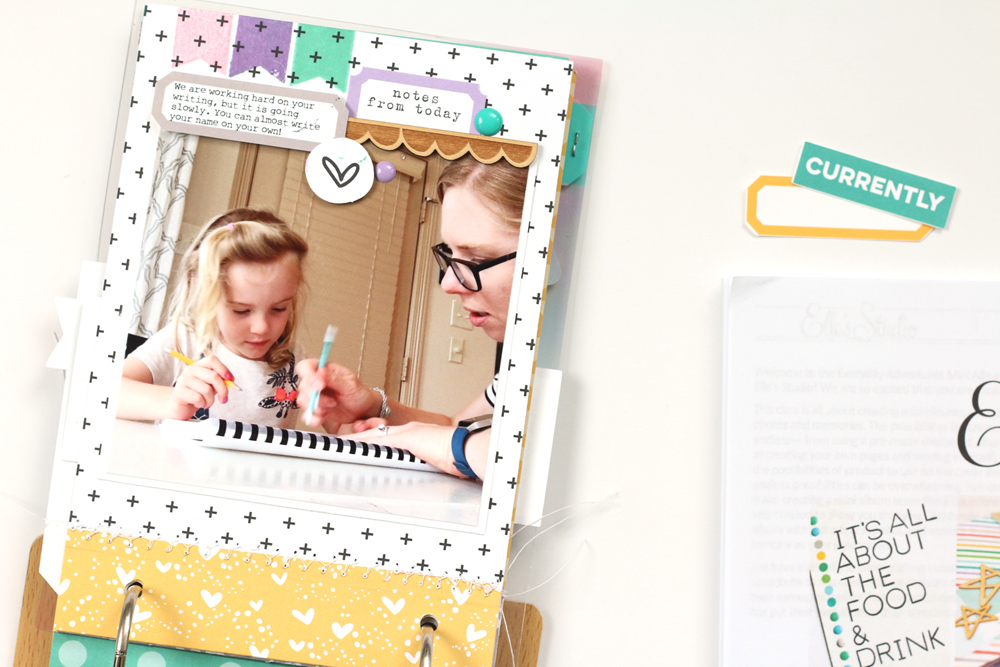
On every page of my album, I featured a 4″ x 4″ photo, that I backed with white cardstock. I used the digital labels included with the class to add my journaling in Photoshop before printing and cutting, allowing me to add the maximum amount of words in a small space. I also made sure that I had stamped images on every page, using the Everyday Adventures Stamp, and included just a few small embellishments.
One of Kristin Tweedale’s tips from the class was to create interest with banners or tags sticking out from the pages, so I added several labels to the page edges, as well as this tag with my daughter’s name, that was purely for embellishment!
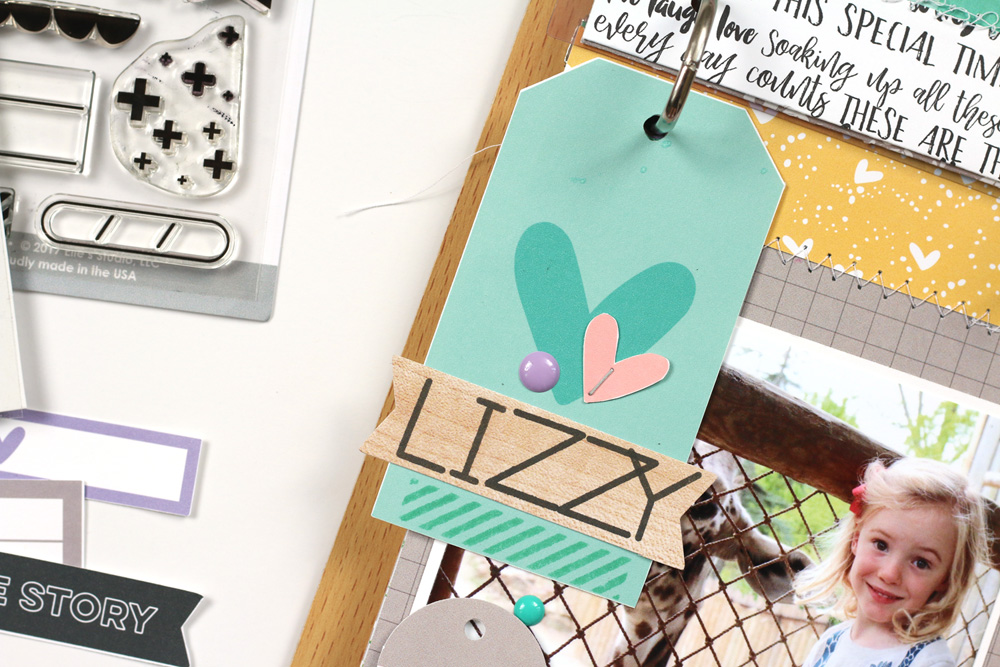
In Laura Wonsik’s lesson, she recommends creating “clusters” of embellishment, which allows for the maximum amount of white space on each page. I loved compiling these clusters with the digital die cuts, Live Laugh Love Bits and Pieces, Puffy Stickers, Wood Veneers, Washi Tape, Enamel Dots and the Everyday Adventures Stamp.
Check out the complete mini album on my blog, and be sure to find the Everyday Adventures Class with or without the beautiful coordinating stamp in the Elle’s Studio shop. Also don’t forget about the product bundle, which, along with the tips and inspiration found in the class content, will make your mini album simple to assemble!
I loved coordinating this class, as well as taking it! If you’ve been inspired by the Everyday Adventures Mini Album Class, too, we’d love to see what you’ve created. Please post your album to Instagram using the hashtag #EllesStudio !
An Everyday Adventures Inspired Mini Album with Meghann Andrew