Hey everyone! Maggie here with a fun little project using this month’s digital files!
Digital files are so easy to customize using a photo editor…so when I’m using them, I love to try to think outside the box just a bit.
Today I’m going to show you how you can take your standard digital card file and tweak it a bit to create your very own To Do lists.
NOTE: I am using Photoshop CC (2015.5) on a Dell Computer to edit my files, but you can use any photo editing program that works with .png images. (all of the individual printables available at Elle’s Studio are .png files).
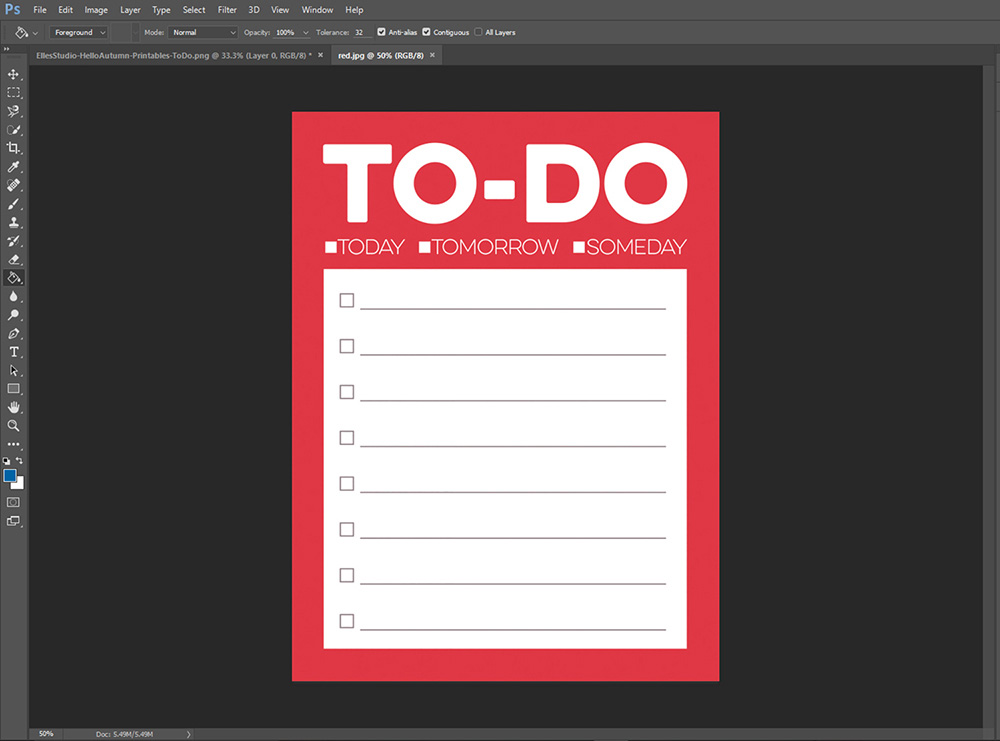
To start, I opened up the red “TO DO” card from the printable folder.
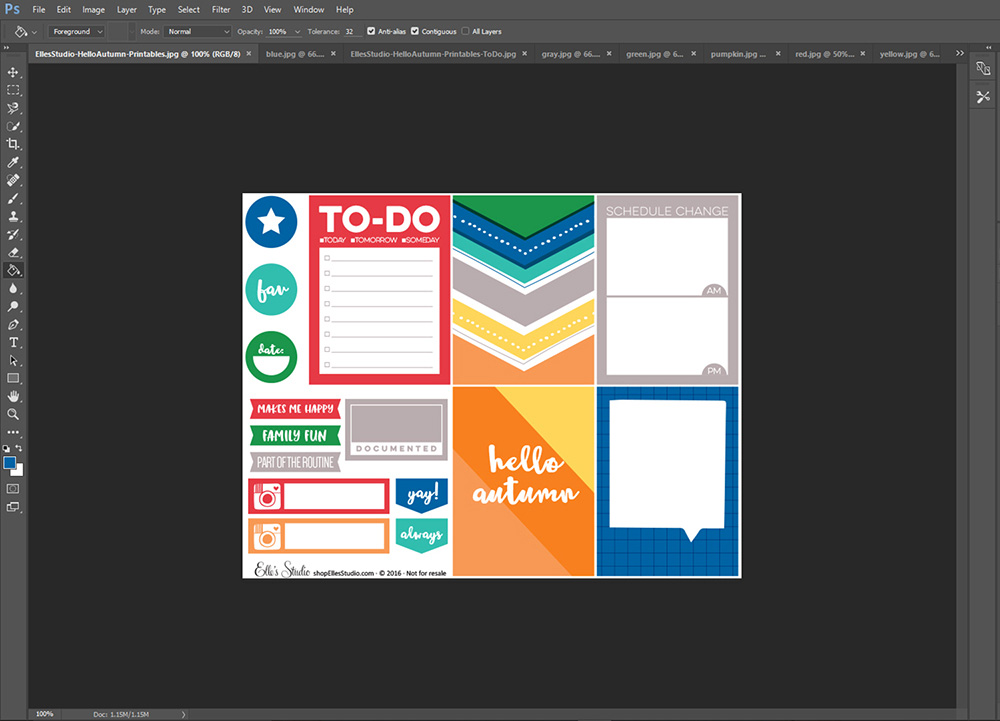
I also opened up the .jpg version of the full printable graphic (you’ll see why in just a moment).
Now, my goal is to change to color of this card…and, for this project, I wanted to stay within the color scheme of the September kits…but you can change it to any color you like.
The image that shows all of the printables grouped together is the perfect place for me to see all of this month’s colors…so I leave it open on my screen.
From the Tool Bar I choose the “EYEDROPPER” tool.
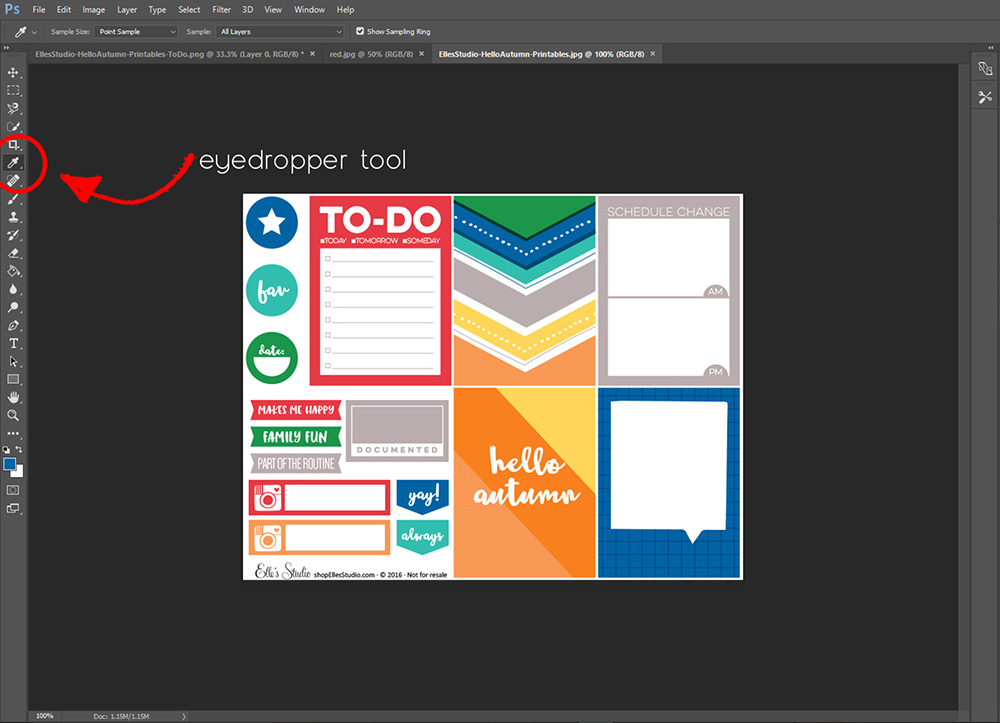
Now I click on any color from the full printable image and the eyedropper will “pick up” that color.
You can check to see that the dropper has chosen the color you clicked by looking in your color boxes at the bottom of your Tool Bar.
Next, I click on the red “TO DO” card file so that it is front and center on my screen…
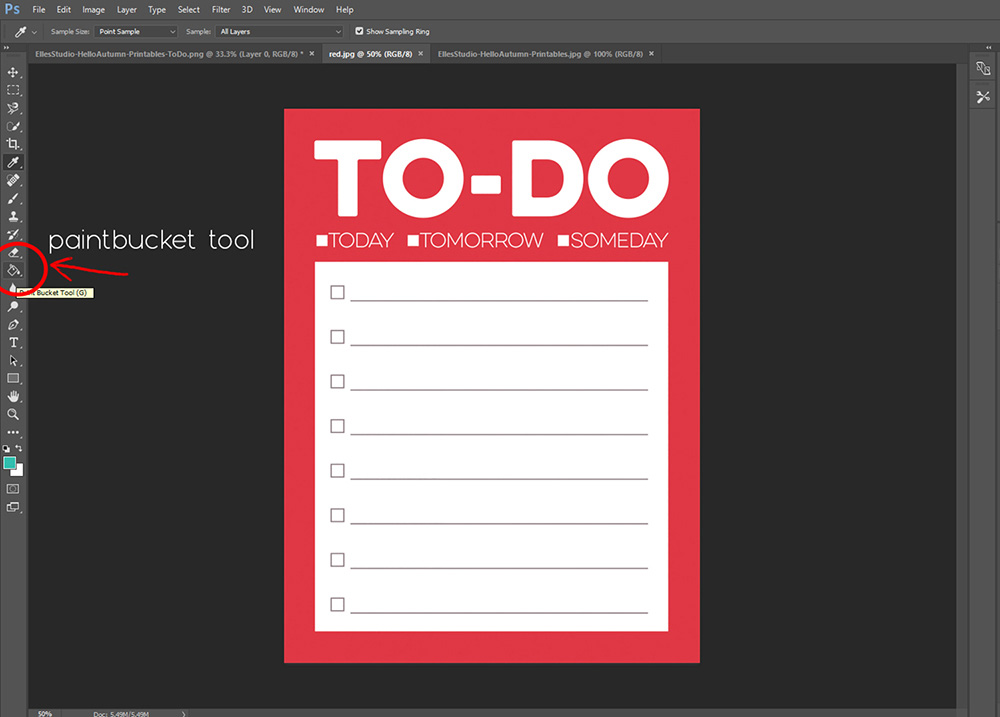
…and I click on the “PAINTBUCKET” tool in the Tool Bar.
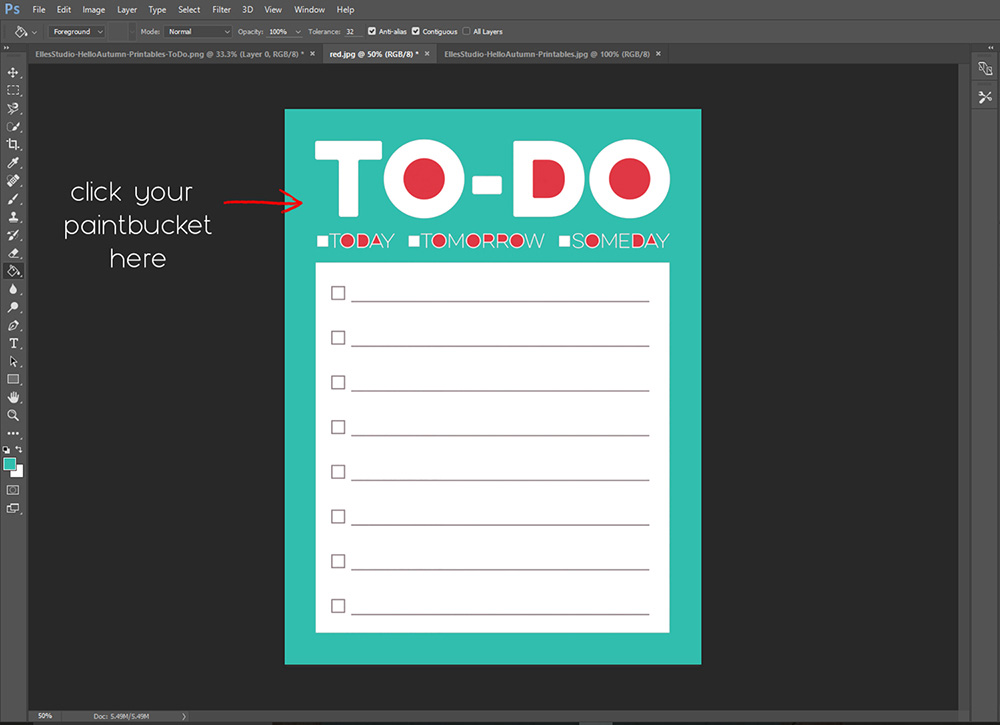
Click your paintbucket on any area that is red on your “TO DO” card and it will become the new color.
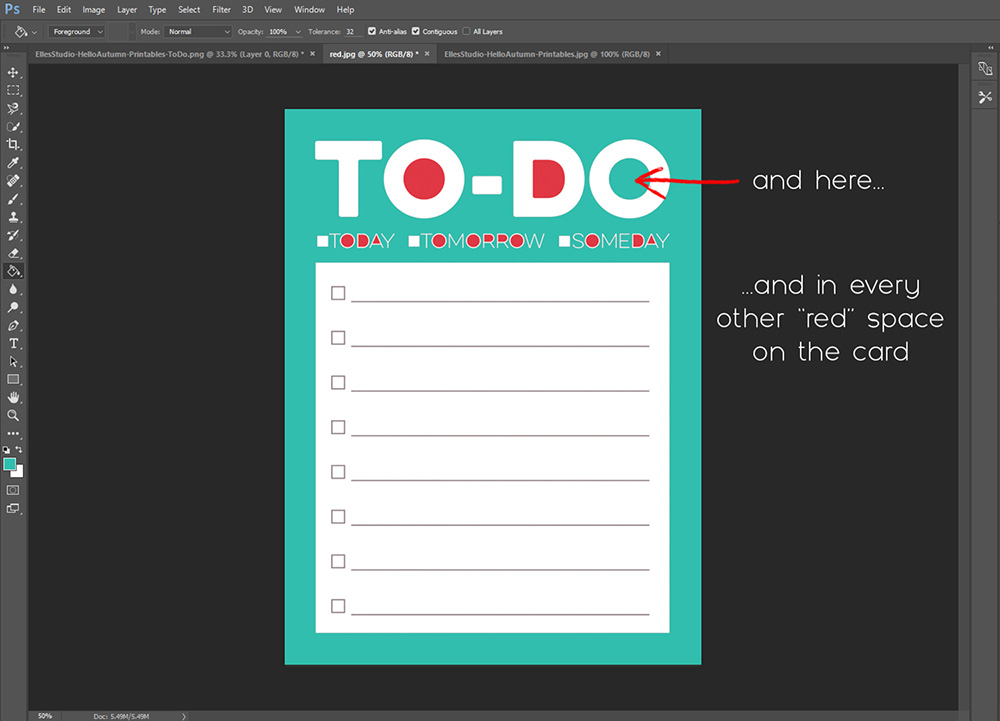
Now click on every remaining red space on the card to completely change the card’s color.
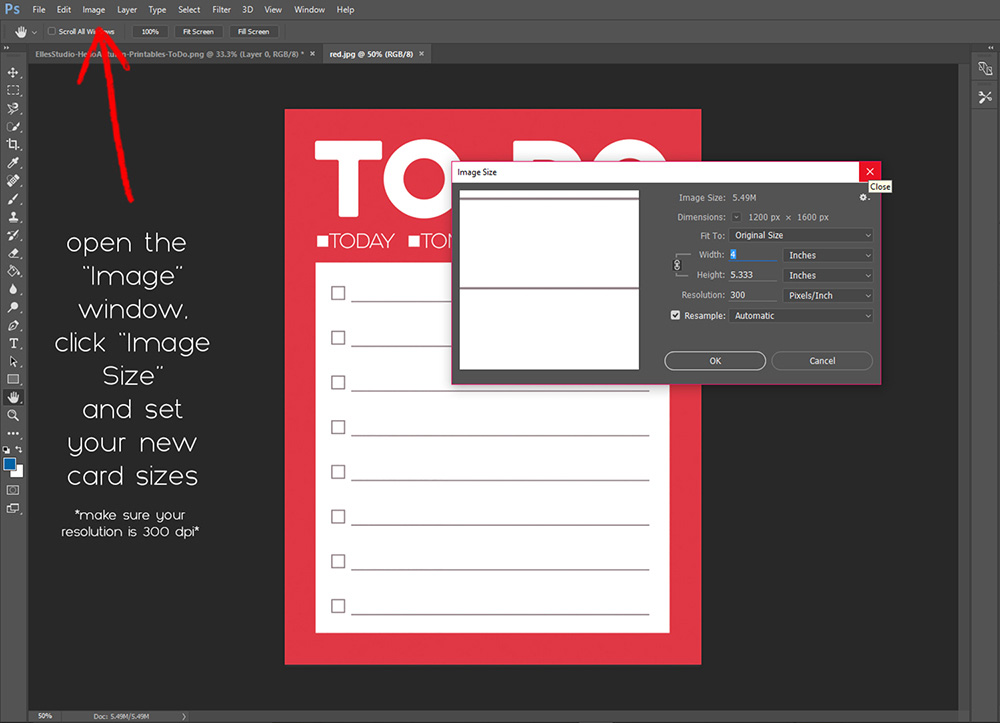
For this project, I decided to also change the size of my card from 3×4 to 4×5.3. Simply open the “Image” window, click “Image Size” and set your new size…making sure to keep your dpi at 300.
Save your new image as a .jpg file and rename it (using the color you’ve chosen is a good way to keep your new cards easily identifiable in your folder) and repeat the above steps for each new color you want to create.
**Remember to start with your original file each time (in this case, the red “TO DO” card).
Once you have created cards in all your preferred colors you’ll want to print them.
Start by opening a new file (page) in your editing program.
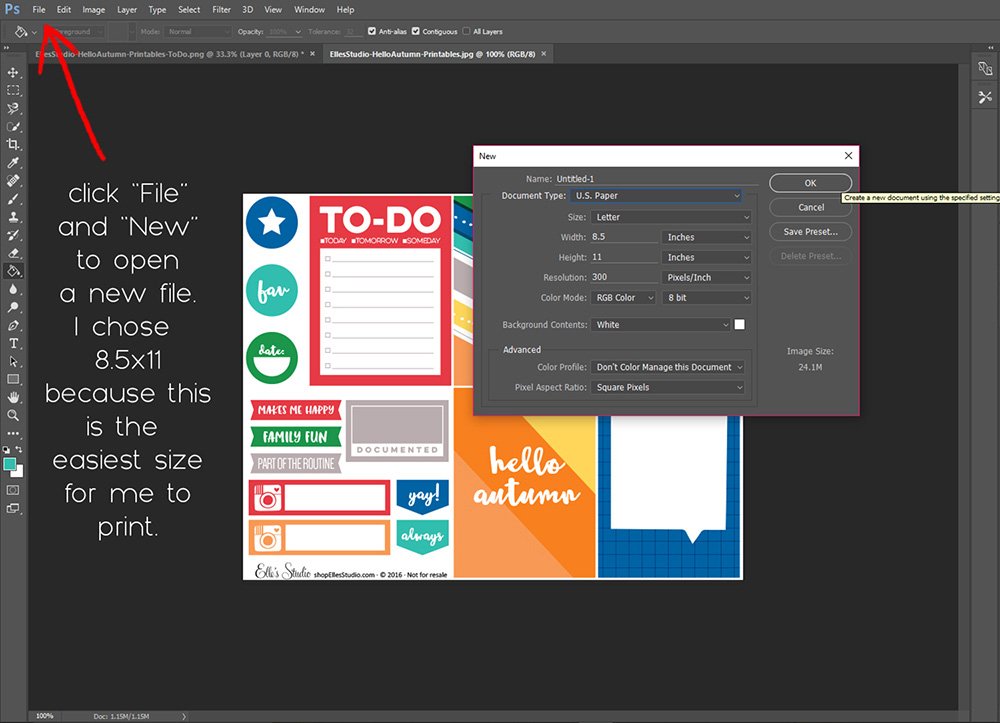
Now copy and paste each of your different colored and resized cards onto your new (in my case 8.5×11) page.
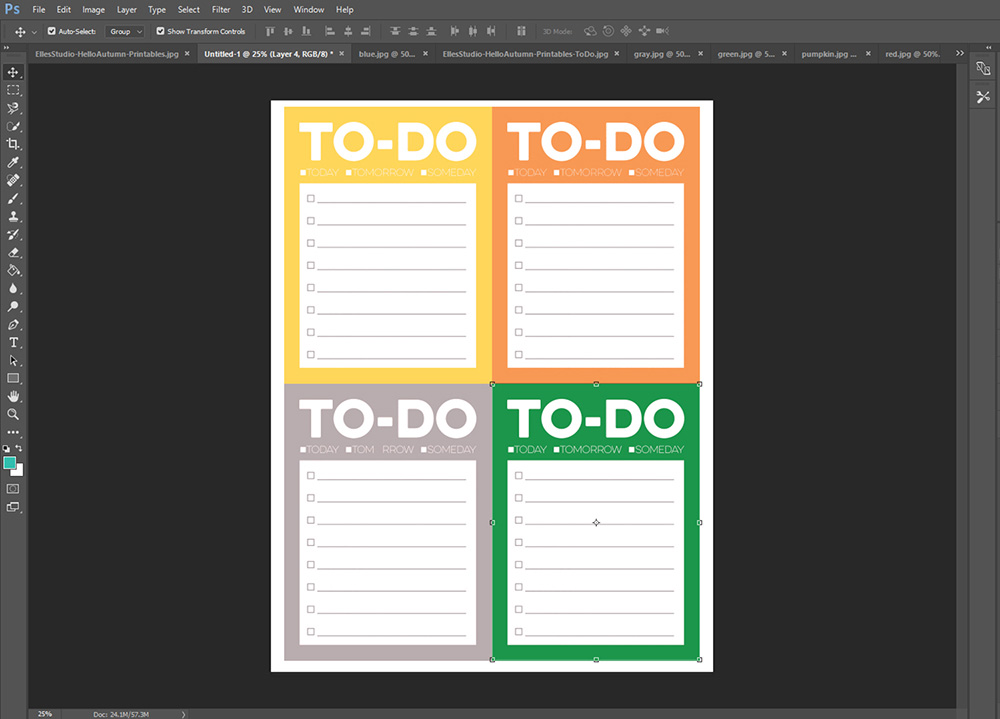
Once you have arranged your cards on your new page, you’ll want to “flatten” your image to reduce the file size.
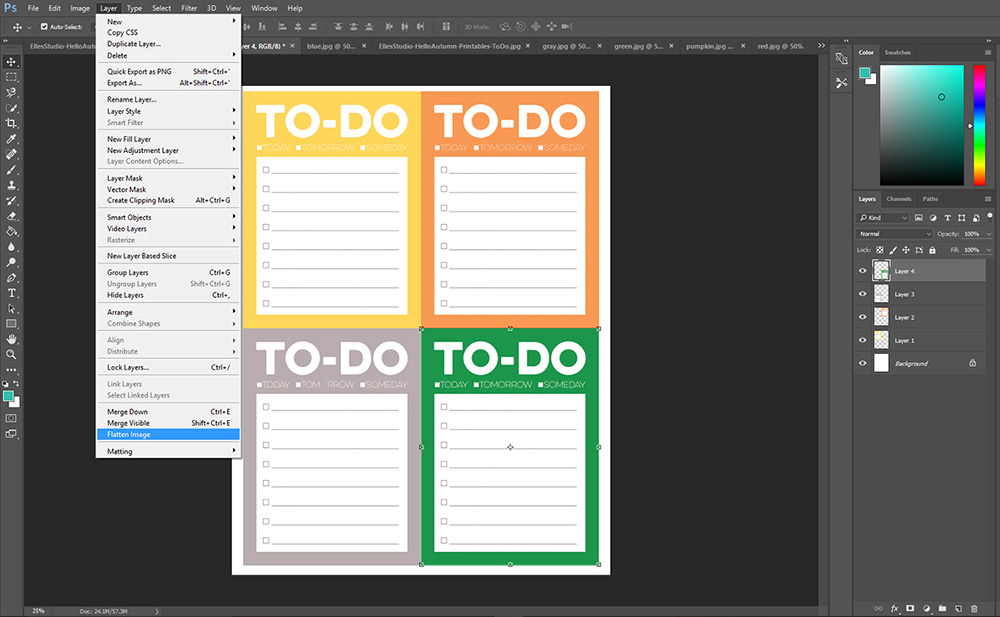
And then you can just print as you normally would!
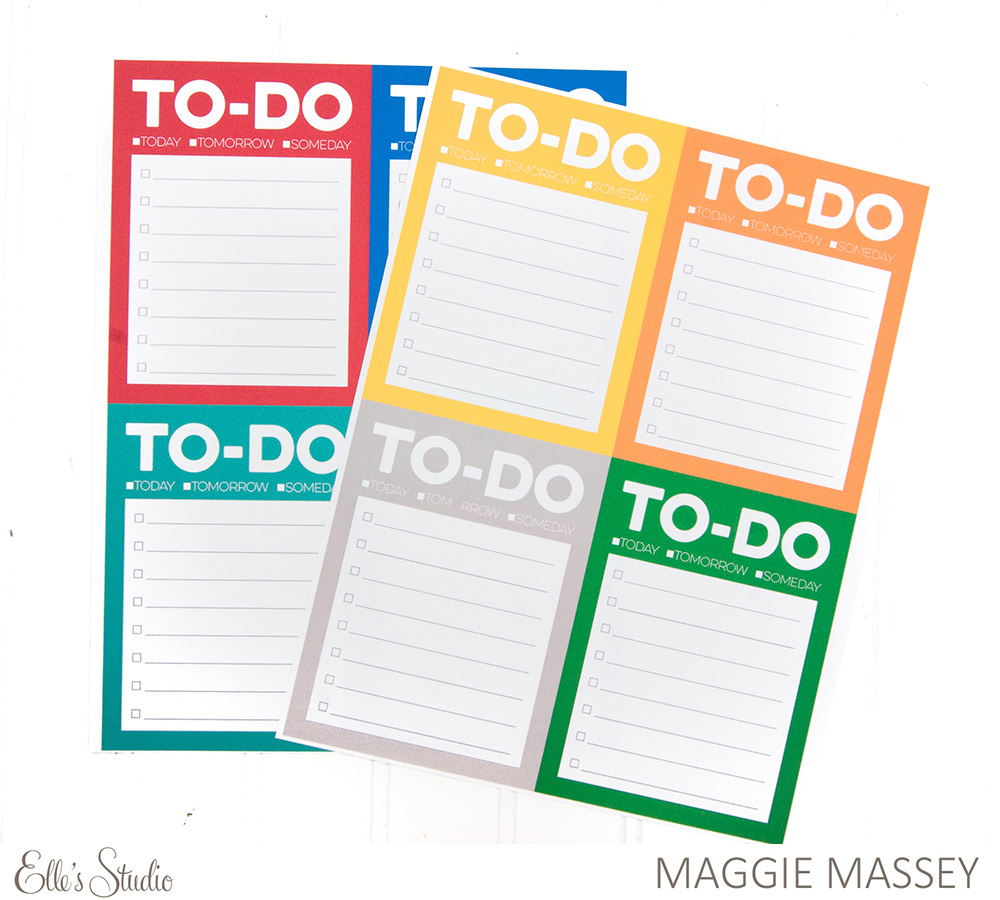
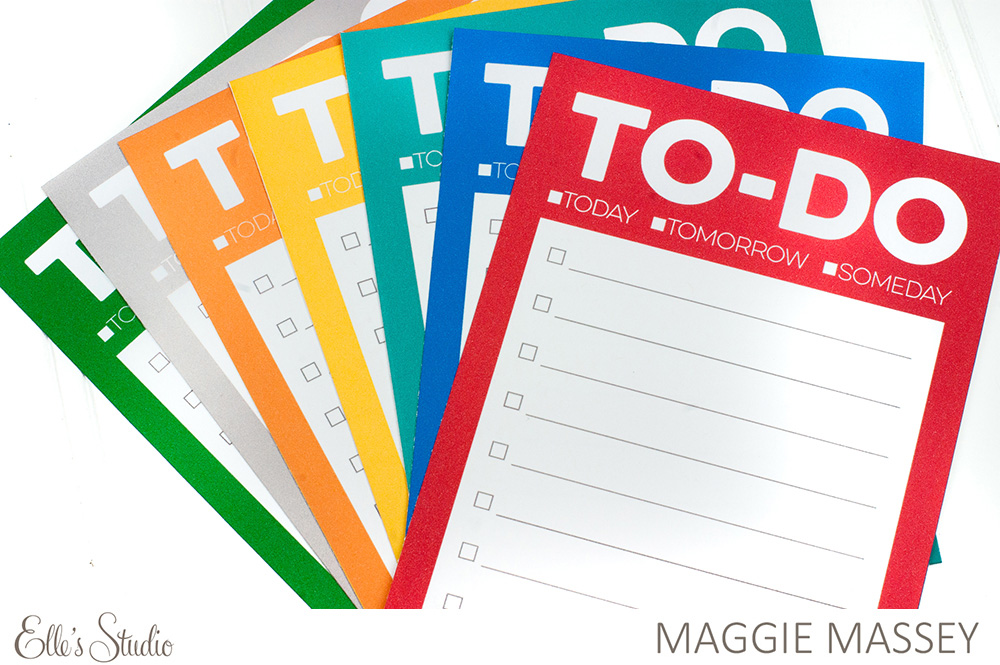
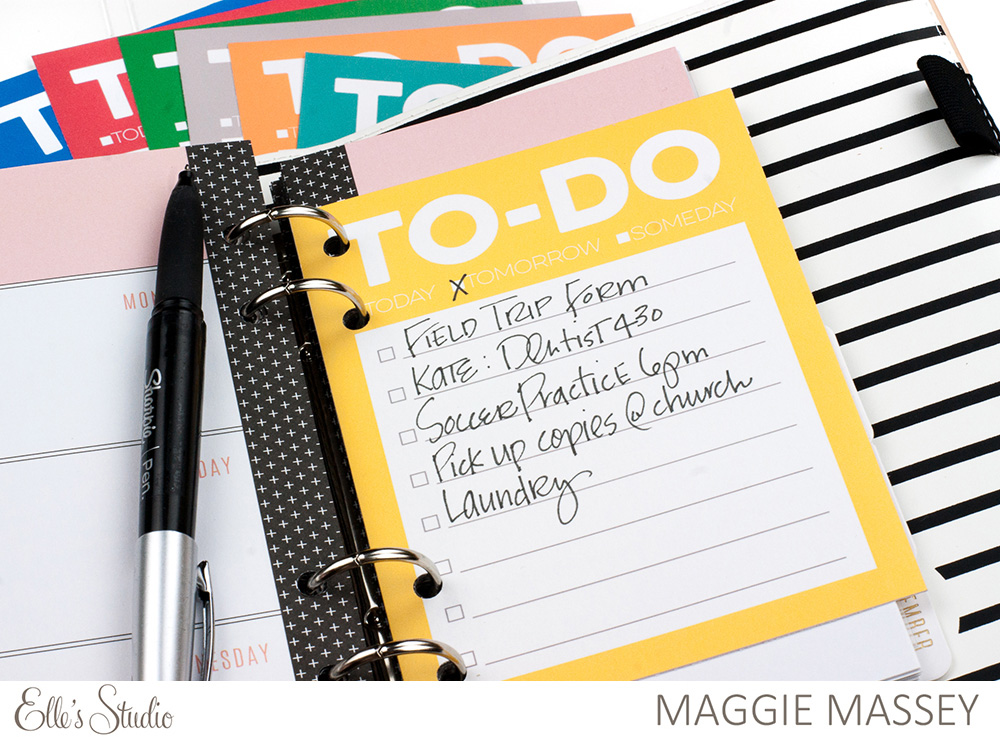
Cut your individual lists apart and you’re done!

I punched holes in mine so they would fit directly into my planner…and I LOVE them.
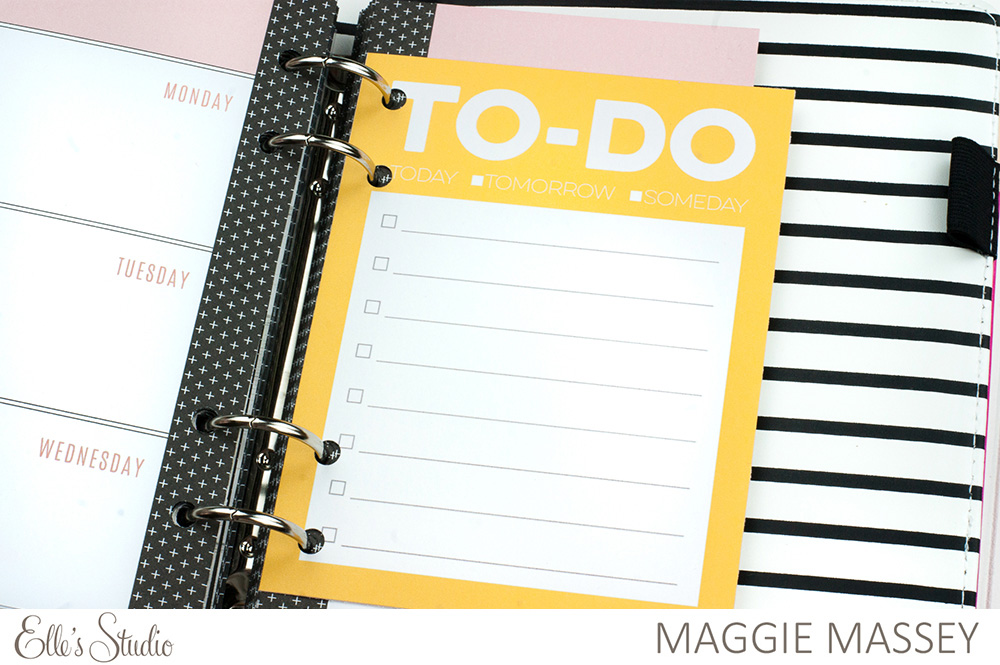
And now I have custom To Do lists for every day! You can do this fun and easy technique with any of the printable files available to make them unique to your project…so cool, right?
Thanks so so much for taking a look! I hope I’ve inspired you to open up those digital files and play a little bit!