Hi guys! Michelle here with you on this lovely day to show you a quick and easy way to document a fun moment using bits and pieces from all of the latest collections. Now, if you are anything like me, your attention span is short when it comes to scrappy supplies and you are always ready to jump on the latest collections! And if you are like me, you end up with quite a little stash of products! Luckily I have found that the collections from Elle’s Studio along with the exclusive kits and extras all coordinate really well together, making it a breeze to pick out some supplies, create, and make a dent in my stash. Today I am going to show you how I picked out supplies from various collections and kits and pulled together a quick layout documenting a certain friendly giant!

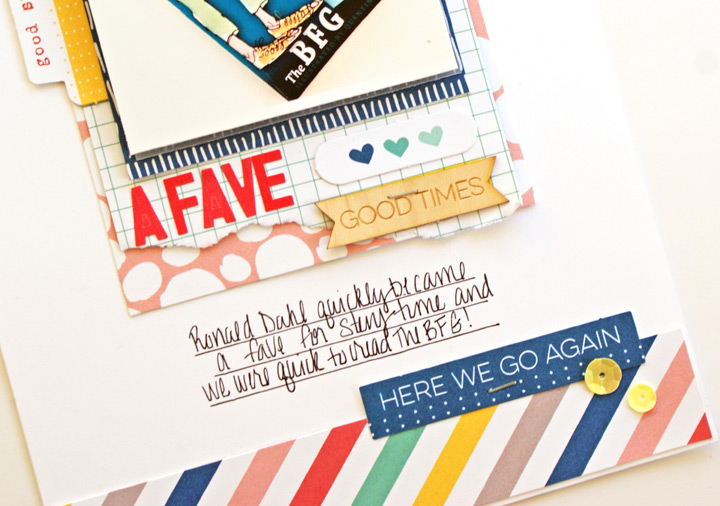
Since the beginning of the year, the girls and I have made it part of our nighttime routine to read a chapter or two from a “big” book during storytime. Ronald Dahl made an early appearance in the lineup and the kids and I have been hooked on his stories ever since. So of course, we had to get in The BFG before it hit the theaters! To document this little story I wanted to create a 6×8 layout and I turned to my Elle’s Studio products and pulled out bits and pieces from all the latest releases, including this month’s kit and the Read Mini-collection!
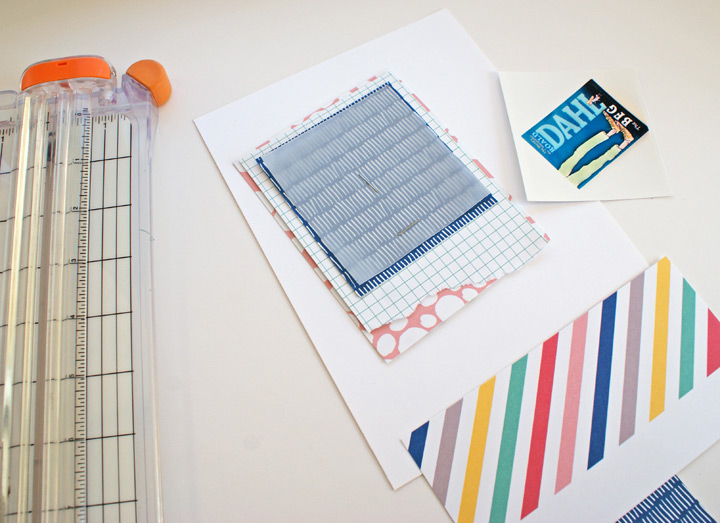
When cropping down your layout size by several inches, you have to consider your picture size. Occasionally I will want a big impact with the photo and I will print it as a 4×4 or 4×6. For this layout I wanted to make sure and leave room for all the elements that I had pulled out and chose to print my photo at roughly 3×3.
One of the things I have learned about creating on a smaller size is that I do my best when I keep it simple and so I went with a classic vertical design, lining up all my elements straight down the middle. To create my layers behind my photo I reached for the Sunny Days 6×6 Paper Pack which is probably my most used product from the collection. I love that I can quickly flip through the pack and see all the patterns. I included a sheet of vellum, tore the edge of one paper to add a little texture, and stapled my layers all together.
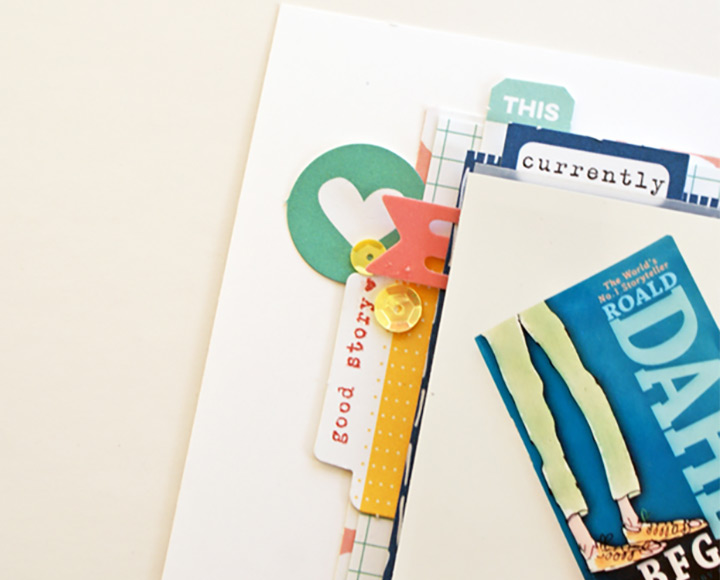
After the foundation of my layout is complete, I dug into the tags from the August Kit and layered those around the photos aiming for balance. Often times if I layer elements on one side I can find that my project looks “off” and this is usually remedied by adding or moving some elements to the opposite side of the page. For my design, I balanced out the heavy top left with a tag and wood veneer on the bottom right.
Here’s the final project:
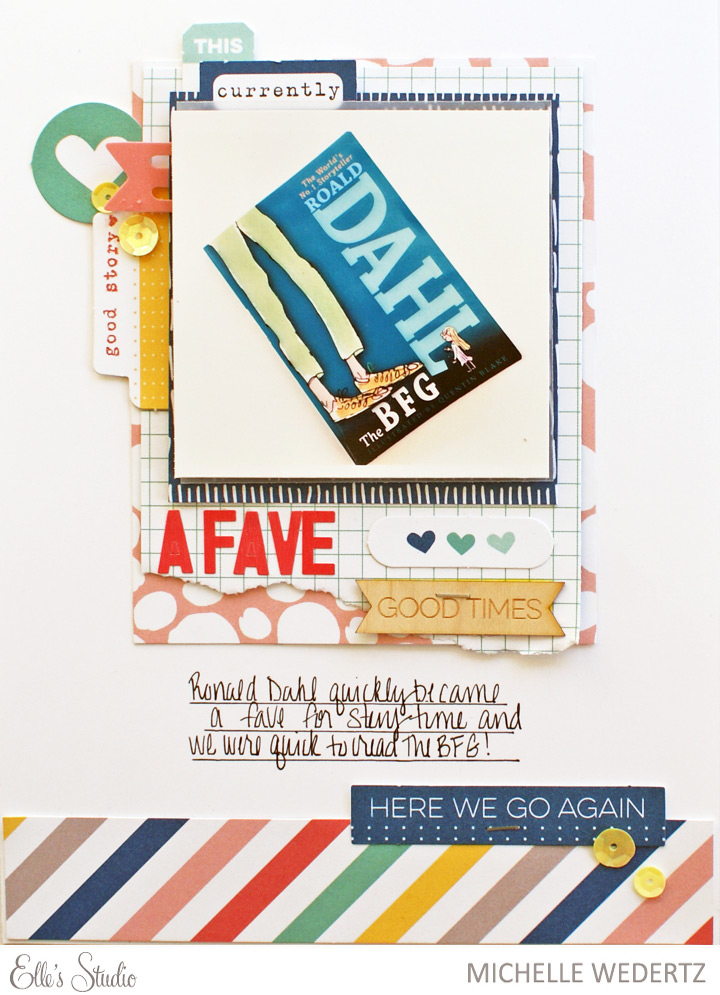 Supplies: August Kit; Good Times Wood Veneer Flags; Letters & Numbers: Pink; Read Journaling Cards; Read Stamp; and Sunny Days 6×6 Paper Pack.
We’d love to see how you are using these new collections with the monthly kit – when posting on Instagram, make sure you use the #EllesStudio hashtag for a chance to be featured on our feed!