Hello there, Elle’s Studio fans! Meghann here and stamps are a major tool in my scrapbooking arsenal. By using different inks and different techniques, I can use them to create almost anything I want on my pages, from embellishments to titles. Today, I’m here to share a bright, airy layout that is heavily stamp focused.
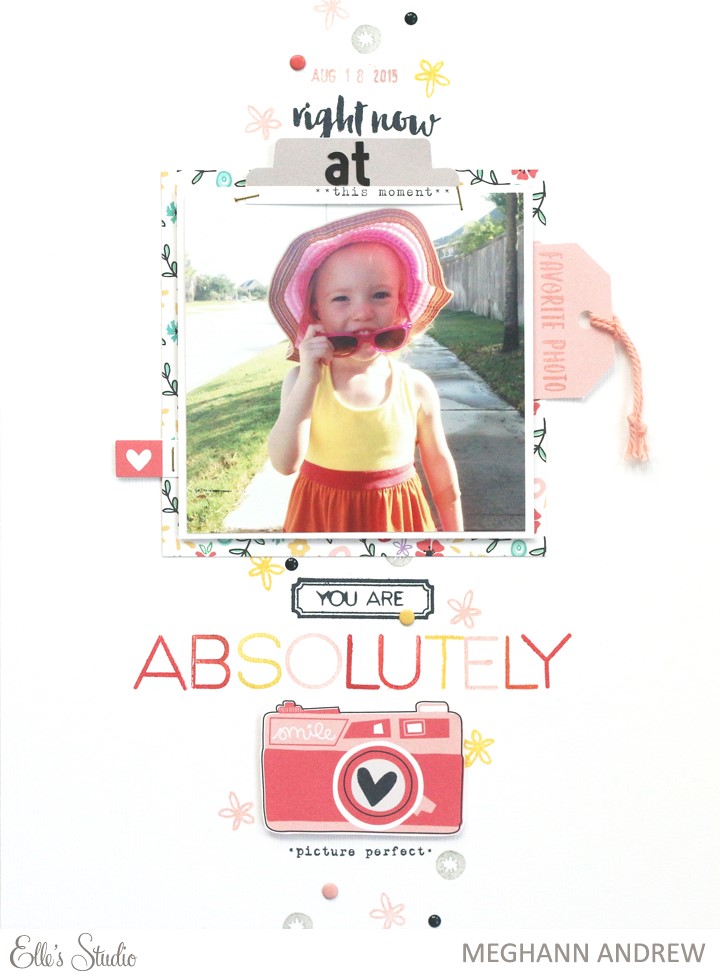 Supplies: March exclusive kit, Noteworthy stamp, Little Moments 12” x 12” paper collection, Little Moments bits and pieces, Little Moments stamp, Jonah alphabet stamp, Label It stamp, The Story Of stamp, letter and number stickers- black.
By focusing on a central column on my 8-1/2” x 11” layout, I used the Noteworthy, Little Moments, The Story Of and Jonah stamps to create my title, as well as add embellishment to my graphic, one-photo design. By marking the center line on my paper, it was quite easy to add the “right now” and “you are” phrases at the center of the width of my paper, but getting the word “absolutely” centered, using the Jonah alphabet stamp, was a bit tricky. Let me show you how you can do it, too:
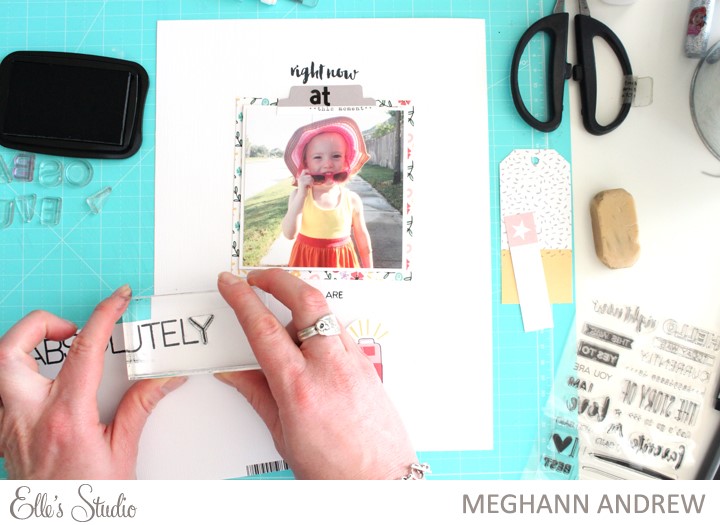
First, on a piece of scrap paper, I stamped the word “absolutely” in a straight line, using just one color for speed.
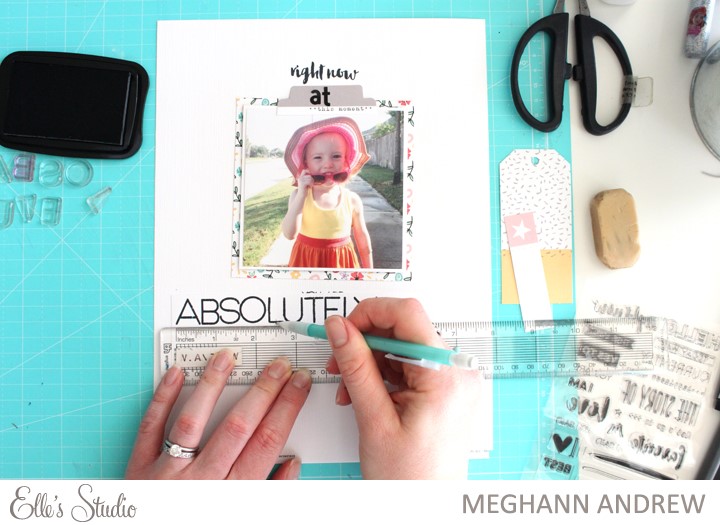
Next, I measured the length of the word and marked the center line. Going back to my layout cardstock, I marked the centerline of the paper under my photo, where I wanted to stamp the word. I also measured and drew a straight line with a pencil to use as a guide for the word.
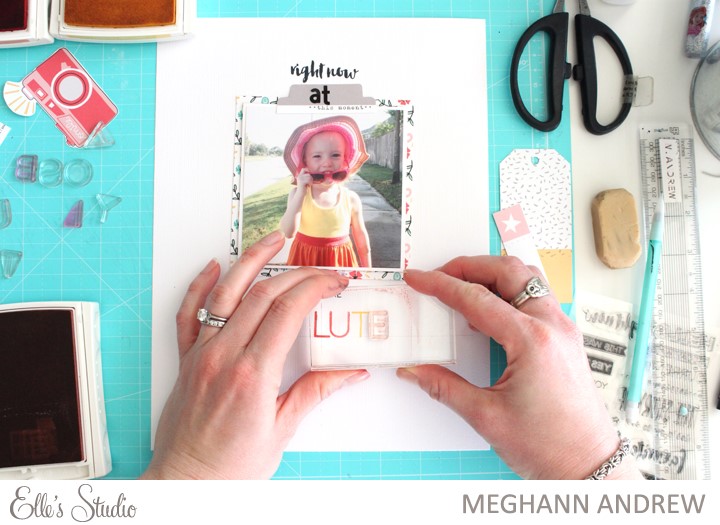
I began stamping with the L, since it was in the center point of my word. I lined the “L” up on the paper’s center point where the center point of the word was on my scrap piece of paper. From there, I stamped the remaining letters to the right of the “L” using different colors…
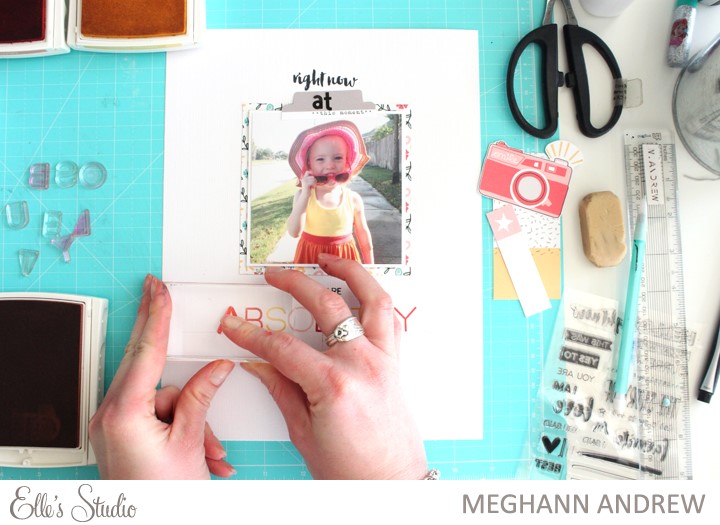
and continued with the letters to the left of the “L”, finishing with “A”.
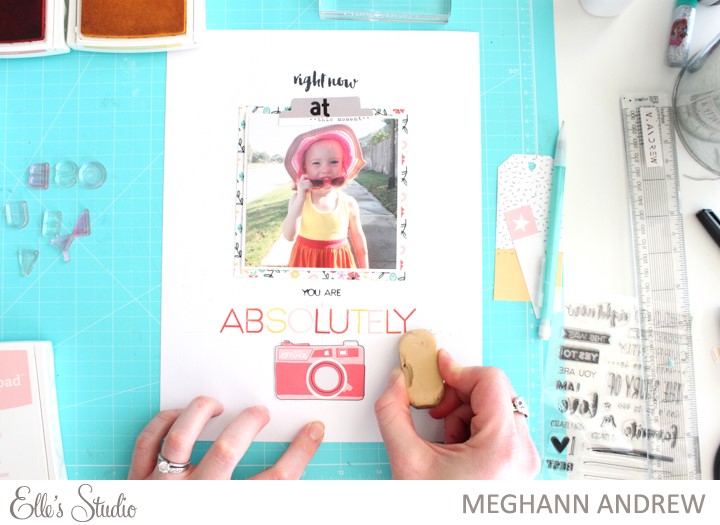
Once the word was finished, I carefully erased my guiding lines with a gum eraser, and dusted the page off with a drafting brush. Using your hands to brush off the layout can result in smudges from wayward ink on your fingertips. Trust me, I speak from experience.
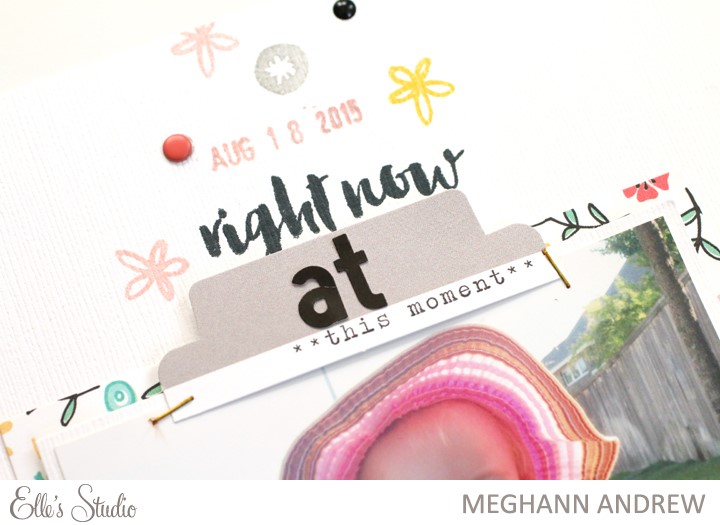
Once I had my title in place, I added the adorable small flowers from the Little Moments stamp to float from the top of my layout to the bottom.
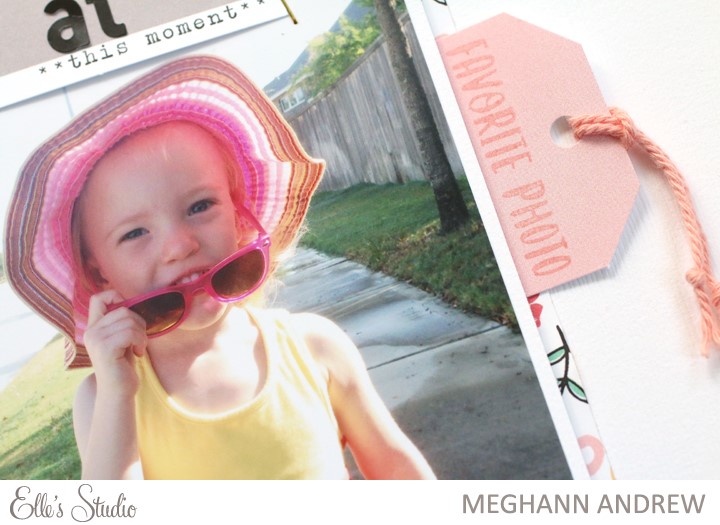
This photo is literally one of my favorite photos of my daugher, so I had to stamp that phrase from the Noteworthy stamp onto a journaling tag from the Little Moments bits and pieces, which I tucked in a pocket behind my photo. By stamping the phrase with a similar colored ink to my tag, it kept the image less jarring, creating a tone-on-tone effect.
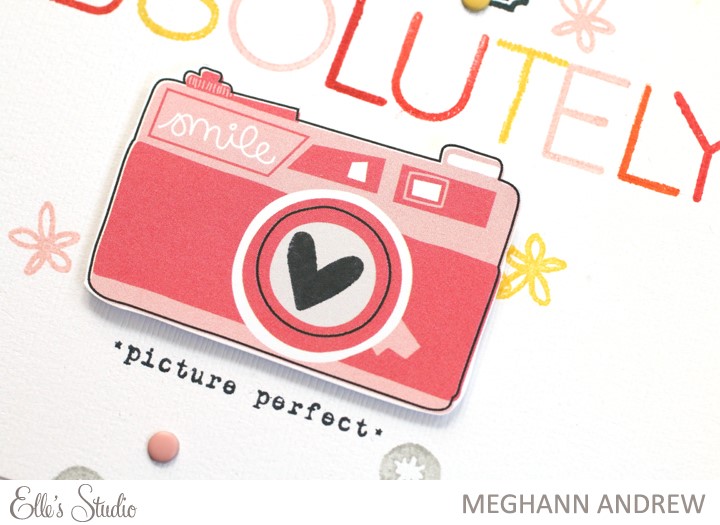
If you haven’t yet purchased the March exclusive kit, this sweet little camera is featured on one of the 3” x 4” journaling tags, and is perfect for cutting out to use as an embellishment. I added a black heart to the lens with the The Story Of stamp, and the final piece of the title, “picture perfect” was the perfect phrase to finish off this layout.
Thanks for joining me today! Before you go searching for the “perfect” alphabet sticker or pre-made embellishment on your next layout, consider stamping one for yourself!

Comments