I love the versatility that die cuts have in the design process!. You can size them to fit exactly the space you need, and cut them out of any material suitable for your page. And even though it requires an electronic means to produce them, it’s easy to give them a handmade touch with paints. Here’s my favorite (i.e., super easy!) way to customize die cut shapes.
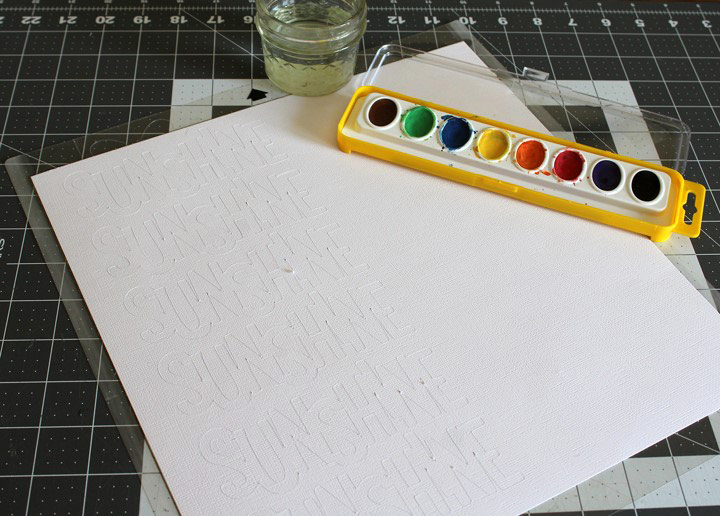 1. Select the die cuts you want on your page and edit/resize in your cutting software. Cut shapes from white card stock and leave the sheet on the adhesive backing when complete. Most die cuts are a bit delicate, and keeping them on the cut sheet when painting makes it easier to cover the whole shape with color without making too big of a mess!
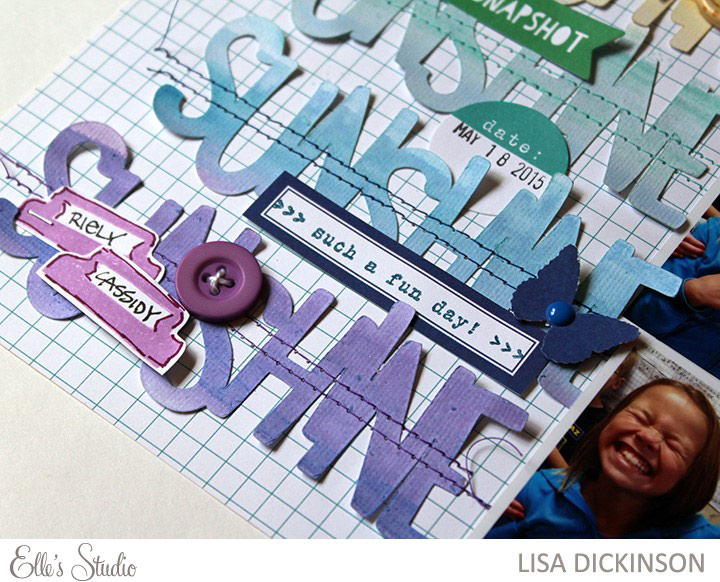
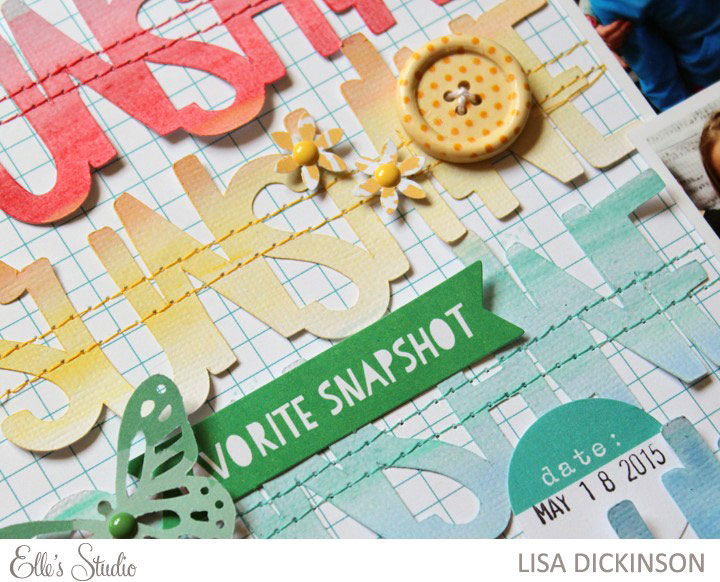
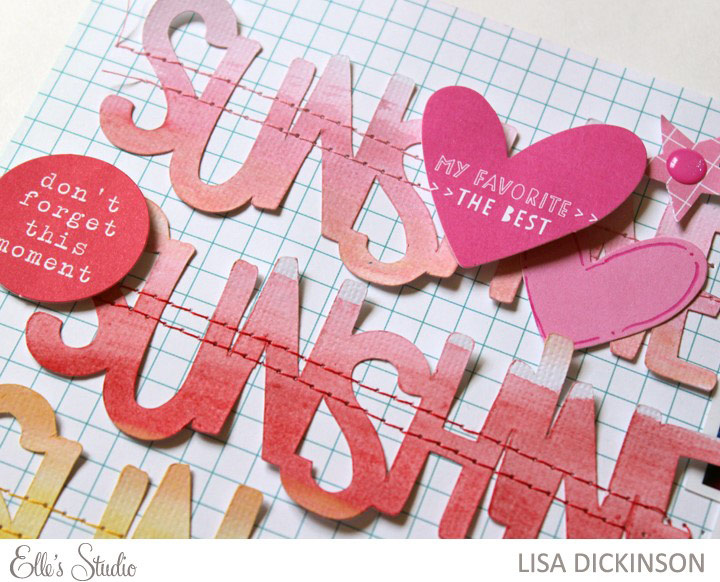
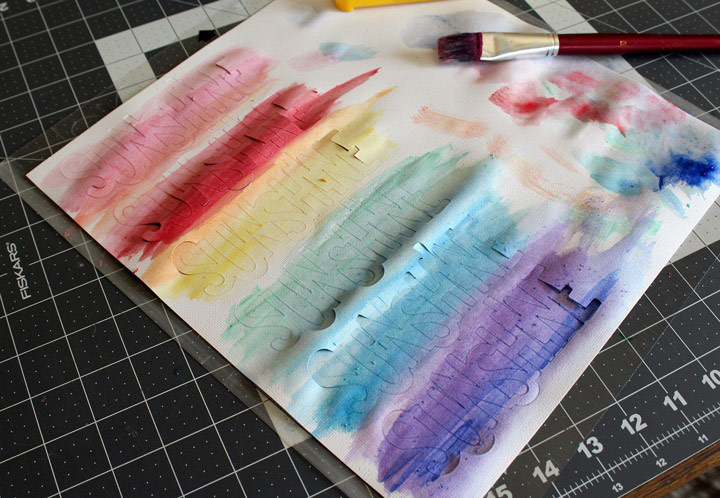 2. Use your favorite media to add color to your shapes. I used a mix of watercolor paints and watered down acrylic paint, as well as some spray inks (just remove the spray lid and dip your brush right in for more saturated colors!) Don’t worry about the paper buckling – it will flatten back out when it dries. And if you want a really smooth piece, you can always run a warm iron (with no steam) over the piece after you remove it from the cut sheet.
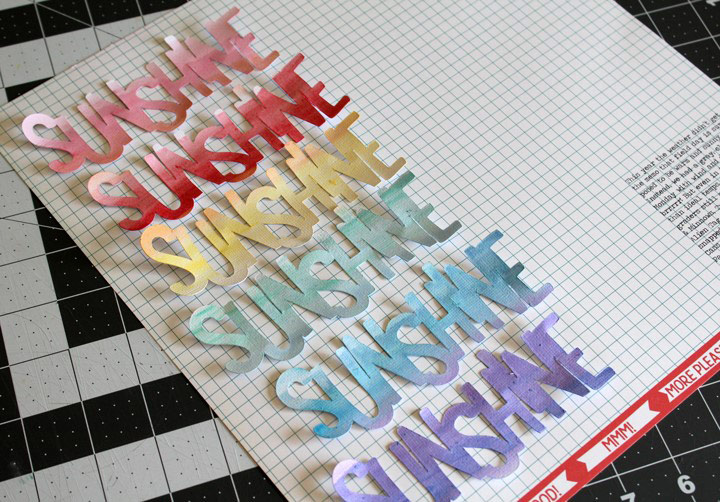 3. Once dry, carefully remove your painted pieces from the cut sheet and discard the surrounding card stock. You can stick them to your page with adhesive, or use stitching for an added handmade touch.
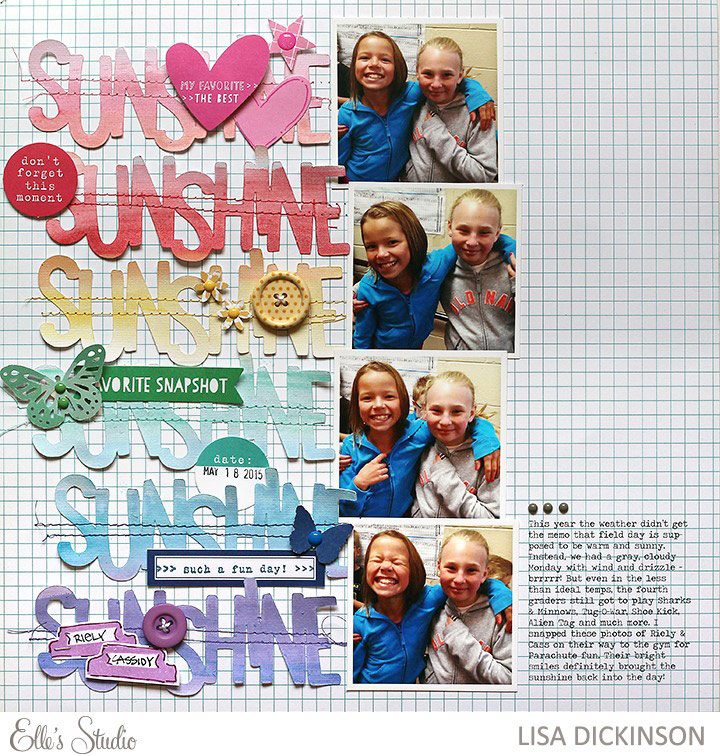 Then just add whatever photos, papers and embellishments you want to finish your design! I combined some of the smaller Elle’s Studio tags and stamps, as well as some shapes punched from the patterned papers, on top of my painted die cuts. I love the colorful result!
 Products used: Let’s Eat Paper Collection, Shine Paper Collection, Shine Bits & Pieces, Shine Lil’ Snippets: Blank Labels, Shine Happiness Is stamp, March Cut File
There are so many great cut files available at Elle’s Studio and using this technique, you can customize them to fit any page theme. Try it next time you want a completely unique element in your design!

Comments