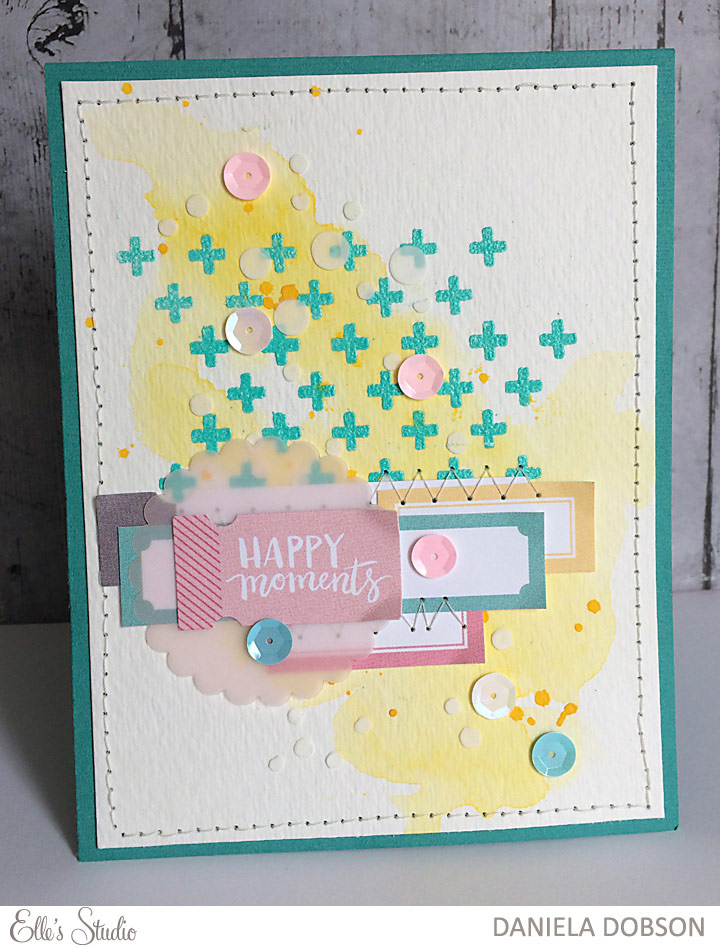
 Daniela is sharing a fun card tutorial with us today – here is a step by step of how she made this beautiful Happy Moments card!
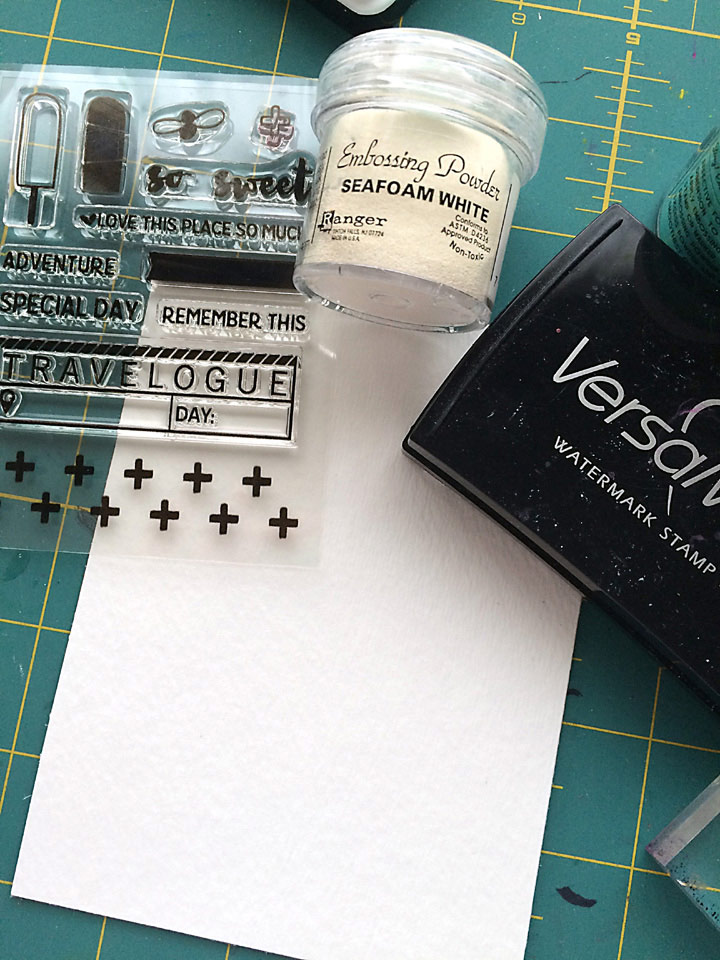 1. Cut a piece of watercolor paper to 4 x 5 1/4 inches. Stamp the cross design with VersaMark ink.
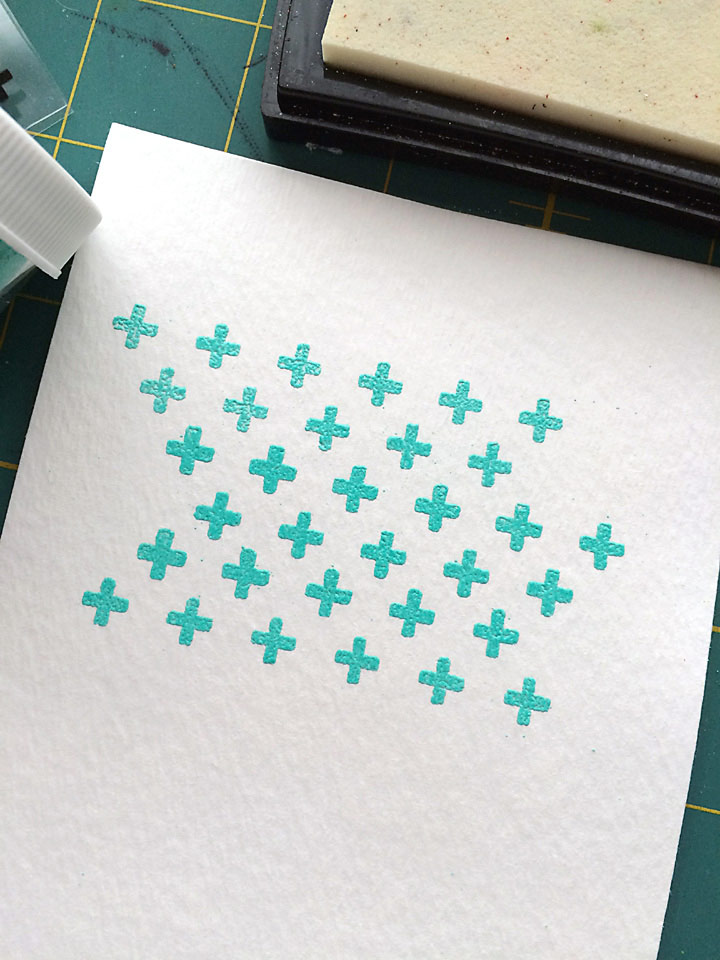 2. Heat emboss using turquoise embossing powder.
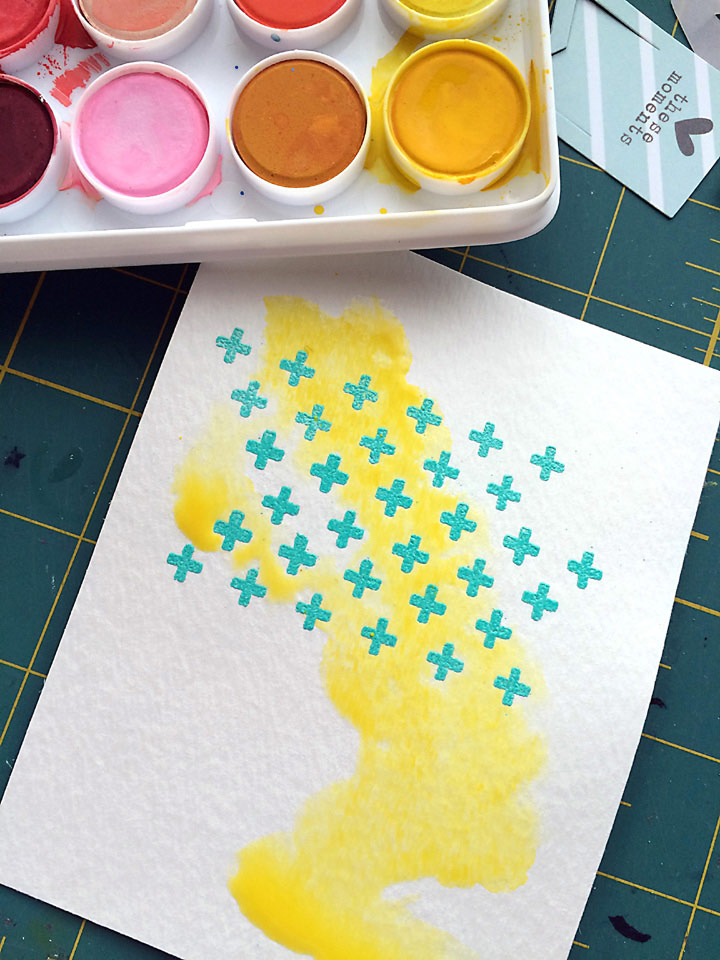 3. Apply water to the cardstock and then add color. Once it’s dry add splatters of the same color.
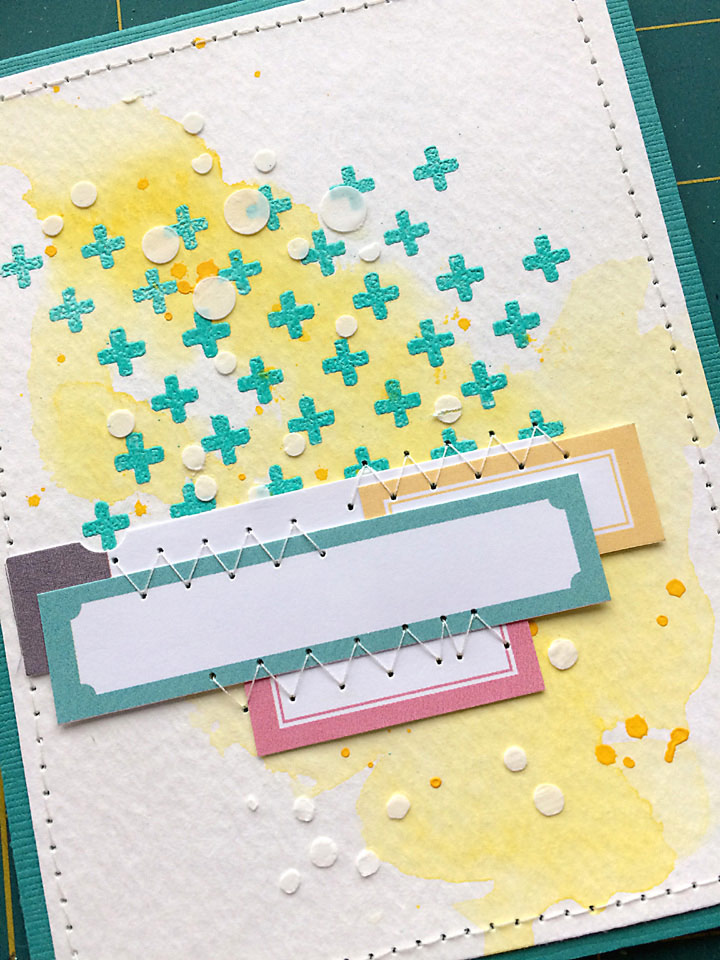 4. Using a stencil, apply white modeling paste to the card. Stitch the piece of watercolor paper to the 4 1/4 x 5 1/2” card base. Layer different tags as shown and stitch to the card.
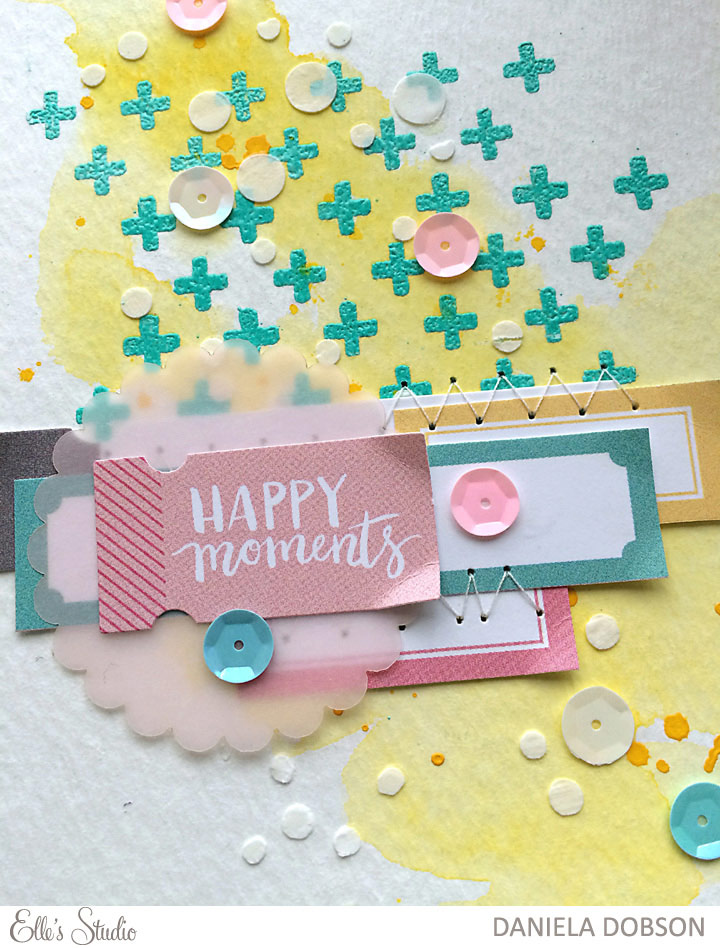 5.Adhere vellum and “happy moments” tag. Add sequins.
Supplies used: So Sweet Stamp, Cienna Blank Labels, Cienna Bits and Pieces, and Elle’s Studio June 2015 kit

Comments