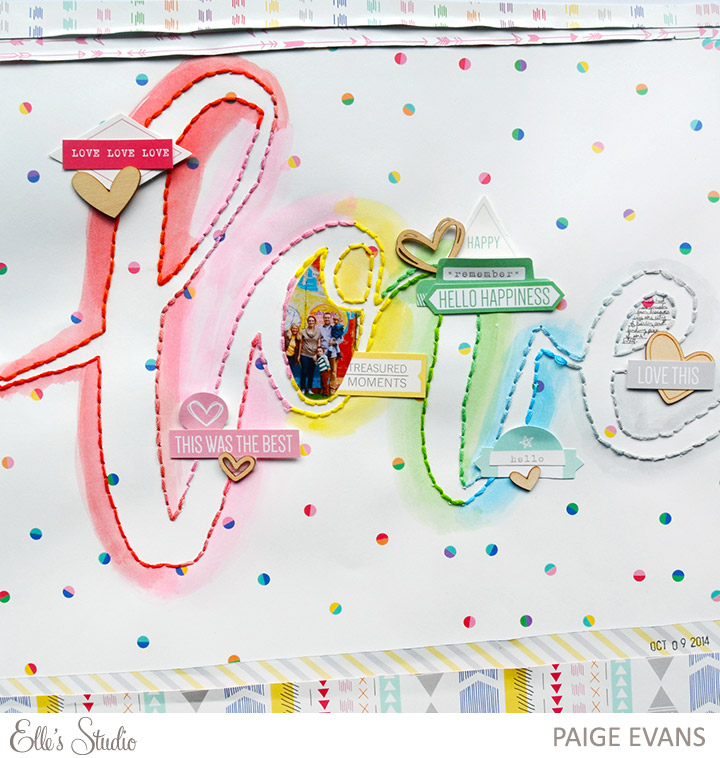
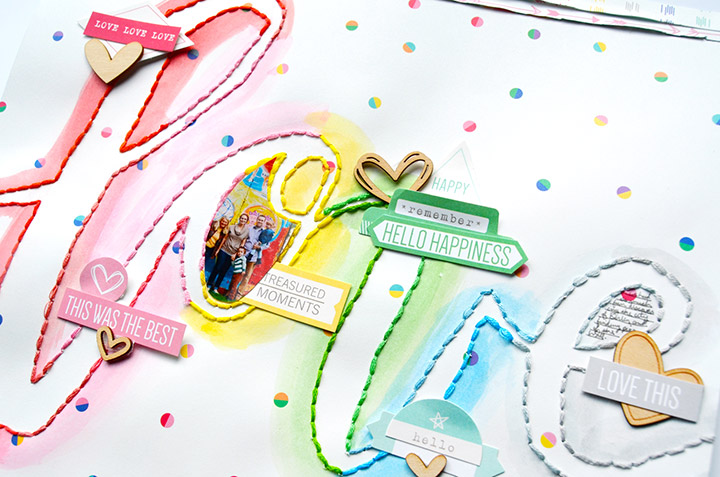
 Paige has put together this amazing layout and a step-by-step tutorial to go along with it! There are so many things to love about this layout – the watercolor, stitching, layers, and tags added – so we are excited to see how it came together. Here are Paige’s steps:
 1. Die cut the “love” from the January digitals from scrap cardstock.
 2. Lightly adhere the “love” over the HAPPY paper from the Sycamore Lane collection.
 3. Watercolor over the “love” using colors pulled from the January kit – I started with red then changed to pink, yellow, green, and blue.
 4. Remove the “love” template and let the watercolors dry or speed up the process with a hair dryer.
 5. Poke a hole every 1/4″ all the way around the outlines.

 6. Back-stitch through the holes using colors of thread that match the watercolors.
 7. Embellish the layout with die cuts and sentiments from the January kit, placing colors on like colors, as well as wood veneer hearts. Edge the top and bottom with a couple of patterned papers. Trace the inside piece of the “o” onto a photo and trim to fit.
 Products used: Sycamore Lane Papers, exclusive January Kit, Love You Lots wood veneers, January Digital Cut Files.
This is such an amazing technique – we love how the colors move throughout the layout. Thank you for sharing your step-by-step process with us and inspiring us today, Paige!

Pingback: CraftCrave | DigiFree | CraftCrave