
I’m excited to announce a new monthly blog post where I’ll be focusing on creating tags while sharing my step-by-step process.
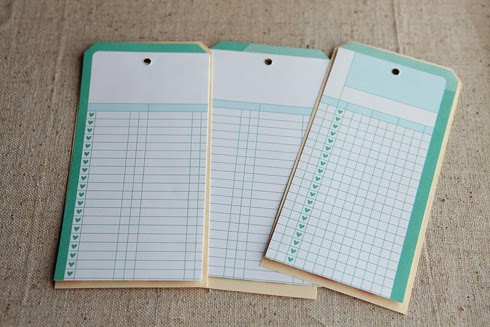
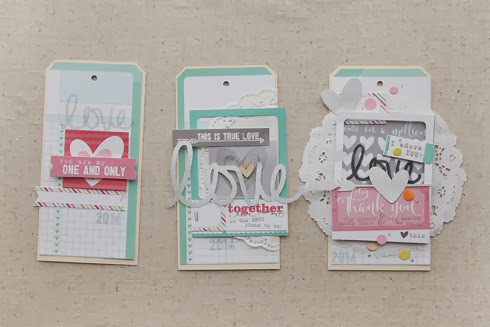
I started with three manila tags that I had in my stash.
I cut the Kisses pattern paper to 3×6” and trimmed the top corners to match up with the premade tags.
This is something I love that Elle does within her collections. The way bits and pieces fit perfectly together and how they layer in just the right way. So much thought goes into her design process!
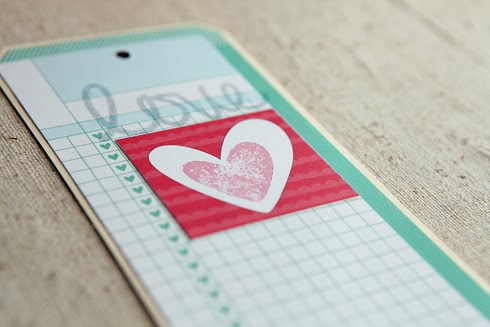
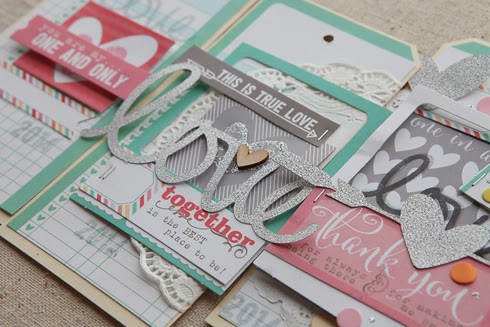
I wanted to keep this first tag more on the simple side of things
so I added just a few of the precut tag pieces using pop dots for dimension.
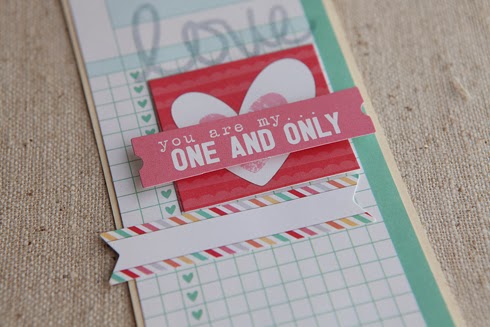
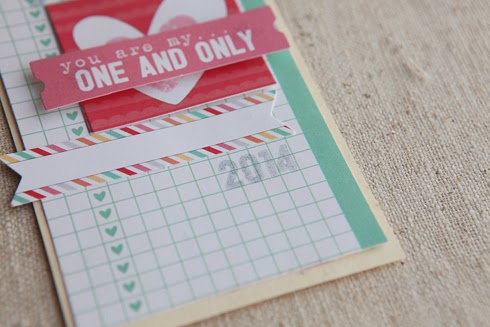
Since these tags will be for on my kiddos Valentine’s gifts I wanted to make sure I included the 2014 stamp from the Good Times Stamp set on each because in the end they make their way back into my Project Life album.
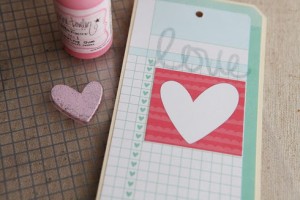
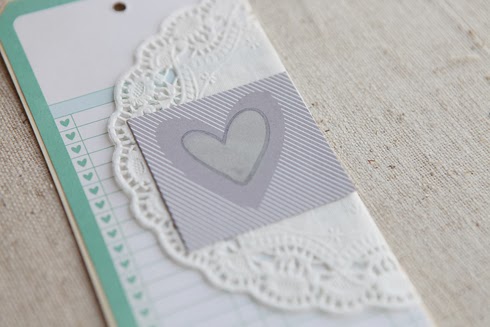
Starting with the same Kisses paper and layered on top of the manila envelope I folded over a paper doily and attached it with adhesive.
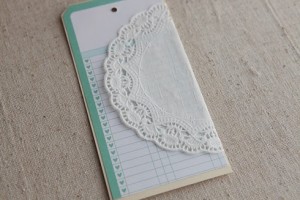
I once again used the heart stamp but this time with a cream chalk ink so it’s subtle.
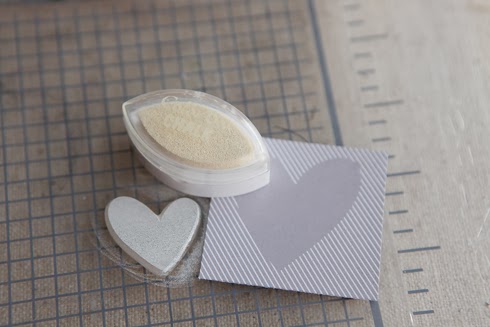
I then stamped the outline of the heart with a grey ink.
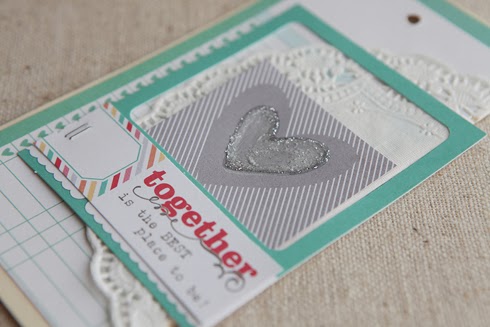
After layering a framed piece and a tag again from the Love You More! Collection I decided the stamped heart needed a bit of glitz. So, I used liquid glitter as an outline and by simply using a q-tip I spread a thin layer over the cream background of the heart.
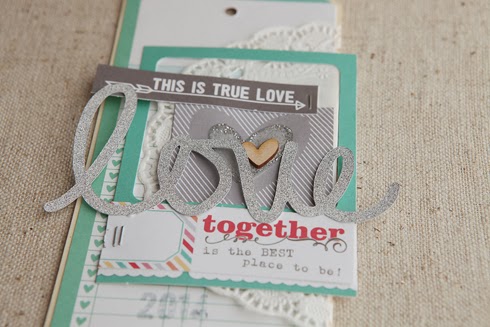
From there I added anther tag, the “love” piece that I cut out of glitter cardstock using the January cut files, and topped off with a cute little wood veneer heart.
_____________________________________
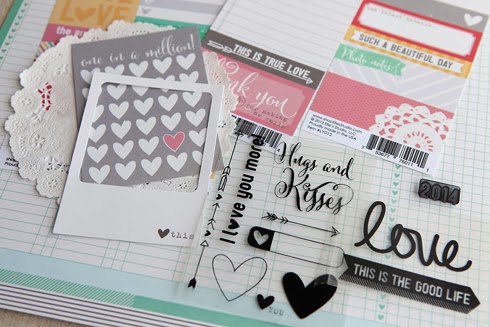
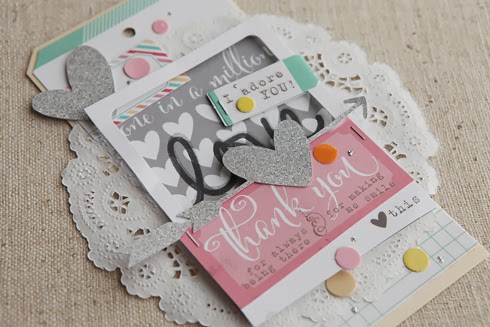
Tag #3 is just a bit more involved with the layering yet still pretty simple.
The first layer is a paper doily with a 3×4 journaling card on top.
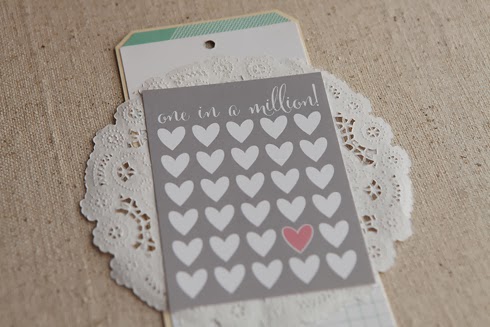
I then stamped the love using the limited edition January stamp set and topped the journaling card with a framed piece; this time using pop dots to add more dimension.
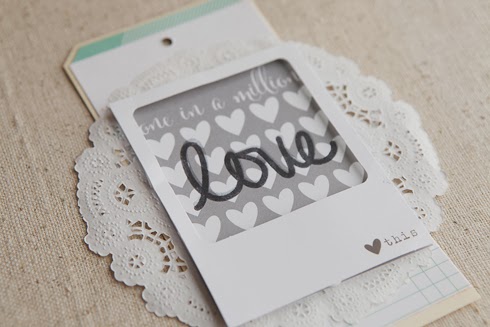
The thank you tag is attached using a tiny attacher.
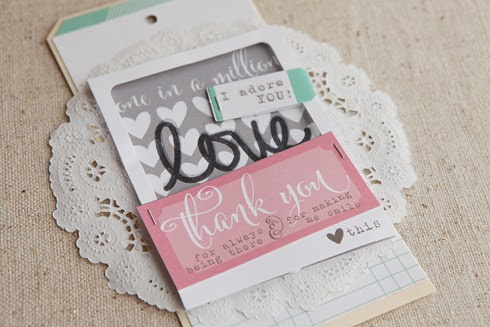
And the I adore you tag wraps around the frame to add a bit of fun…
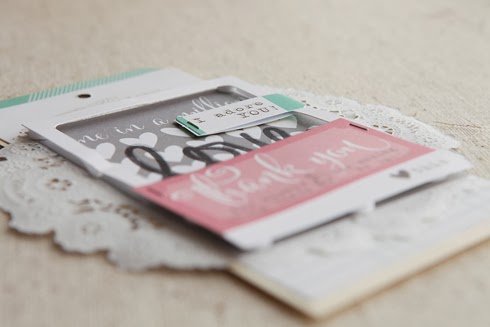
… colored confetti and dots of glitter to sparkle …

I can’t wait to add these to the kids’ presents this year and I hope they inspire you to create a few of your own!
Comments