Welcome to Celebrate December at Elle’s Studio! The month of December will be packed with Holiday inspiration, projects, layouts, and gift ideas from many talented designers. Be sure to check the Elle’s Studio blog everyday for prizes, giveaways, and inspiration!
Today we have Valerie O’Neall with us with a wonderful gift idea! Valerie is on our current design team and we are thrilled she was able to join us in Celebrate December and create TWO quick and easy calendar set using our Calendar tags.
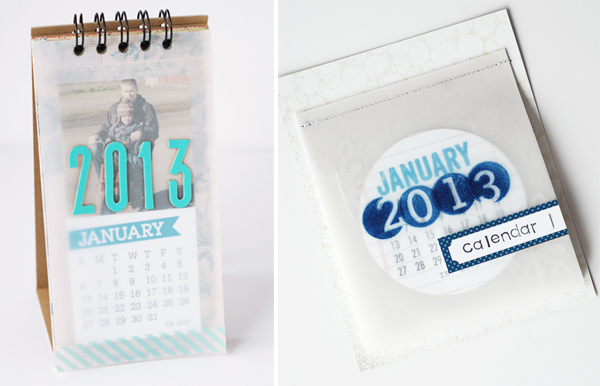
I have two simple calendars to share with you today. Both are so easy to create. You could easily make each one of these in an hour or less and most likely already have the supplies you need in your scrapbooking stash or could easily find a substitution if you are missing something. I used a set of 2013 Chic Calendars- brights and a set of 2013 layered calendars- 3 inch circles.
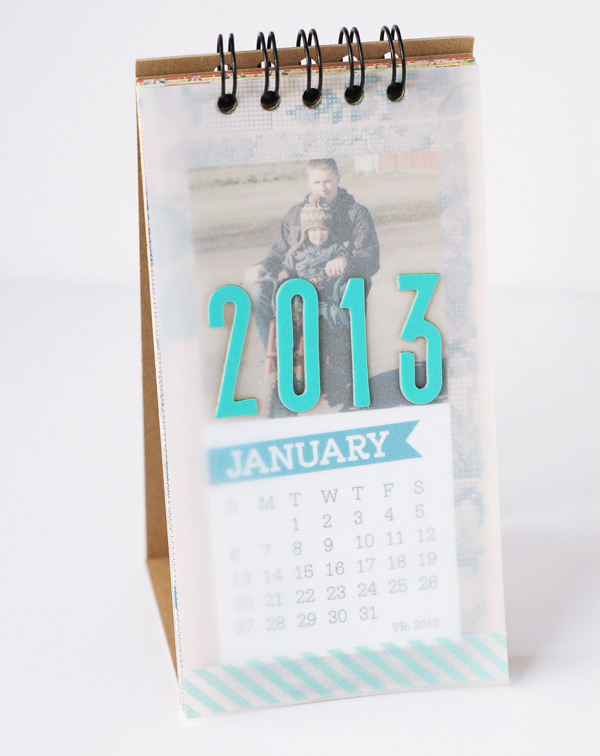
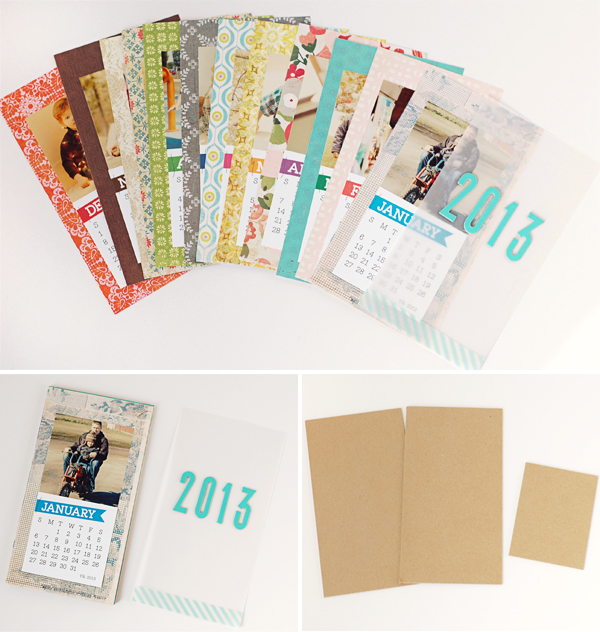
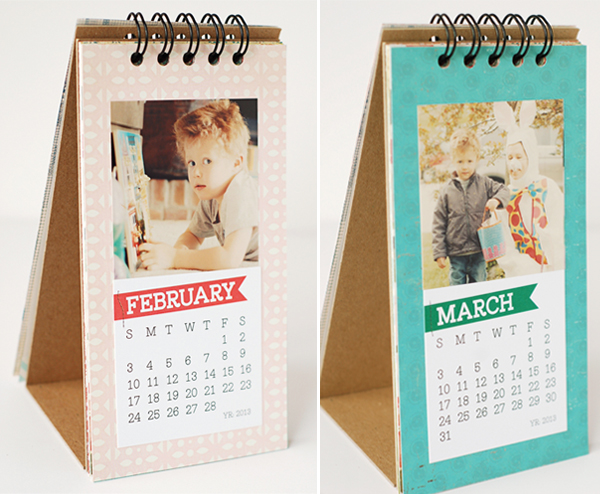
First up is the stand-alone desk calendar. If you would like to make your own, this one measures 4 inches by 7.5 inches. Gather 12 sheets of patterned paper (I pulled from a box of scraps) and cut to size. Photos are 3 inch squares like the calendar tags. Adhere one calendar tag and one photo to each rectangle of patterned paper leaving about a half-inch of patterned paper showing at the bottom and about an inch showing at the top to leave room for binding. I used vellum, a strip of washi tape, and some Thickers to create a simple cover page.
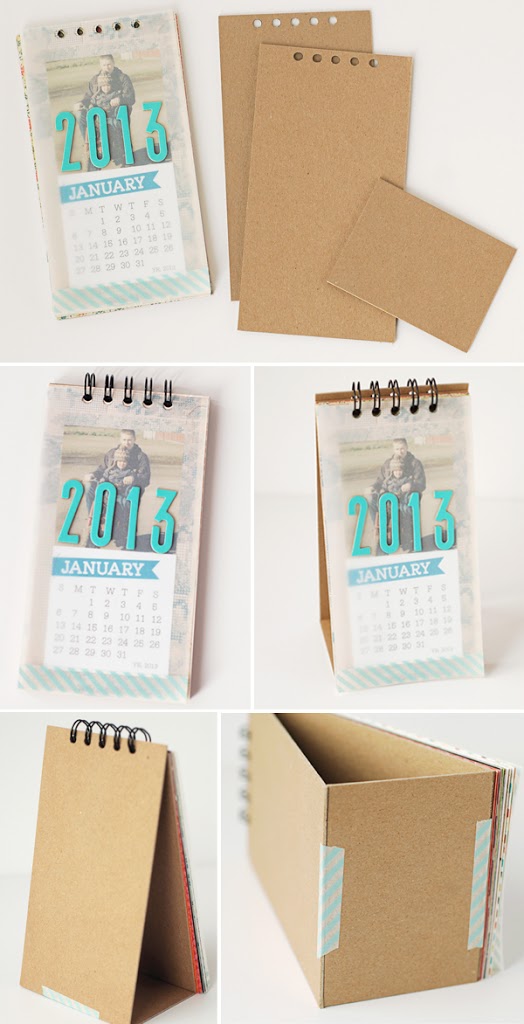
Cut the chipboard to create the stand, You’ll need two 4 x 7.5 inch pieces, and one 4×3 inch piece. I left my chipboard raw, but you can cover yours with more patterned paper if you prefer. Using the binding method or machine of your choice– punch holes along the top of all the calendar pages and the two 4 x 7.5 pieces of chipboard. Make sure all of your calendar pages are in the correct order, place a piece of chipboard on the bottom and the top, place your coil on, and cinch according to the instructions on the binding machine. If you don’t have a binding machine, no worries– you can simply hold everything together with two binder rings.
Assemble the chipboard calendar stand by taping the smaller chipboard piece between the two larger pieces to make a triangle. And that’s about all there is to it! One personalized calendar to place under the tree for someone special to enjoy all year.
And now for a fun little tear-away calendar. This one can easily be pinned to a bulletin board or hung on the wall. I think it would look extra cute clipped onto a small clipboard.
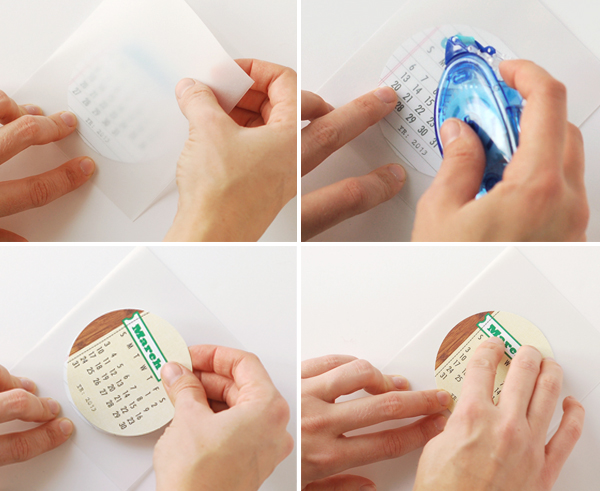
I’ve got a slight obsession with vellum right now.. can you tell? Go ahead and cut thirteen 4 x 4.5 inch rectangles from vellum. Take the first layered 3 inch circle calendar and center it on the first rectangle of vellum. Adhere with a tape runner. Leave more space again at the top (compared to the bottom) for binding. To make sure all 12 circles are located in the same spot on the vellum, leave that first month down and lay the next piece of vellum on top. Carefully adhere the next month, lining up with the circle below. Repeat this process to line them up until all twelve months are done.
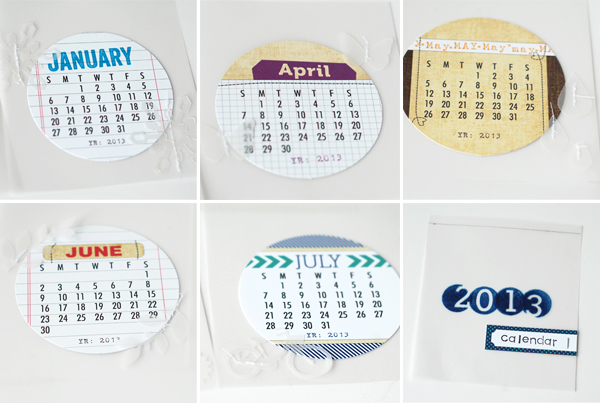
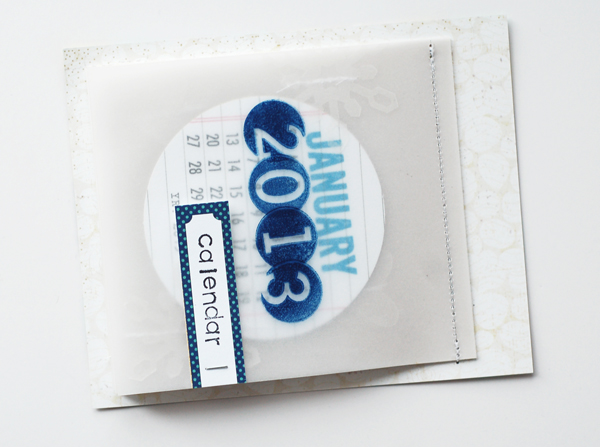
Decorate each month with shapes cut or punched from vellum or patterned paper. I stuck with simple vellum shapes that I either cut with my Silhouette SD or punched. To cut the vellum with the Silhouette, I set my blade at 5 and used the heavy card stock setting. This may vary depending on the weight of vellum you are using. I am using a 30 lb. 44 gsm vellum. I sewed each vellum shape with some messy sewing machine stitching. The cover page was stamped with the Number-It stamp set
I measured a quarter of an inch down from the top and drew a line along the cover or my stitching guide. The back of the calendar is a piece of patterned paper cut to 4.5 x 5.5 inches. Carefully stack your month pages in correct order and put the cover page on top. Place these 13 pages on top of your patterned paper calendar base. Make sure you have a heavy- duty needle loaded into your sewing machine so the needle doesn’t break on you. All the layers of vellum end up being rather thick, but I didn’t have any trouble sewing through it. Also, adjust your stitch length so your stitch length is small and allows for easy tearing.
Giving myself a pat on the back for having two more gifts crossed off my list. Hope you have a great December and a fantastic Christmas!





Comments