
Hello Everyone!
It’s Jenni here to share step-by-step instructions for creating the cover of the Savoring Summer album. We are so excited to see many of you receiving your kits, and we want to help you get started!!
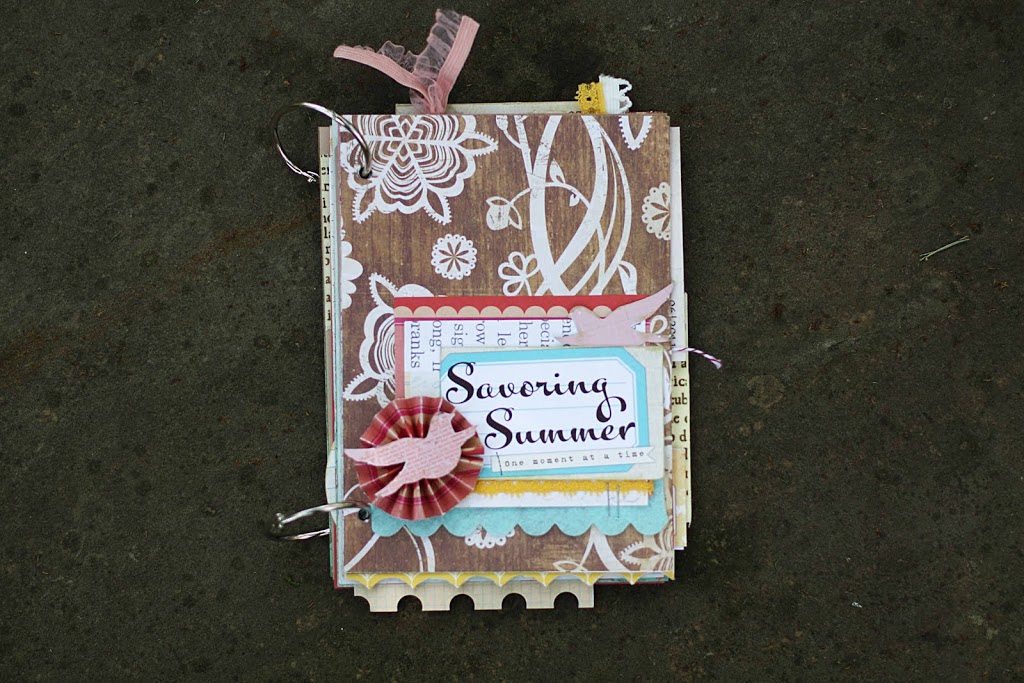
- Cut a 5×7 piece from the Bridesmaids (Crate Paper) paper.
- Cut a 4 x3 square from the top center of the Sassafras Head over Heals paper (include the scallop as seen on cover. Note: Do not cut the trim off the paper!!). Be sure not to cut the corner edges — you will use the corner pieces later in the album.
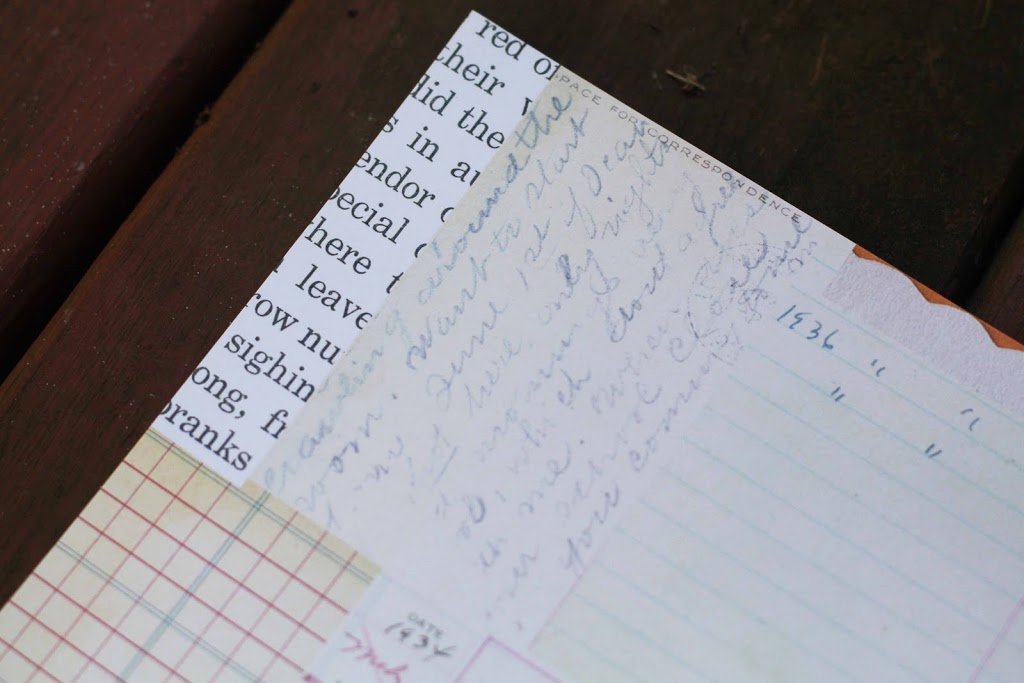
- Using the Sassafras Starters Intro paper, you will cut the text design in the top left corner of the paper. The dimensions are approximately 4″x”3.

- Cut a 4.5″ piece of the blue Crate Paper Neighborhood Trim, and a 3.5″ piece of the yellow Crate Paper Neighborhood Trim.
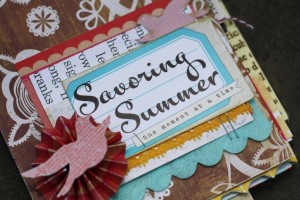
- To create the layered pieces: First place the blue trim on the paper (The top of the trim is 2 inches from the bottom of the paper). Center the Paper Crush (pink) paper over trim. Center the Sassafras Starters Intro paper over pink paper. Layer the “Savoring Summer” tag over the papers (I had the edge of my tag overlap ping the papers.). Layer the yellow trim underneath the Savoring Summer Tag. I allowed for half of the width of the trim to peek out from under the tag. Staple the corner if desired.
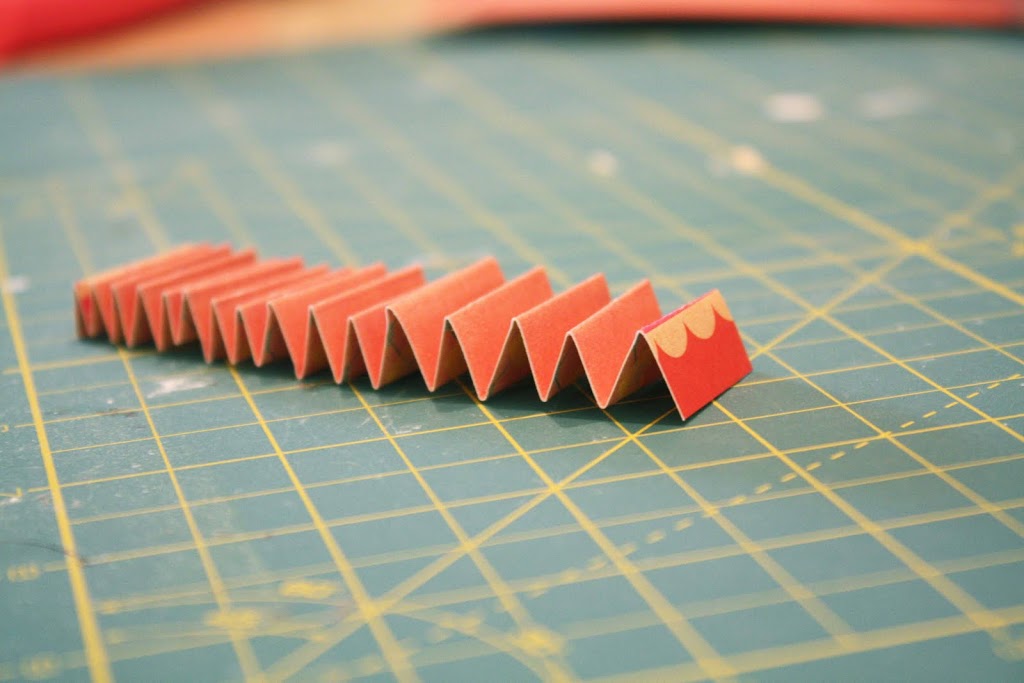
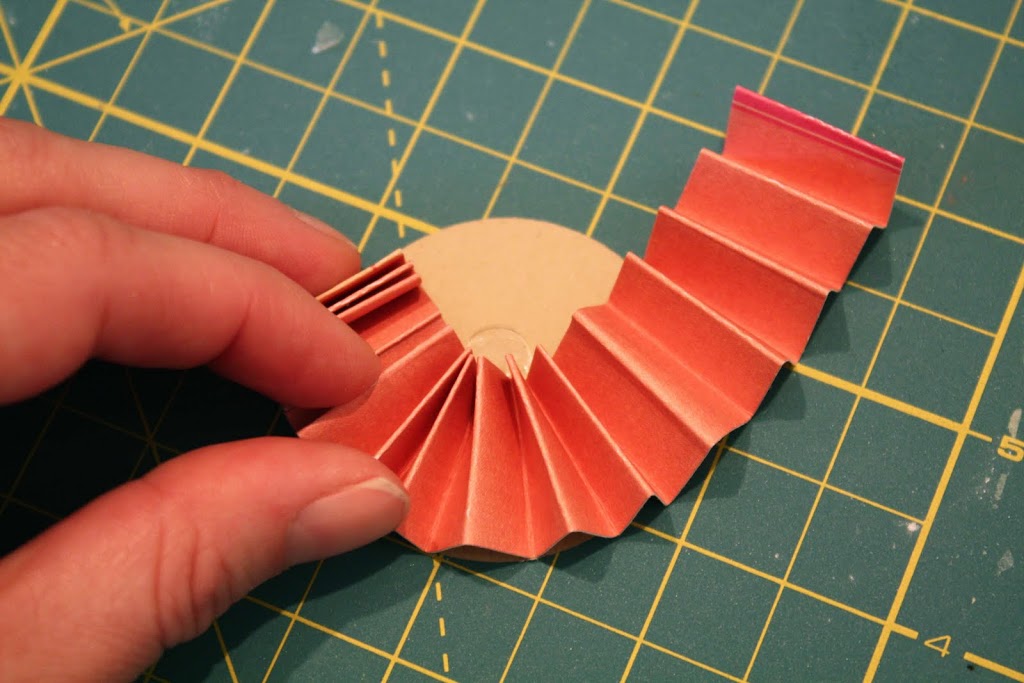
- To create the pin-wheel: First, punch a circle punch from provided craft paper. Second, Cut a 3/4″ x 12″ piece from the center of the Sassafras Paper Crush paper (hand cut the bottom portion- you will want to leave the trim on the paper).
 Begin folding the paper according style, with the folds very small (about 1 centemeter folds). When you have completed folding, you will take your punched circle, and place a glue dot in the middle. Fan the paper out and apply adhesive to the two folded ends. Next you will bring the two ends together on top of the punched circle, placing the center of the pinwheel over the glue dot .
 You will need to adhere the ends together, and bring the center together. You may need to add a glue dot here or there underneath the edges of the pinwheel to secure it into place.
 - Choose two birds from the Studio Calico Barn Swallow Paper. I choose two pink birds from the right hand side of the paper (remember to choose a bird that’s on the edge!). I cut one out that would be tucked under the title. The second bird (that appears on the the pinwheel), I cut around it (not too precisely) and adhered it to the kraft paper. Once adhered to the kraft paper, begin to cut the bird from the kraft. This will give the bird cutout more durability if it’s backed on kraft paper.
- Adhere the cover to the cardstock provided, and punch holes.
- Congrats! You finished the cover!!

P.S. Guess what?! Waleska bought an extra kit to giveaway on her blog today! Head on over to her blog and leave a comment to be entered! How sweet of her was that?! Thanks so much, Waleska!

Comments