Did you see the super cute mini book that Ann-Marie put together for the Inspiration Gallery? She created the envelopes out of tracing paper!!
Here’s a little tutorial she put together for us:
I have recently been loving the idea of creating my own envelopes, thanks to this lovely kit from Paper Source. But I didn’t want my envelopes to be your typical lightweight cardstock – I wanted them to be something different!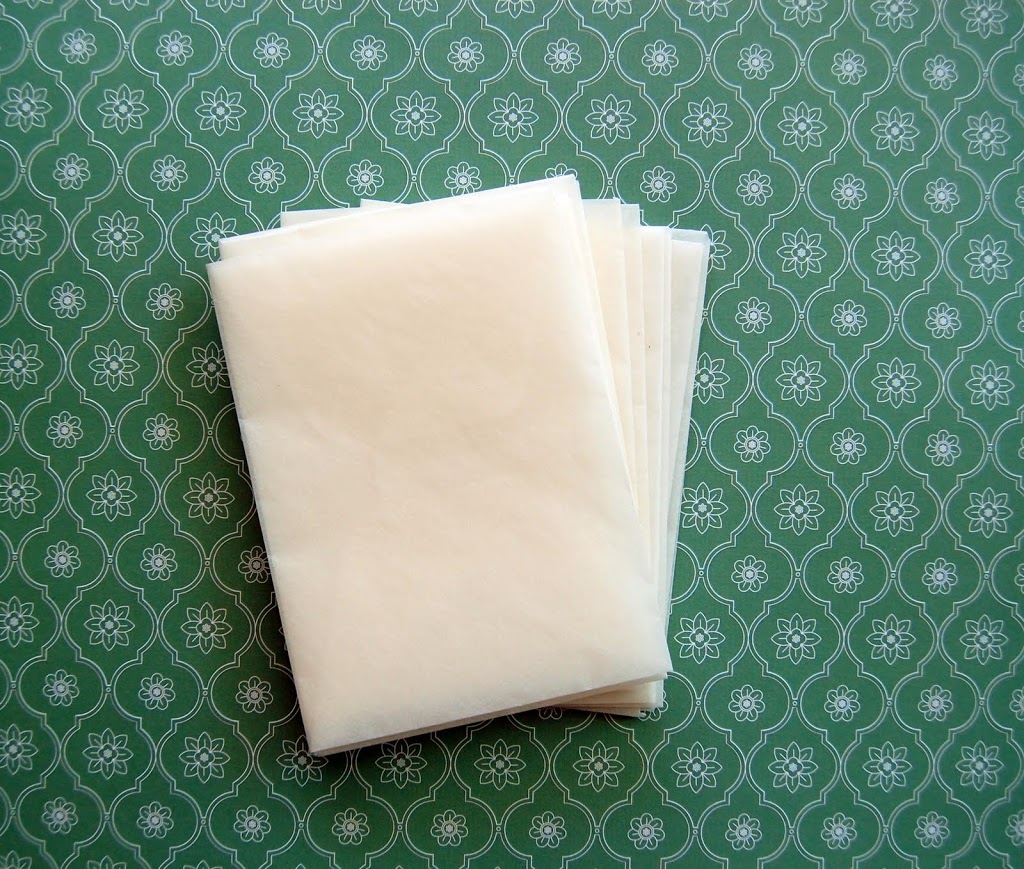 So I grabbed my tracing paper (yes, run-of-the-mill tracing paper that I’ve had since…oh, third grade) and created a bunch of the 4Bar size to make into a fun little minibook.
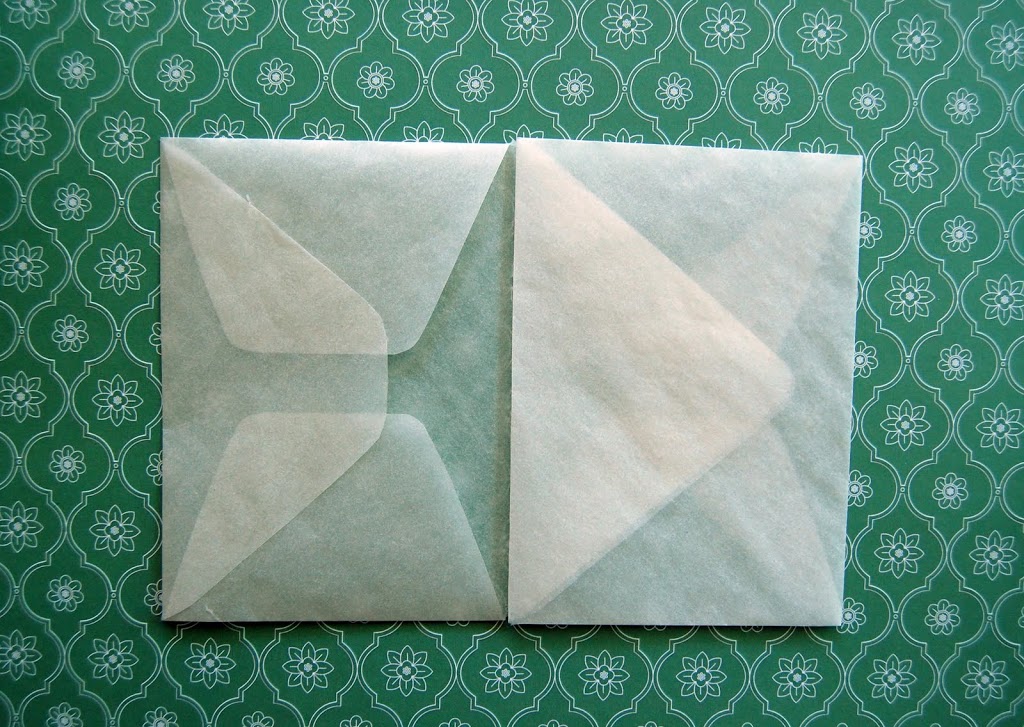 In order to make the “folios” for the pages of the book, fold the flap of Envelope A into its own pocket. Then grab Envelope B and stick that flap into the pocket of Envelope A. This way, you will see the pocket of Envelope A and the front side of Envelope B when the folio is open (as shown above).
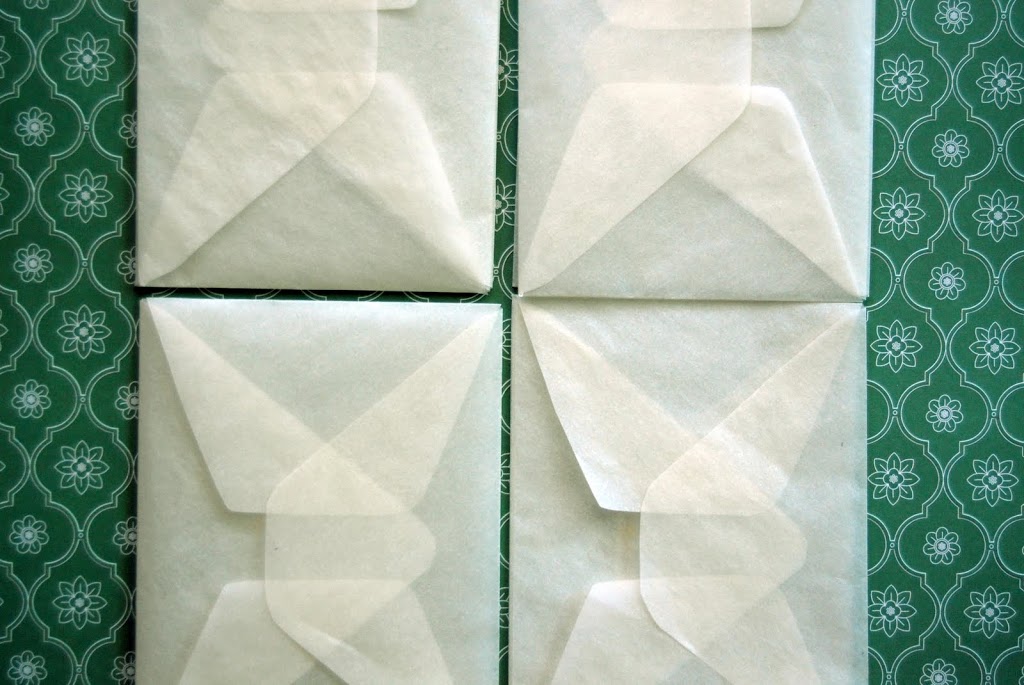 Continue to create as many folios as necessary; each folio consisting of two envelopes…
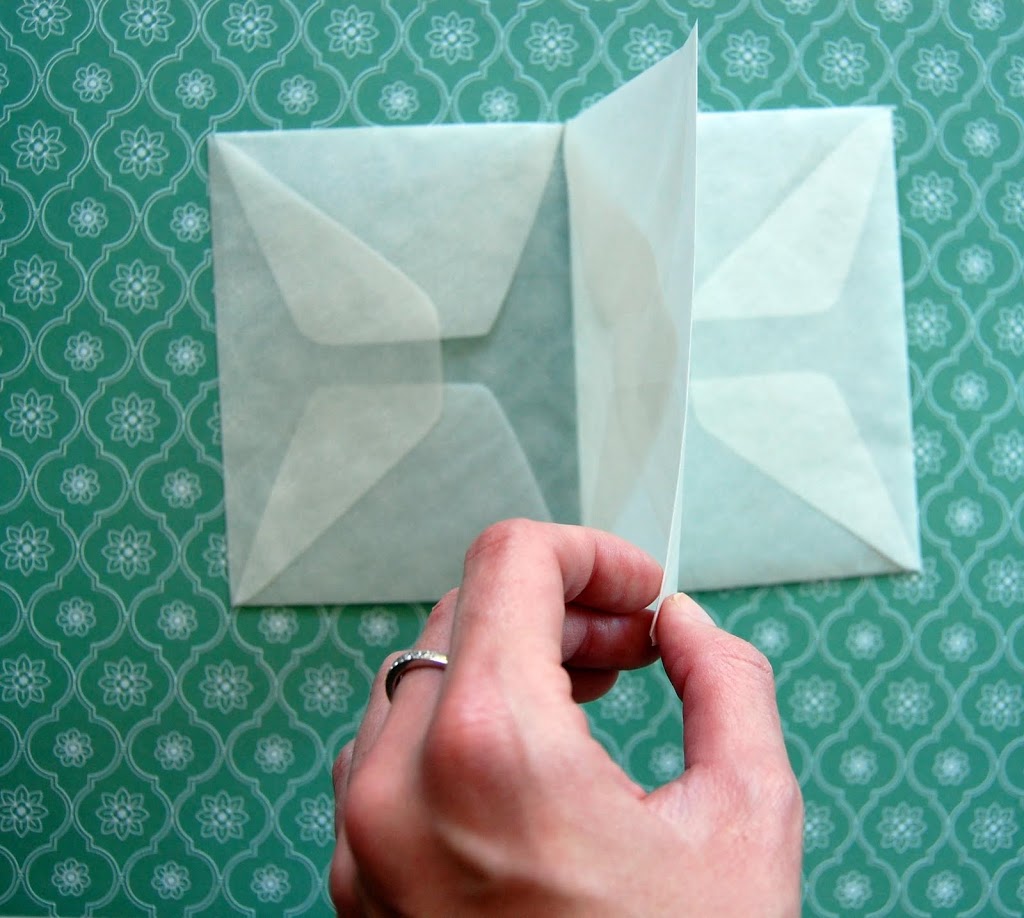 …until you get to the last folio, where you will include 3 envelopes (so the pockets will all be on the inside of the book). Obviously, feel free to customize the amount of envelopes and the way you organize your folios – there are no rules!
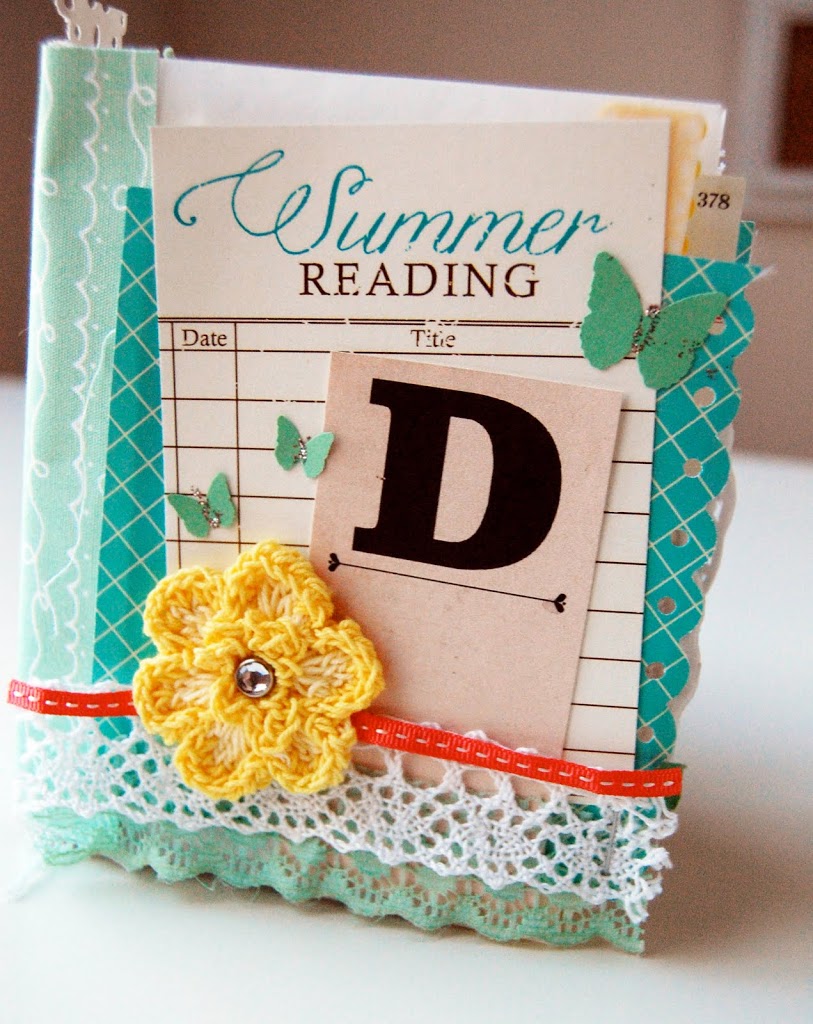 Once I had my envelopes in order, I went to town embellishing them (my favorite part!)! When that was complete, I added a strip of AC Fabric Paper to the spine of the folios. (I found that a few drops of hot glue on the fabric strip helps to reinforce the integrity of the binding.) I had SO much fun with this project. Sometimes it’s fun to look around for unusual materials (such as tracing paper) and turn them into something exciting!
————————————————————————–
Looks amazing and what a great use for that tracing paper! Thanks Ann-Marie for inspiring us to really get creative and use what we have on hand!
Don’t forget, you can view the inside of Ann-Marie’s mini book in the Inspiration Gallery!
Comments