Here’s a little how-to post on how we put together our Merry Christmas banner! My mom and I spent the afternoon cutting, glittering, stringing and drinking cocoa and tea – it was a blast!
The supplies you will need, besides one of our digital download banner files (Merry Christmas, Happy Holidays, Peace Love Joy) are paper to print it out on (cardstock is recommended, but not necessary), scissors, glue, hole punch and string – glitter, pop dots, bells and other embellishments are optional.
After we printed out the letters and papers on white cardstock, we picked out our colors of letter shapes and patterned papers and started cutting.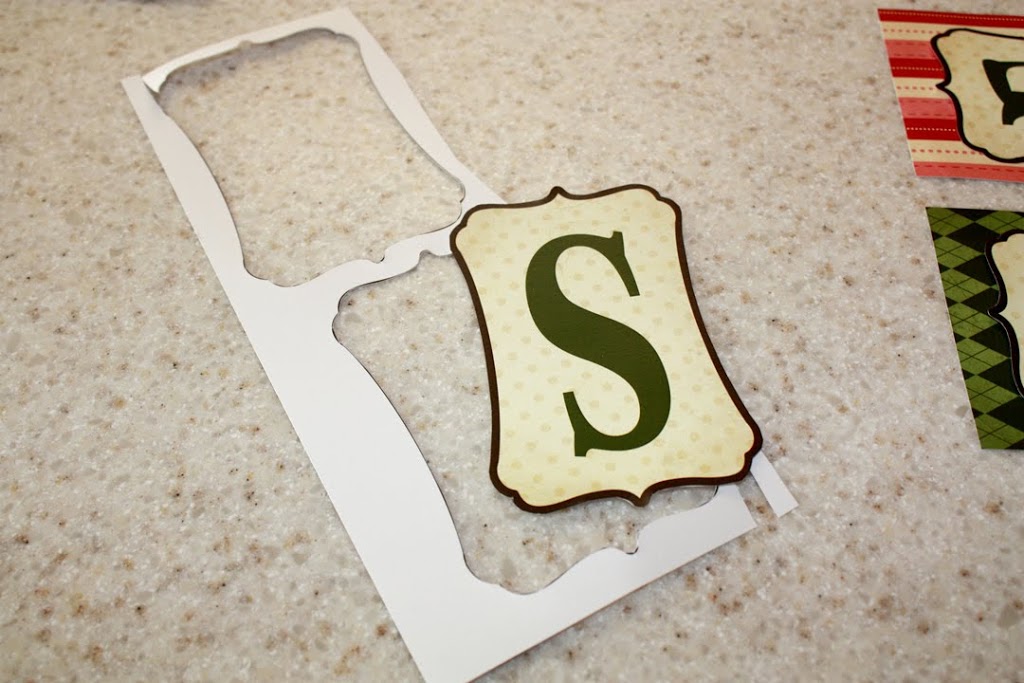 We decided mixing red and green letters would be fun, so we laid them out as we went.
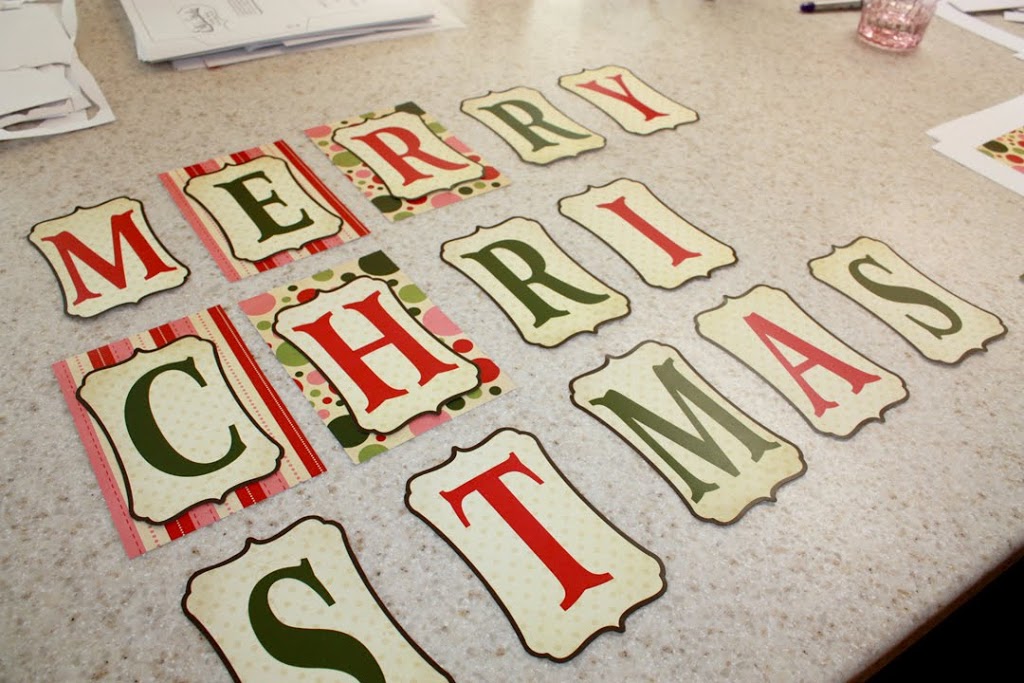 Laying them out helped with picking the patterned paper that we were putting behind the letters. We decided to use all four papers in the set and alternate them all.
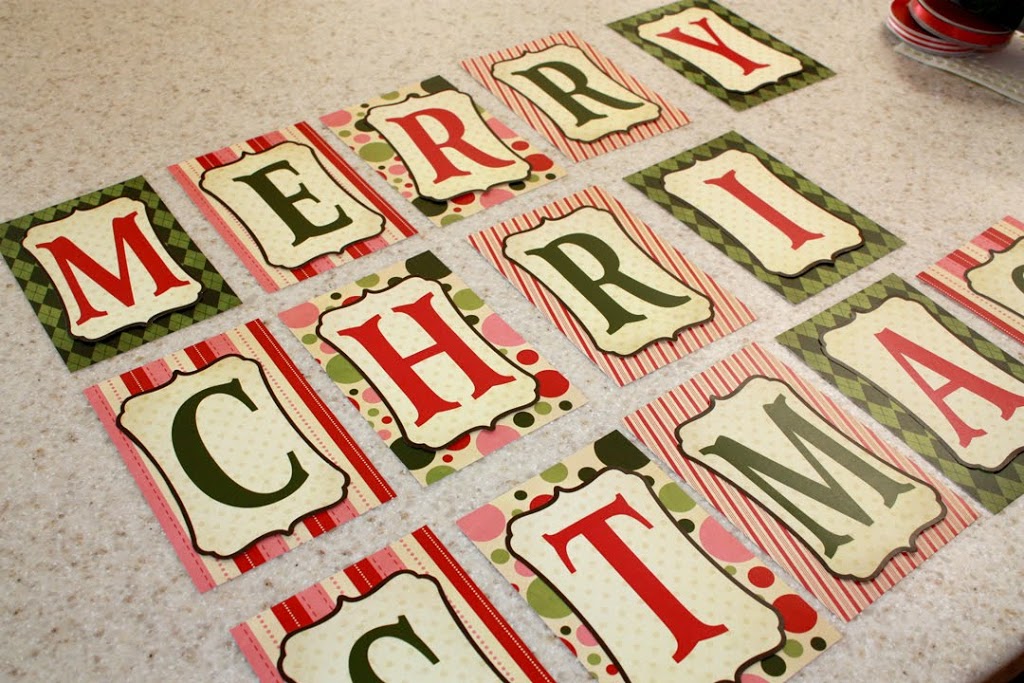 Once we had them all laid out, we were ready to start glittering. Martha Stewart Tinsel Glitter is to die for – seriously! It looks amazing, I want all the colors now, LOL! My mom glued the tinsel glitter around the shape the letters are on, following the brown border.
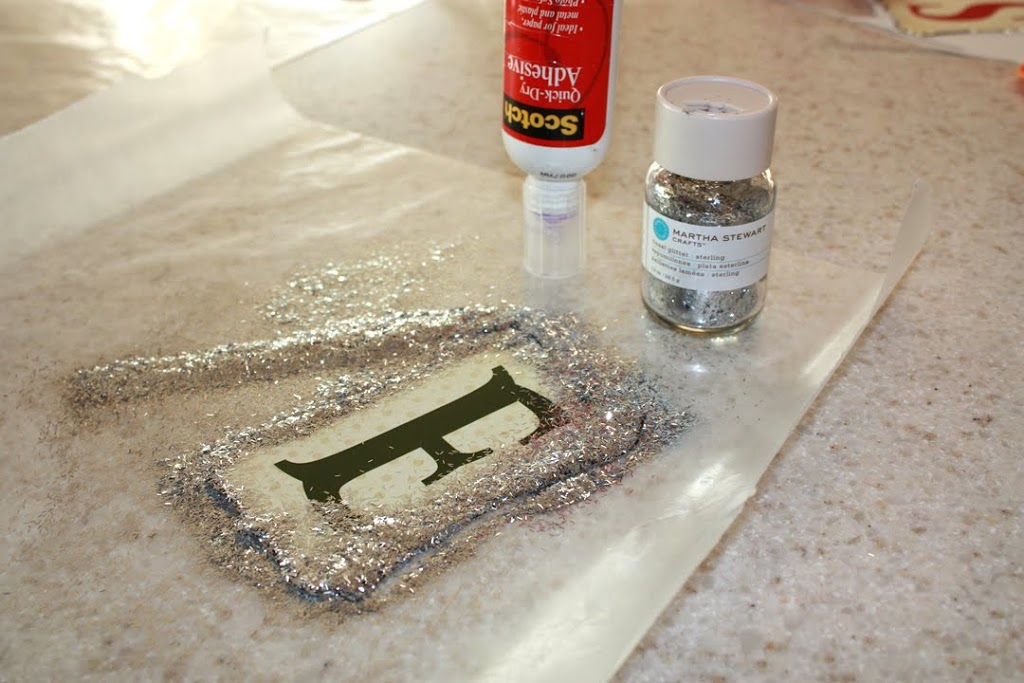 While she glittered, I punched holes into the papers, keeping them in order!
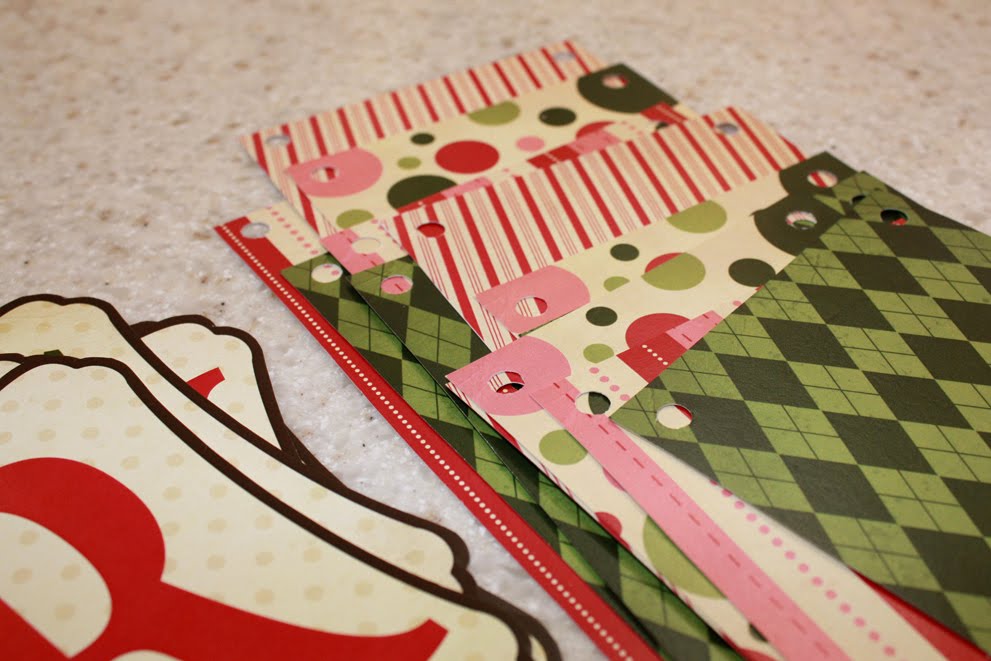 We used this amazing chunky yarn, plus a red ribbon, for the string. The yarn had a strand of gold in it, which turned out beautiful – we are really happy with the results!
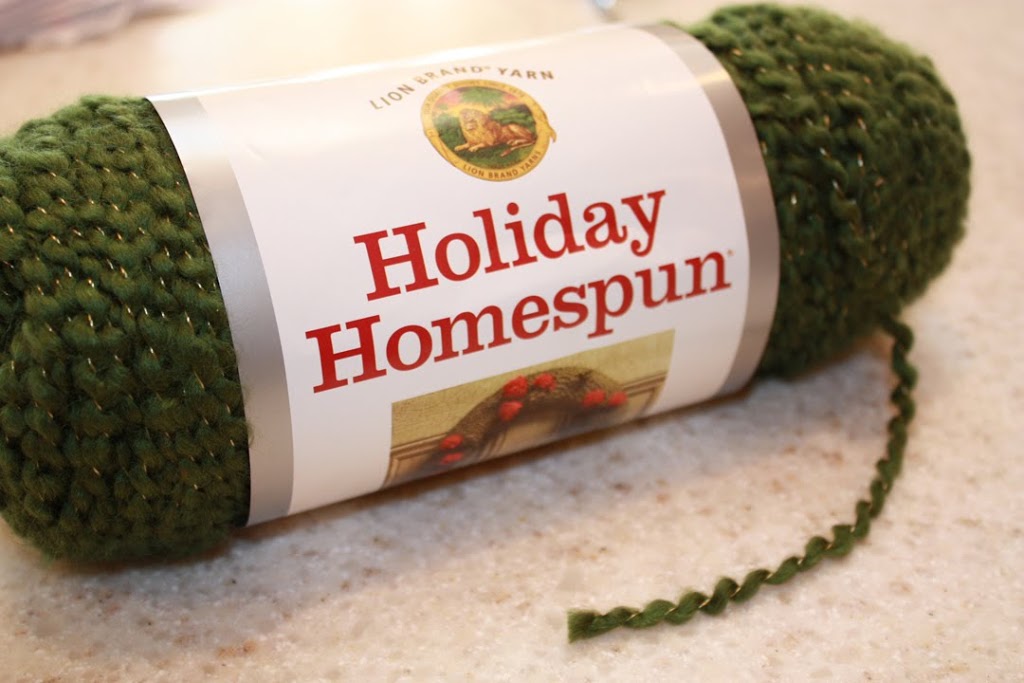 Tip! If you’re using multiple ribbons and yarns, tape the ends together so you have a point to push through your holes you’ve punched. Makes it so much easier and you won’t have any unraveling!
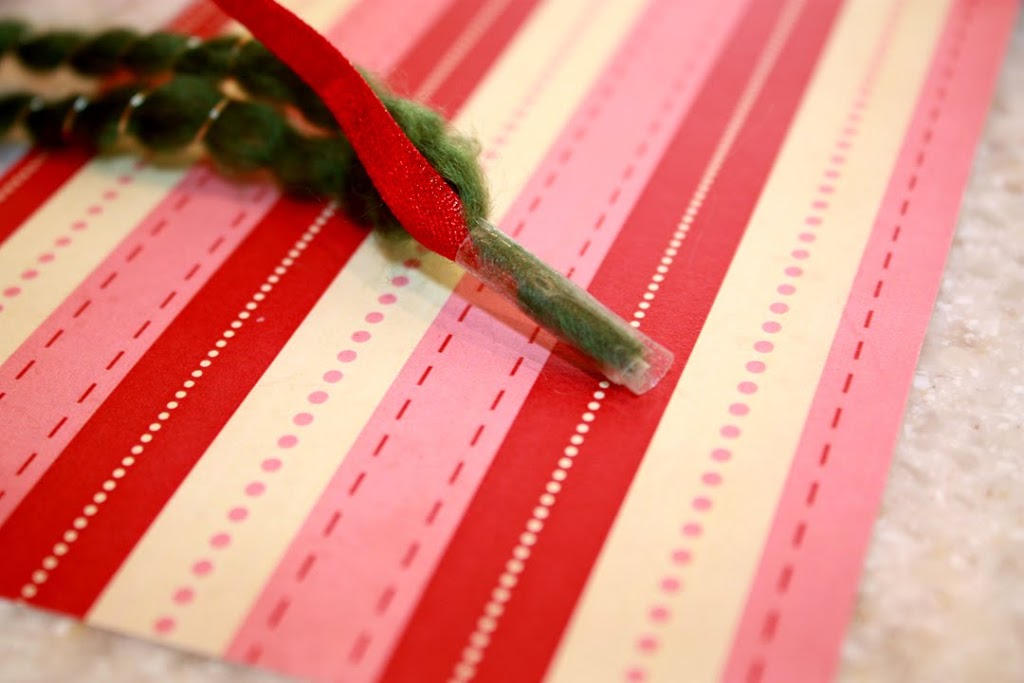 Then we strung the papers onto our yarn/ribbon. It helps if you find the middle and work from the middle out.
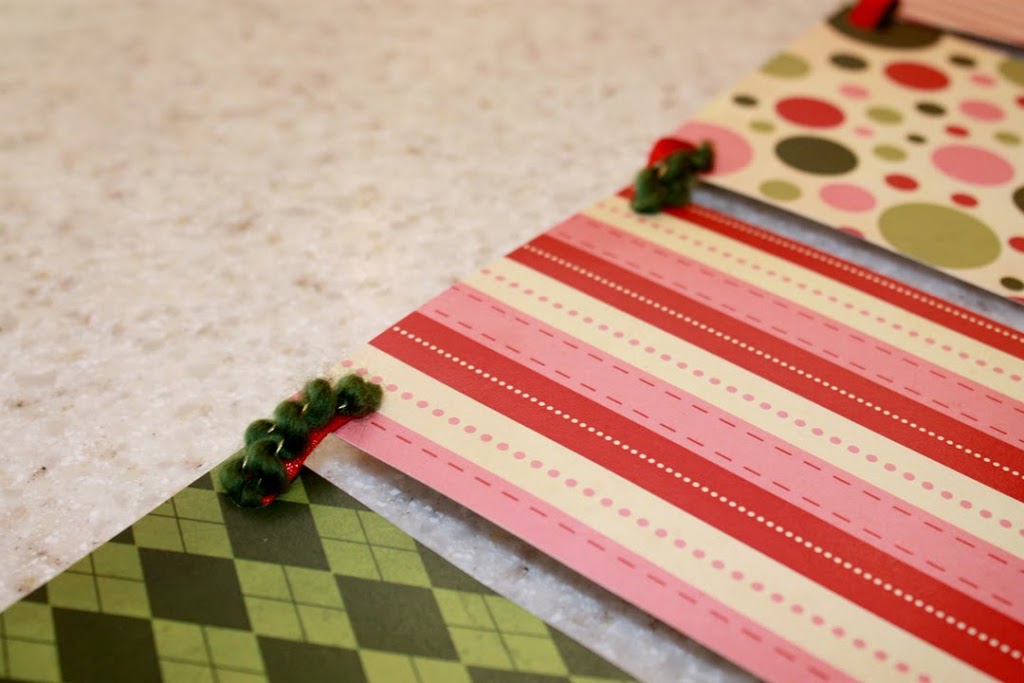 And, I had these bells left over from another project… We knew we had to use them…
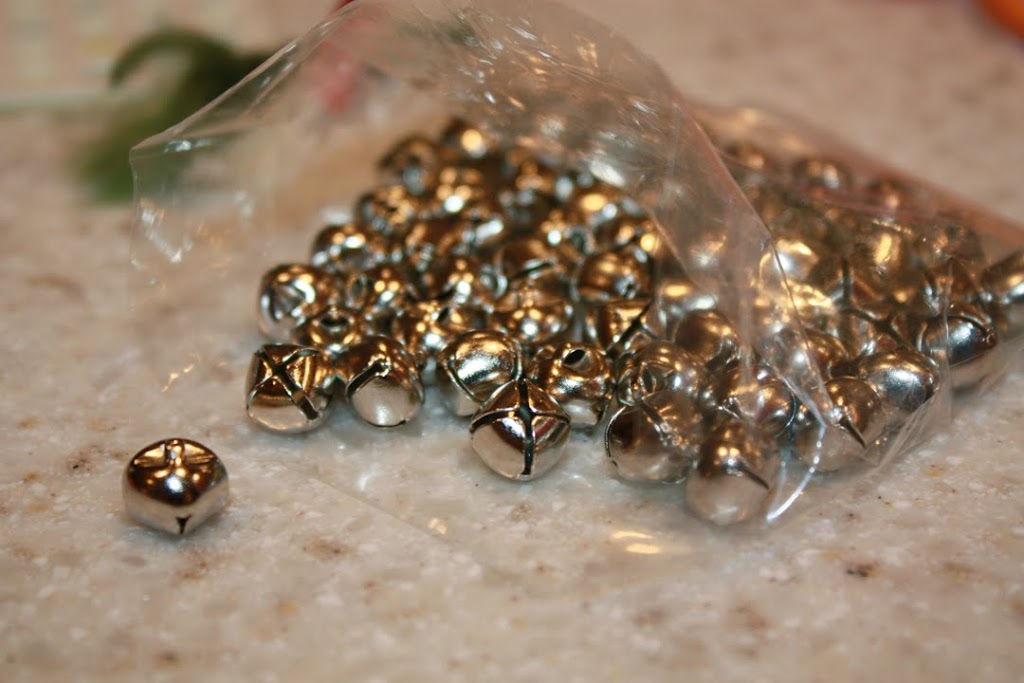 We tied little bows and then tied the bells to the ends between every other paper 🙂 It added the perfect touch!
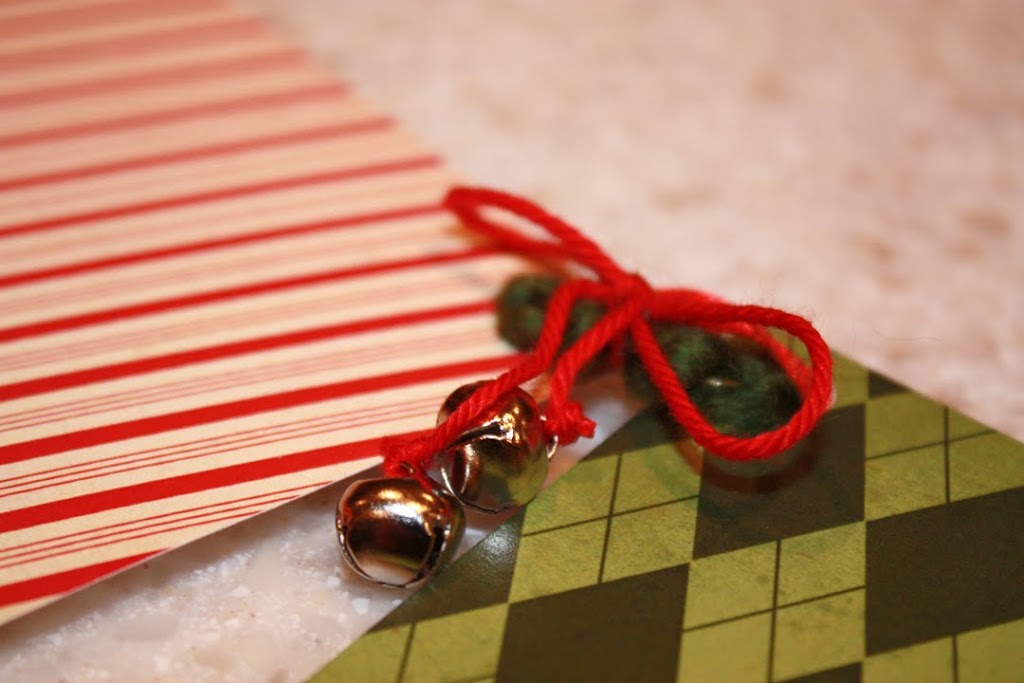 We tied larger bows for both ends and between Merry and Christmas with some vintage seam binding.
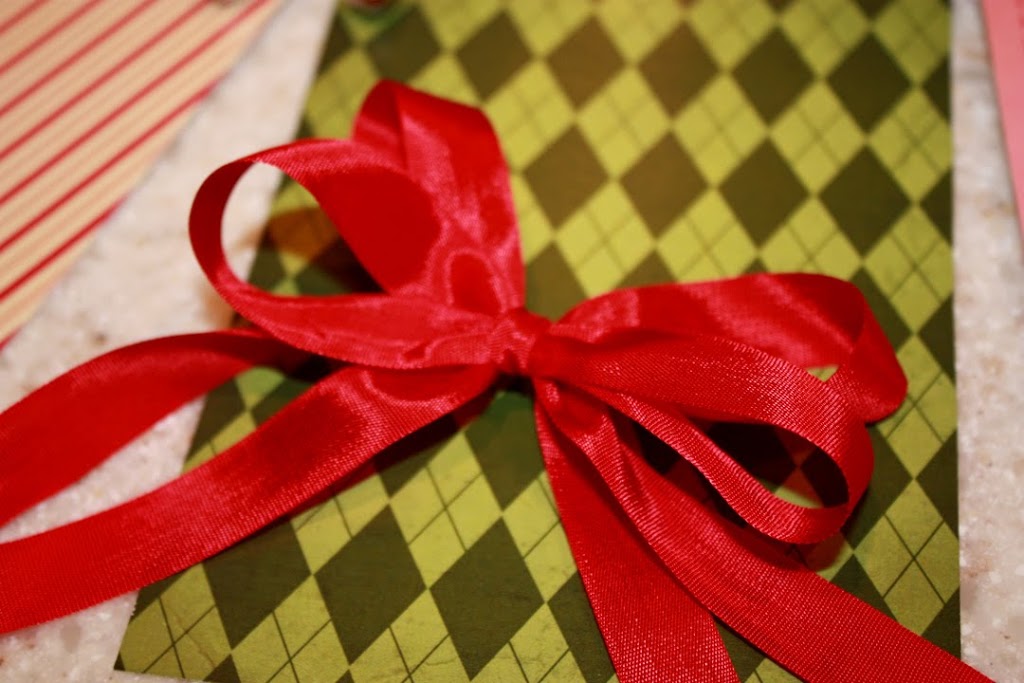 After that, we were ready to add the glittered shapes with letters to our papers. We doubled up the pop dots to give the shapes extra height.
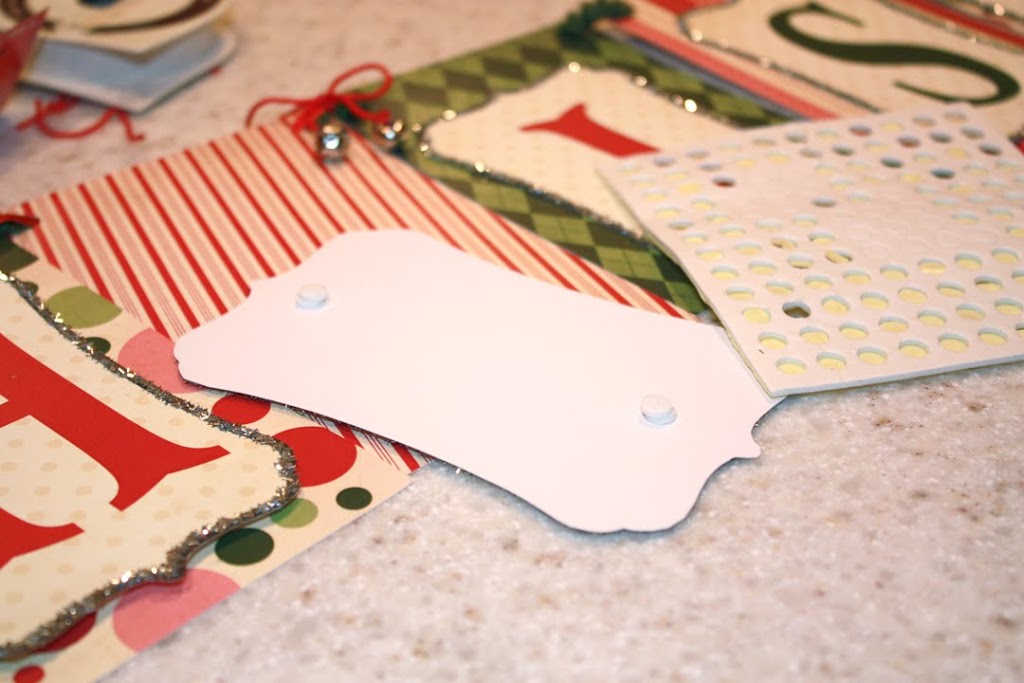 TIP: We ran out of pop dots half way through and I panicked because I didn’t want to have to run to town! Then I realized that after you’ve used up all the dots, you could just go back and cut squares out of the left overs! No one will ever see them, either, so it’s a great way to get the most out of your supplies!
  Ta da! That’s it, we were finished! Here’s what it looked like:
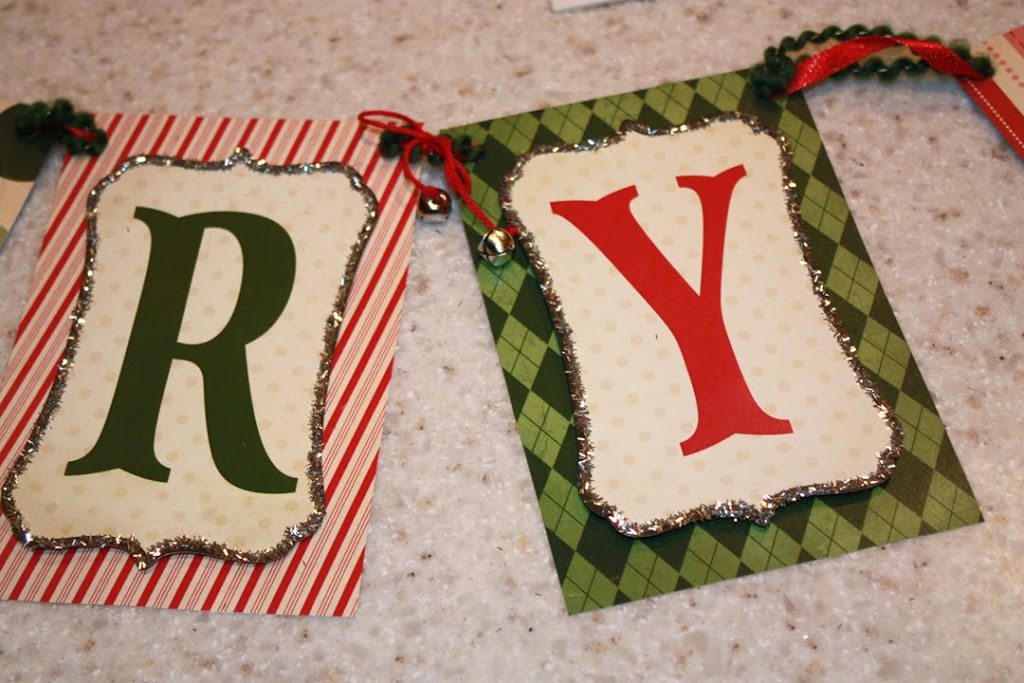 And hung on our window at night, next to our silver tree 🙂
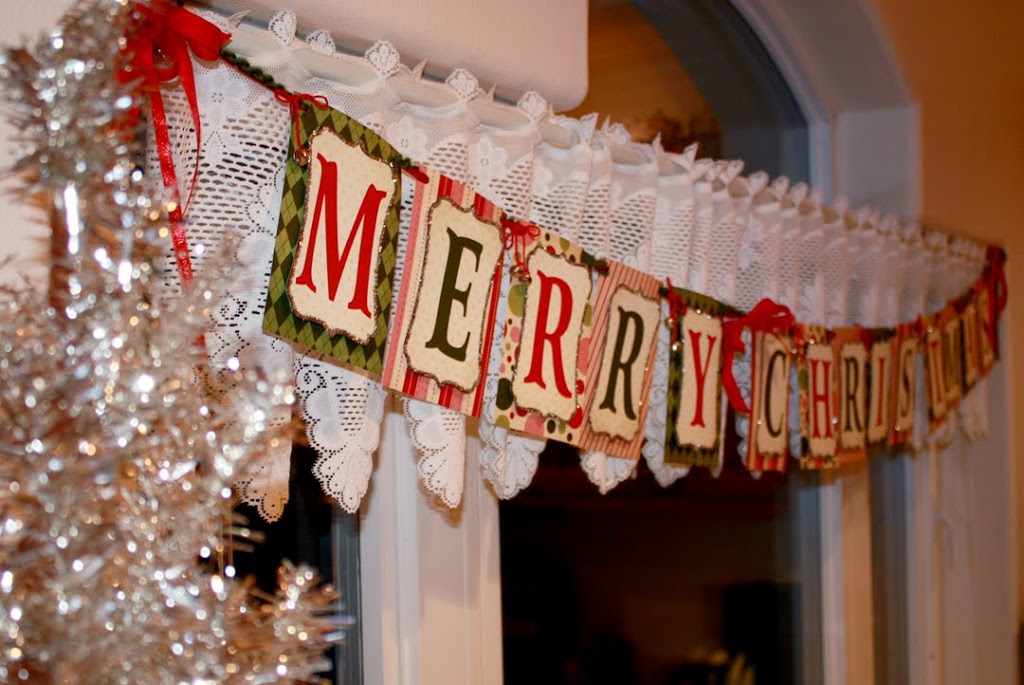 We love it! It was so much fun making it that we were like, who can we make one for now? Grandma and my sister are next on our list 🙂
With our digital downloads you only purchase the file once and then print as many as you’d like – these would make great Thanksgiving, House Warming, Holiday Party or Christmas presents!
Now for the giveaway! We wanted to do a giveaway with our new digital downloads today because we are just so thankful for our readers! We really enjoy and appreciate all the comments you leave here on our blog, on our facebook and twitter. We feel so blessed 🙂 So today we are doing a giveaway with THREE chances to win!
You can enter our giveaway by (you can do all three if you’d like, too!):
1. Leaving a comment here (if you can’t you can always email us your comment) We’d love to hear about your favorite holiday tradition!
2. Tweeting about our giveaway or blog! Make sure you include #ellesstudio in your tweet so we can find your tweet later
3. Become a facebook fan of ours! All fans will be automatically entered into our giveaway!
We’ll pick one winner from each of the three places (blog comments, twitter and facebook fans). The three winners will get their choice of one of our new Christmas Digital Downloads!! Winners will be announced on Friday!
Thank you so much for letting us share our banner project with you and good luck everyone 🙂
xo, Elle
Comments