 Here’s a fun idea we had to reuse a tin can (from our canned beets we had the other night for dinner) and to spice it up a bit, too!
 You’ll need a tin can, hole puncher (we used our 1/16), scissors, ribbon, and a tag!
 The hardest part for us was deciding on what tag to use! It took us awhile but we finally decided on using a Granny’s Doily Tag! Once you have your tag, you’ll need to punch holes up both sides of the tag. The number of holes you’ll need to punch depends on the size of the tag you’re using. A good rule of thumb is to punch holes about every 1/2 inch. Try to line up the holes so they are even with each other from side to side.
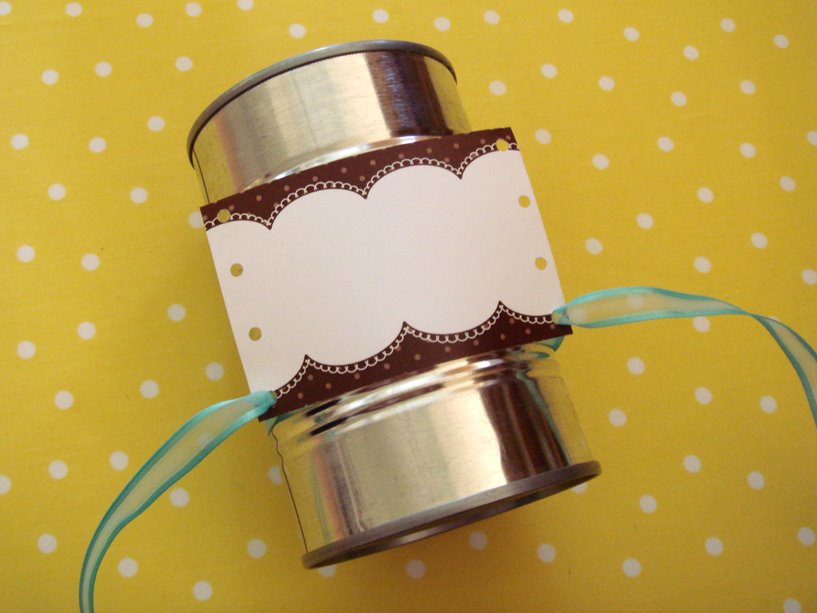
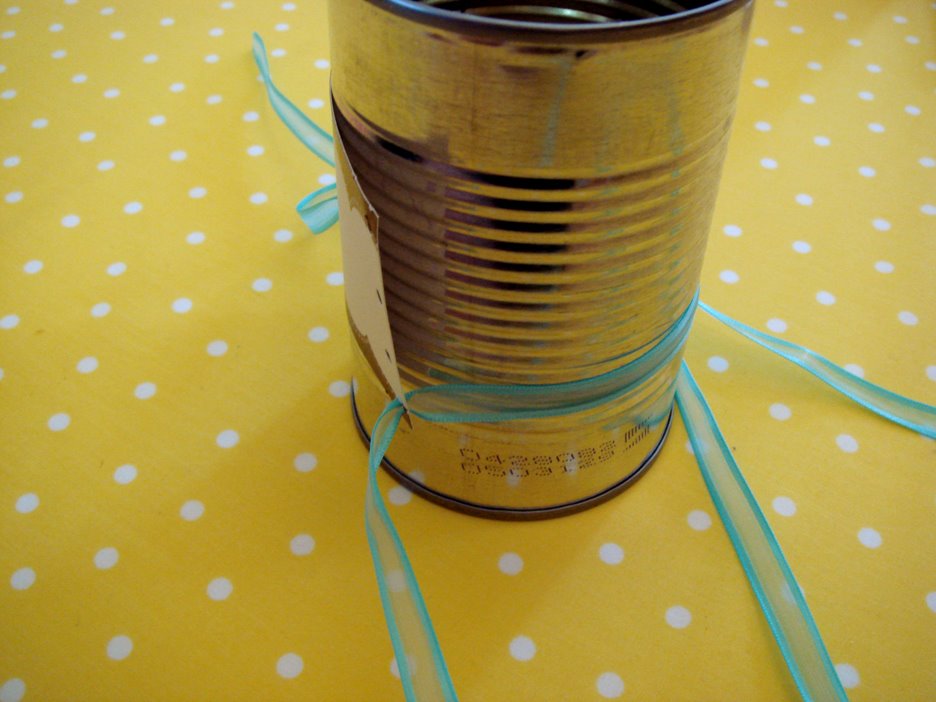 Now for the lacing … it can get a bit complicated, but it is basically like lacing a shoe, except you bring the ribbon behind the tin can.
Start by putting the ribbon behind the can and bring it up through the bottom holes that you punched on the tag.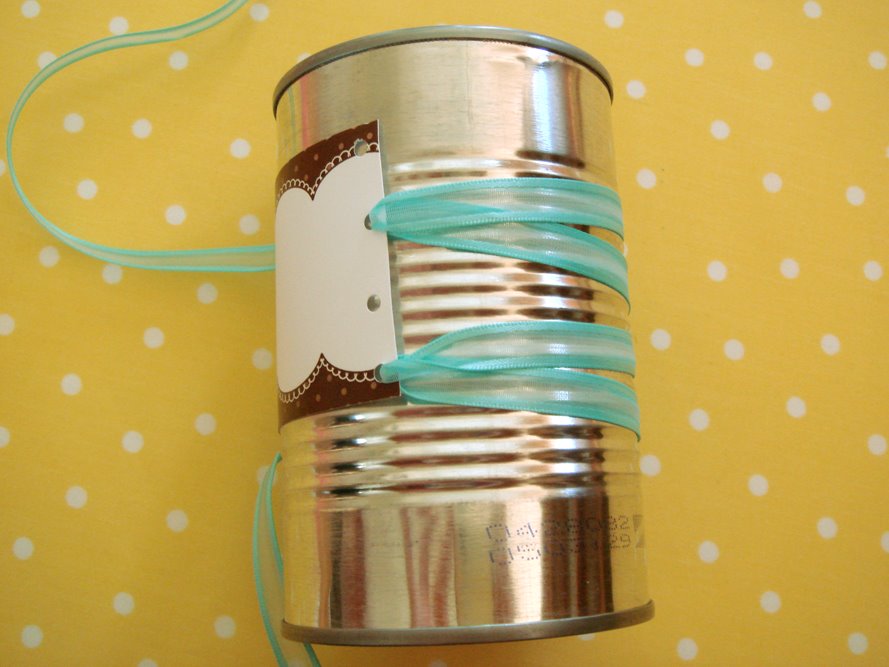 The easiest way we found is to lace one end of the ribbon at a time. This allows you to get the ribbon as tight as possible.
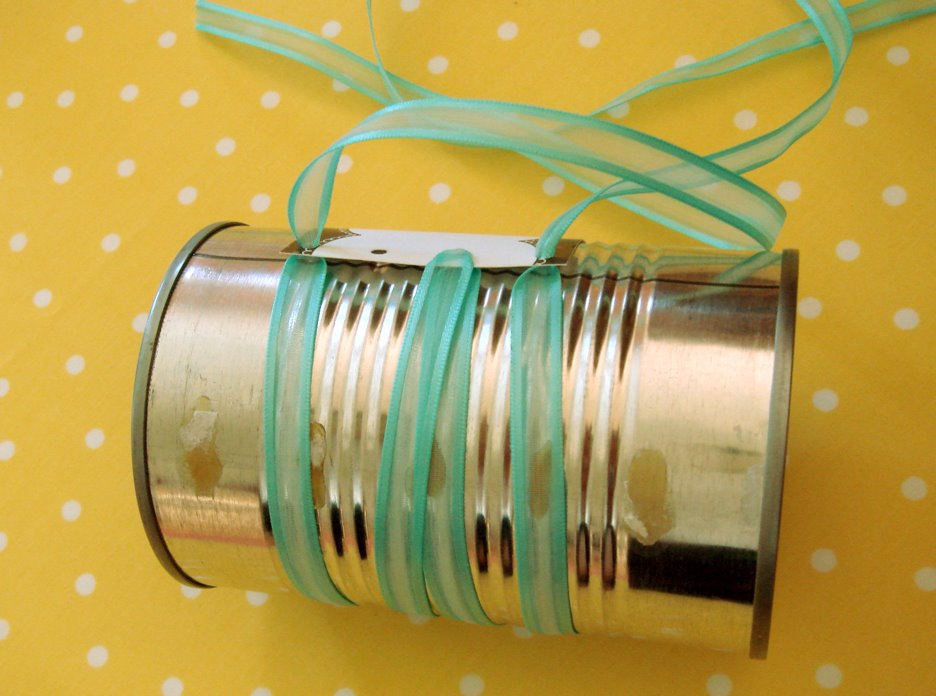
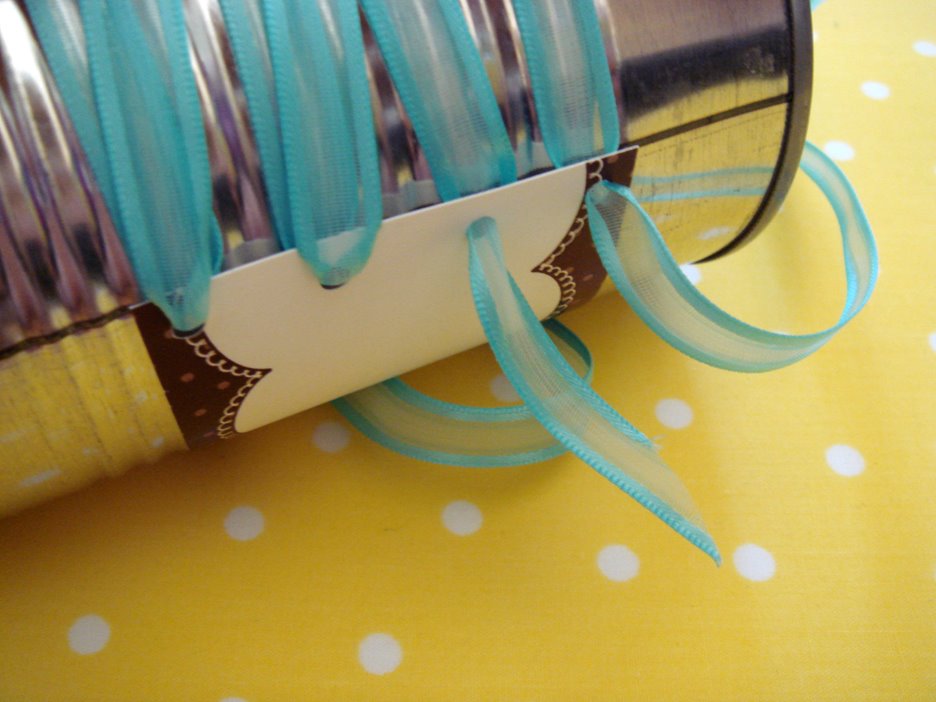 Tip! Cut the end of your ribbon into a point. This makes it very easy to pull through the small holes.
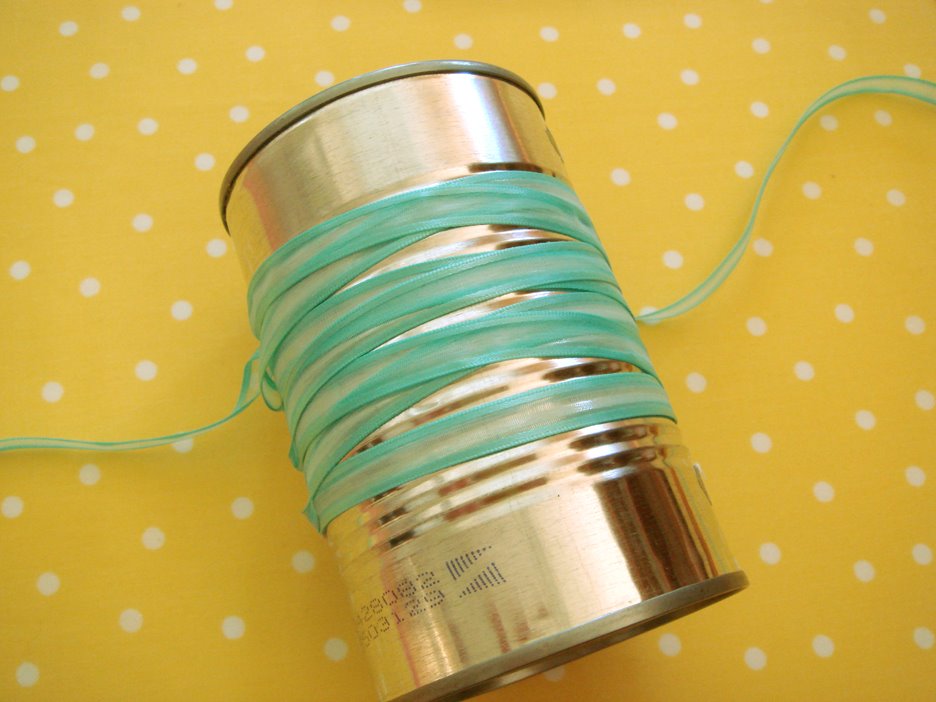 Once you have one side of the ribbon laced, go back a lace the other side.
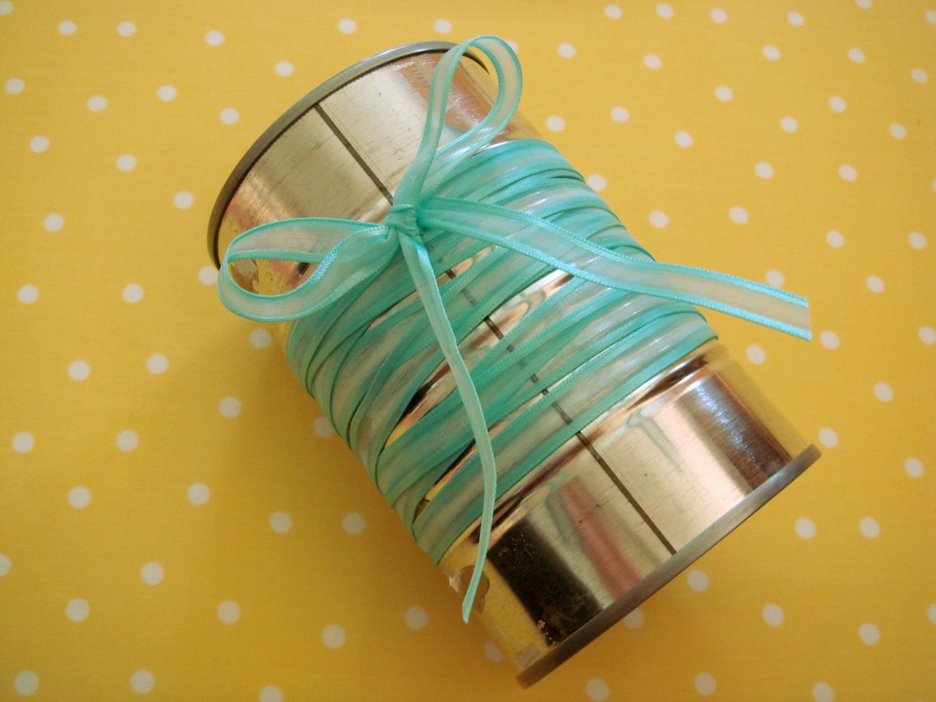 Bring both ends to the back and tie a bow! You can also tie the bow in the front center or off to the side.
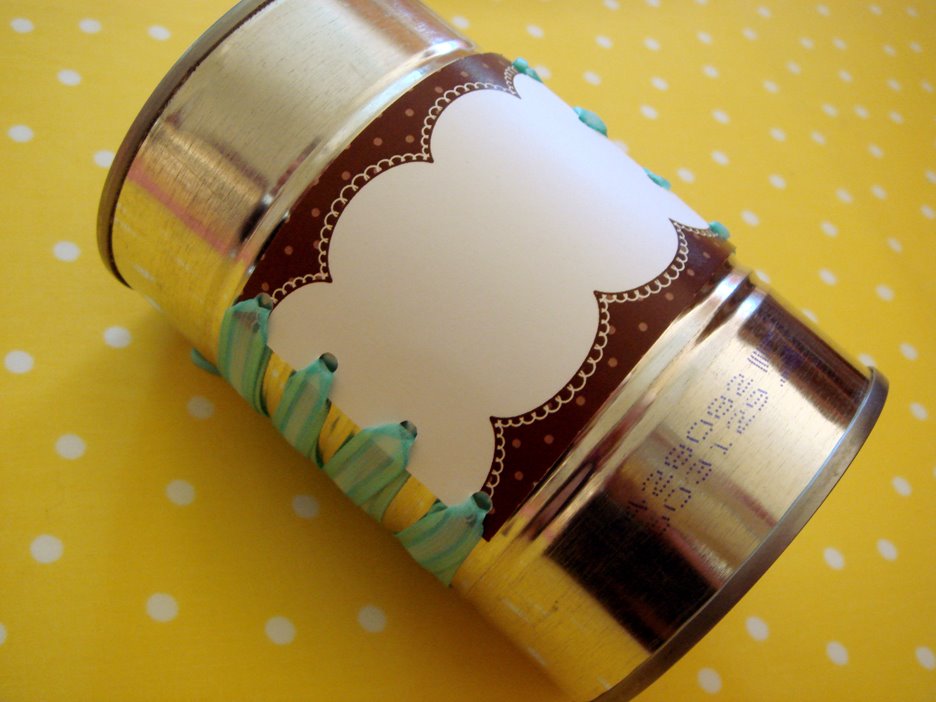 Here’s a front view before I decided to add some letters.
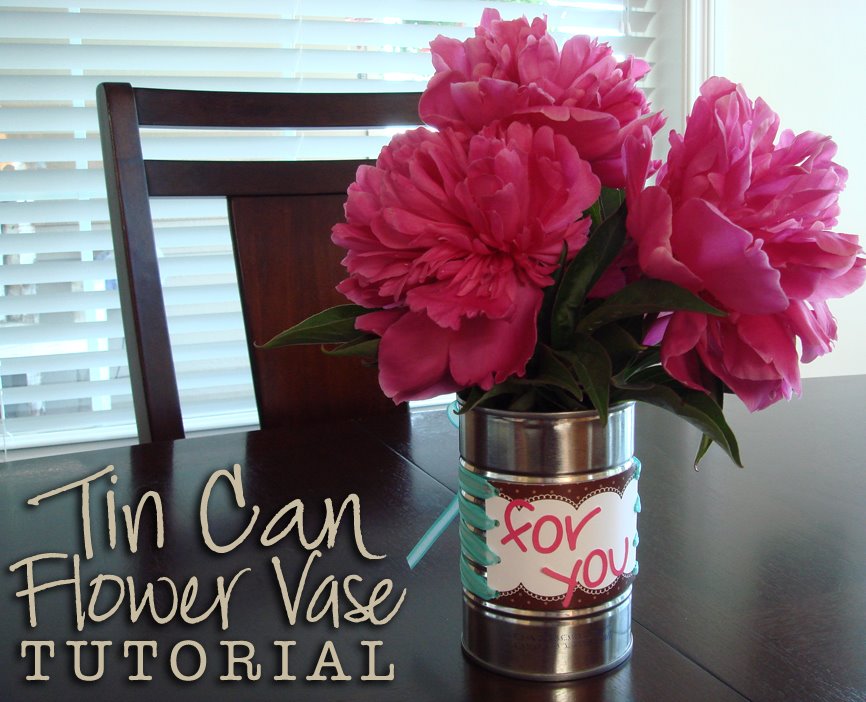
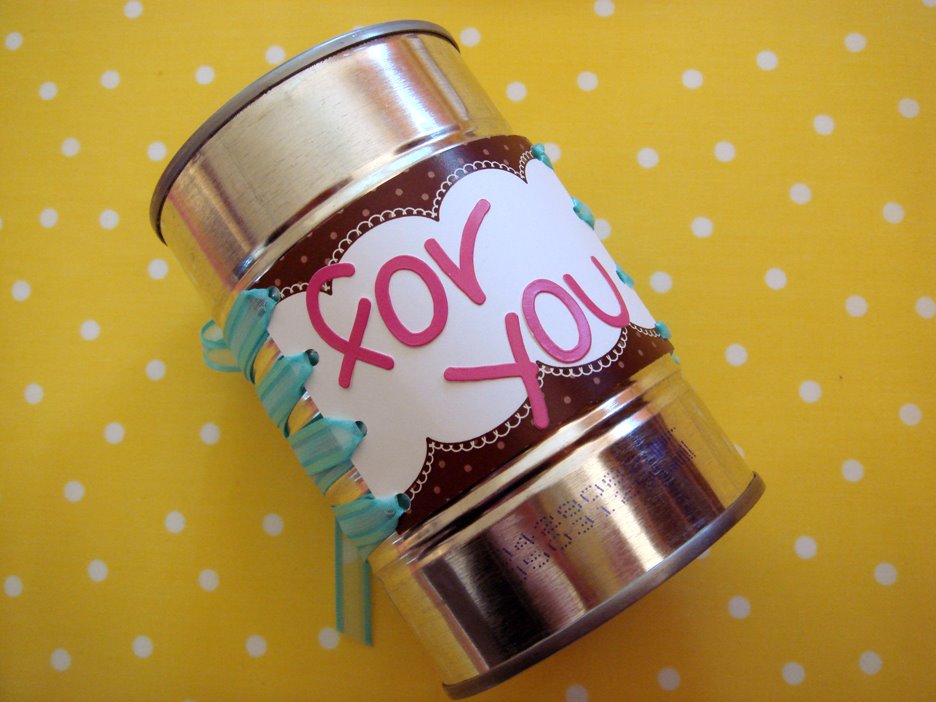 And, here is the tin can complete and ready for flowers!
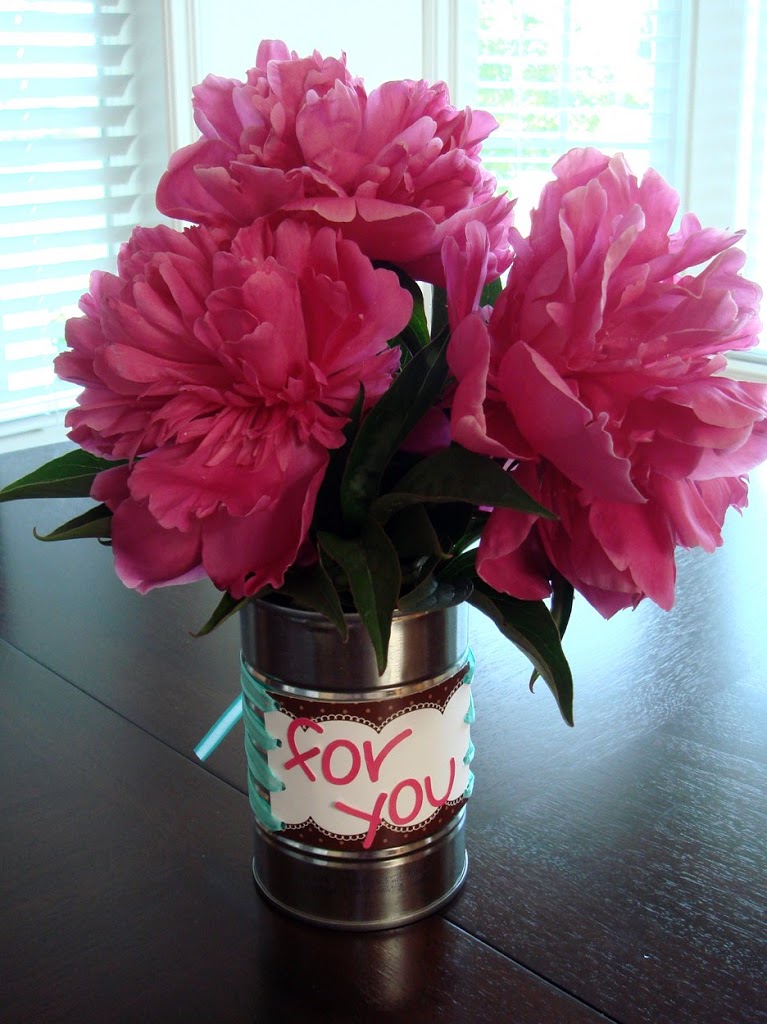 It looks so cute on our table! And the laced ribbon makes it look so elegant, too! I think I’ll give this one to my mom and maybe make another out of the tiny tin can for my button storage!
We’ll have some more fun tutorials coming this week – we hope you enjoy them 🙂
xo, Elle
Comments