 This tutorial is brought to you by my Mom, who taught me all I know about crafty loveliness!
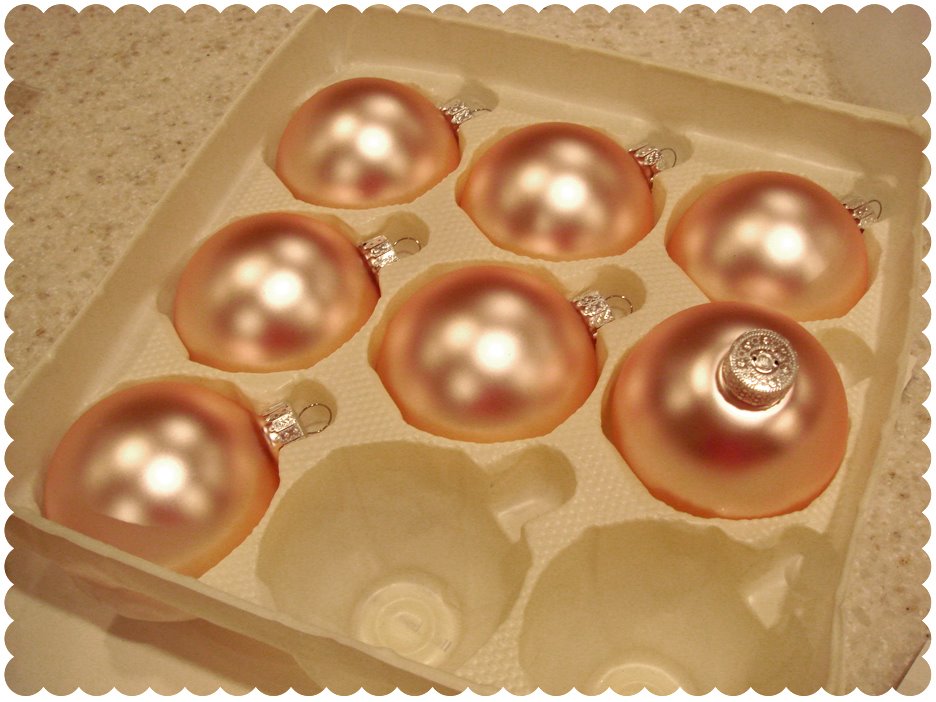 1. Pick up a set of blank Christmas balls. These can be found almost anywhere, she bought hers at Michael’s. Martha Stewart has some fun colors available at Kmart and I have also seen sets of these at Walmart. As it gets closer to Christmas, they are all starting to go on sale, so you should be able to get a pretty good deal!
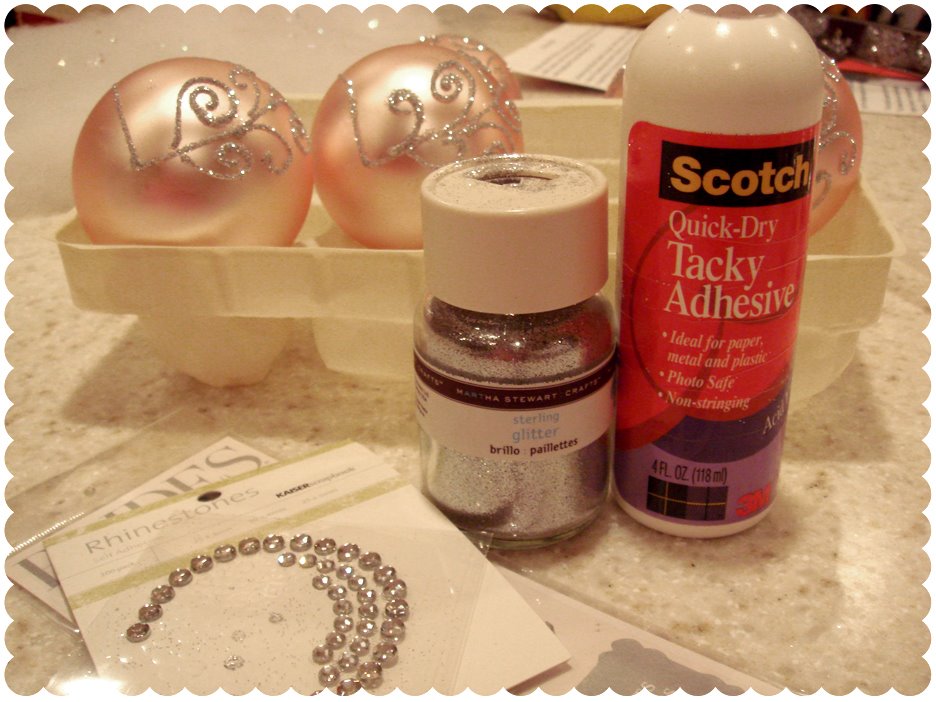 2. You’ll also need to pick up some glitter, she choose Martha Stewart’s silver glitter from Michael’s (this glitter is fabulous and has the perfect texture!). Don’t forget the glue, she highly recommends Scotch Quick-Dry Tacky Adhesive, the bottle has the perfect tip for drawing small shapes and the glue dries very quickly! And, lastly, if you want to add even more sparkles, pick up some rhinestones!
 Here is a close up of the Scotch Quick-Dry Adhesive – if you can’t find this glue, try to find glue with a fine tip! The finer the tip, the better the end result will work!
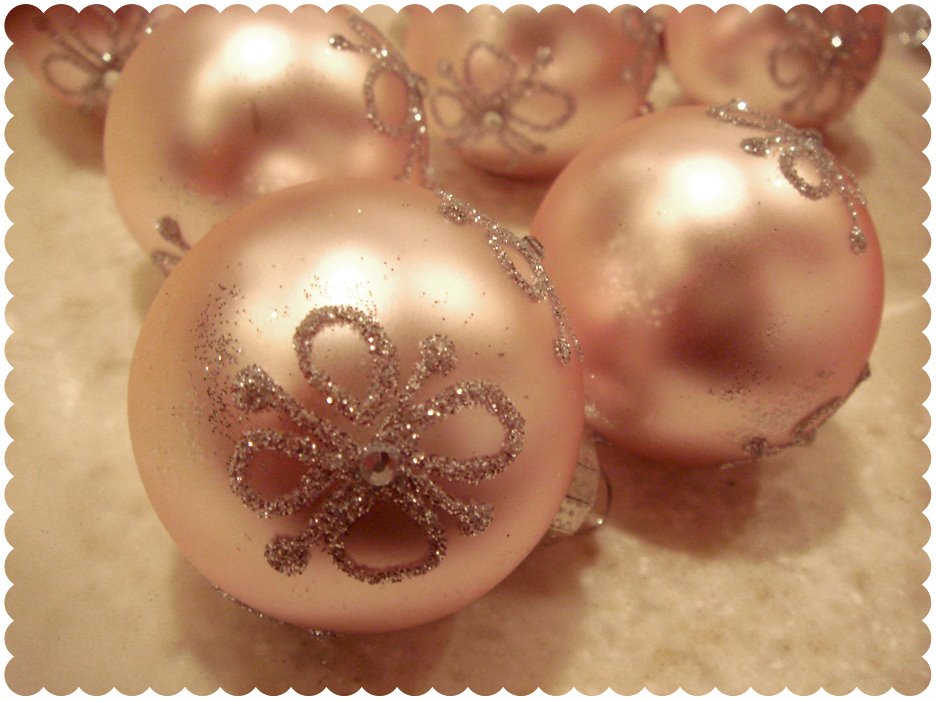
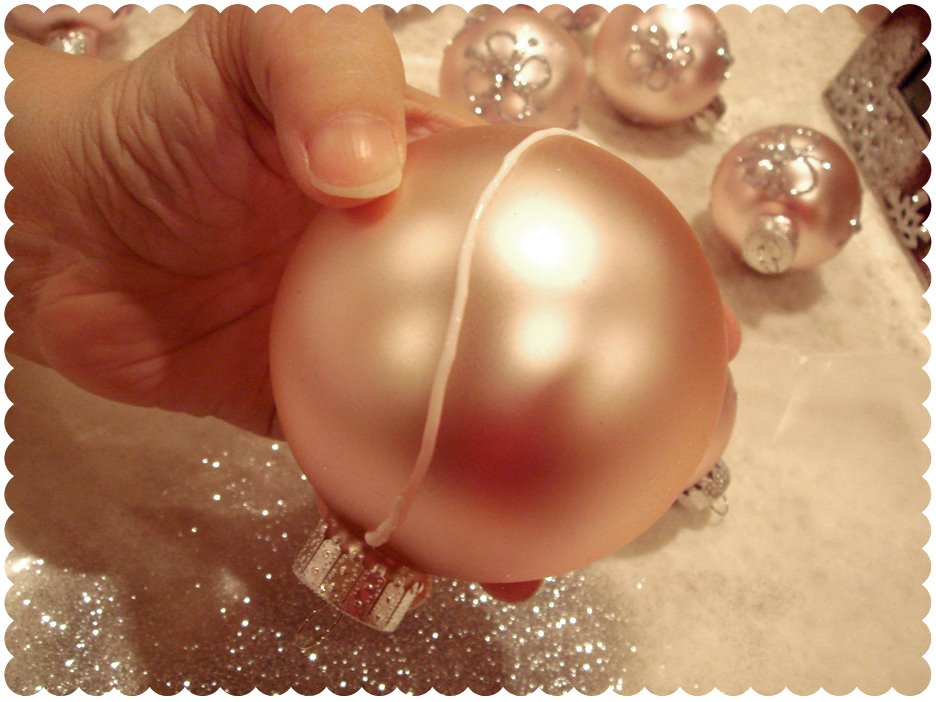 3. Practice your design on paper. She choose to do a swirly pattern around the entire ball – but there are lots of different things you could do! Some examples would be: Names, monograms, year, hearts, stripes, snowflakes, etc.
Since she choose the swirly pattern she started with the base of the pattern and made a line that went around the entire ball with the glue. The line had a little wave, but stayed pretty centered on the ball.
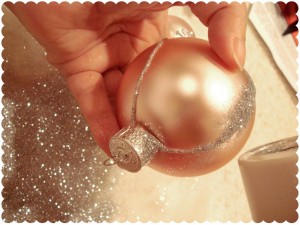 4. Before the glue can dry, she sprinkled the glitter on the line. Let the line dry before continuing. This would be a good time to do the lines on all the balls while waiting. Setting up an assembly line will make the process go faster since you will be waiting awhile for the glue to dry in each step!
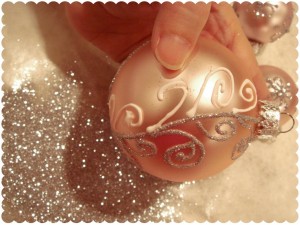 5. After the line is dry, it is time to add the swirls! Try to not worry to much about how smooth your lines are – the glitter hides all those imperfections!
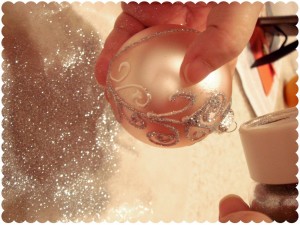 6. Put glitter on the glue again and set aside to dry.
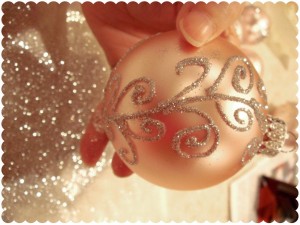
7. Repeat steps 3 – 6 around the ball again, so you will have a total of two lines that wrap completely around the ball – dividing the ball into quarters. This allows the perfect amount of swirls and allows the glitter to catch the light at any angle. It is such a beautiful sight!
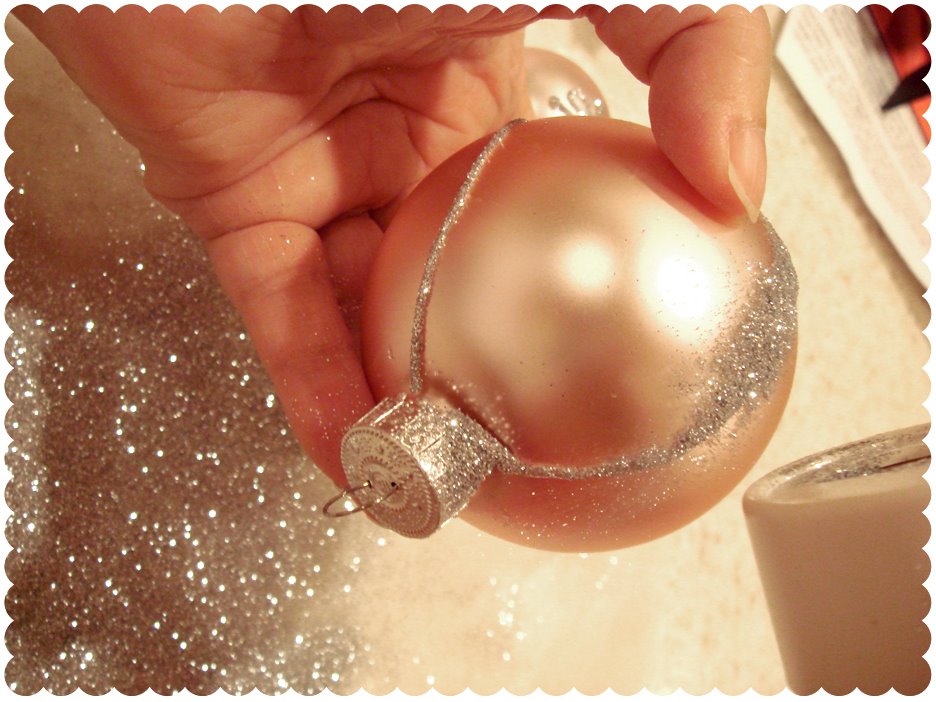 4. Before the glue can dry, she sprinkled the glitter on the line. Let the line dry before continuing. This would be a good time to do the lines on all the balls while waiting. Setting up an assembly line will make the process go faster since you will be waiting awhile for the glue to dry in each step!
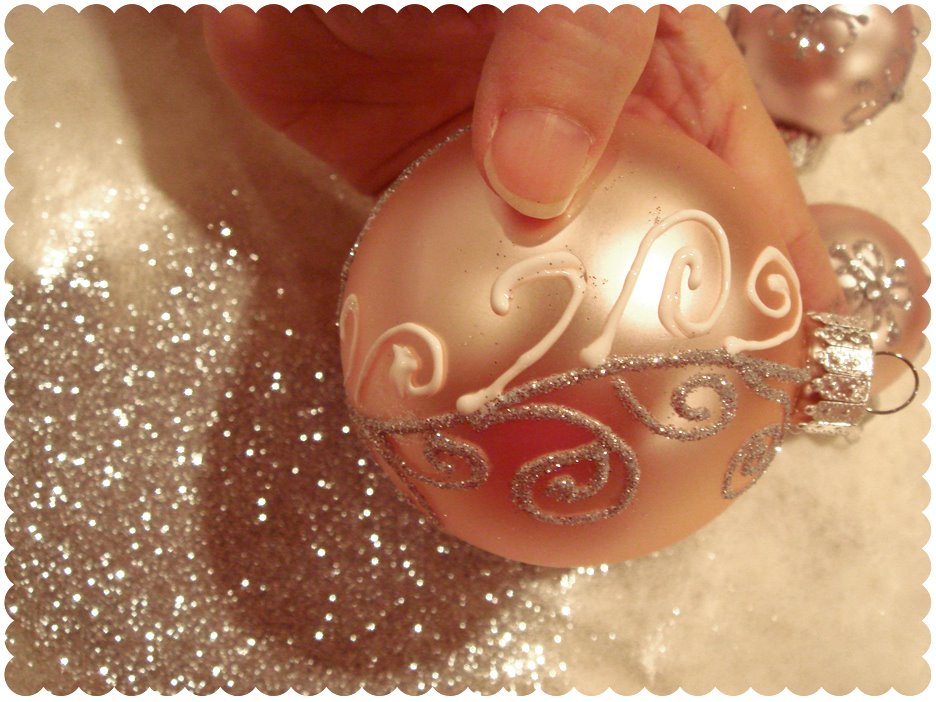 5. After the line is dry, it is time to add the swirls! Try to not worry to much about how smooth your lines are – the glitter hides all those imperfections!
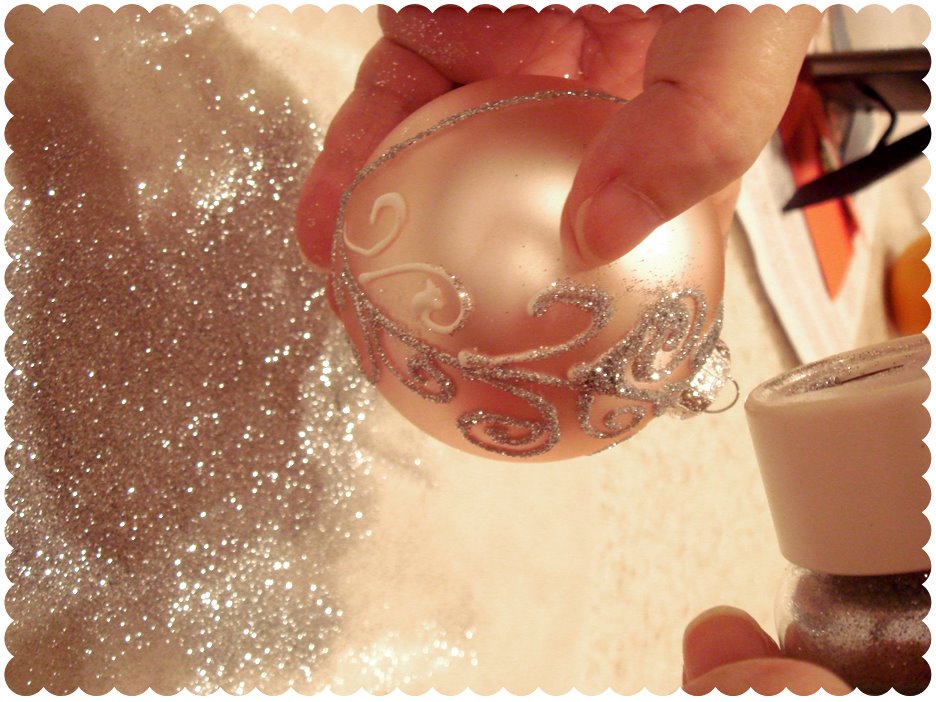 6. Put glitter on the glue again and set aside to dry.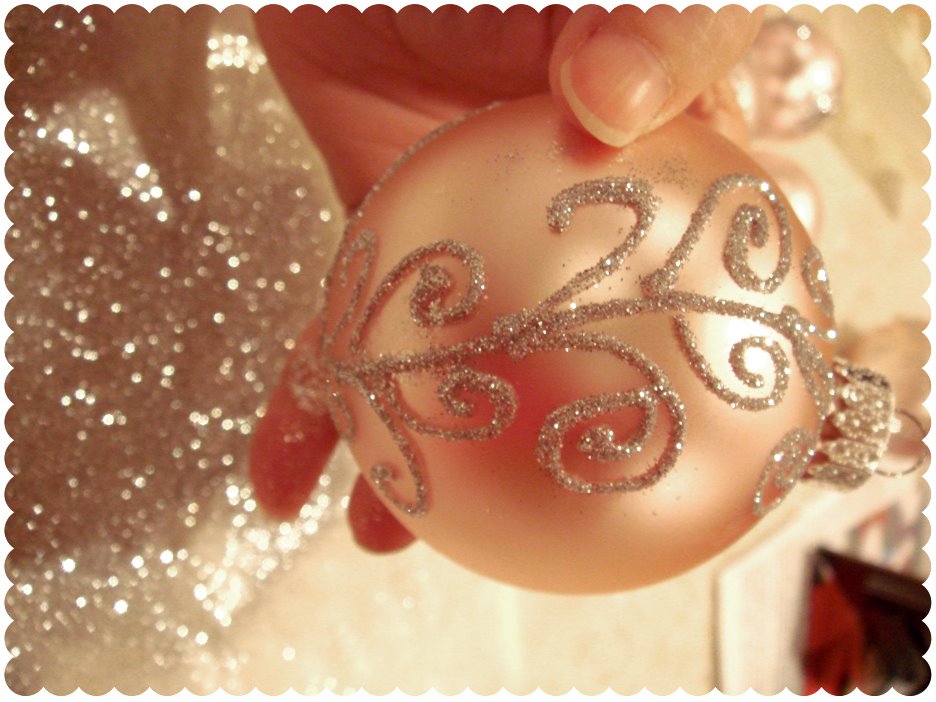
7. Repeat steps 3 – 6 around the ball again, so you will have a total of two lines that wrap completely around the ball – dividing the ball into quarters. This allows the perfect amount of swirls and allows the glitter to catch the light at any angle. It is such a beautiful sight!
TIPS!
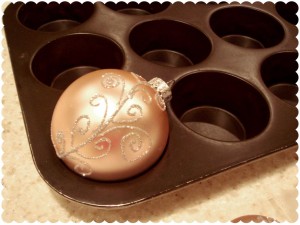 Use a cupcake pan to hold the balls while they are drying!
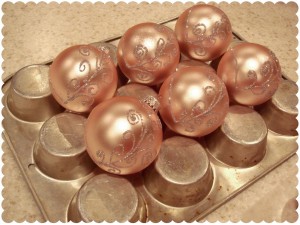 If your balls are to small and the cupcake pan doesn’t hold them up high enough, turn the cupcake pan upside down! This worked like a charm!
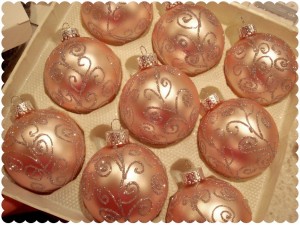 Put the balls back into the same packaging!
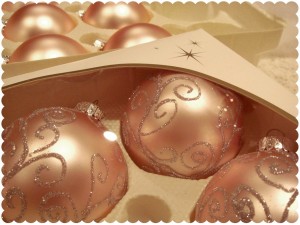 They look store bought!
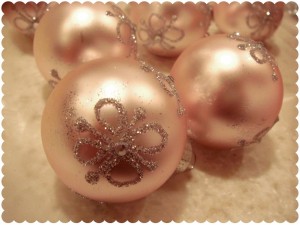
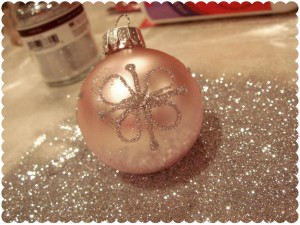 Smaller balls work great and are just as cute! She made little snowflakes and used the rhinestones as there little centers!
 Two more tips that I don’t have photos for:
-Work on wax paper! This allows you to collect the glitter that doesn’t stick to the glue on the balls and put it back into the jar!
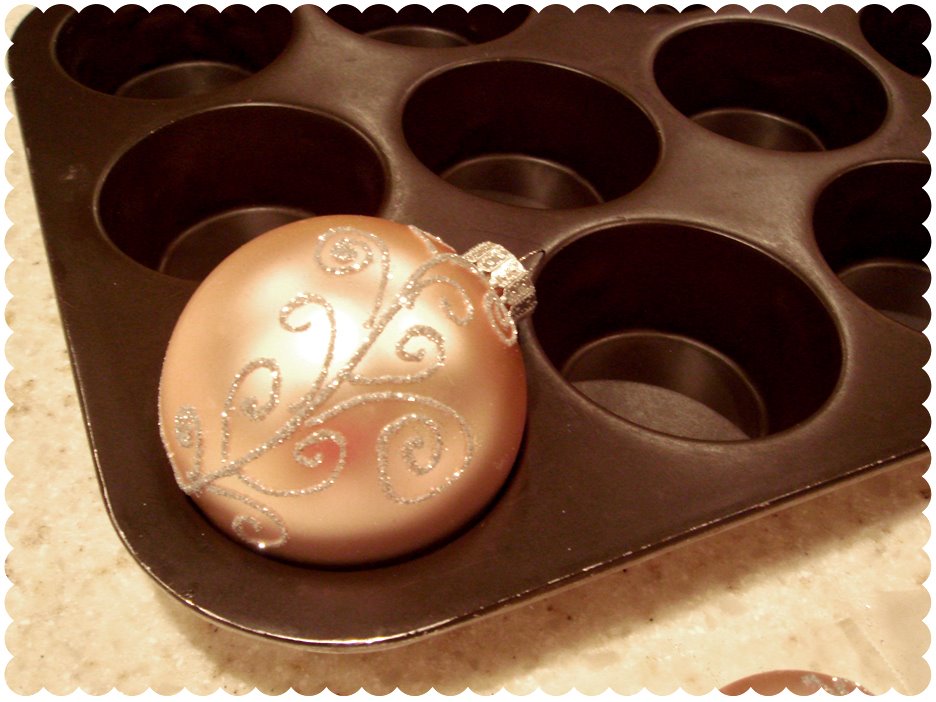 Use a cupcake pan to hold the balls while they are drying!
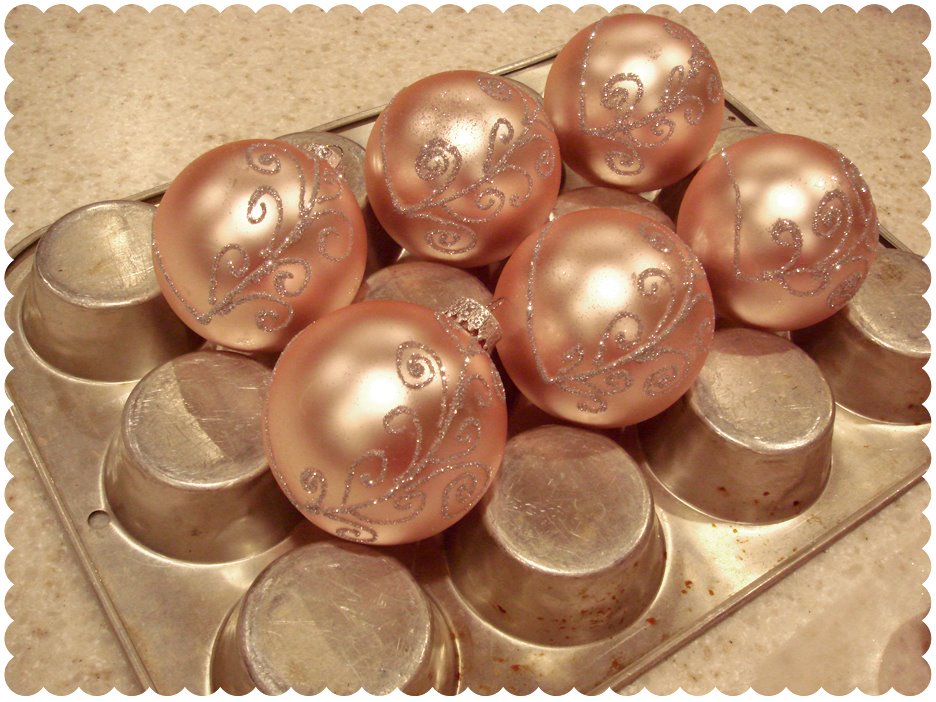 If your balls are to small and the cupcake pan doesn’t hold them up high enough, turn the cupcake pan upside down! This worked like a charm!
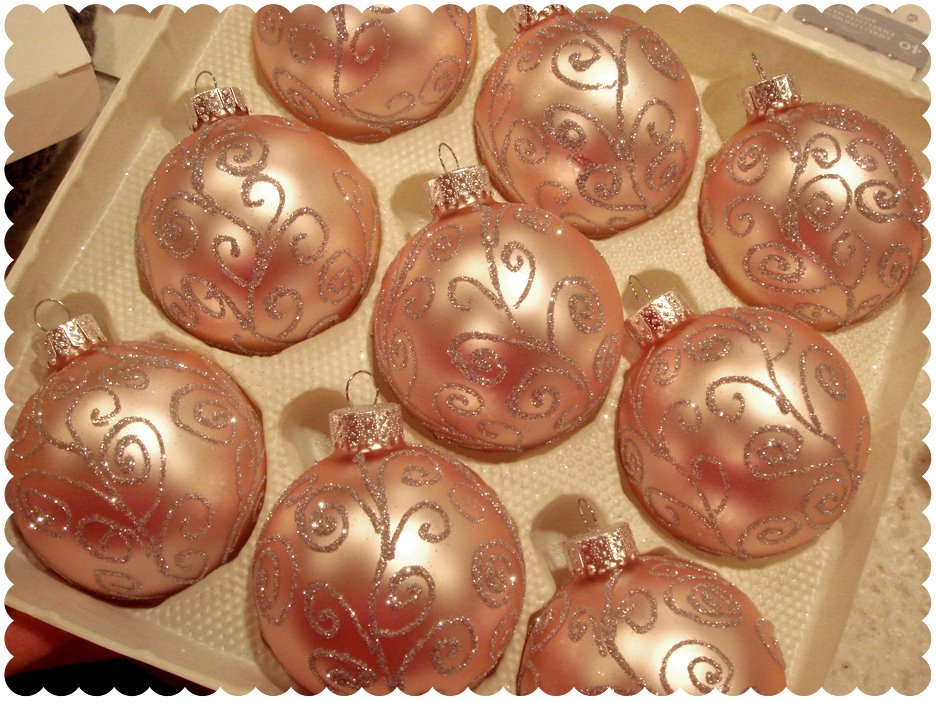 Put the balls back into the same packaging!
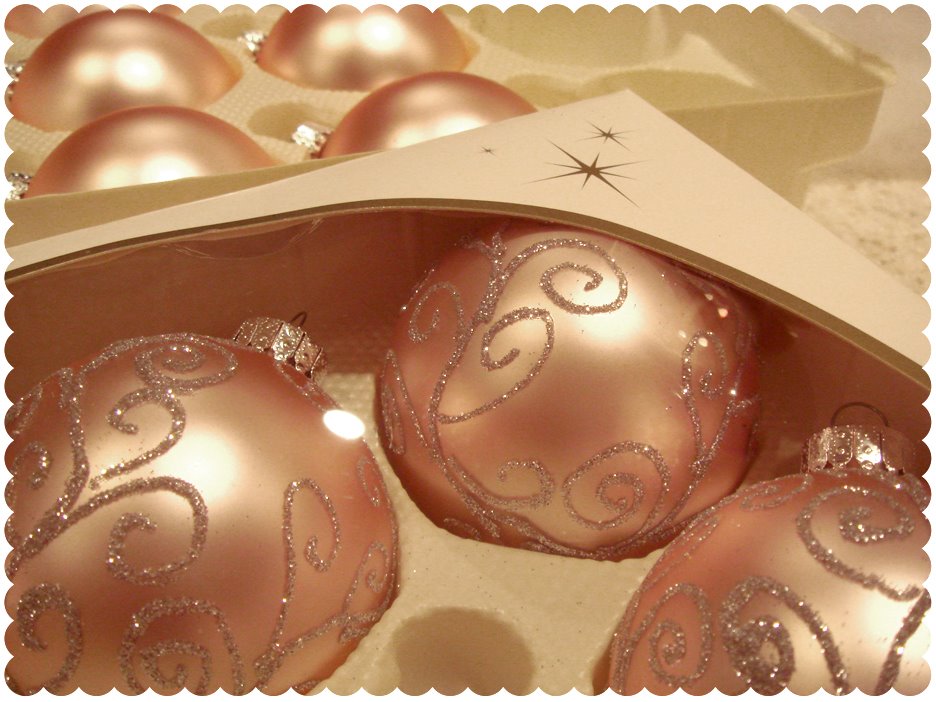 They look store bought!
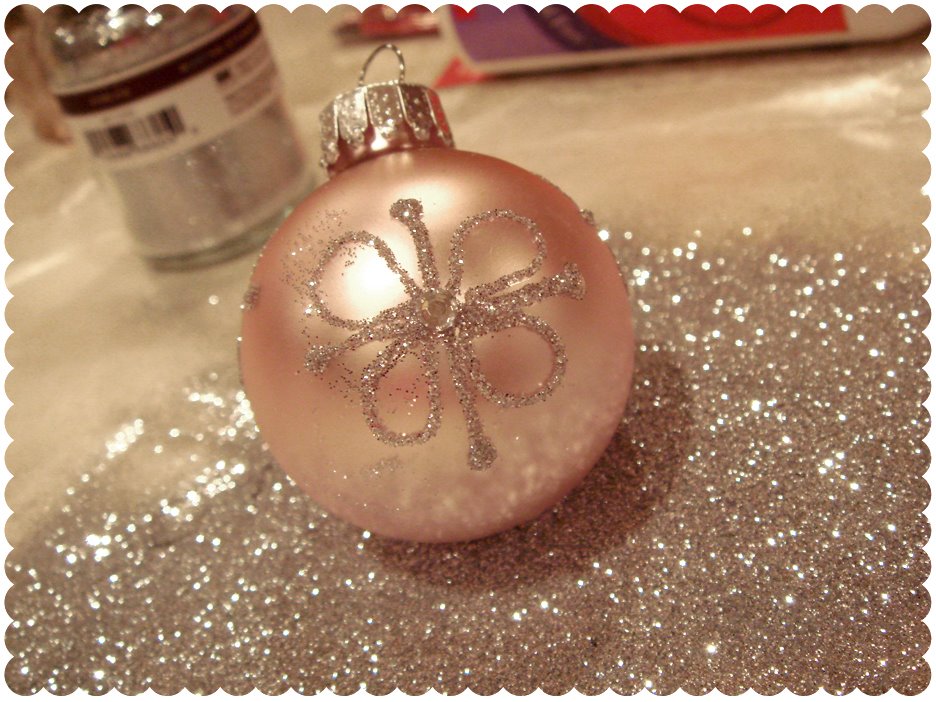 Smaller balls work great and are just as cute! She made little snowflakes and used the rhinestones as there little centers!
 Two more tips that I don’t have photos for:
-Work on wax paper! This allows you to collect the glitter that doesn’t stick to the glue on the balls and put it back into the jar!
-After the balls are completely dry (you can even wait until the next day to be completely sure) use a dry paint brush to brush off the excess glitter!
———————————————————————————-
If you have any questions, please post them and I can ask my Mom!
She was making these for my sister after they couldn’t find ones like these at the store that they had bought from the year before. I think hers turned out even better than the ones bought at the store, plus they were made from the heart with lots of love 🙂 I think anyone would enjoy opening a box to find these special ornaments and every year when they hang them on there tree they will think of you!


 Thanks so much for stopping by! Have a great day 🙂


 And, she even made a fabulous mini book to go along with the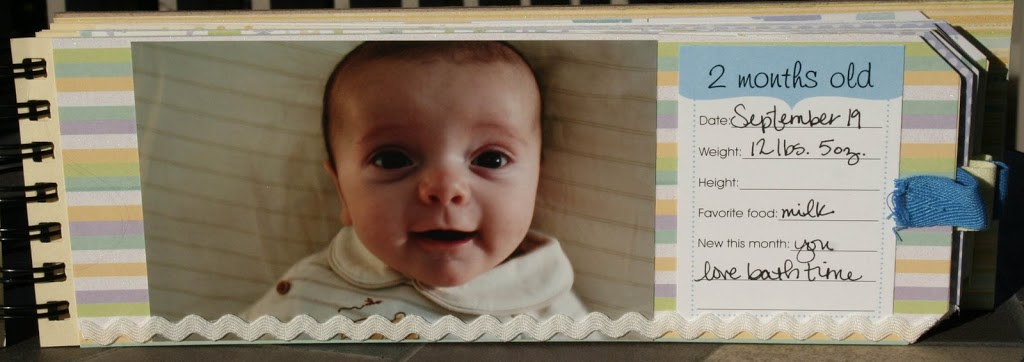
 You guys win the “Most Awesome” award for being so… well… awesome!! So far you have bought and fed 28
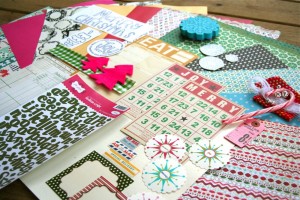
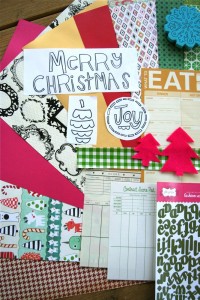 I have to get back to work, but I promise more posts later in the week 🙂
 Next, our tags were featured in an awesome downloadable magazine called
  We also want to share with you this very cute and fun countdown that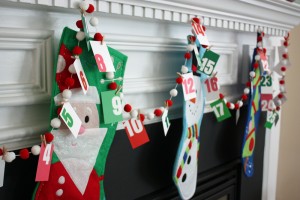
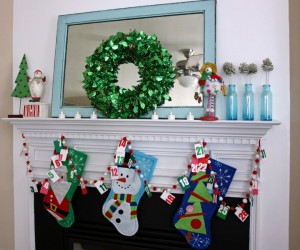
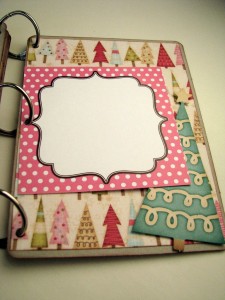 I love this little Christmas booklet! Great job 🙂 Please email me your address and pick two items from our shop that you’d like! Our December contest starts now – all you have to do is upload a layout, card, mini book, etc. to our