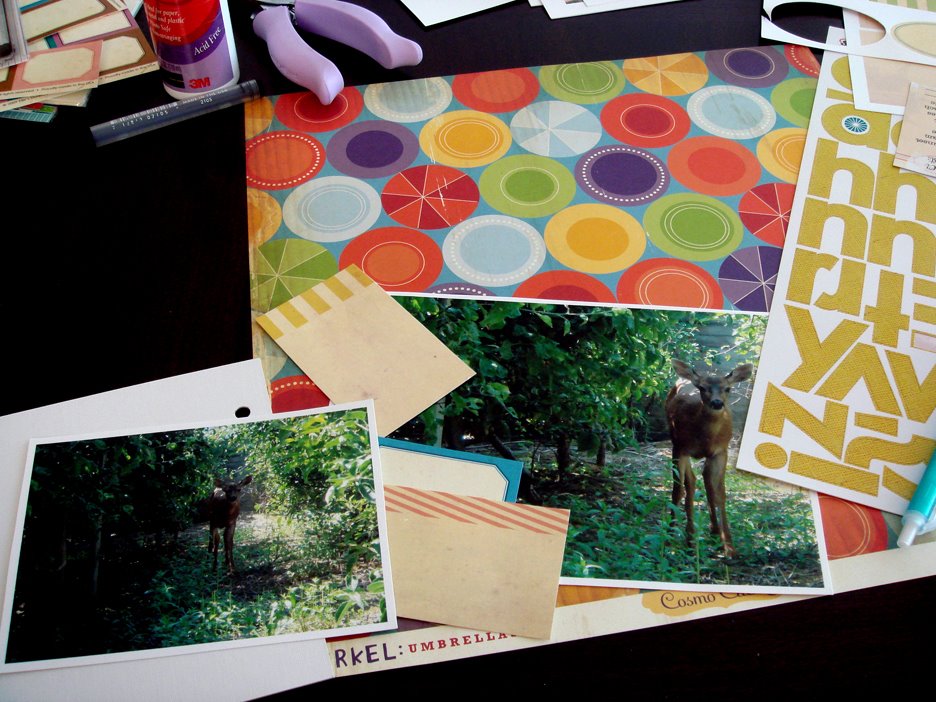
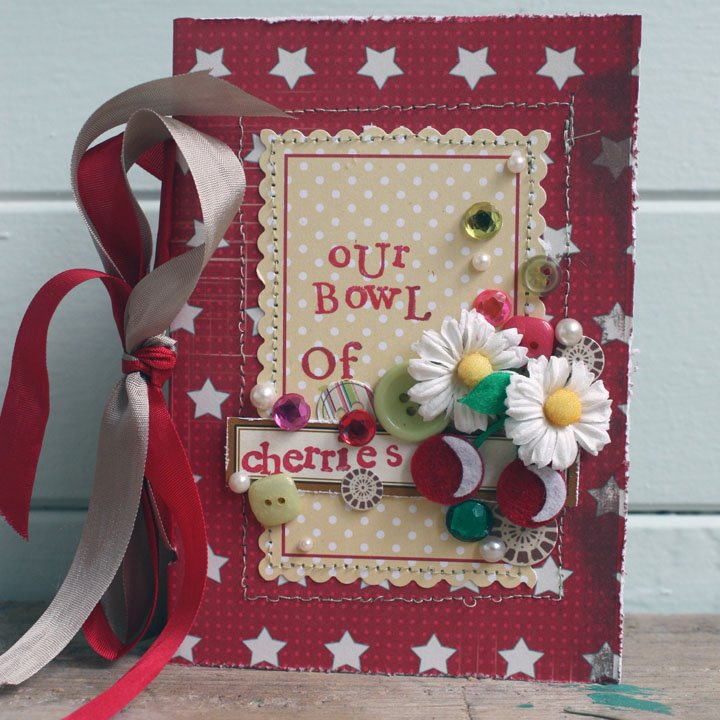
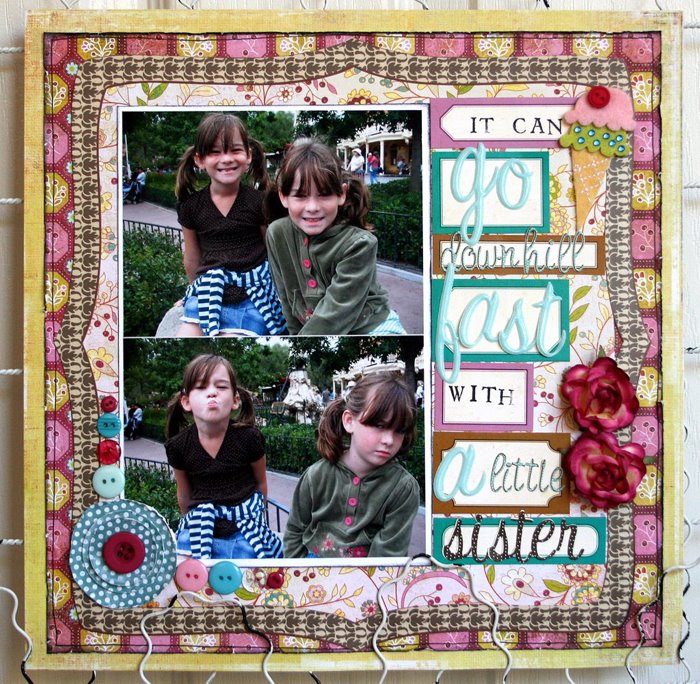
 Time for another page! We were really inspired by the Kenner Road layouts and their use of mulitiple journaling tags and our cut outs, in the last post! For our next layout we decided to do another two page spread with multiple journaling tags, and use a large photo for the right page! Let’s get started :
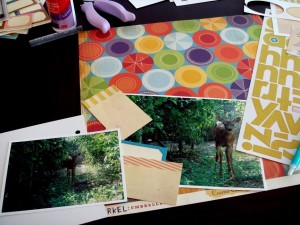 Gather up your supplies. For this layout you’ll need a picture large enough to be an entire page.
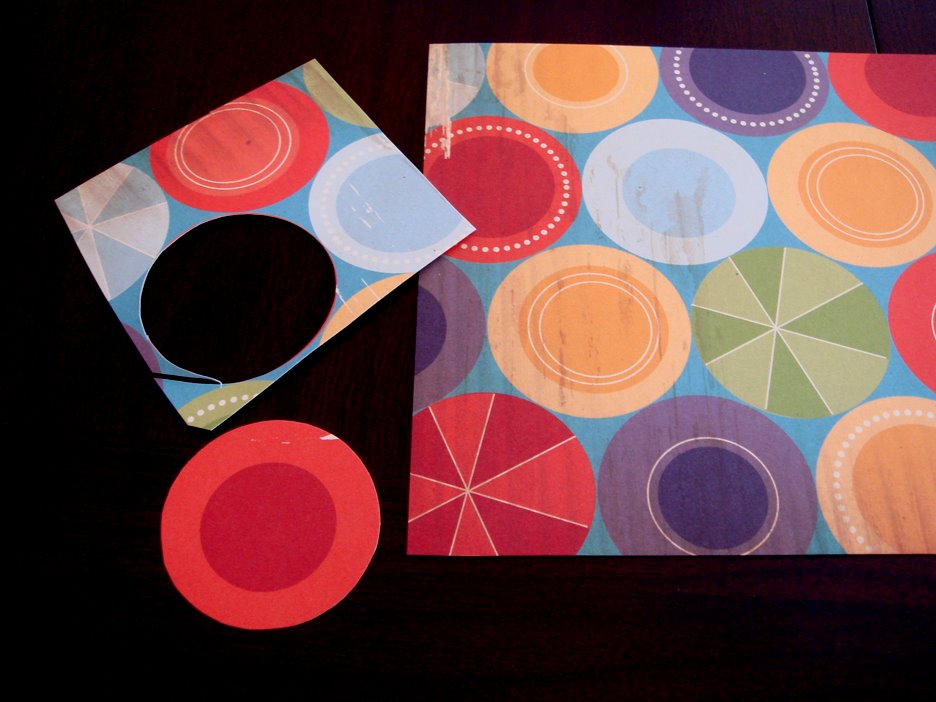
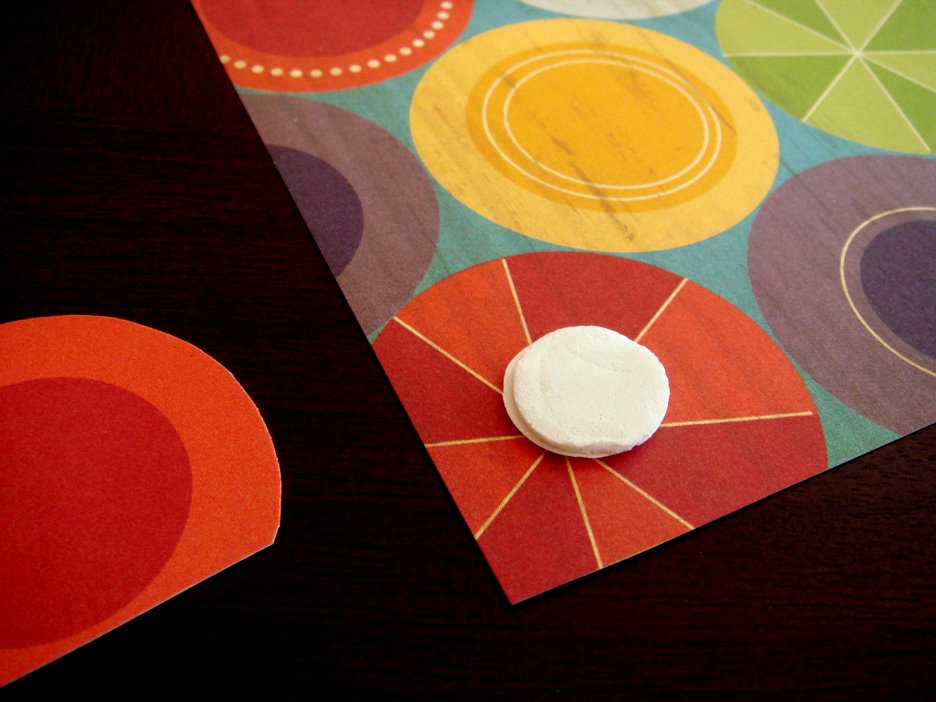
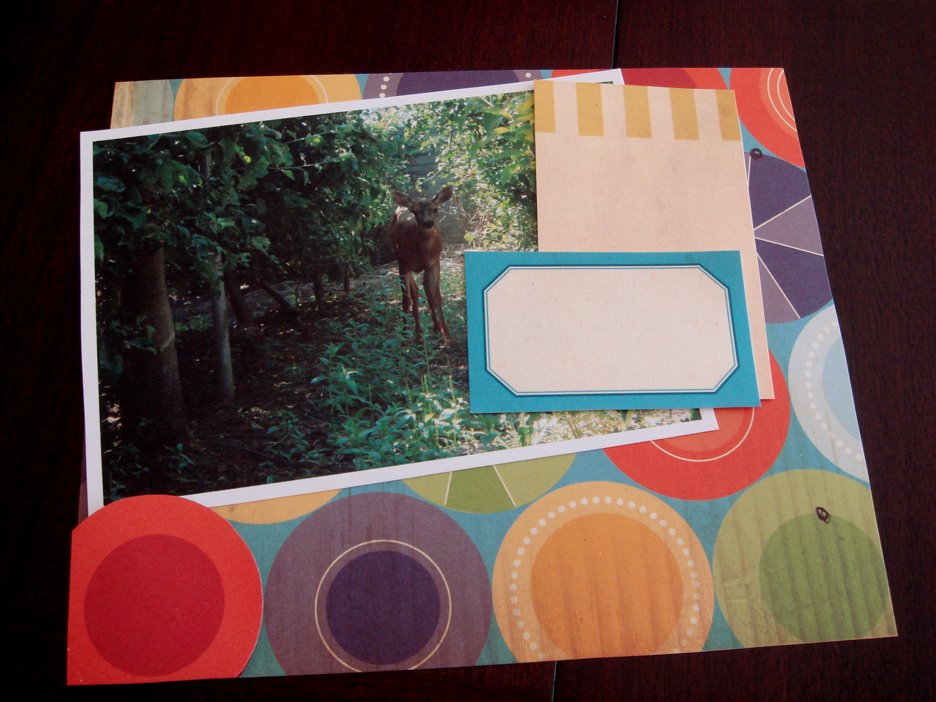
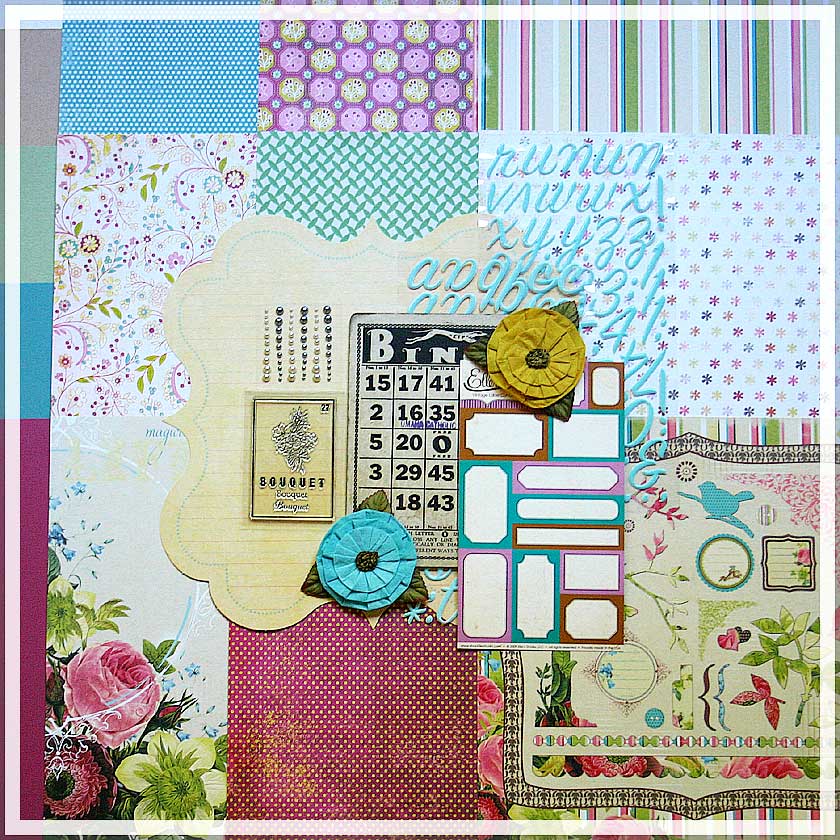
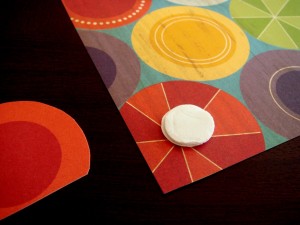
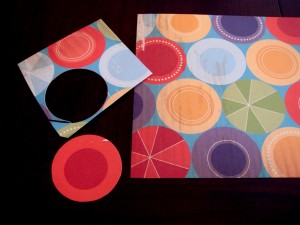 The Cosmo Cricket paper we picked out for this layout has these super fun beach balls, so we wanted to make the beach ball that is going to be in the corner pop. We used pop dots to pop it!
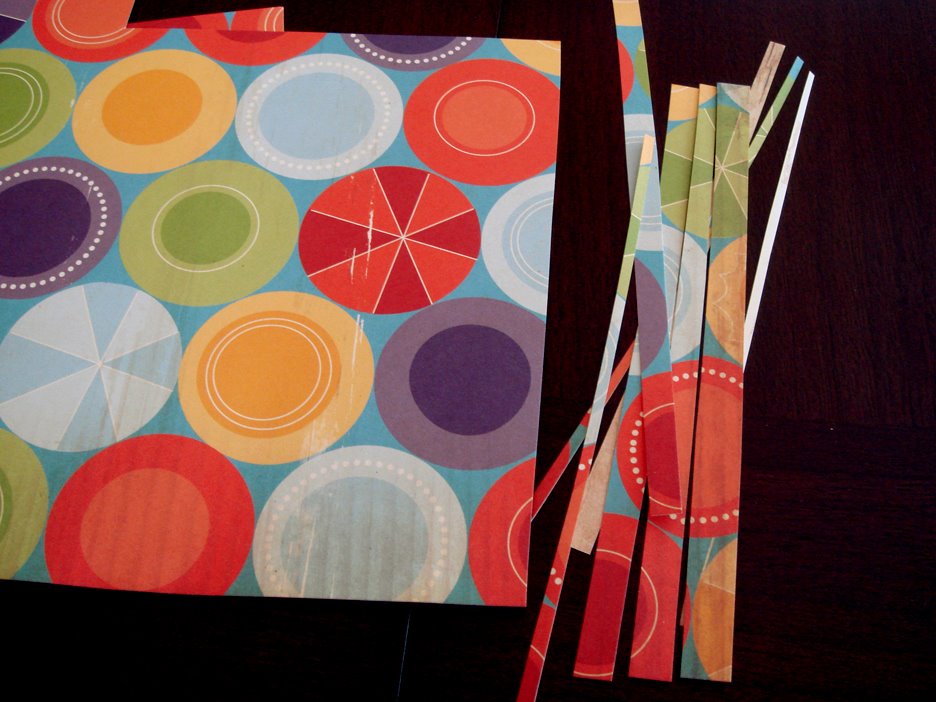
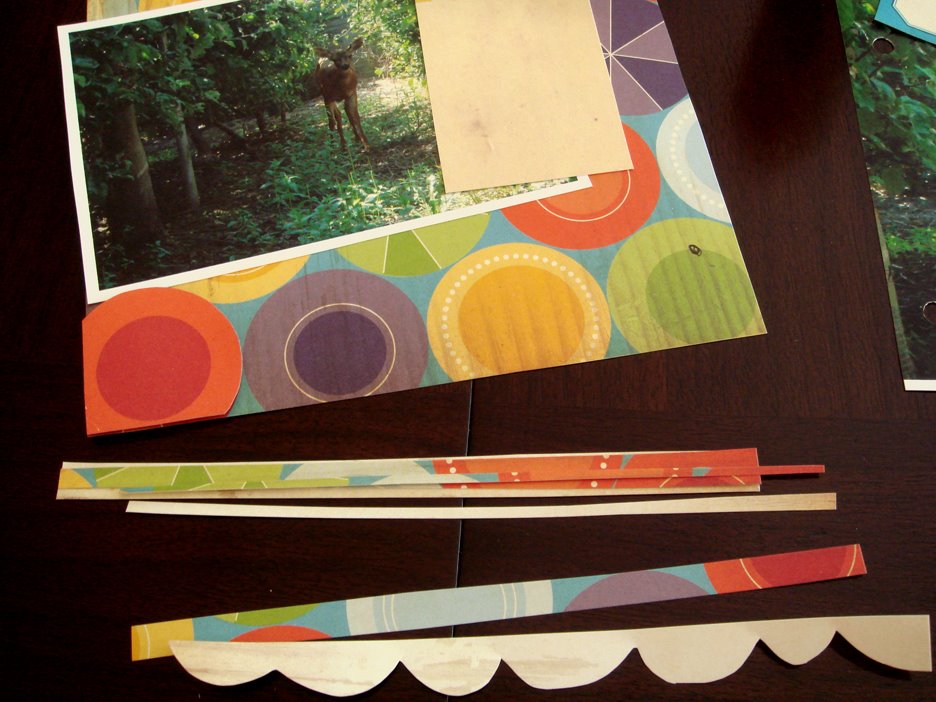
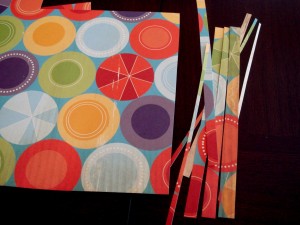
 Next, since this paper has a coordinating backside, we used the leftover scrap piece and cut a bunch of uneven strips. Put the strips to the side, we’ll need them in just a little bit 🙂
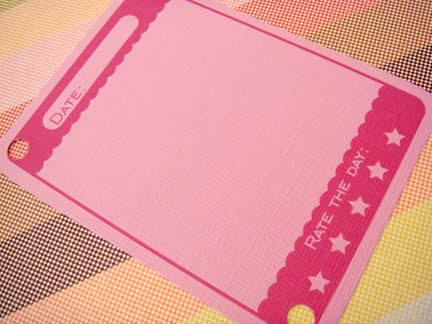
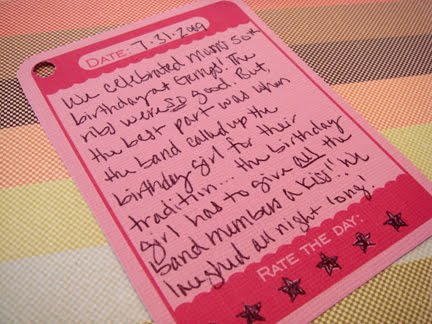
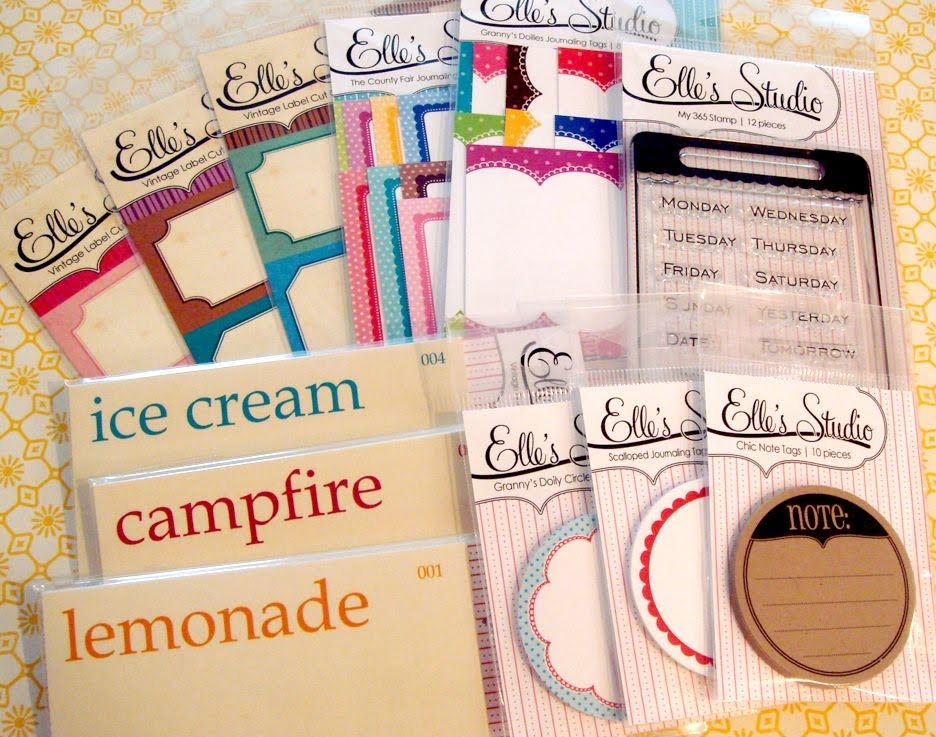
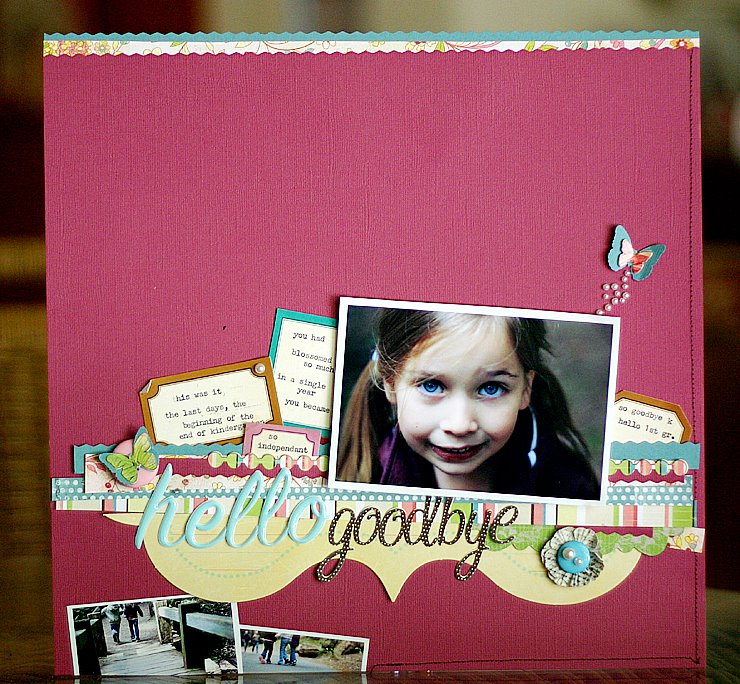
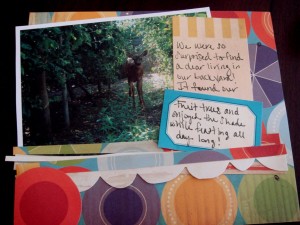
 Then, we picked out our journaling tags. For this layout, we wanted to use multiple journaling tags that coordinated well. We used one from our cut outs and the other from our digital download.
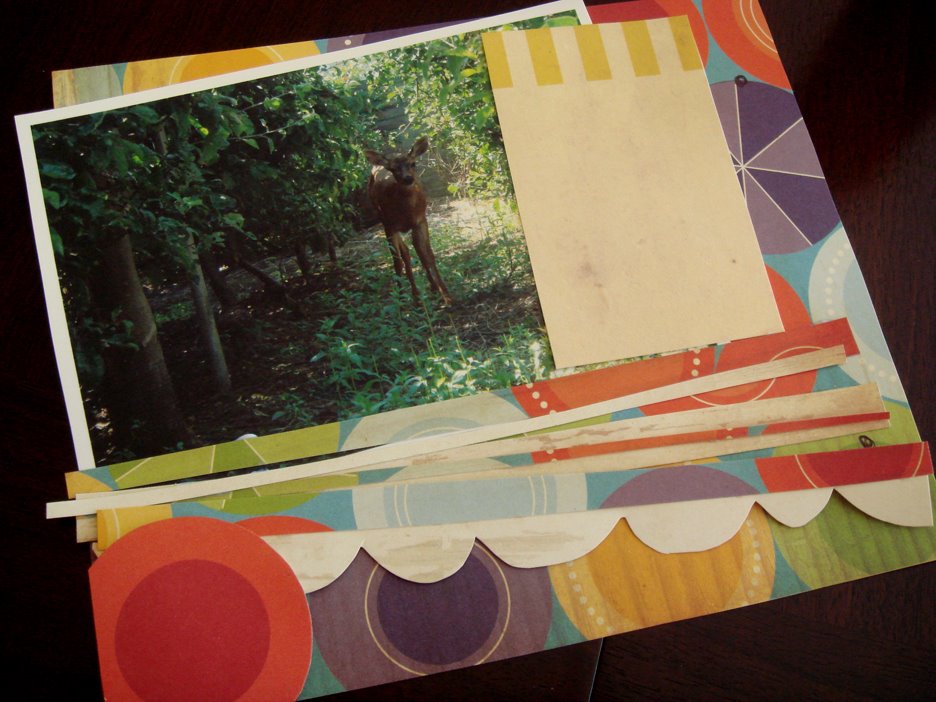
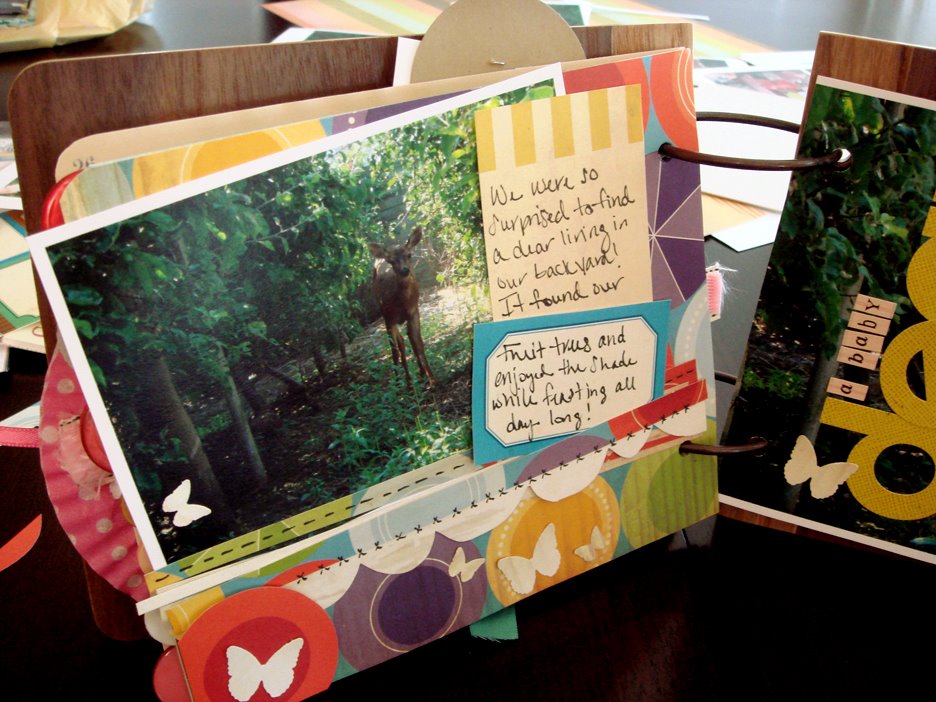
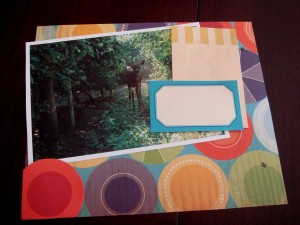 Once we got the basic layout figured out, we glued the picture and top journaling tag down. Then brought our strips outs. One of the strips we cut bubbles into.
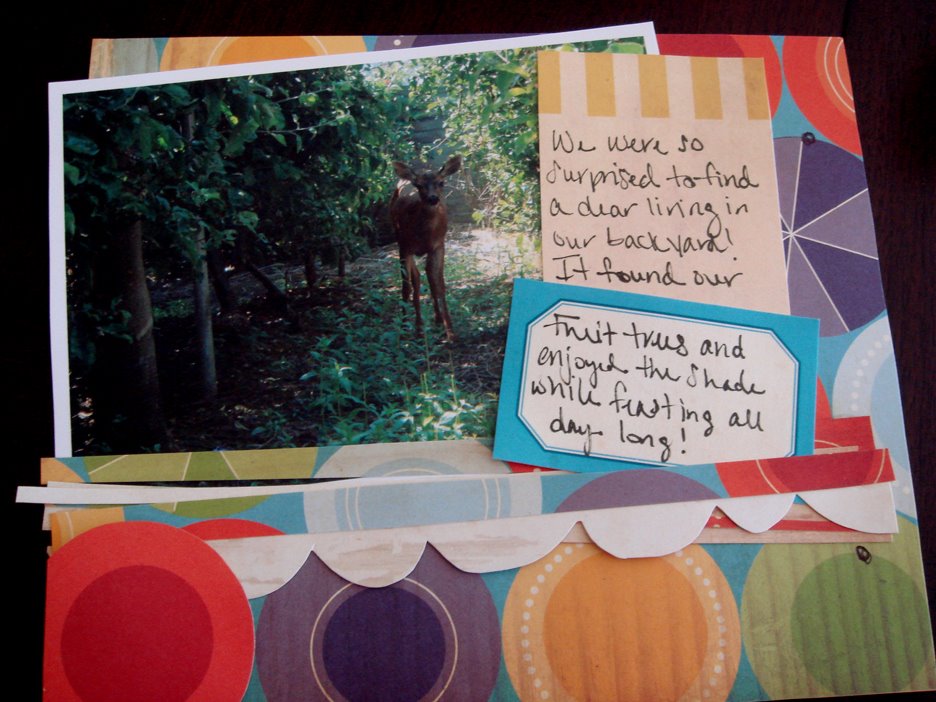
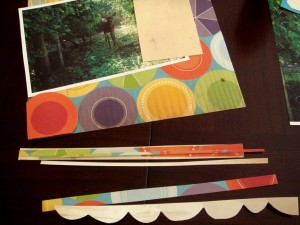 Lay and glue your strips down. Make sure some show the backside of the paper. This will look like your using different coordinating papers, but really it’s just one sheet!
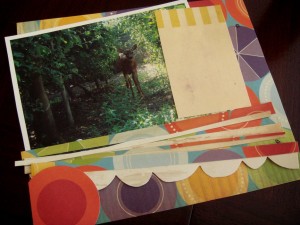 I wanted the second journaling tag to be on top of some strips and behind the final strip, so I waited to glue it on until I was ready.
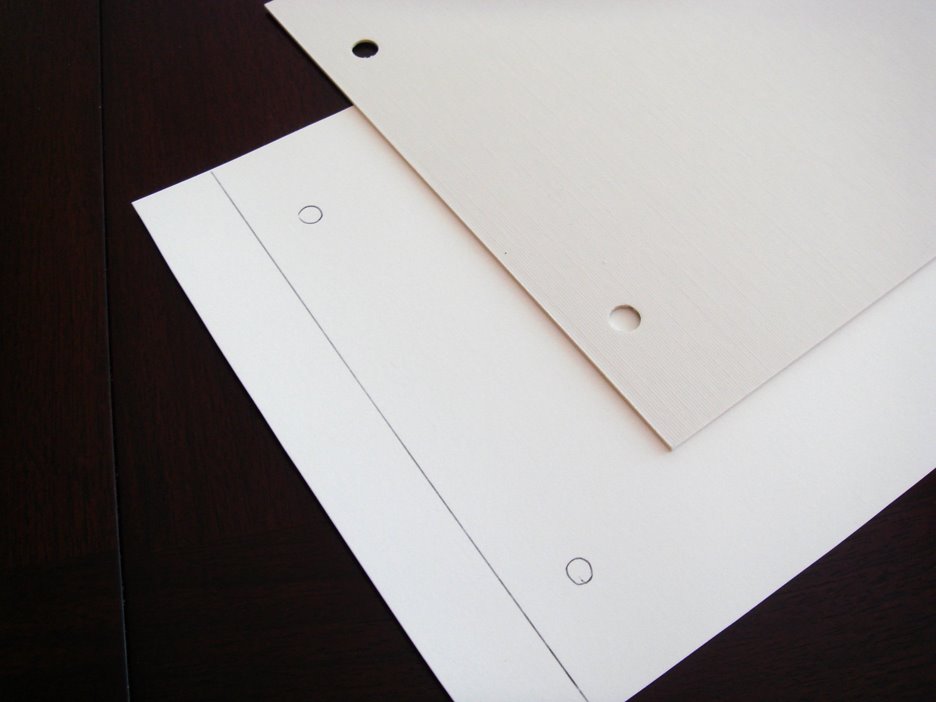
 For the right side, we are using a large photo for the entire page! This is fun and a great way to display a photo that you want to be really large. Use a page from the book to mark on the back of your photo where to cut and punch holes.
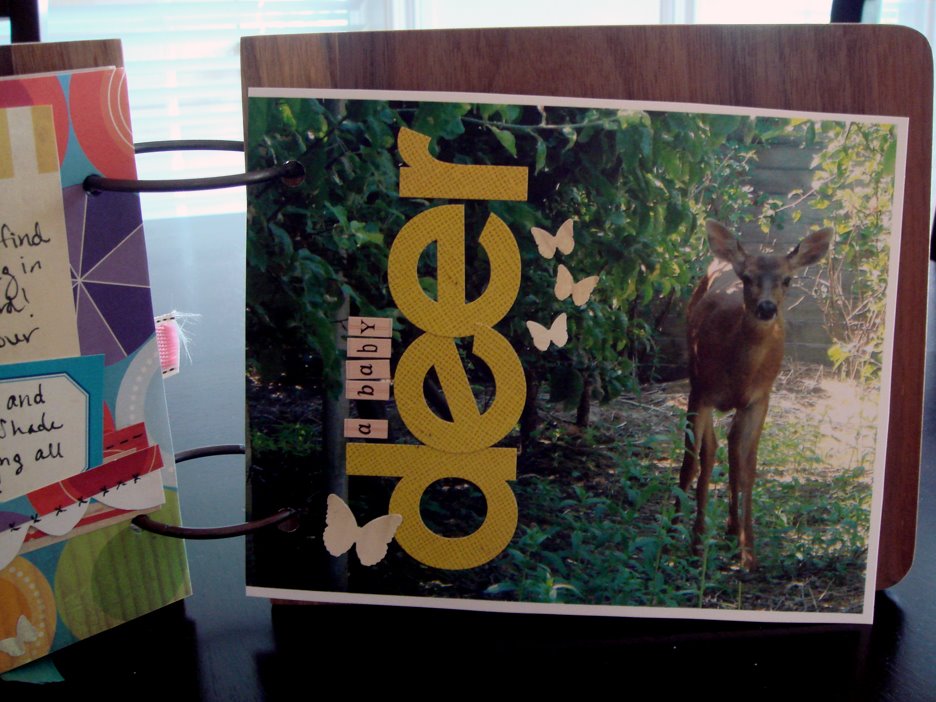
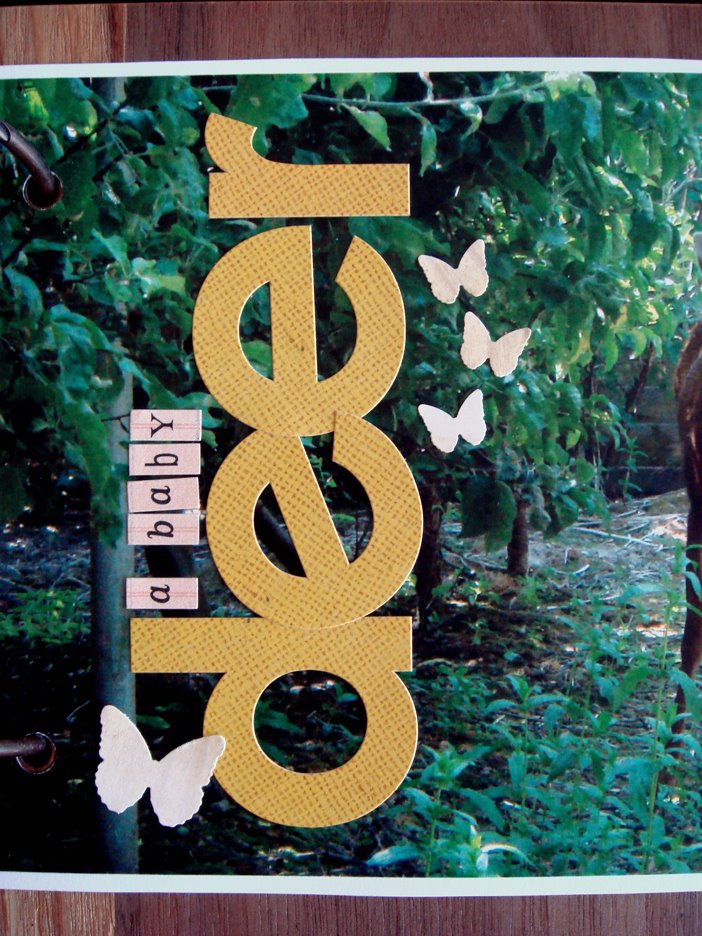
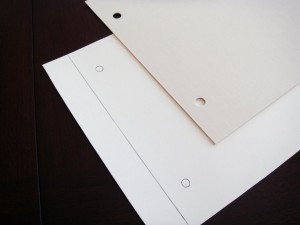 After we cut off the side and punched our holes we added our title. I love putting titles on large pictures, it adds such a different look to your mini!
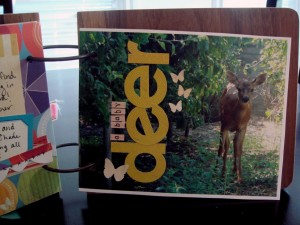 After taking a final look at the two pages together… we still thought something was missing…
We figured what it was! It needs some butterflies 🙂 Here’s what our pages ended up looking like:
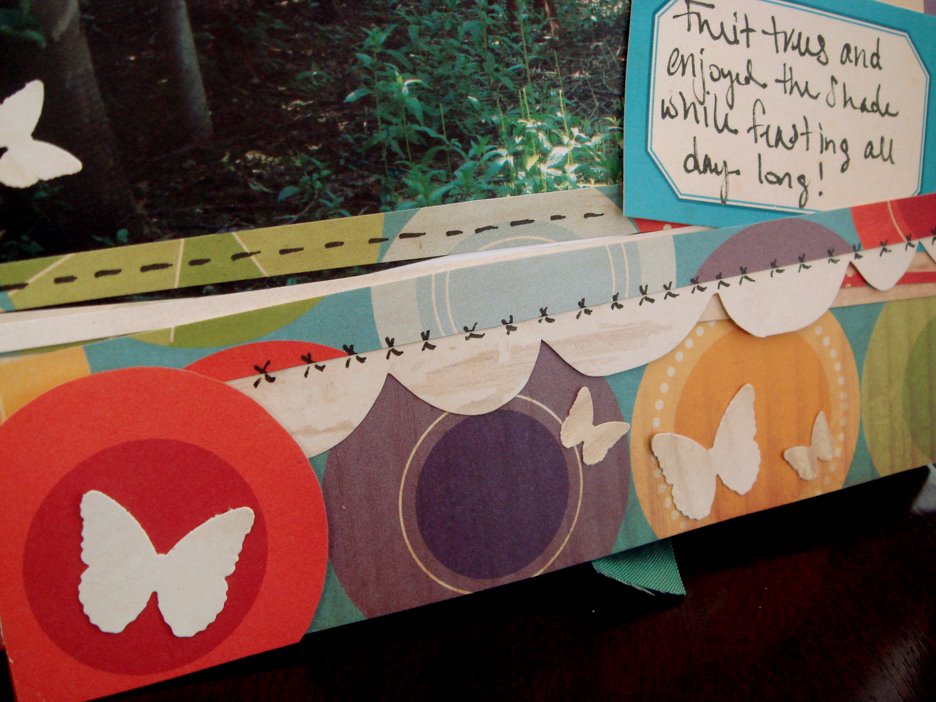
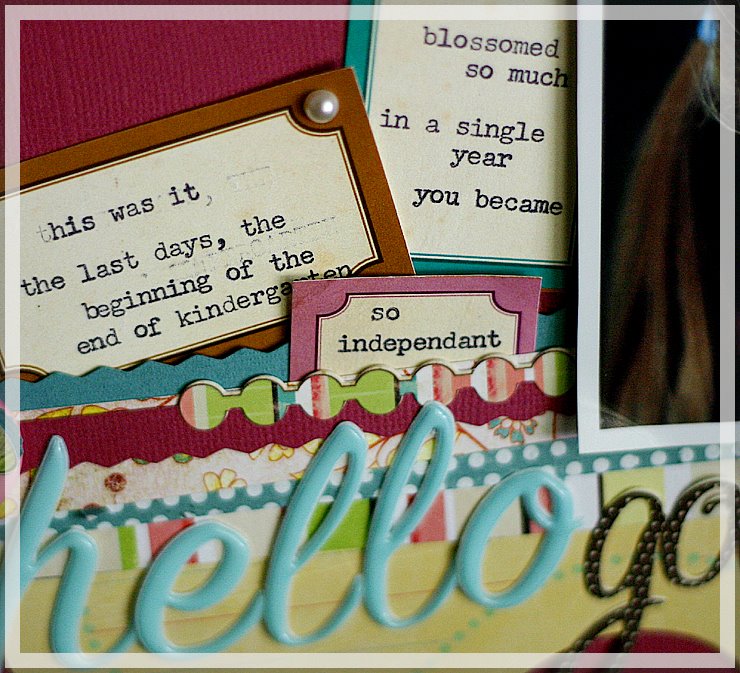
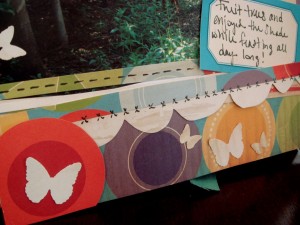
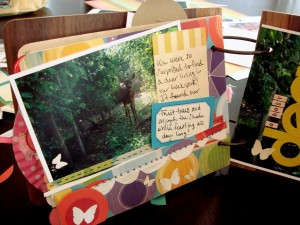 And, some close ups. We added “stitching” with our black pen, too! 🙂
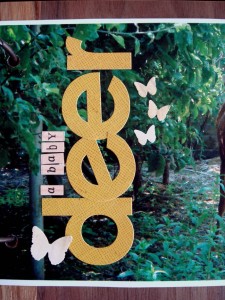 Love our little deer 🙂 Our summer mini is coming together nicely! How’s yours going? We want to see it! Please feel free to post a link in the comments or add it to our flickr group.
We’ve had some questions come up in the comment sections and through email so we thought we should answer them today!
How do you get your journaling to always fit on your journaling tags?
I always write out my journaling on a practice sheet and edit it so it will fit. It also helps to trace the journaling tag you are going to write on so you can get the sizing down before you start writing. Also, writing it very lightly in pencil first, on the journaling tag and then going back over it in pen is a good idea, too!
Do you worry about the pages sticking together?
Not really… I haven’t had many pages stick together in the past, but if this is something you are worried about you could put a piece of tissue paper or wax paper between the pages when storing your album.
How is the book if you are adding lots of embellishments? Is it bumpy?
This book is going to be pretty thick! I got super lucky that the mini book from Chatterbox came with huge binding rings! I’ll have to take a side shot when it’s finished so you can see it.
If you have any questions please feel free to leave them in the comments section or email us! And, don’t forget to link up your summer minis here or in our flickr group!
Happy creating!
xo, Elle
P.S. Still be thinking and recording those summer memories that you don’t have pictures for 🙂 we’ll be working on that soon!

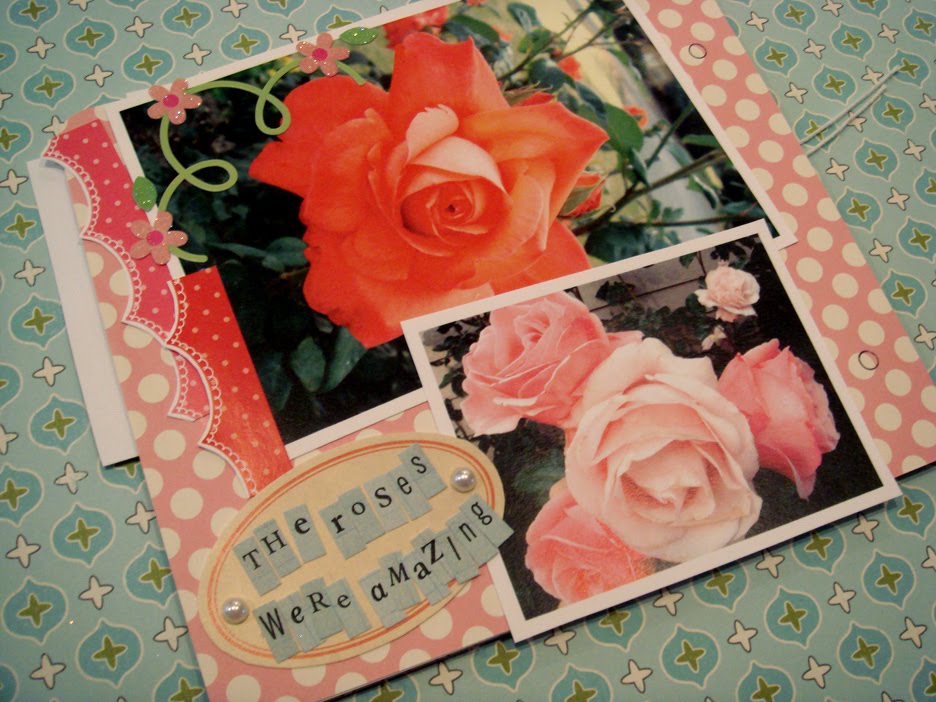 We just added the above page to our summer mini book and it is about how beautiful the roses were this year – they were absolutely, amazingly huge and gorgeous! We used the Granny’s Doily Journaling Tags and cut the edges off for a fun border, and then the circle tag if from our Digital Summer kit
 Click here to go to our Summer 2009 Documented download page and download yours today!