Christmas Blocks!! (and winners, too)

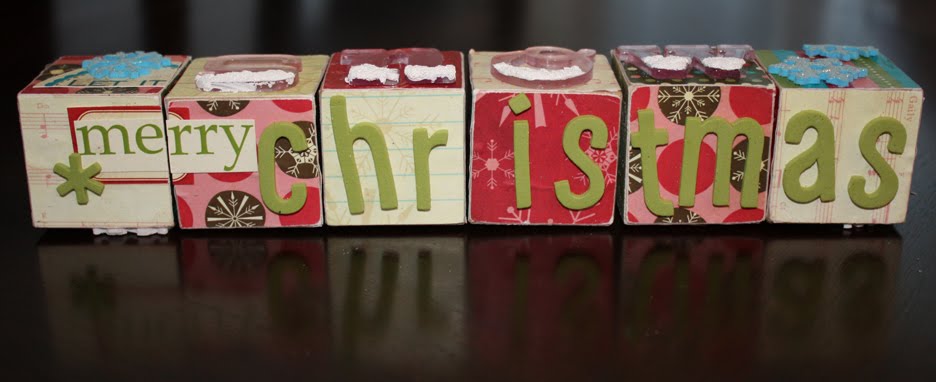
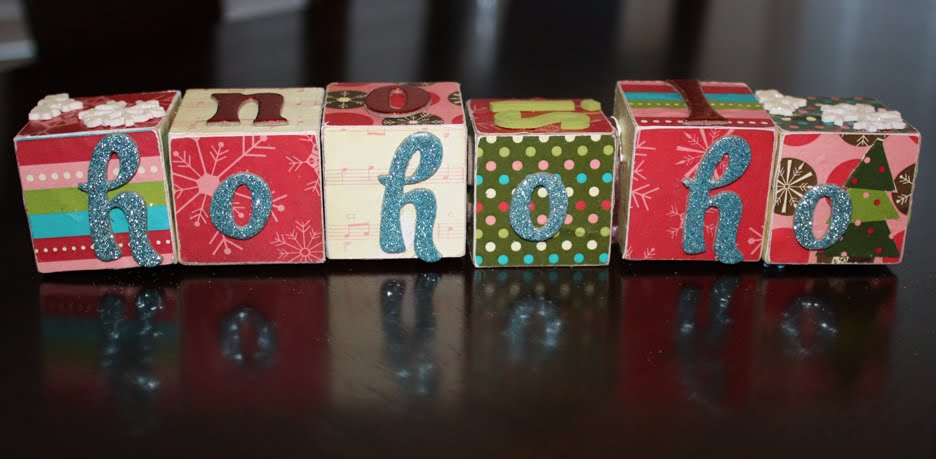
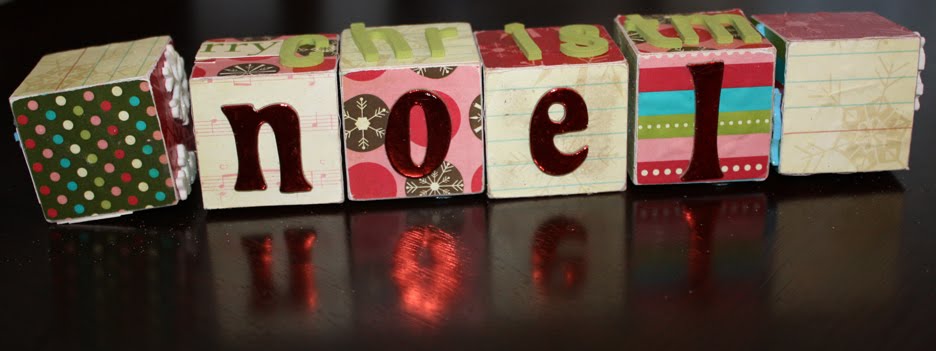
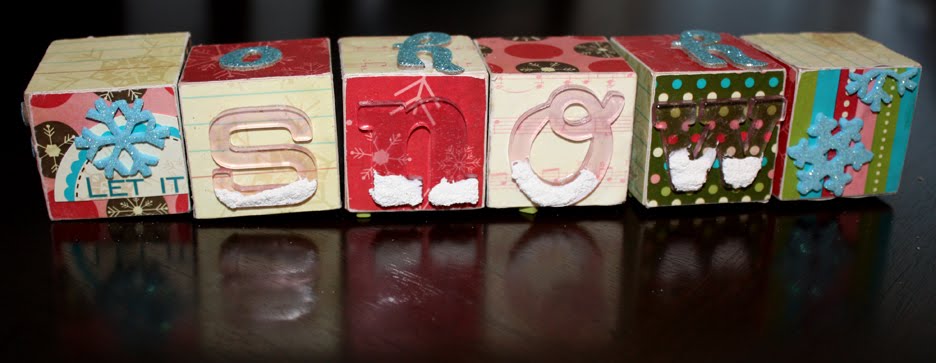
Over the next week we have some fun and amazing Christmas projects, that were made by Kristin Hayne, to share with you!

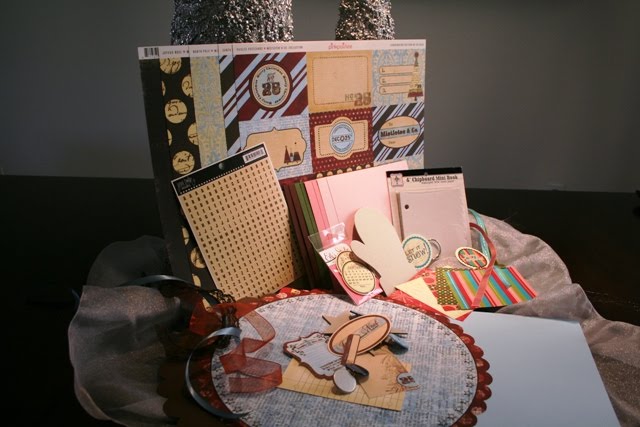
These are super cute Christmas blocks that she made with our Christmas line and some small wooden blocks from the craft store. I love how you can turn them and with each turn you get a new saying and a new design!
So much fun!! Thanks for the inspiration, Kristin! We also have some cute Christmas ornaments and present boxes to share, from Kristin, during this next week, can’t wait!

We had so much fun reading through all the comments in our last post and hearing your favorites Christmas treats and boy did you all make me HUNGRY! I definitely have some new recipes I have to try, soon! Thank you so much for all the good ideas and kind words about my recipe 🙂 I hope everyone that tried making it liked it as much as I did 😉 Ours is all gone, LOL!

The two lucky winners, we drew, from the post below are:
Paper bags: janet
Digital Download: Jenny

Congrats ladies! Please email me and we’ll get you goodies out asap 🙂

We hope every ones having a wonderful holiday season! Any snow yet? No snow here… but they are saying maybe on Sunday… eek!!
xo, Elle

Peppermint & Pistachio Christmas Bark – pt. 2 + giveaway!

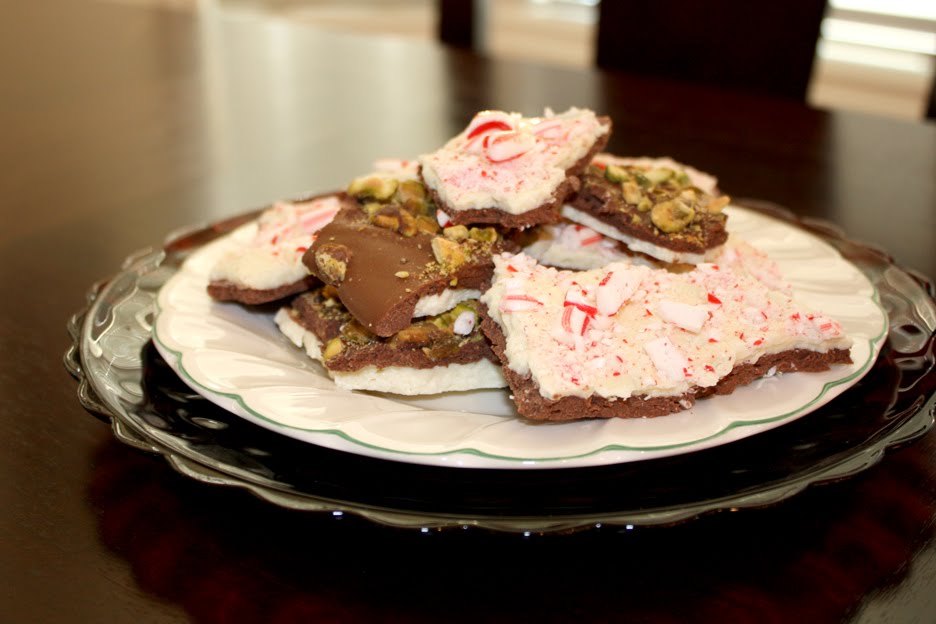
Now that we’ve made our Peppermint and Pistachio Bark, we are ready to package it up for friends and family!

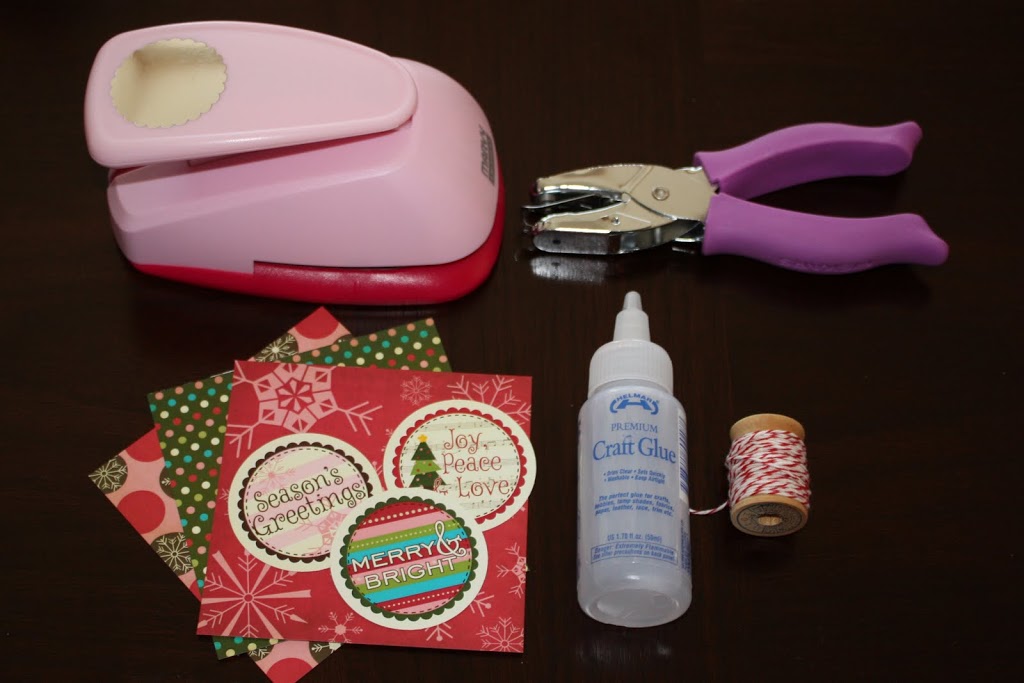
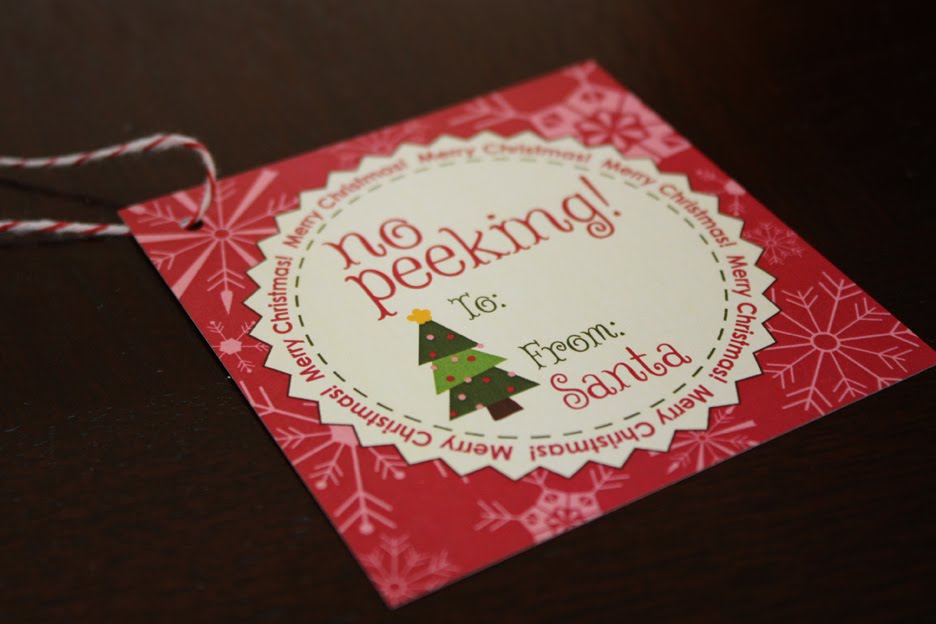
We made some simple tags with our 4 x 4 papers and Holiday Greeting Tags!
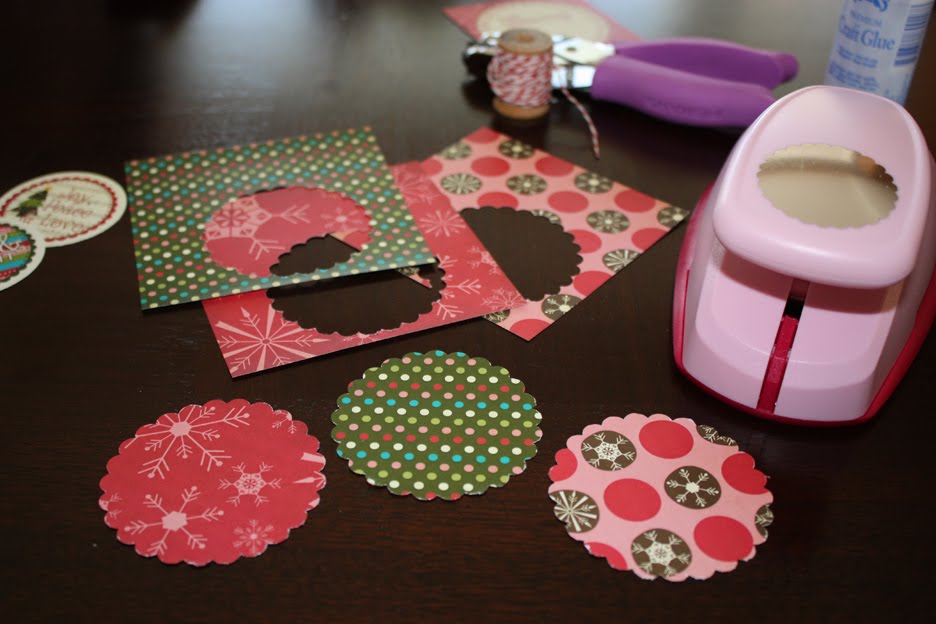
First we used our Marvy scalloped circle punch to punch some circles in our 4×4 papers
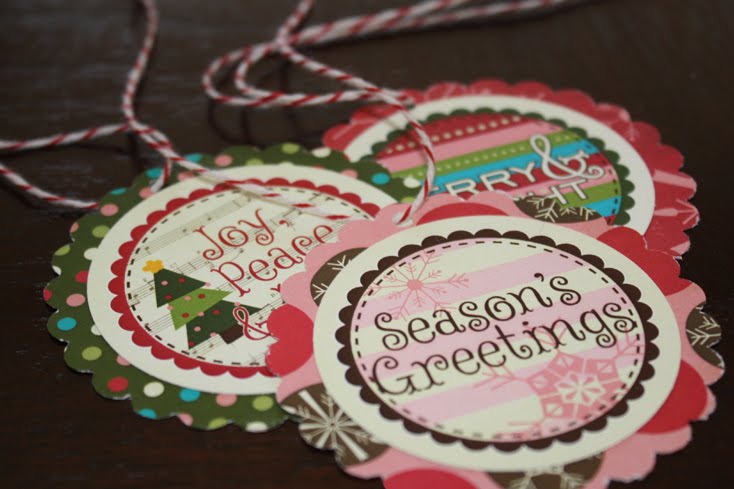
Then, we glued one of our Holiday Greeting Circles in the middle of punches with our Helmar glue – this glue is the best! Next, we punched a tiny hole in the top to string some bakers twine through…
You can also do that with our Special Delivery gift tags!
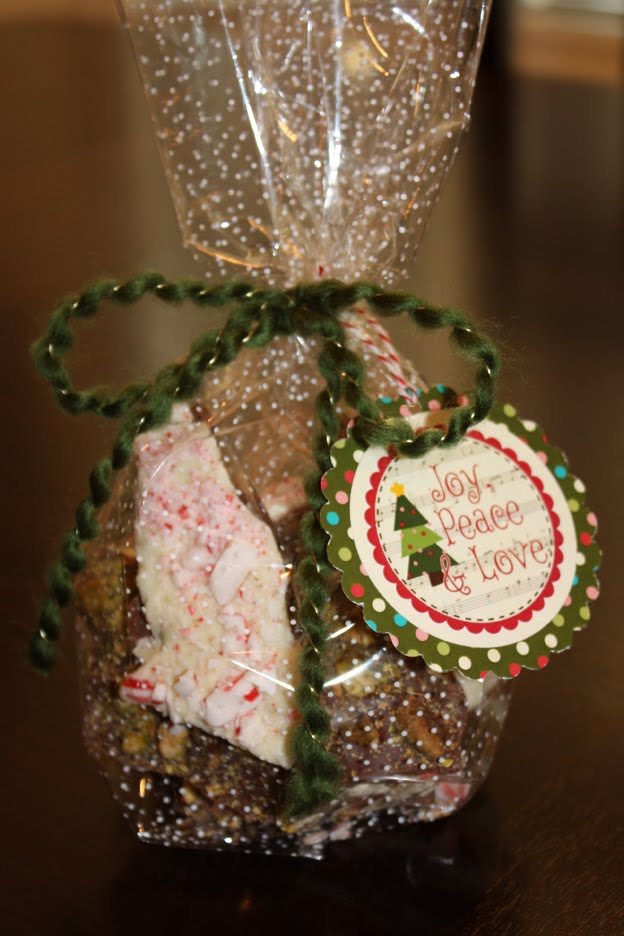
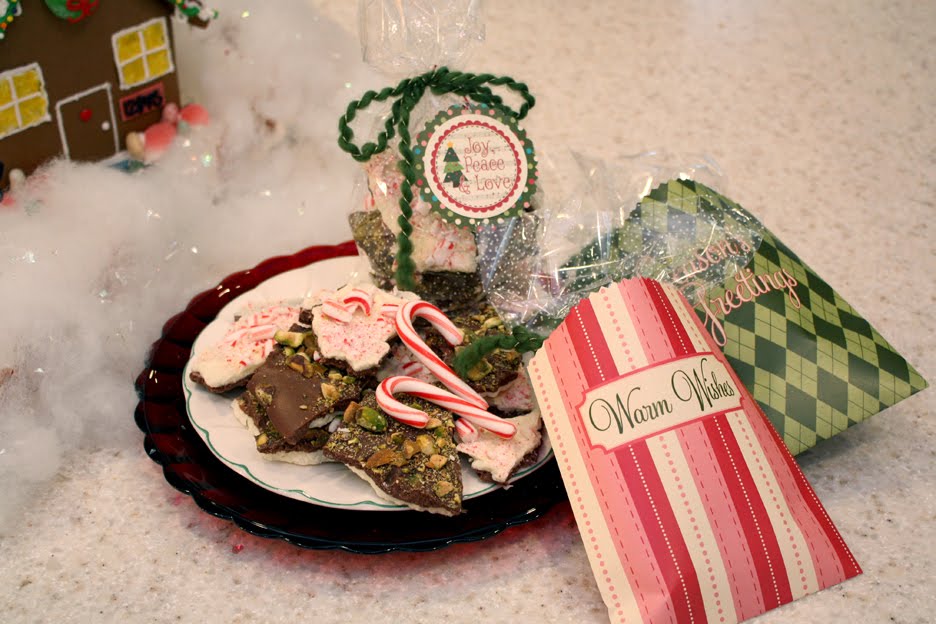
Then, we just put the bark into a clear bag (this one we picked up in the baking section at our local craft store) and tied it with yarn or ribbon. Add the special tag and you’re done!
Another option is to put the bark in one of our bags! The bags are in a digital kit that you download, print out, then cut and fold! You can make as many bags as you want with this download! Click here to check out the bags.
Yum! I really can’t believe how good this bark is! Especially since I’m not a fan of white chocolate! Something about the white mixed with the milk chocolate and the salty pistachios… I die 😀

We thought it was time for a giveaway, since it’s been awhile since the last one! Just leave a comment letting us know your favorite Christmas dessert! We’ll pick TWO winners on Thursday night! One person will win our Holiday papers and Holiday Greeting tags and the other person will win our Digital Download Holiday Bags!

Good luck, everyone!
xo, Elle

Peppermint & Pistachio Christmas Bark – pt. 1

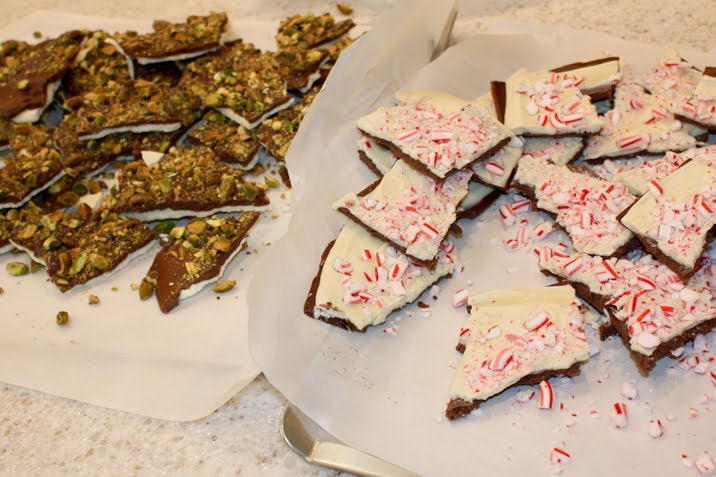
It’s delicious and… almost gone! My family loves when I make recipes for the blog readers because they get to eat the leftovers 🙂 Except this time, I doubled the batch because I wanted to give some away to neighbors, friends and coworkers. It was a good thing I did, too, because it was disappearing quickly!

I’ve been seeing a ton of recipes around the internet for Peppermint Bark and wanted to try it out, but I’m not a huge fan of peppermint… Then, when I was eating pistachios one day, I thought, HEY! Pistachio Bark would taste amazing!! And, pair it with peppermint and you’ve got red and green for Christmas!

We put together a quick step-by-step of the recipe (warning: lots of photos!) and in part 2, we’ll show you how we packaged it up for our friends!
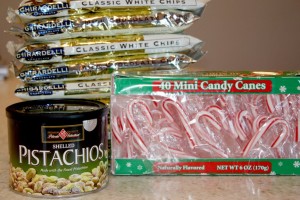
Recipes:
Peppermint Bark
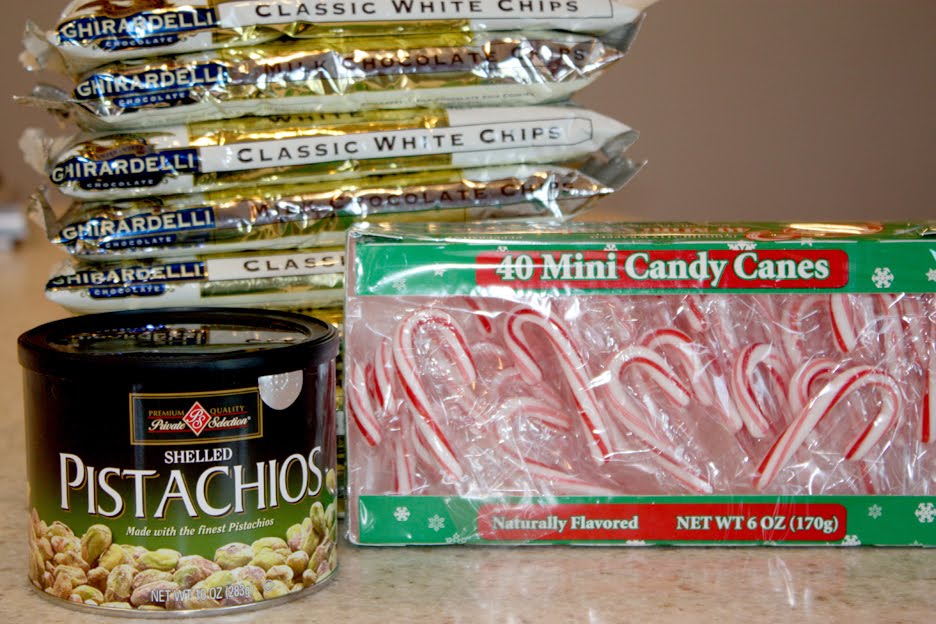
1 bag (12 oz) of white chips
1 bag (12 oz) of milk or dark chocolate chips
35 small candy canes

Pistachio Bark
1 bag (12 oz) of white chips
1 bag (12 oz) of milk or dark chocolate chips
1 cup of pistachios
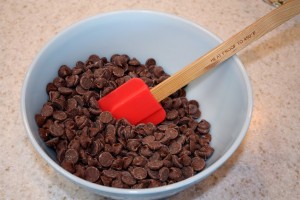
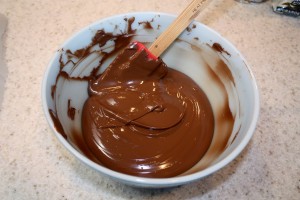
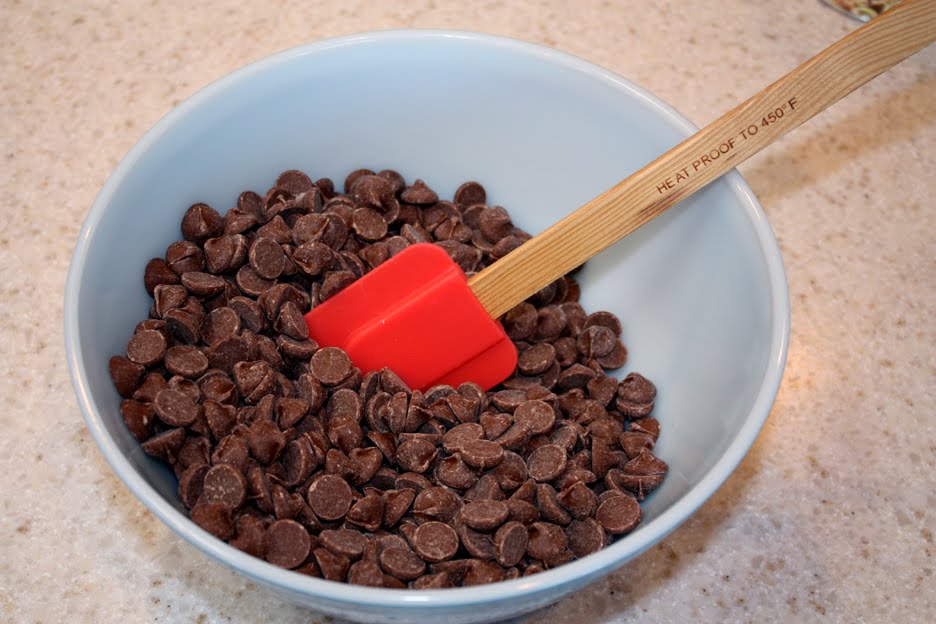
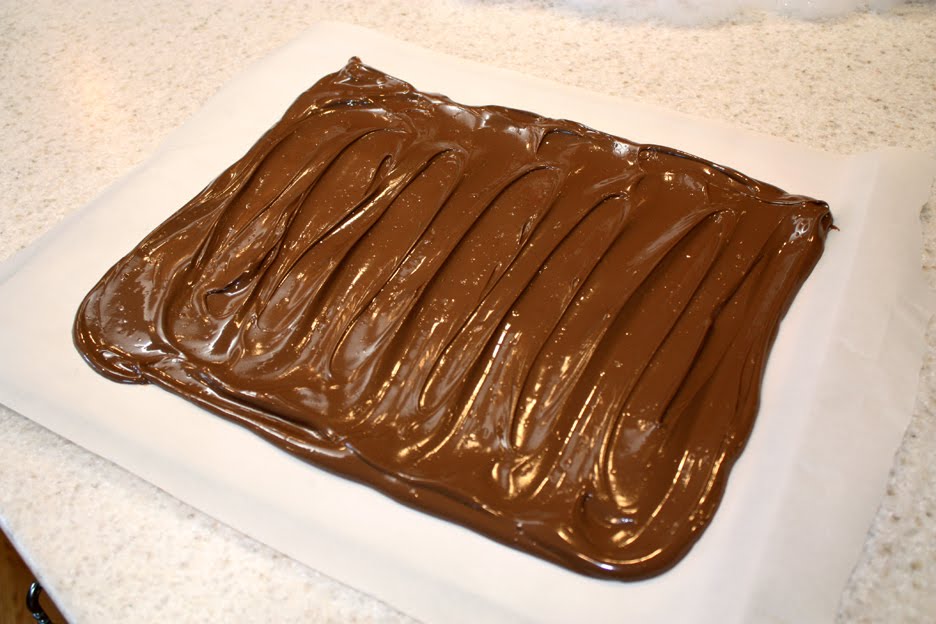
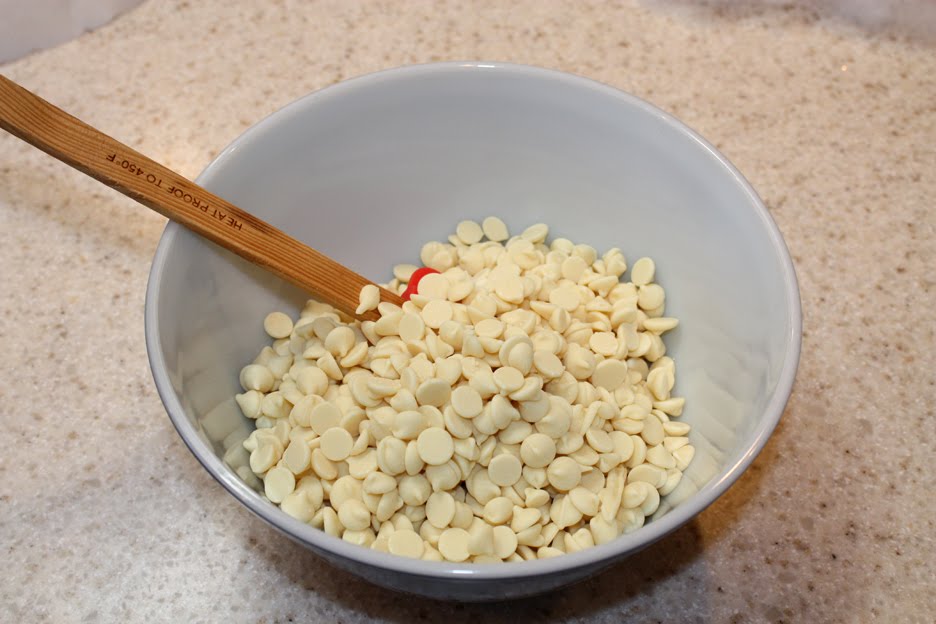
For your first layer of chocolate, you’ll want to put your chips in a microwave safe bowl and in the microwave for around 30 seconds. If your microwave runs hot, try 15 seconds. These chips will burn VERY easily, so the less the better!

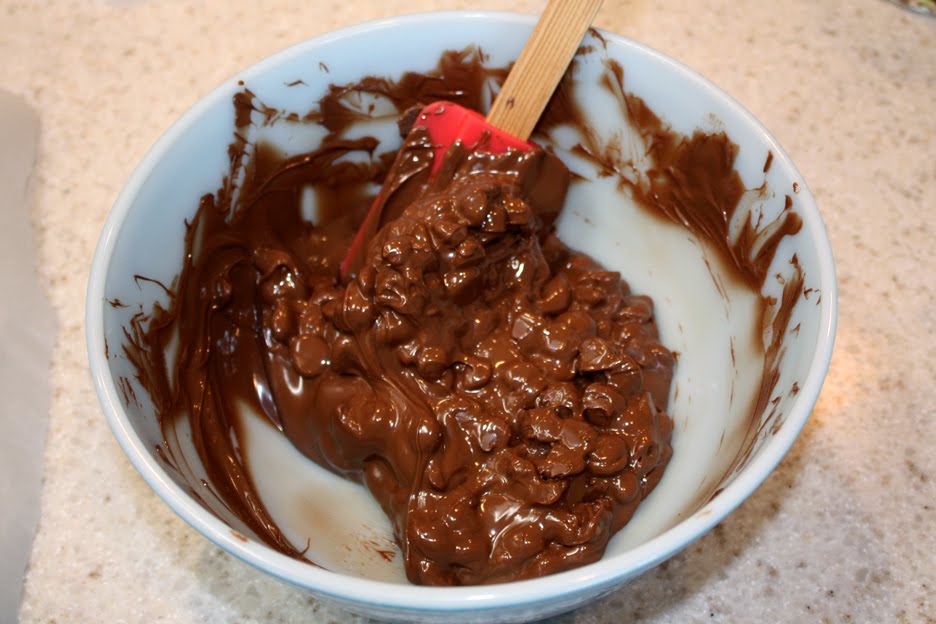
After the 30 seconds in the microwave, take it out and stir. Put back into the microwave for 10 – 15 seconds. Repeat this step about 4 times, making sure you stir the chocolate each time.

Almost there…
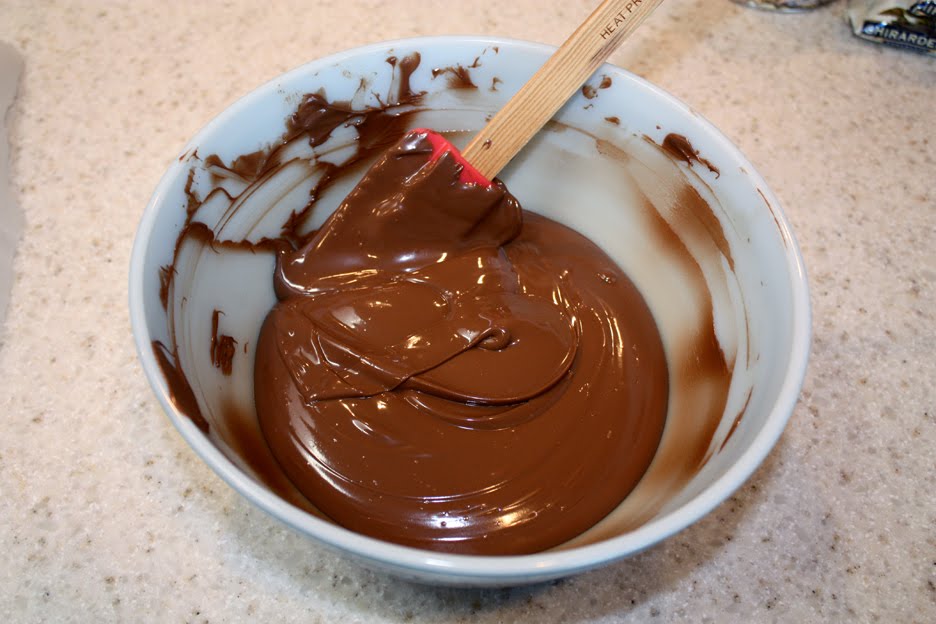
Perfect!
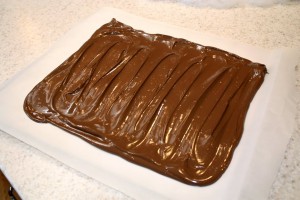
Spread the chocolate on a parchment covered cookie sheet and place in the fridge or freezer for 15 minutes to set.

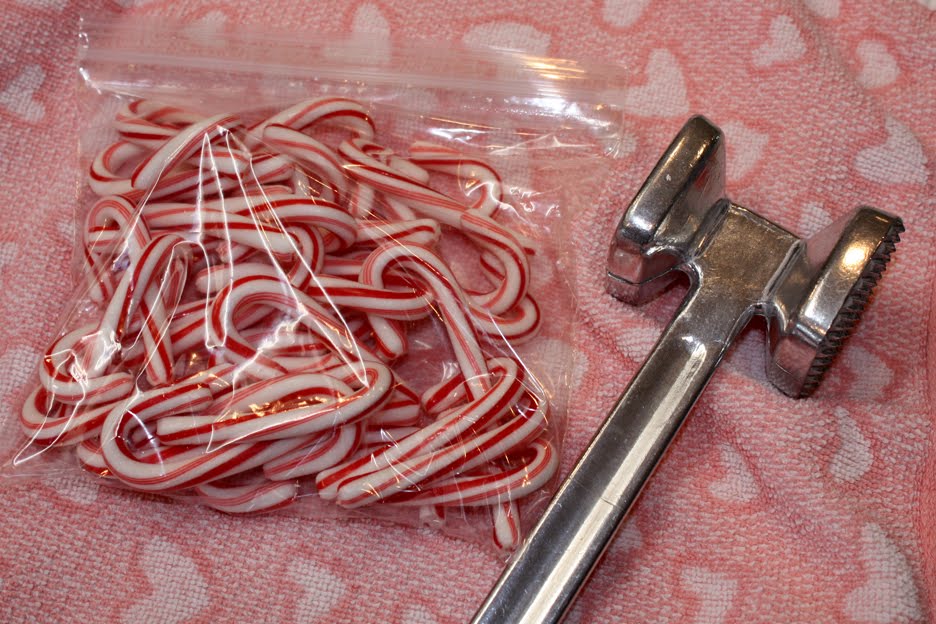
While your waiting for your chocolate to set, it’s time to crush up your peppermint and/or pistachios!
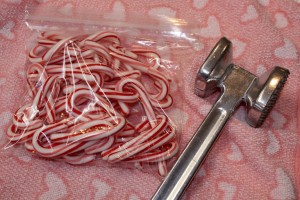
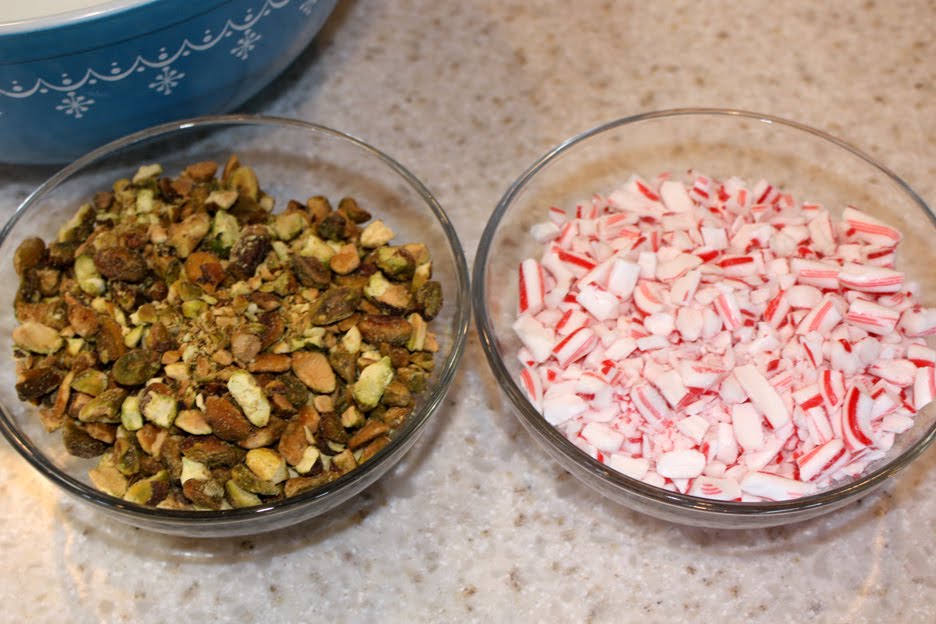
We put them each in zip-lock bags and use our mallet to crush them up. The pistachios we left in bigger chunks…
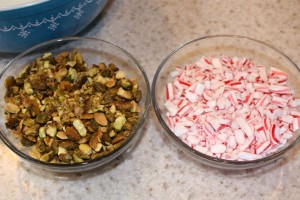
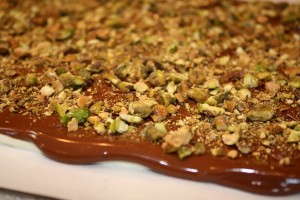
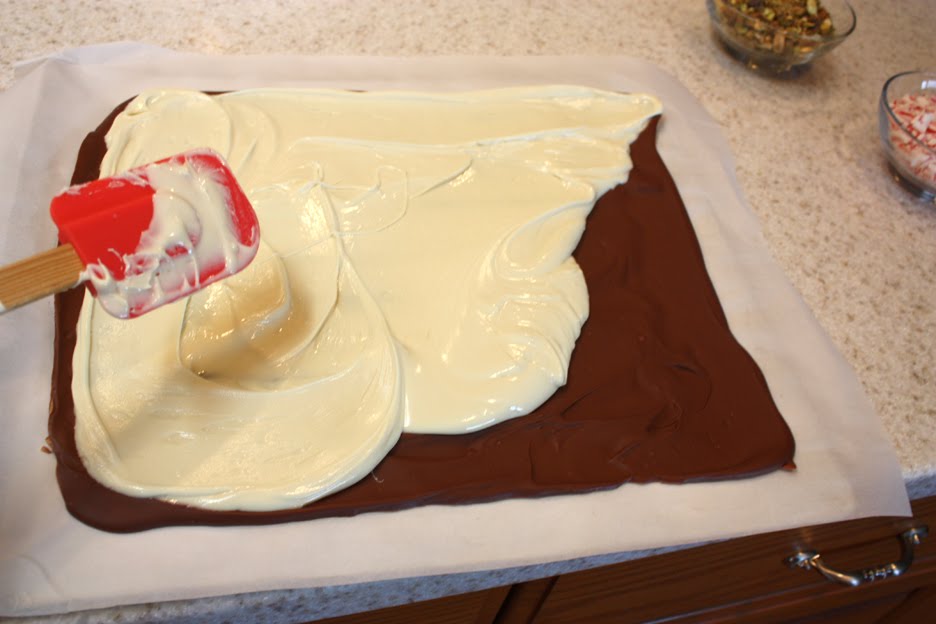
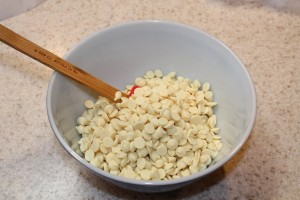
Now that your first layer of chocolate has set, you can start on the second layer! Repeat the same steps with the other chips… Spread it over the set chocolate…
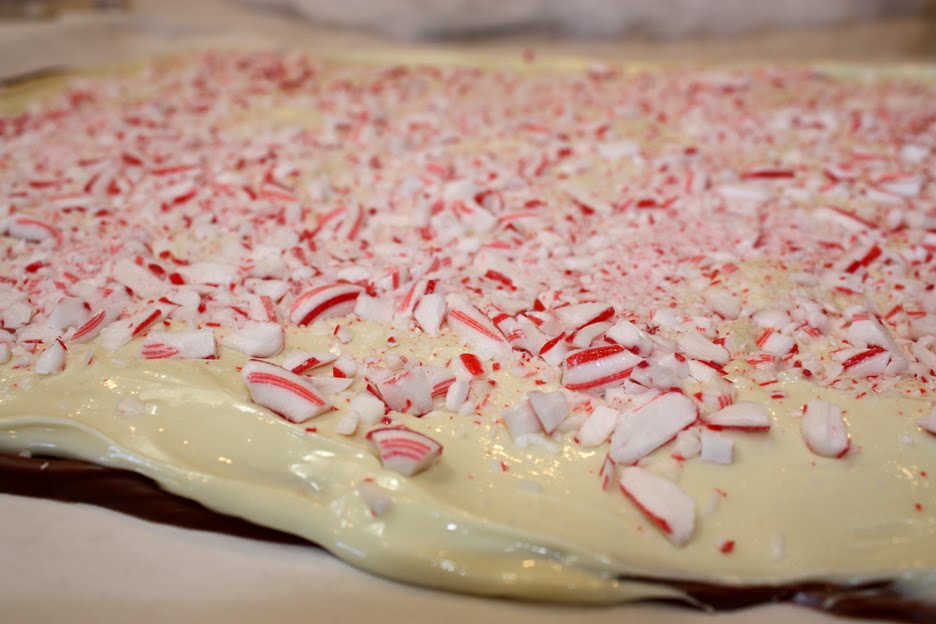
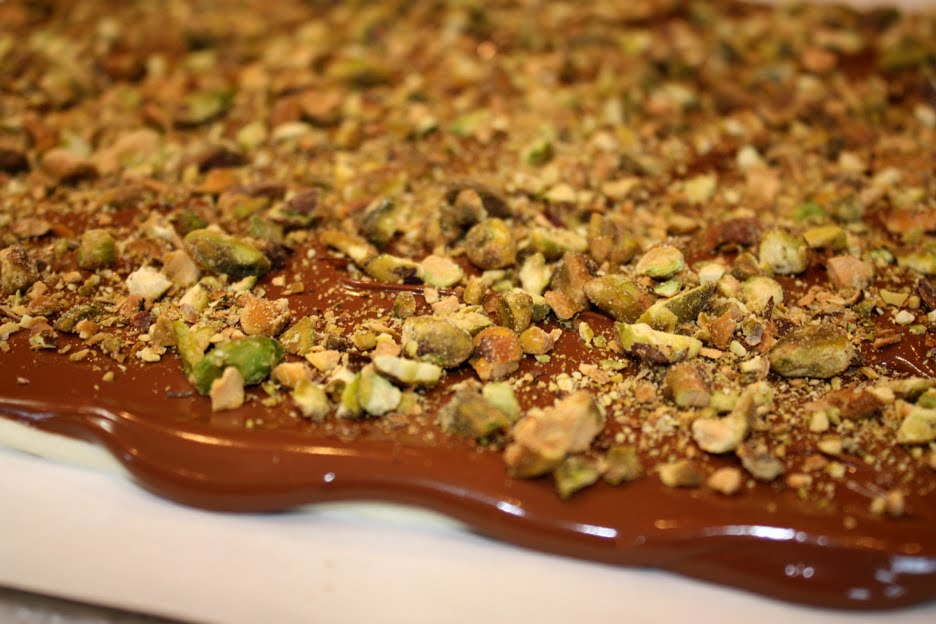
Sprinkle on your peppermint or pistachio pieces…
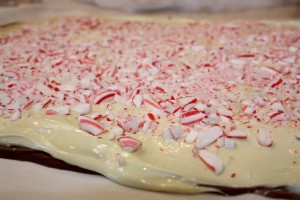
And, put it back in the fridge or freezer to set again…

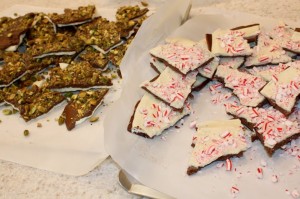
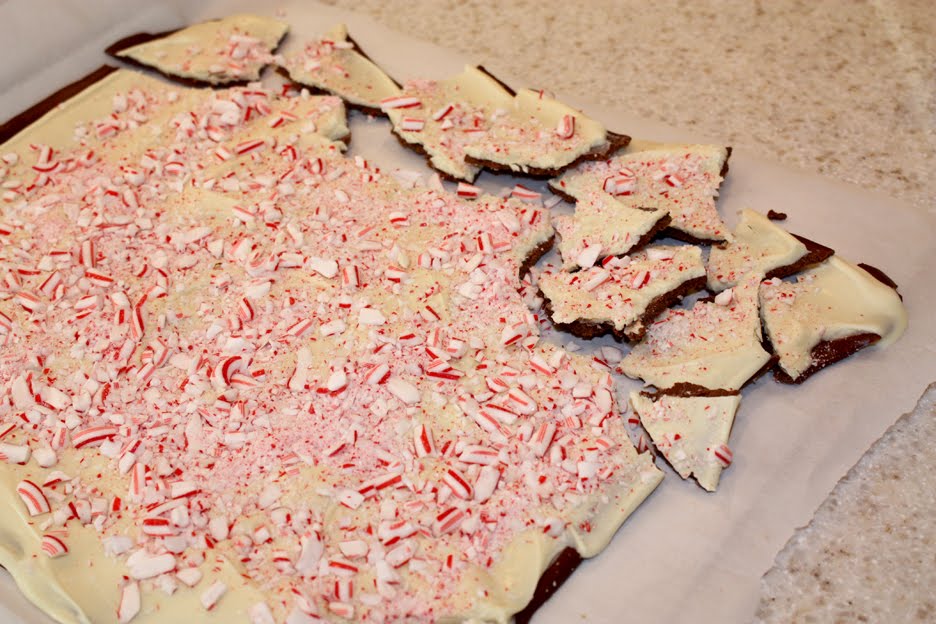
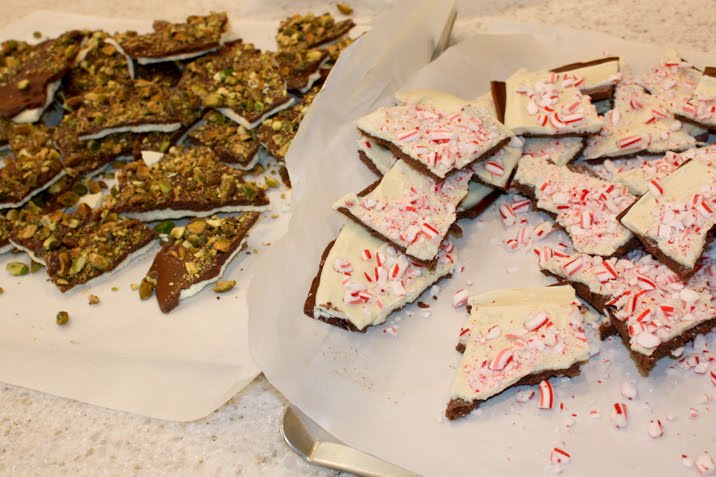
Once it is set, you can break it up into pieces! We left ours in pretty nice size pieces…
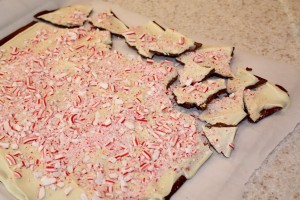
Sooooooooooooooo good! Here’s our HUGE WARNING: It’s addictive!!

Bonus! Right now almost all the chocolate is on sale at the store for the holidays! I got a great deal on the Ghirardelli chocolate, so I was excited 🙂 Plus, this made enough for quite a few people – I have lots to give out!

We’ll show you how we packaged them up in our next post… coming soon!
xo, Elle

P.S. Don’t like peppermint or pistachios? Try Cookies and Cream Bark or Lemon Bark!!

Crafty weekend!

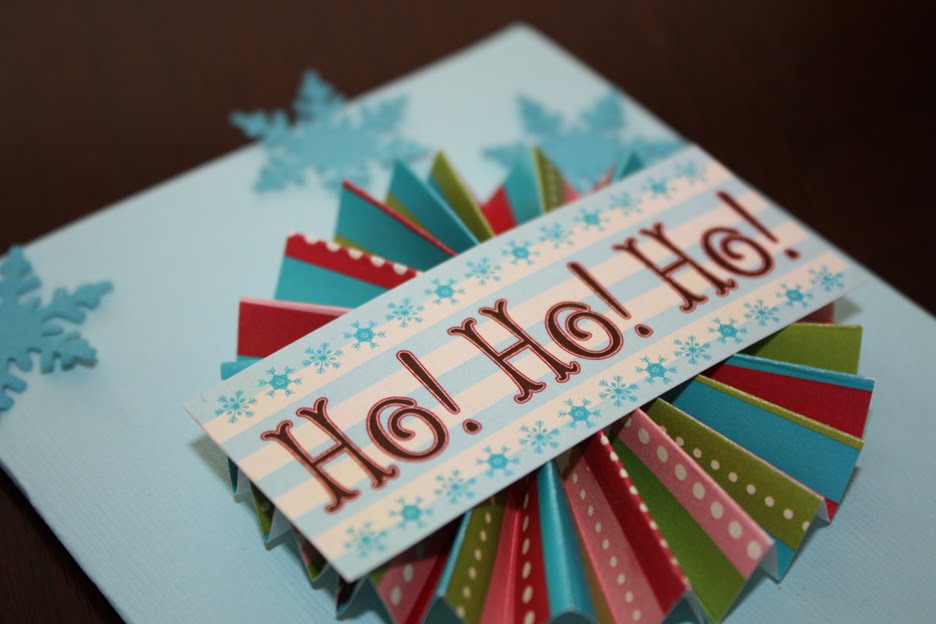
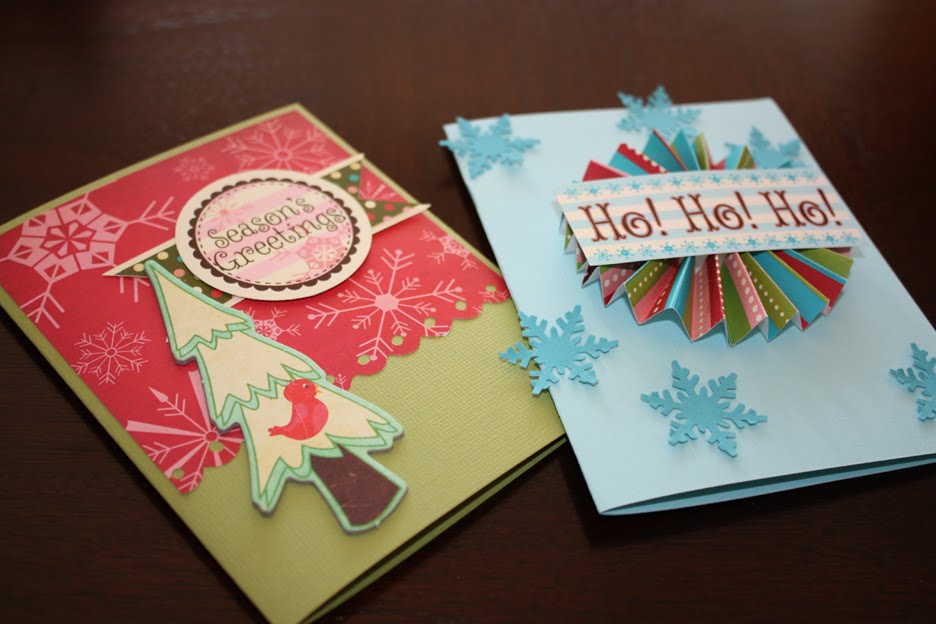
Yesterday I spent the afternoon with my cousins, crafting up a storm! I finished my Christmas cards:
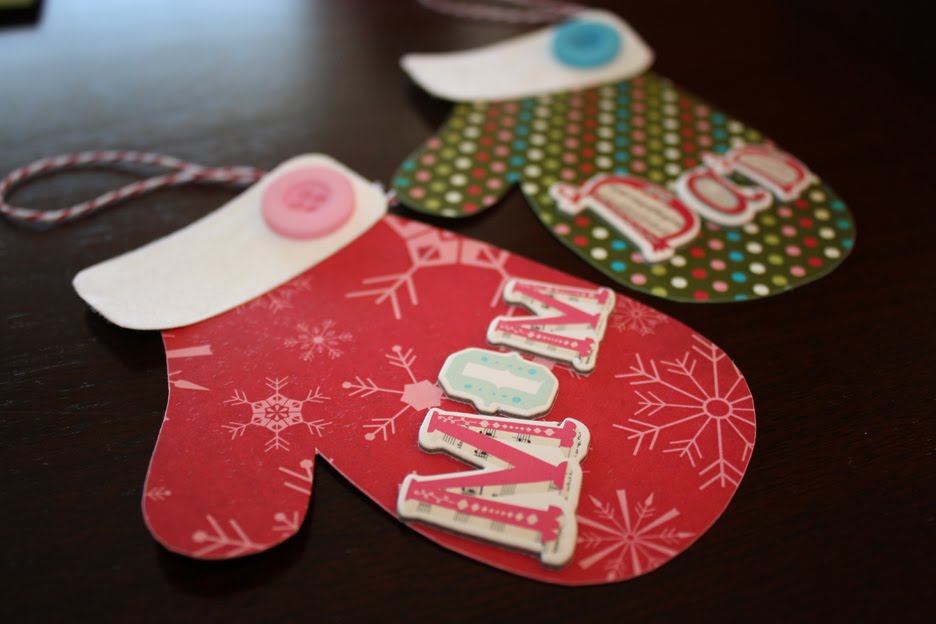
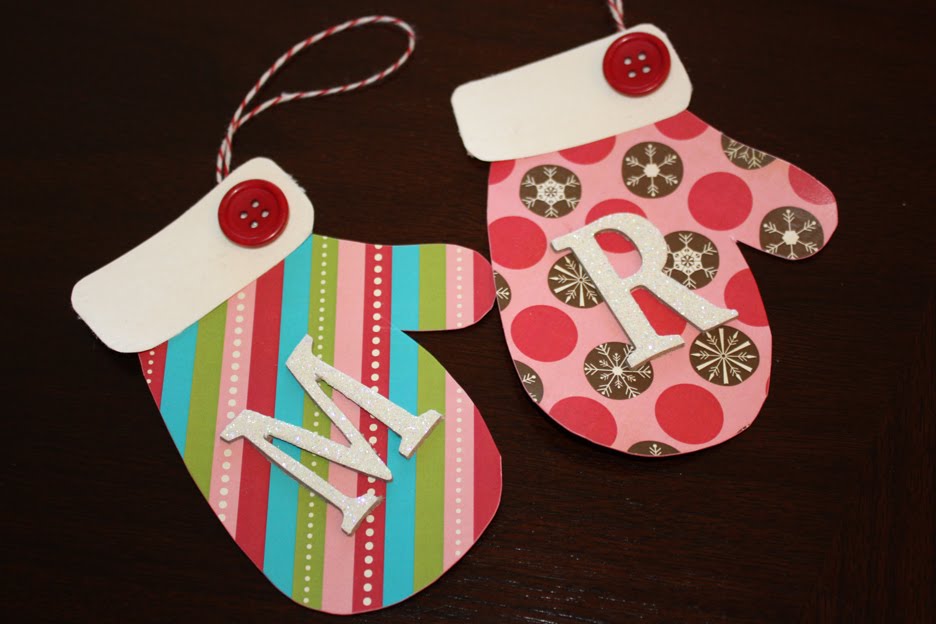
And, made my traditional Christmas present tags! Every year I make a large tag that takes the place of a card 😉 and goes on the top of their presents. I found out last year that they never throw them away… and they get excited to see the new years theme of tag… so now it’s become my little tradition! I was really inspired by these mittens, and decided to put my own little spin on them!

Each mitten was made with one of our 4 x 4 inch mini papers and some flocking powder for the cuff!
Then I added a button and a piece of bakers twine…
And, either the letter of their name or their name spelled out… just depended on how long their name was 🙂 Can’t wait to see these on top of their presents! I’m so excited for Christmas this year!!!

We have a fun week in store for the blog! Check back tomorrow for a giveaway and recipe! And, then crafty goodness all week long! Can’t wait!!
xo, Elle

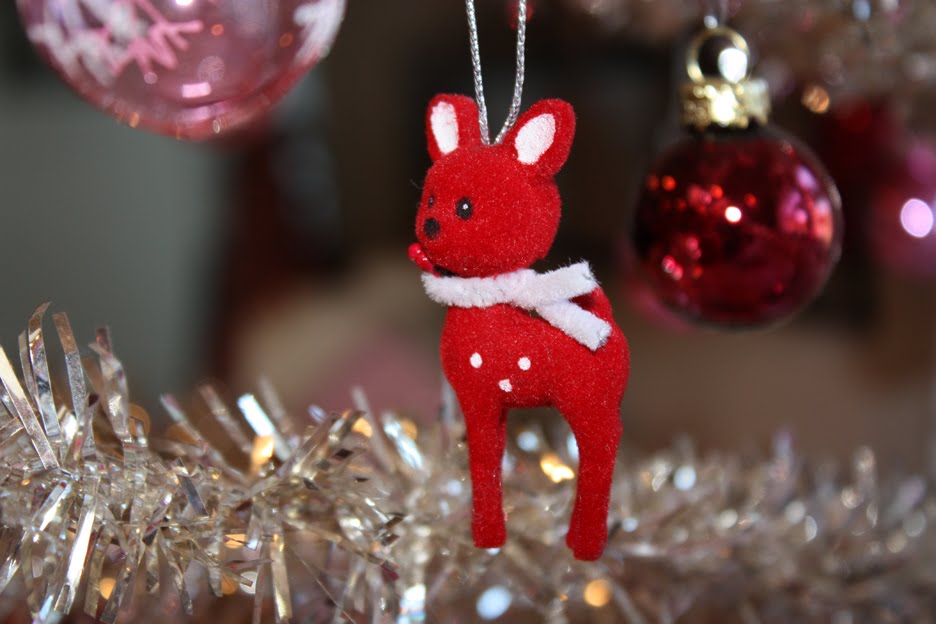
ps. Decorating is completely done!! Here’s a picture of my favorite ornaments – We got them a couple years ago! Love 🙂

Documenting Christmas

December is one of my most favorite months of the year… I love all the holiday traditions and extra time spent with family making so many memories! One of our family traditions is to watch the movie “Christmas Vacation” and make fudge – and each year it gets harder and harder to wait! This year we held off until the night of Thanksgiving, LOL!

I also love seeing all the amazing things that go on online! Keeping up with Ali Edwards Daily December and Tim Holtz’s 12 Tags of Christmas have been a tradition of mine for a couple of years now and seeing all the new classes and blog tutorials that others have made… too much fun and so inspiring!

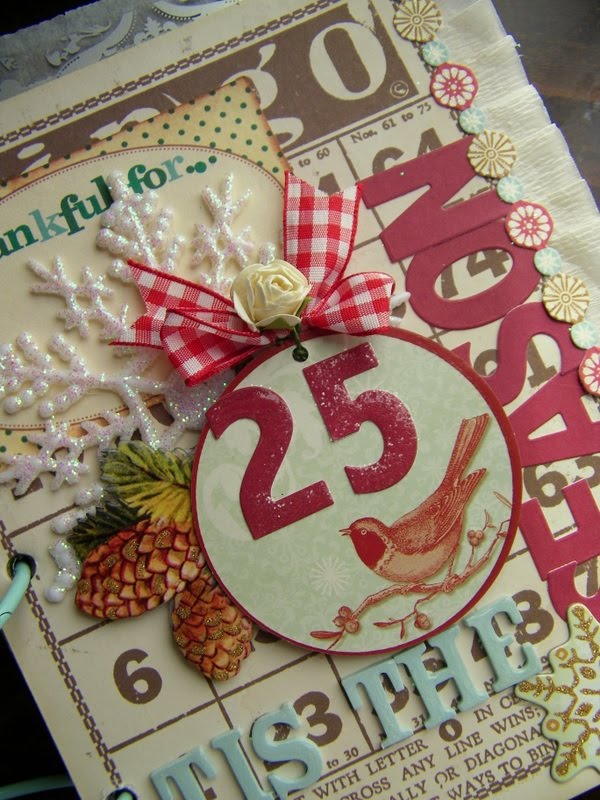
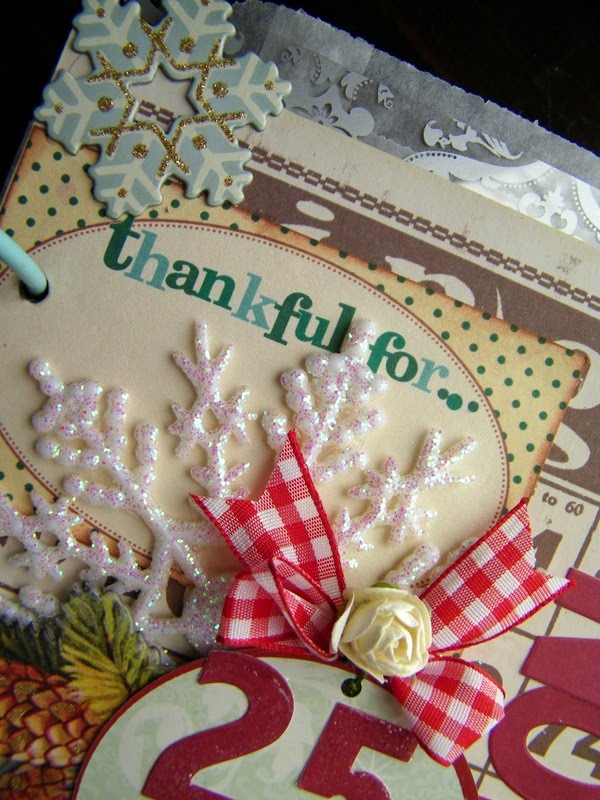
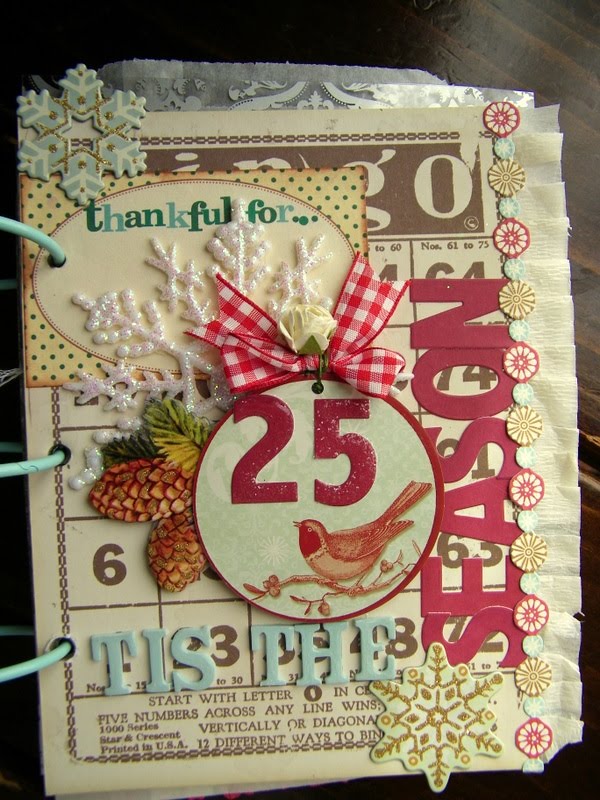
One of our new Design Team members, Samantha Sibbet, has made this beautiful December journal (featuring our free Thankful tag download on the cover!) that you see in these photos. It will be exciting to watch as she, and others journal this fun season! Can’t wait to see what she does!! So far, the cover is amazing! Love all those layers!
We’d love to hear your holiday traditions and how you are documenting your season! Share your links with us in the comments below, too, if you have a craft or are creating a December journal – we can’t wait to check them out 🙂More fun Holiday inspiration coming next week – can’t wait to share!!
xo, Elle
p.s. I’ll be finishing up my holiday cards on Saturday… I’ll share pics on Sunday 🙂

December Kits!

We feel amazingly blessed to have some of our tags in Studio Calico’s kit this month! Our vintage calendar tags are in their main kit…
And our Christmas Vintage Flashcards are in their add-on! {edit: Add-on is sold out} Make sure you check out their gallery too, see what their amazing team has came up with – always inspiring layouts and projects in there!

Our tags are in That Scrappy Girl’s December kit, too!
This kit has a really fun mix of items with so many possibilities! They have also put together some amazing inspiration at their blog. We love the mittens and tiny cards they’ve made, so fun!!

If you’re thinking about getting a kit, make sure you do so fast! I don’t think they’ll last much longer!

xoxo, Elle

New Design Team Members!

We are so excited to be announcing our new Design Team members for the first half of 2010! It was so hard to choose, I honestly had no clue how rough it would be! There were so many amazing applications that narrowing them down to just six people took about 10 rounds and I had to bring in extra help! Thank you all so much for taking the time to apply and all your kind words 🙂

The six Design Team members for the first half of 2010 are:
Paige Evans
Samantha Sibbet
Jenni Hufford
Mel Nunn
Laurie Rodick
Daniela Dobson

We can’t wait to start this new adventure with our new team of girls and can’t wait to see what they create! 2010 will be a big year full of tons of inspiration – we have lots of big plans in store 🙂 If you didn’t get chosen, I’m so sorry! We will be doing this again in May to put together a new team for the second half of 2010, so please check back!!

Thank you so much for all of your applications! And, please give a big, warm welcome the six new girls to our team 🙂
xo, Elle

Black Friday through Cyber Monday Special!

WooHoo! To celebrate we’ll be including an extra little surprise with every order* placed on Friday, Saturday, Sunday and Monday (November 27 – 30)!
*Please note: this offer only applies to orders that ship!

Thankful for you!

We are so, SO thankful for each and every one of you! Your comments and emails always put a smile on our faces and make us feel so blessed to be able to create and make things for you. And your support over the years has been amazing – we love you!

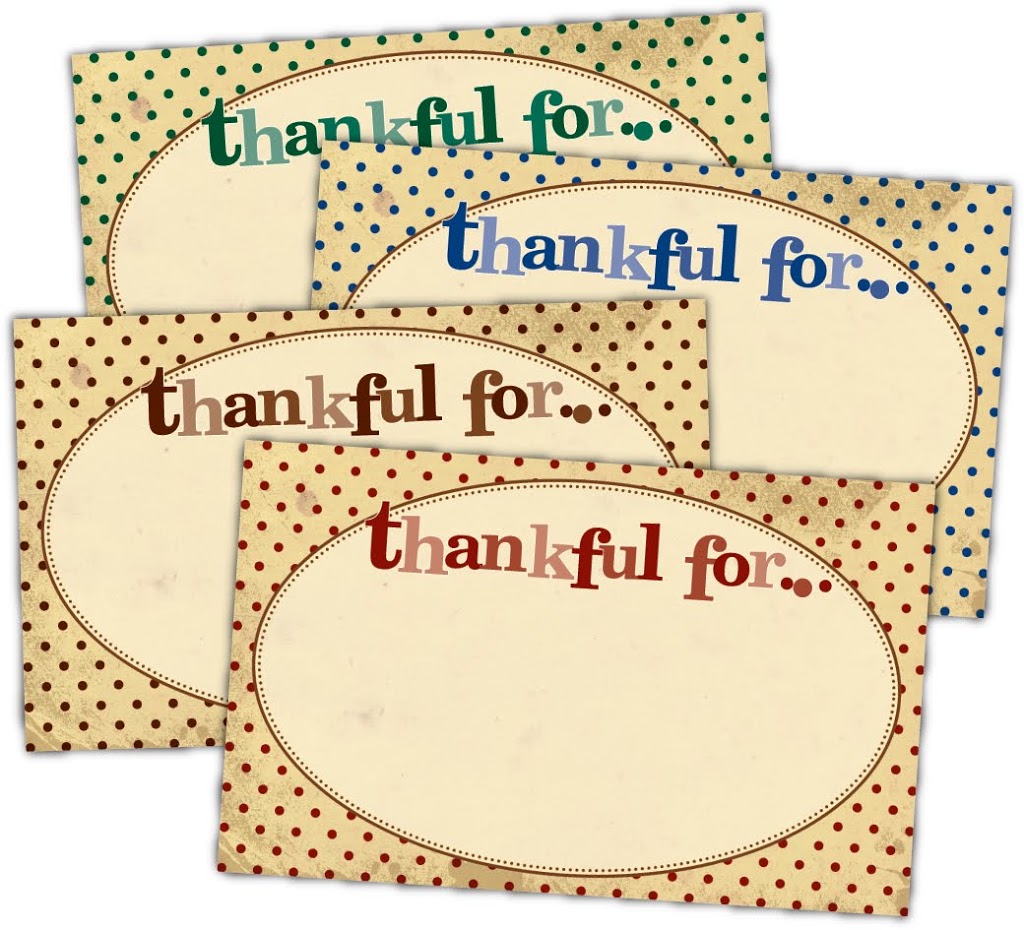
Last year we made some thankful for tags and thought we should do the same thing for you, again this year as a little “Thank You” present! You can download the above tag designs, for free, at our Project page – there are four different fall colors and they have that fun vintage look we love 🙂 We hope you enjoy them!

You can use them on your scrapbook layouts, or as seating cards for around the table: write the person’s name in the center and the card reads “Thankful for Jan”. Or print out a bunch and make a mini book out of them! You could ask everyone that comes over for Thanksgiving dinner to write on one what they are thankful for… There’s lots of different ways to use them!

We wish everyone a wonderful and happy Thanksgiving!
xo, Elle