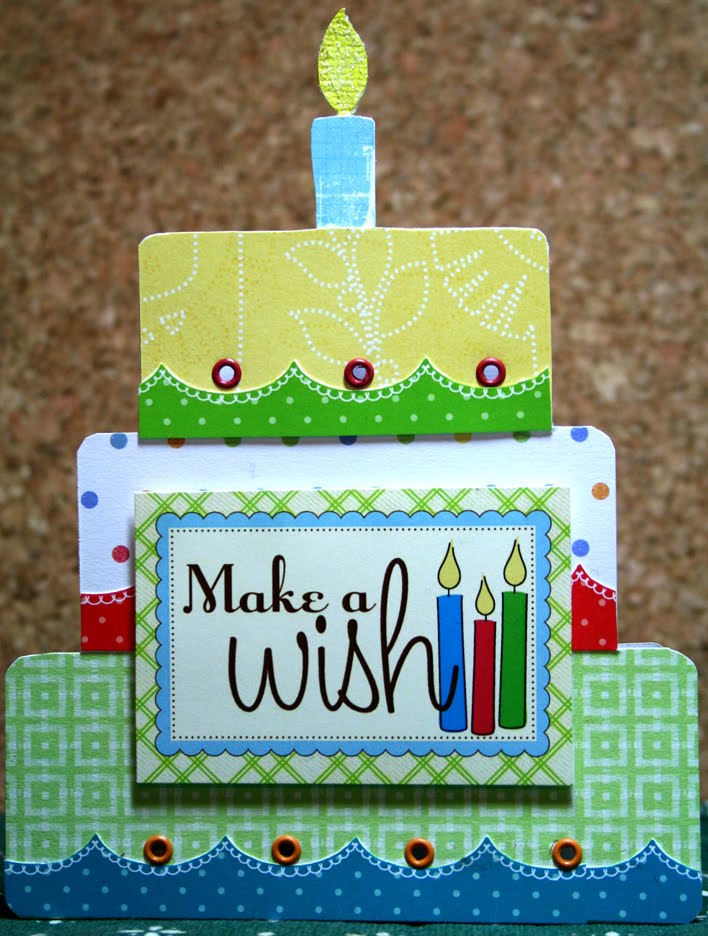
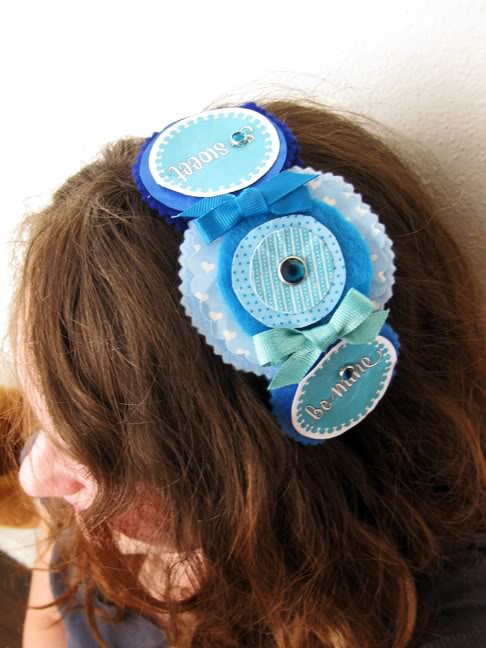
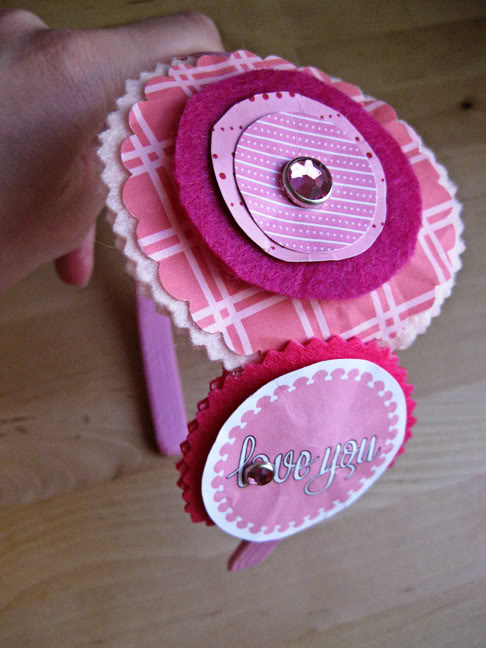
 One of Paige’s gallery projects was this beautiful headband, pictured above! As soon as I saw it I asked her to create a tutorial for us and I’m so glad she did because a lot of you have been asking how it was done! Below is the tutorial she has created for us! It’s an amazing step-by-step tutorial, with lots and lots of photos!
Let’s get started!
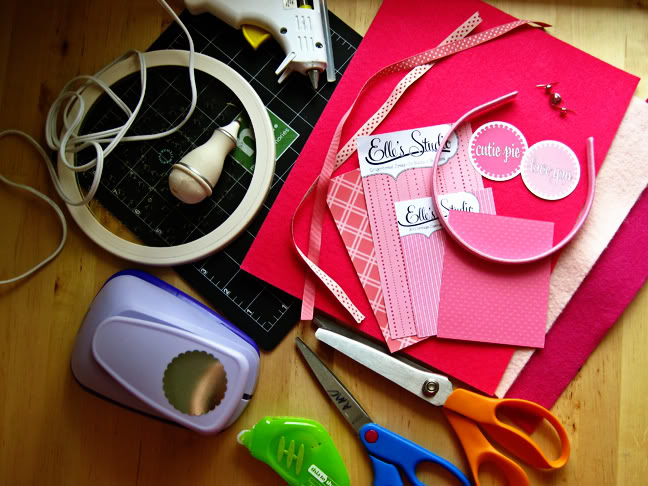 Headband: Target; Cardstock: Bazzill Basics; Patterned paper (three coordinating pieces), two journaling spots: Elle’s Studio; Felt (four different shades of the same color): Craft supply; Jewel brads (one large, two small), ribbon (two coordinating pieces0, adhesive: American Crafts; Pinking shears, scissors, 1 1/4″ circle punch (not shown): Fiskars; 2 1/2″ scalloped circle punch: Marvy Uchida; Circle cutter: Martha Stewart Crafts; Other: Hot glue gun
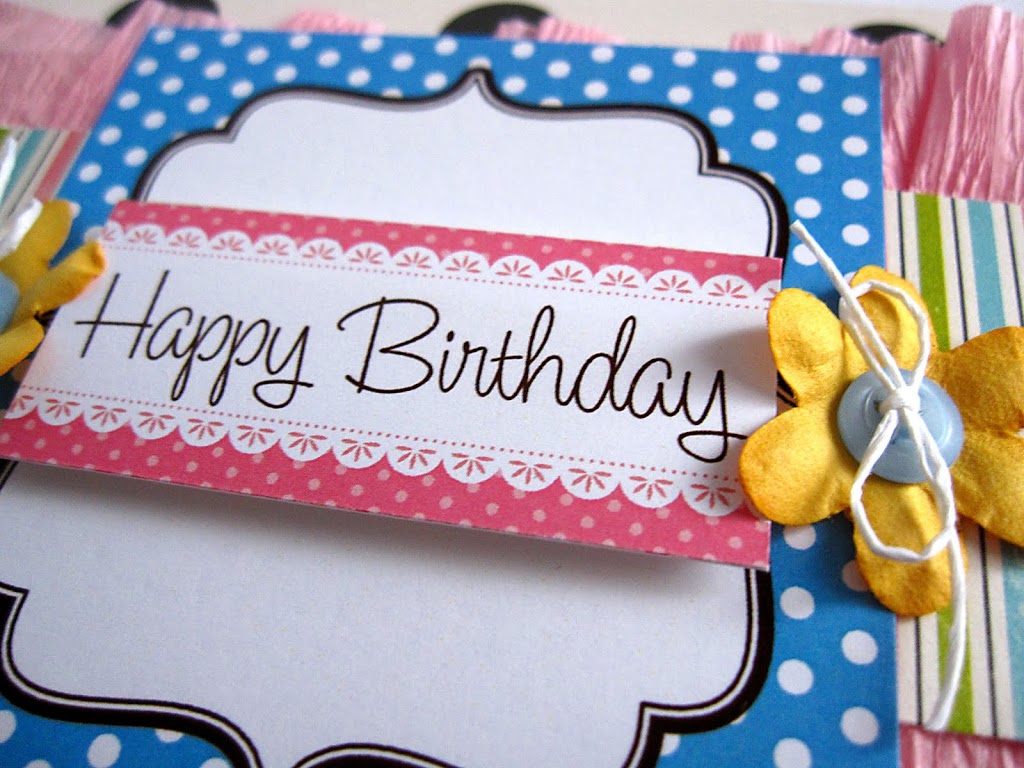
2) Crinkle a sentiment journaling spot, pierce a jewel brad through an “o” or the dot of an “i” printed on the journaling spot, and attach the journaling spot to a piece of matching colored felt using the brad. Cut around the journaling spot using pinking shears, leaving an 1/8″ border.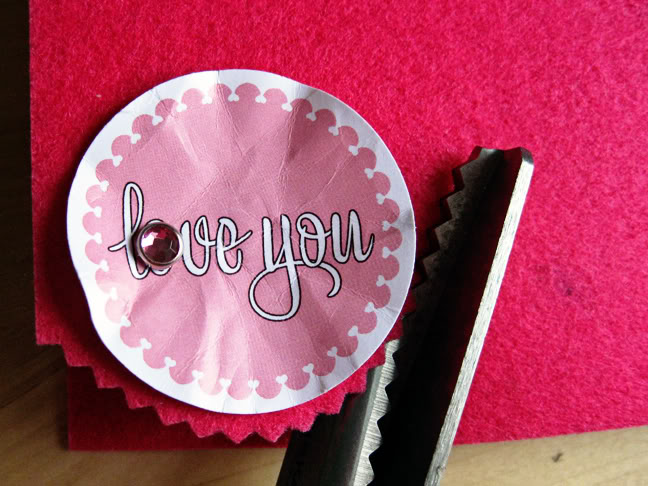 3) Cut out another circle of felt with pinking shears using the first circle as a template as shown:
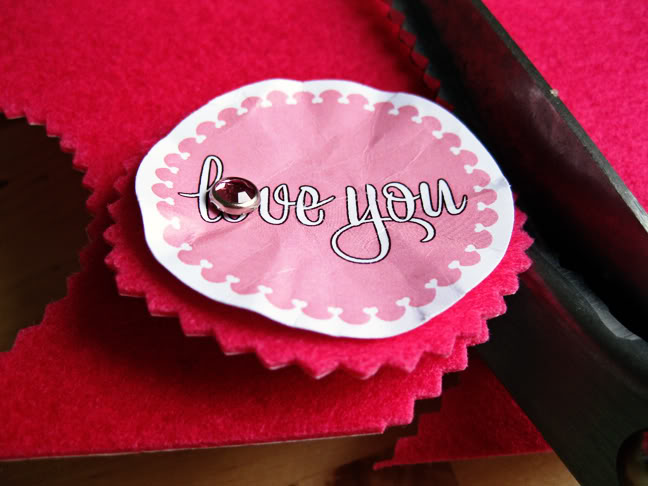 This is what you should have:
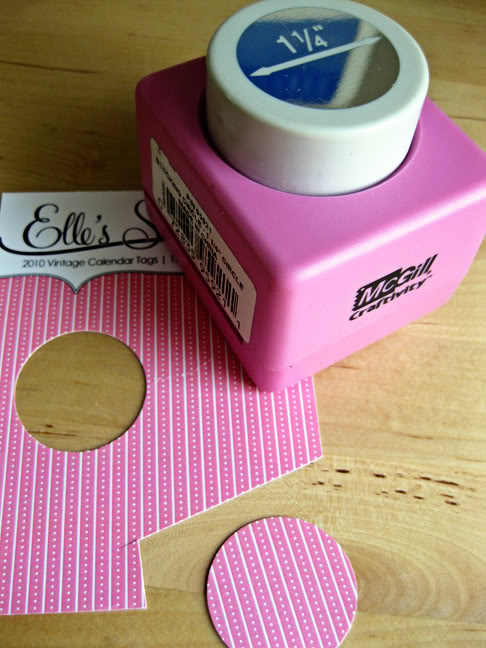
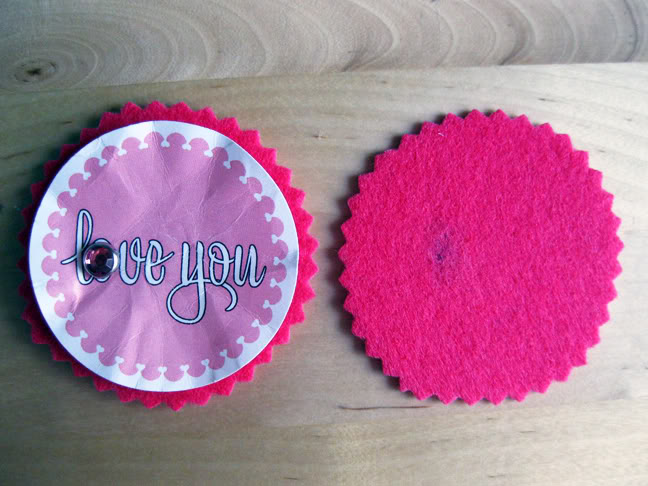 4) Punch a 1 1/4″ circle from a piece of patterned paper (or in this particular instance, patterned packaging).
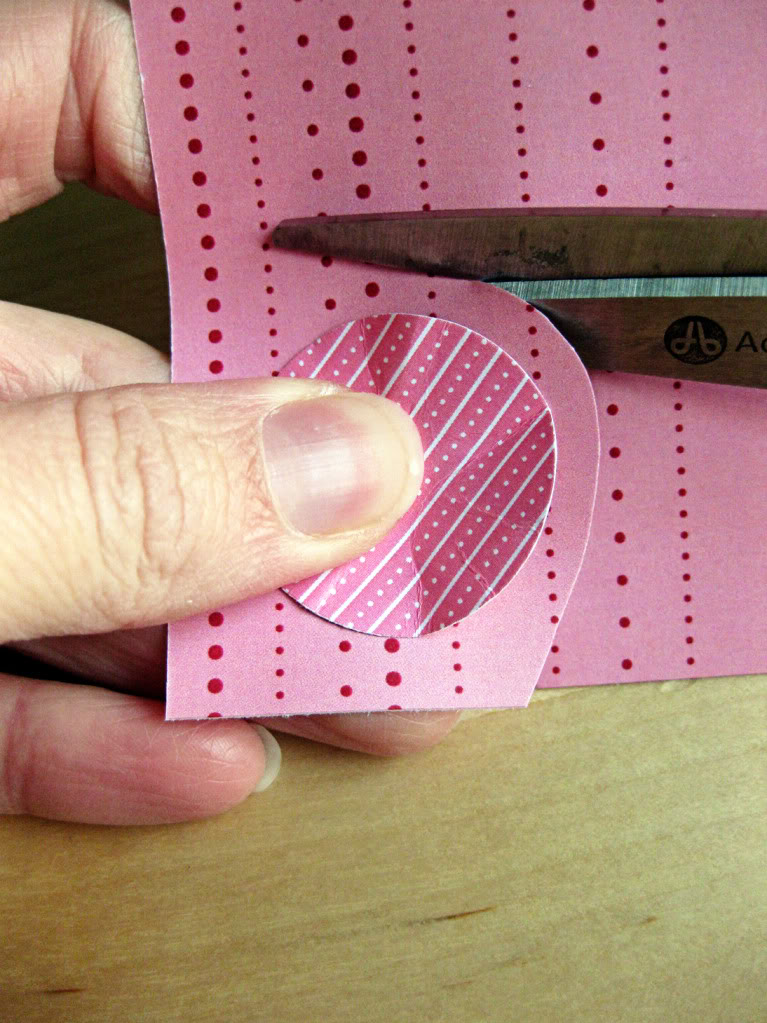
 5) Free-hand cut a slightly larger circle from coordinating patterned paper using regular scissors.
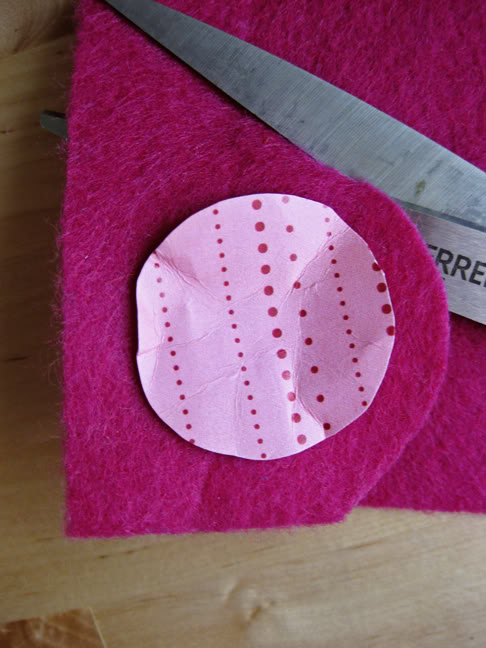
 6) Free-hand cut a slightly larger circle of felt using regular scissors.
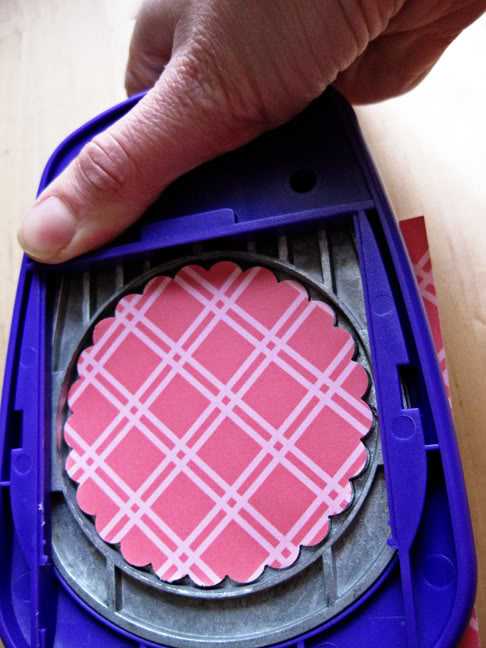
 7) Punch a 2 1/2″ scalloped circle from patterned paper.
 8) These are all the layers you should have, including a large jewel brad:
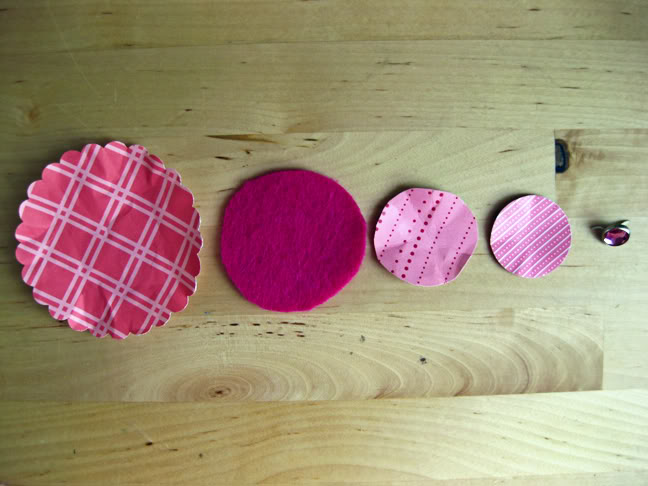 9) Attach all the circles together through the center using a jewel brad, small to big, ending with a piece of felt.
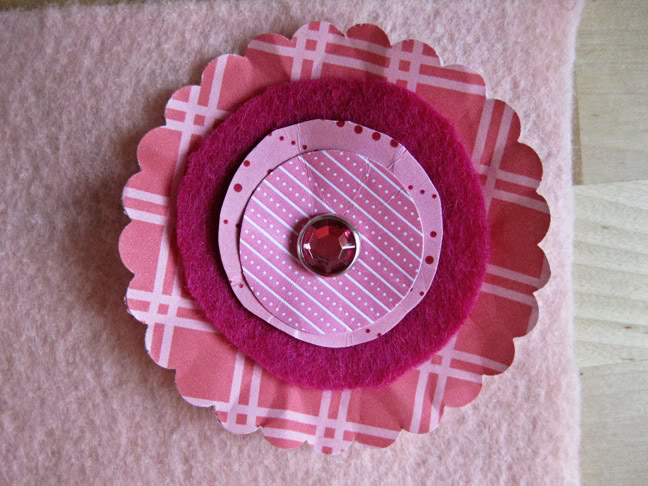 10) Cut around the layered circles using pinking shears, leaving an 1/8″ border.
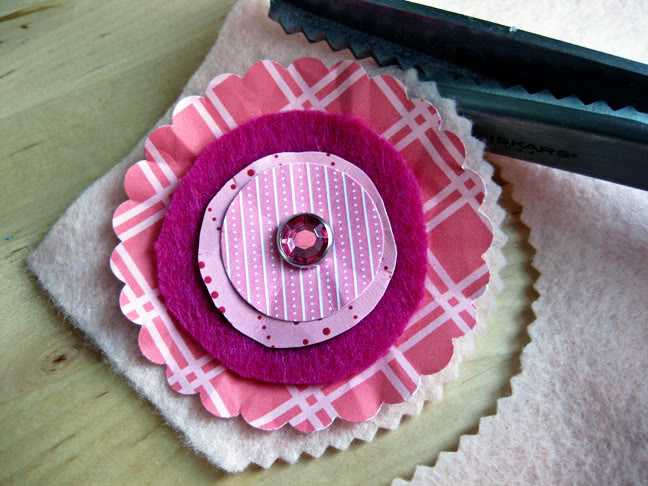 11) Cut out another circle of felt with pinking shears using the first circle as a template as shown:
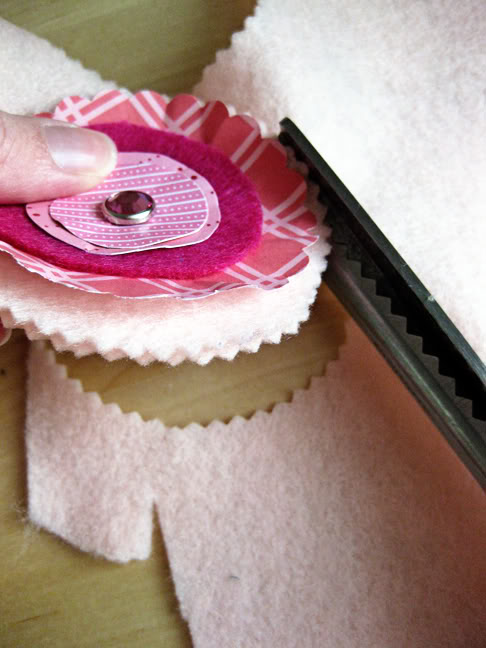 12) Plug in your hot glue gun.
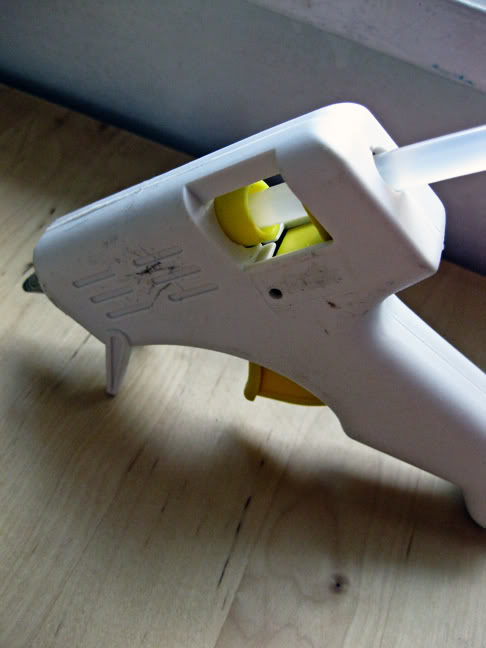 13) Moving on to the last layered circle – cut out a 2 1/4″ circle from cardstock using a circle cutter.
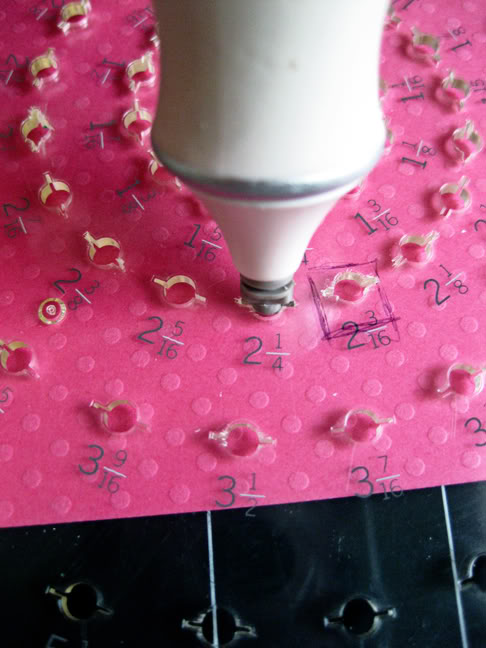 14) Crinkle the cardtock and another sentiment journaling spot.
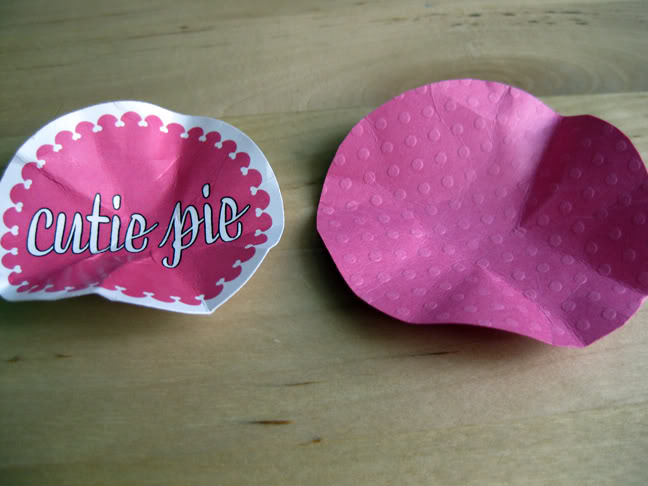 15) Attach the circles to a piece of felt using a jewel brad set through an “o” or the dot of an “i” printed on the journaling spot.
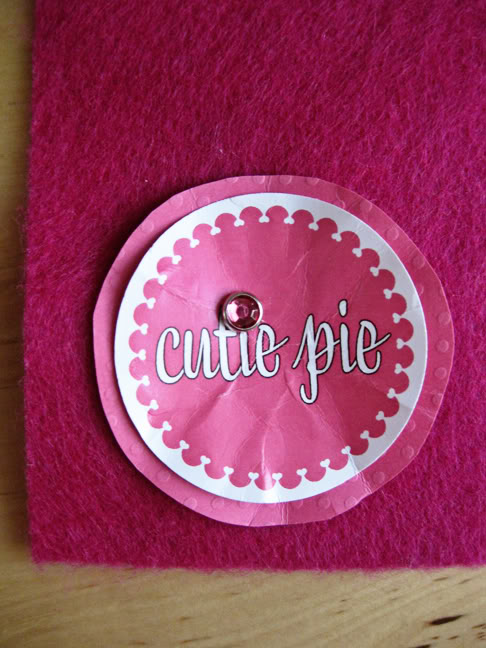 16) Cut around the circles leaving an 1/8″ border using pinking shears.
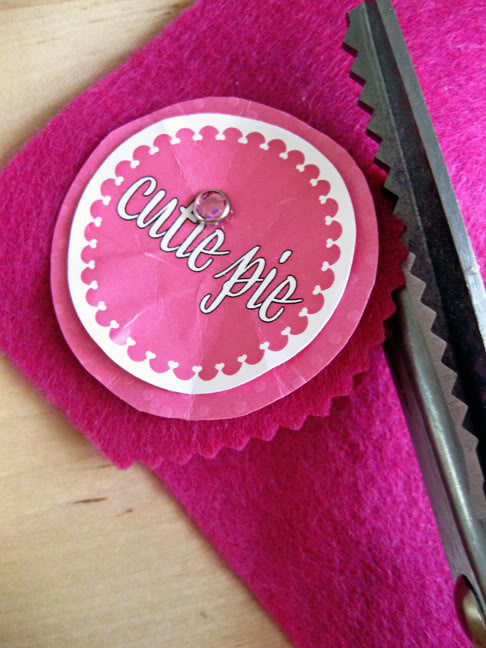 17) Cut out another circle of felt with pinking shears using the first circle as a template as shown:
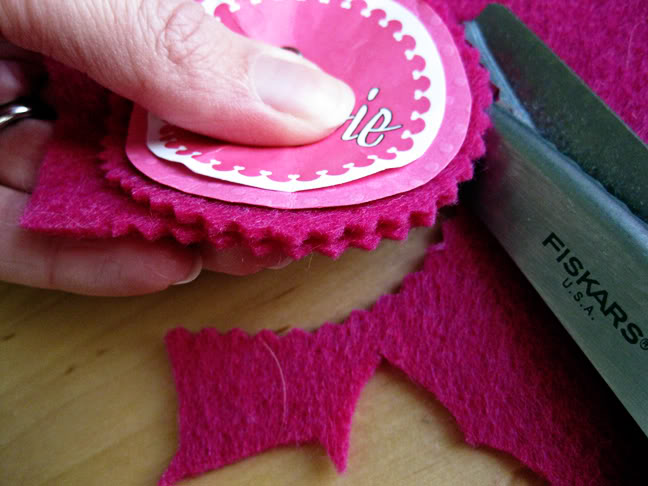 18) These are all of the circles you should have at this point:
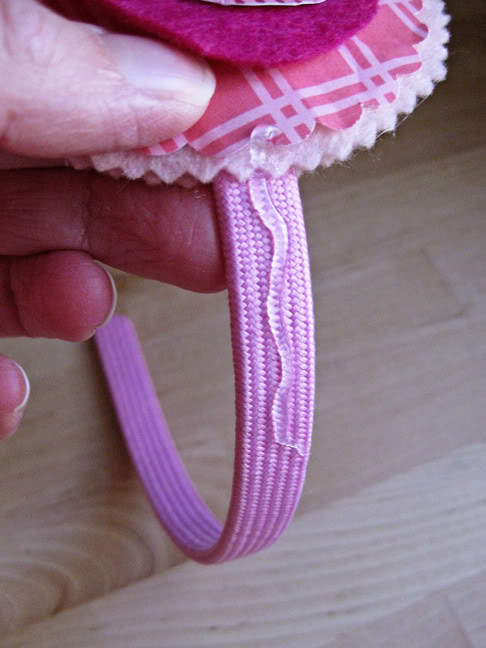
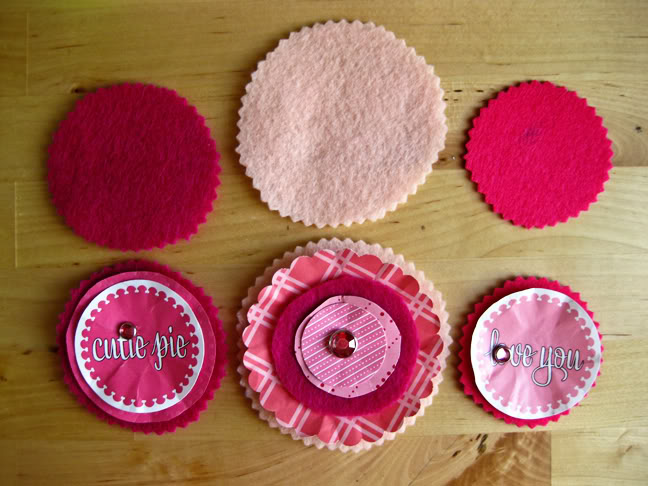 19) Apply a line of hot glue to a headband where you want the largest layered circle to be.
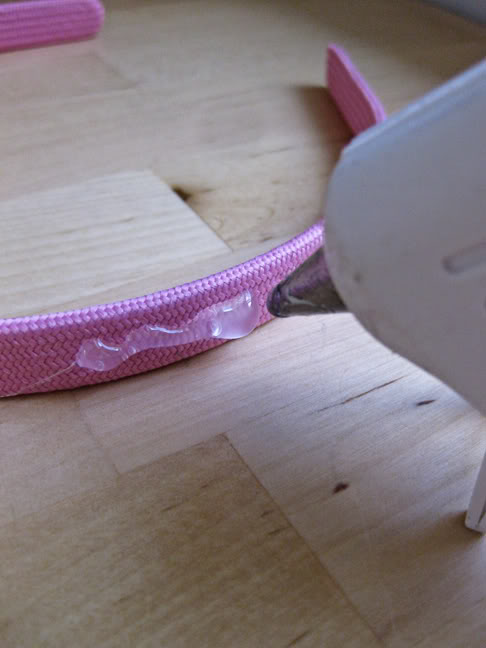 20) Press the largest layered circle into the hot glue, centering it in place.
 21) Apply hot glue all over the back of the layered circle.
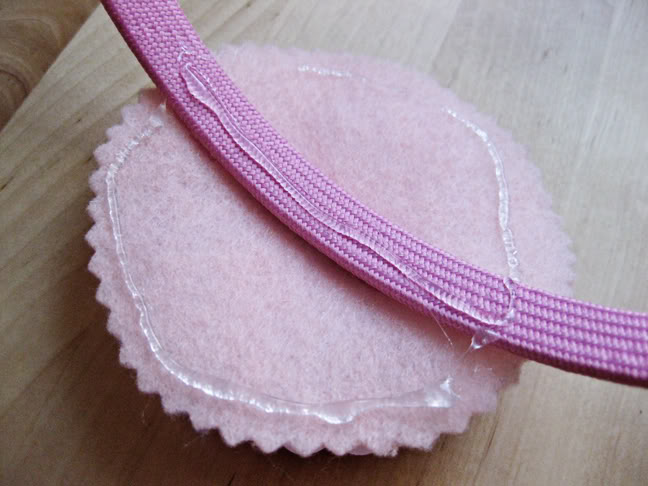 22) Press the matching circle of felt into the hot glue.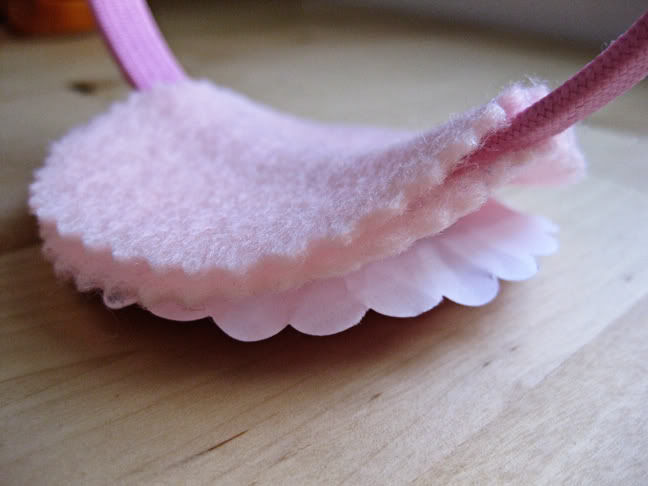
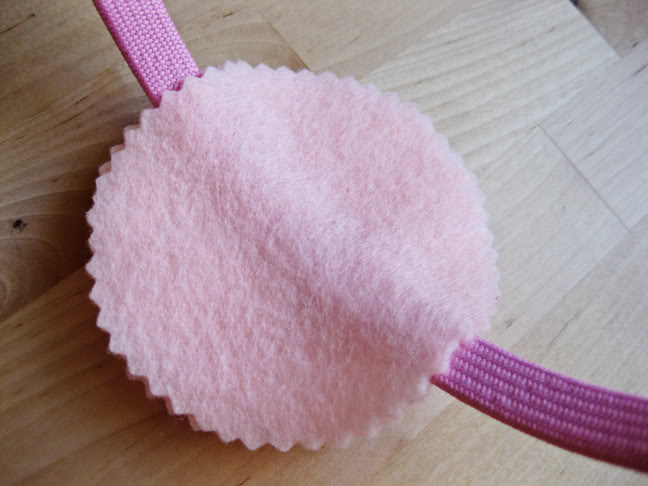 23) This is how your headband should look:
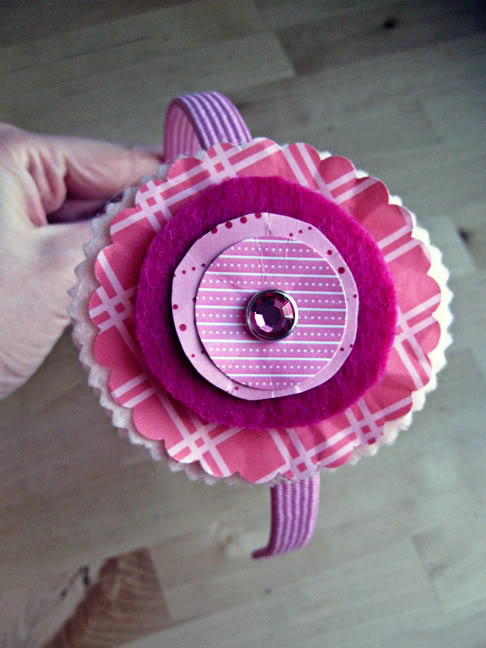 24) Add a line of hot glue below the layered circles.
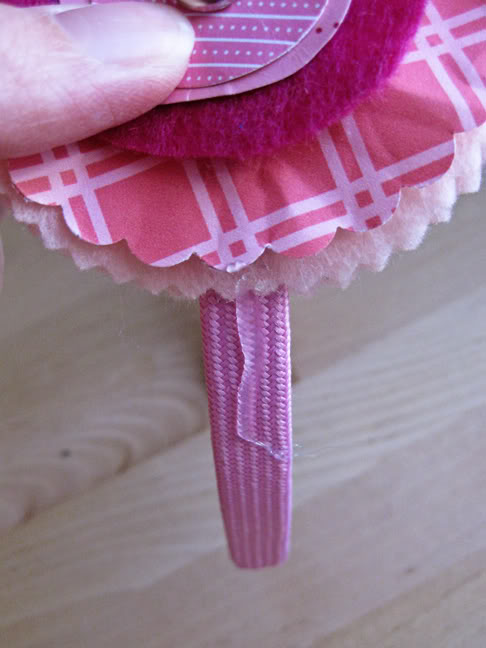 25) Press one of the smaller layered circles into the hot glue.
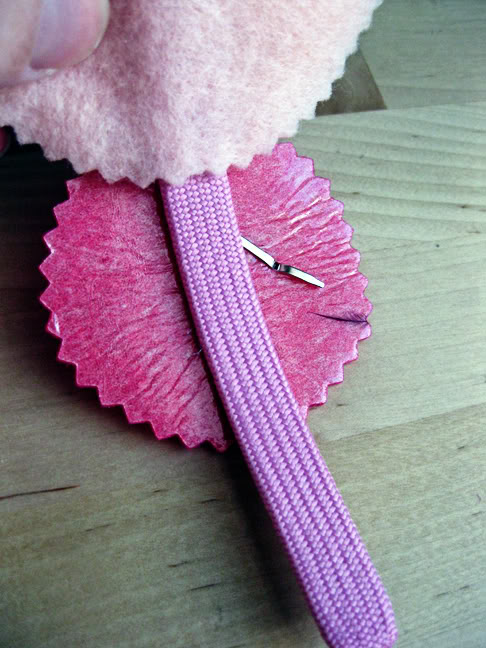 26) Cover the back of the felt circle with hot glue.
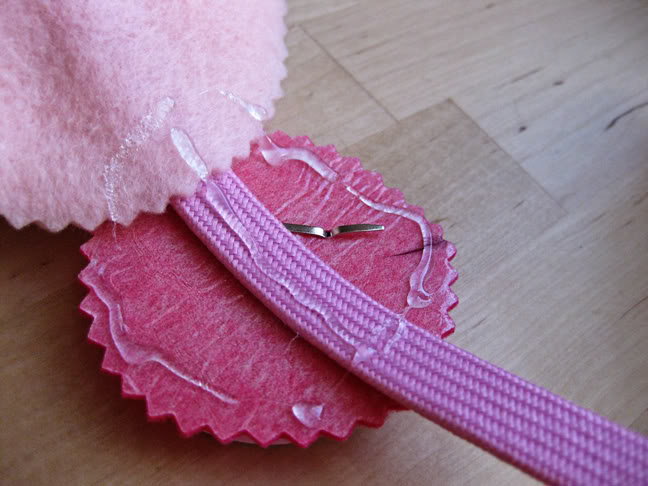 27) Press the matching piece of felt into the hot glue.
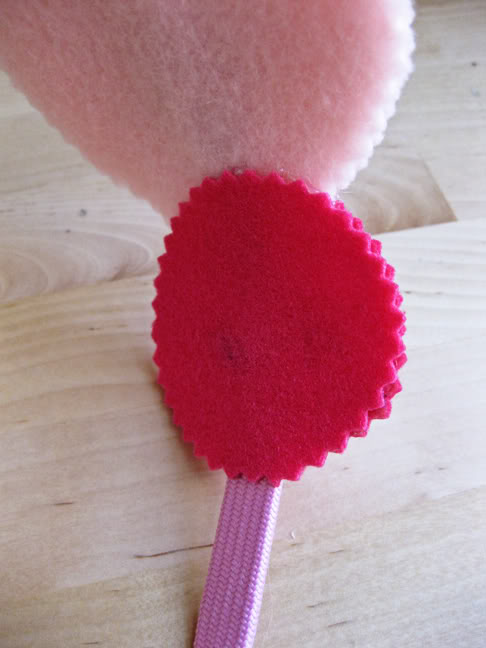 28) Here’s how your headband should look now:
 29) Add another line of glue above the largest layered circle.
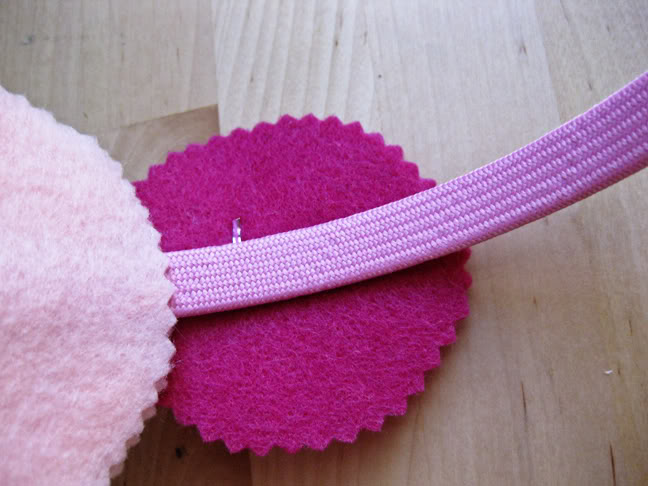
 30) Press the last circle of felt into the hot glue.
 31) Cover the back of the felt circle with hot glue.
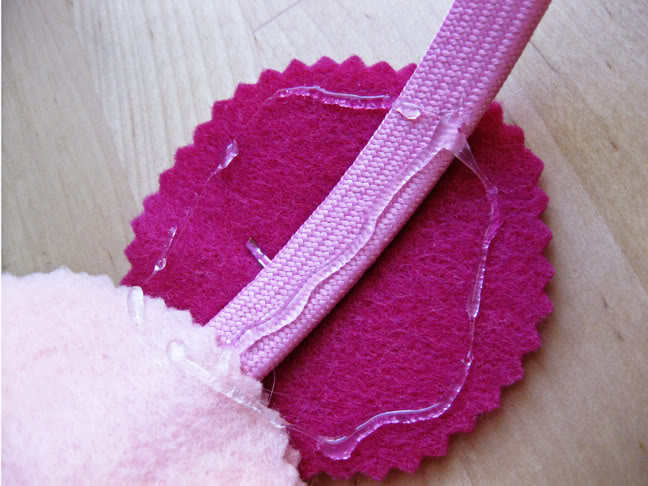 32) Press the matching piece of felt into the hot glue.
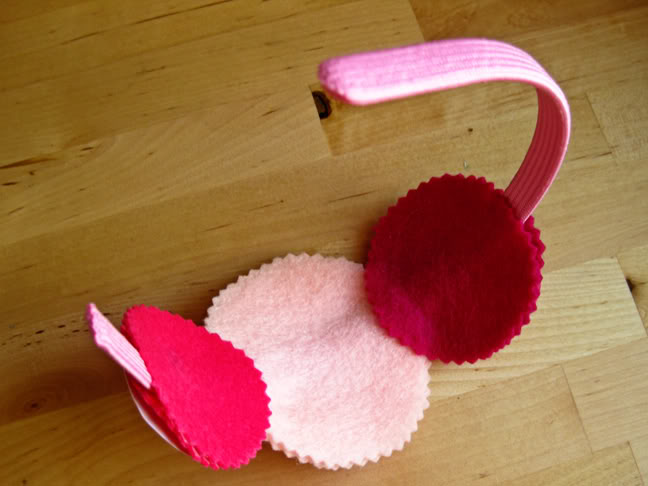 33) Almost done!
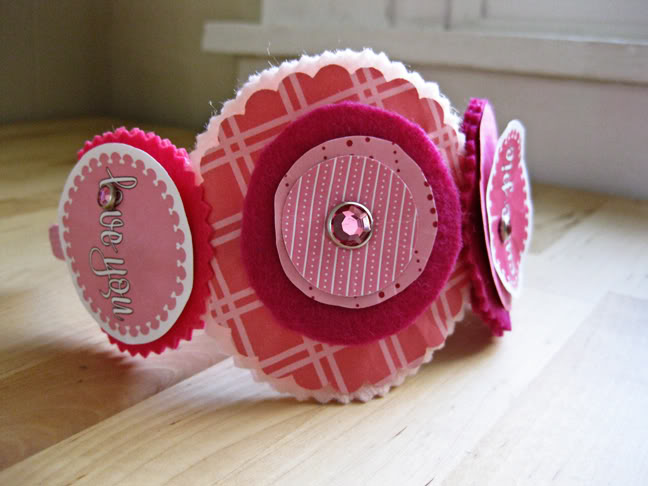 34) Make two small ribbon bows from matching colors of ribbon.
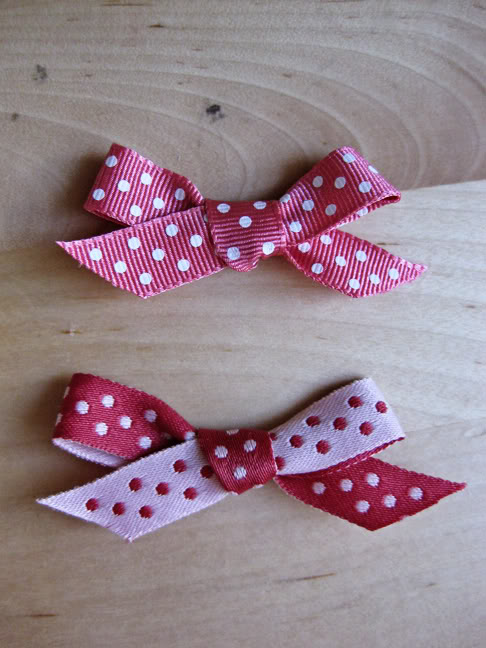 35) Add a blob of hot glue between two of the circles.
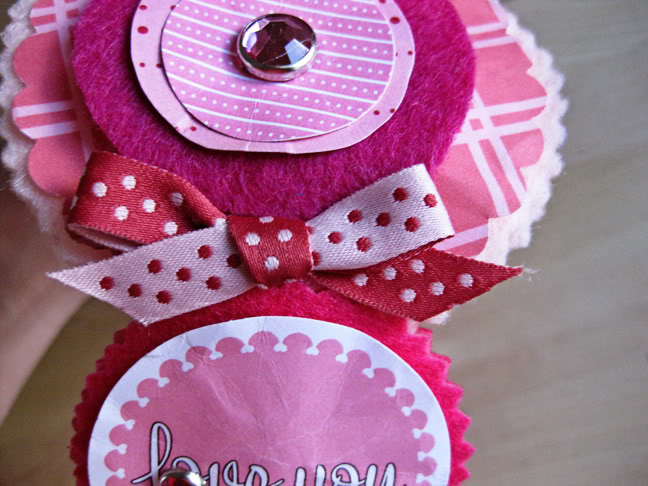
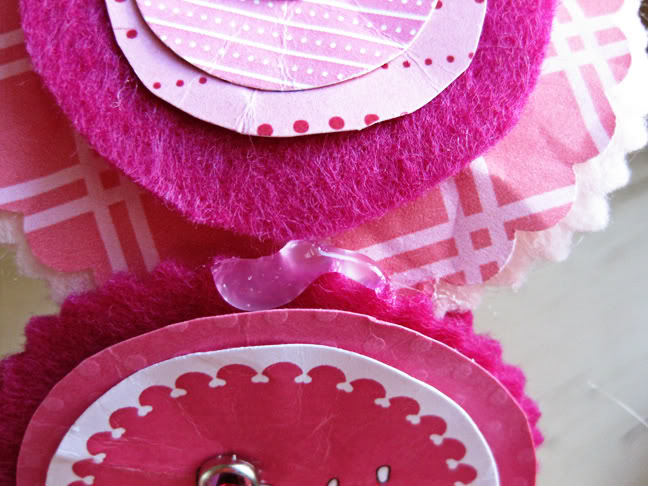 36) Press one of the ribbon bows into the hot glue.
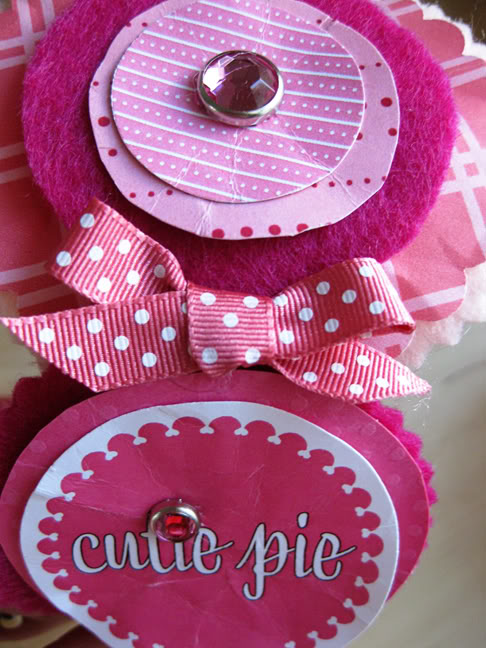 37) Hot glue the other ribbon bow between the other two circles.
 38) All done!
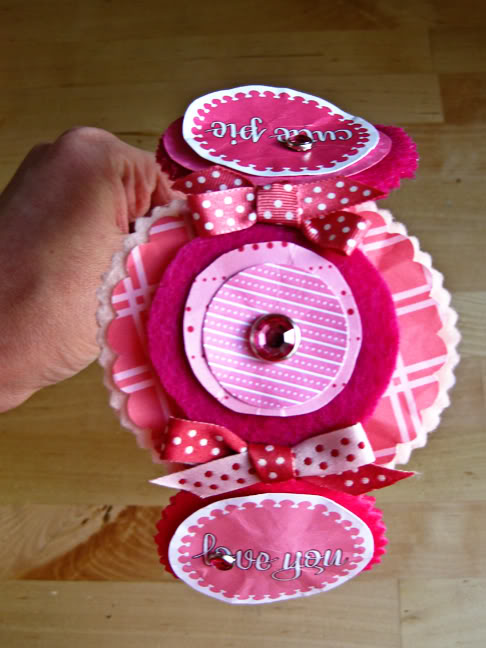
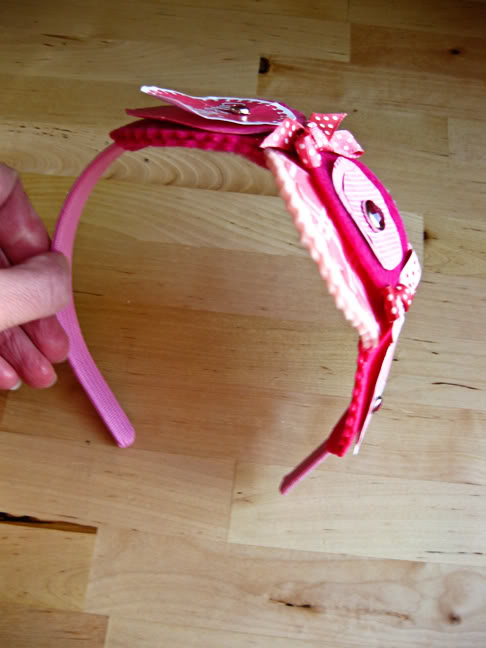 It’s that just the cutest!?!?! Thank you SO much, Paige for creating this step-by-step for us! So fun and would make the perfect gift for someone special!
We have a lot in store this week 🙂 It’s going to be a fun one!!
xo, Elle
P.S. Just read on Paige’s blog that she will be teaching a bookbinding workshop! If you’re in the area you’ll definitely want to check this out!