Sneak peek of our August Exclusive Kit and Add-on

EllesStudioAugustSneakAre you ready for our next exclusive kit + extras launch coming this Sunday, August 10th at 8:00 am PST? We’re excited for the full reveal this month – the August kit is full of fun tags that will be perfect for documenting all your memories on all types of projects!

If you haven’t signed up for our newsletter already, make sure you sign up soon so you’ll receive a reminder when everything is live in the shop! We will also have a special Shine bundle and FREE shipping special that you won’t want to miss, so mark your calendar now!

Good Cheer Full Reveal – Shipping in September

GC01We have our second and final reveal for you today and we are so excited to share our holiday collection, Good Cheer, with you! Good Cheer is full of sentiments that you’ll be able to use all season long! We are loving this color combo and all the extras, too!

Here is the full reveal of Good Cheer:
GC02 GC03 GC04 GC05
This new collection also starts shipping to stores in September so make sure you call your local scrapbook store or email your favorite online store and request this collection!

What do you think? We’d love to know what your favorite part of the collection is! Make sure you leave a comment letting us know, here on the blog! We had so much fun reading the comments you left on our Sycamore Lane collection – we hope you love Good Cheer just as much!

PROJECT LIFE

Today’s Project Life covers the week of June 20-July 6.

Image 1

For today’s spread, I used a variety of different pocket page styles, as well as different Elle’s Studio collections– such as Shine, Cameron, and various kits.

Image 2

It was July 4th week— so much to document!   We had camps earlier in the week ( I created a collage of my son’s camp experience for the entire left side of the page.  The opposite side of the page was my daughter’s camp highlights from the week before).

Image

The right side of the page I kept (almost) entirely for the holiday weekend.

Image 3


Thanks for stopping by today for Project Life inspiration at Elle’s Studio!

Sycamore Lane full reveal – Shipping in September

SY-01Even though we are enjoying the end of summer, our new Sycamore Lane collection has us SO excited for autumn to arrive! The papers and patterns, die cuts, new cork shapes, and colors are perfect for documenting the season!

We can’t wait any longer, here is the full reveal of Sycamore Lane:

SL-02 SL-03 SL-04This new collection starts shipping to stores in September so make sure you call your local scrapbook store or email your favorite online store and request this collection!

We’d love to know what your favorite part of the collection is! Make sure you leave a comment letting us know. And, then make sure you check back tomorrow for the full reveal of our Christmas collection!

Project Spotlight – August 3rd

1848_2926_14034750513049_big

Congrats to this week’s Project Spotlight winner, Valerie! Her Best Day Ever layout really says summer with that great picture and fun colors! It includes our Shine Summer Wood Veneers & Extra Tidbits. Check your email for your $10 Elle’s Studio gift certificate to use in our shop! Head on over to her gallery to check it out and you can even add it to your favorites by logging into your account and clicking on the “I (heart) this!” button.

You never know when your project will be chosen to be spotlighted! Each week we pick a new project out of our member gallery to spotlight. For your chance to be spotlighted and to win a $10 Elle’s Studio gift certificate, just upload your project to our member gallery and tag the Elle’s Studio item(s) used!


Mini Book Album :: Shine Week

SHINE-BannerWelcome to our last day of our Shine week celebration! Today we have a fun mini book to share with you today made by Valerie Bishop.

032-(600x425) 033-(600x388) 036-(600x407) 053-(600x400) 055-(600x400) 057-(600x400) 044-(600x417)
Valerie says “I used 1 sheet of paper and some scraps from the Shine Collection to make this album of some photostrips that we took at my son’s wedding reception. I cut apart the “Say Cheese” piece of patterned paper that has the polaroid frames and used each frame as a page. I rounded each corner then glued each piece back to back which gave me 6 pages to use – 12 backs and fronts. I used my scraps, bits and pieces, extra tidbits, wood veneers, and letter stickers to layer around my photos. To make each page cohesive, I used one of the Washi stamps and stamped several strips and used a piece on every page.”

Very cool, Valerie! We love how it turned out and it’s such a fun keepsake to have and treasure!

We want to thank our team who helped make this entire week possible – we had so much fun seeing all the creations they made with the Shine collection!

SKETCH THURSDAY

SHINE-Banner

Happy Shine Week!! I hope you are enjoying all the inspiration form this wonderful collection so far. Today’s sketch is inspired by GDT Adrienne’s Pool Fun layout.

sketch 07.31


Kay Rogers accepted the challenge this week and created this super sweet layout:

Shine Sketch-1

Shine Sketch-2 Shine Sketch-3

I used the sketch for the polaroid-type photo, as well as the banner, but I moved things around to make the sketch my own. My girl and our new puppy Ruby. I love how the Shine collection fits the colors of summer! I could use this starburst paper for every layout!  -Kay


For a chance to win a $10 gift certificate to the blog, create a project inspired by today’s sketch, post it to our Member Gallery and share your link in the comments section below. A random winner will be selected and announced with next week’s sketch.

Last week’s winner is… Gina!

winnerCongratulations!! Please email michelle@shopellesstudio.com the following info:

Name & Address:
Contest: Sketch 07.24.14
Prize: $10 Elle’s Studio gift certificate

Layouts and Cards :: Shine Week

SHINE-BannerOur spotlight on our Shine collection continues with some amazing layouts and cards from our team members!

001-copy-(597x600) 024-(600x400)Layout by Valerie Bishop – Valerie used one of our cut files to create the background and we love that pop of color showing through! She also did some awesome layering with our transparencies and tags!

Supplies used: Shine papers, cutouts, wood veneers, extra tidbits; letter stickers, and cut file.

FamilyTime-Shine-Layout FamilyTime-Shine-Detail-1 FamilyTime-Shine-Detail-2Layout by Melissa Mann – We love how Melissa used almost every paper design from the Shine collection in her background with those circles, and check out how she stitched on top of them! The black and white photos add an extra fun contrast, too!

Supplies used: Shine papers, journaling tags, wood veneers, bits and pieces, and cutouts.

Hello_There_Card_Juliana_Michaels_Elles_Studio_01 Hello_There_Card_Juliana_Michaels_Elles_Studio_02 Hello_There_Card_Juliana_Michaels_Elles_Studio_03Card by Juliana Michaels – Isn’t this card by Juliana cute?! How fun would it be to receive this in the mail? We love the color choices she used here, along with the layering and stitching! Juliana says “When I first saw the “Hello There” die cut in the Shine Bits & Pieces, I knew it would be perfect for making a card. The colors in the Shine collection are so bright and cheery and are a perfect match for this sentiment. I also love how the die cuts and journaling tags all coordinate so well. They are perfect for layering to use on cards. I added a bit of hand doodling to the die cut and journaling tag using a gray marker. The strips of paper are from the bar code strips on the patterned paper. I love to incorporate these into my projects whenever I can. Here I used them kind of like washi tape and then added some machine stitching for added texture and interest.”

Supplies used: Shine papers, bits and pieces, and journaling tags.

Hello-friend-by-Daniela-DobsonCard by Daniela Dobson – Daniela did a great job on this card – she even layered the Shine papers to make her own design – very cool! We also love how she layered the Shine journaling card with the stamped flowers to create a cute bouquet!

Supplies used: Shine papers, journaling tags, stamp; Washi Tape stamp, and our exclusive March Kit.

meg3 meg1meg2Layout by Meghann Andrew – We are in awe over Meghann’s layout and how she used the paper design to create a big sun, with the circle design in the middle! And the little cluster of banners at the top finishes it off perfectly! Also, check out in the close ups how she used the Shine stamp to stamp on the Shine labels!

Supplies used: Shine papers, labels, wood veneers, cutouts, extra tidbits, stamp, stamp; and Fun in the Sun exclusive wood veneer.

Such amazing projects that are so full of inspiration – we are so thankful for everything our team created! Stay tuned for every more inspiration throughout the week!

Project Life :: Shine Week

SHINE-BannerHello everyone and welcome to our week long celebration of our Shine collection! Shine is perfect for documenting summer but versatile enough for any season of your life!

Today Jennifer Chapin is sharing a Project Life spread she made exclusively with our Shine collection. Let’s take a peek:shinePL jenchapin
Here’s a close up view of the left side:
shine PL jenchapin (1)We love how she used the Shine Journaling Tags in between her photos to journal on and tell the story of the week. She also embellished her photos with pieces from our Shine Bits and Pieces and Shine Extra Tidbits packs.

shine PL jenchapin (2)
And here is a close up view of the left side:
shine PL jenchapin (4)We also noticed that she used some of our Foodie exclusives! The Foodie Journaling Tags and stamps coordinate so well with our Shine collection!

shine PL jenchapin (5)

shine PL jenchapin (6)Thanks for stopping by today! Make sure you check back tomorrow for even more inspiration from our team using our Shine collection!

Mixed Media Monday :: Shine Week

SHINE-Banner

Welcome to Shine Week! We are celebrating the entire week with loads of Summer inspiration from the Design Team!

Today, we start with the fabulous Patricia Roebuck!

p1

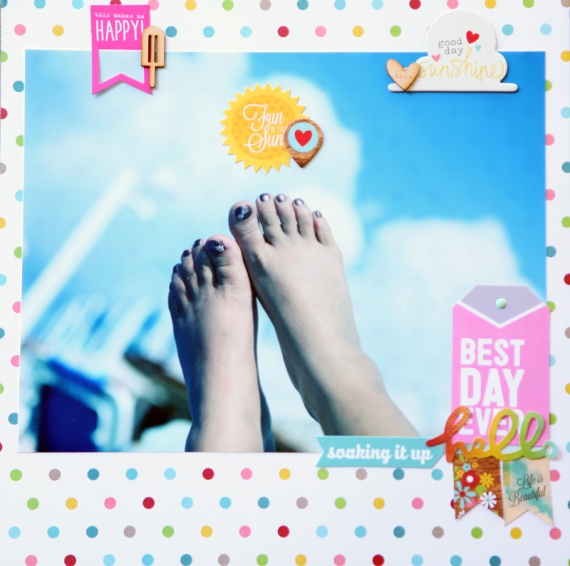
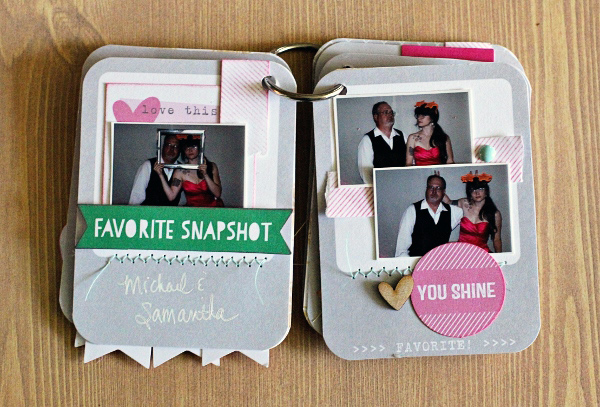
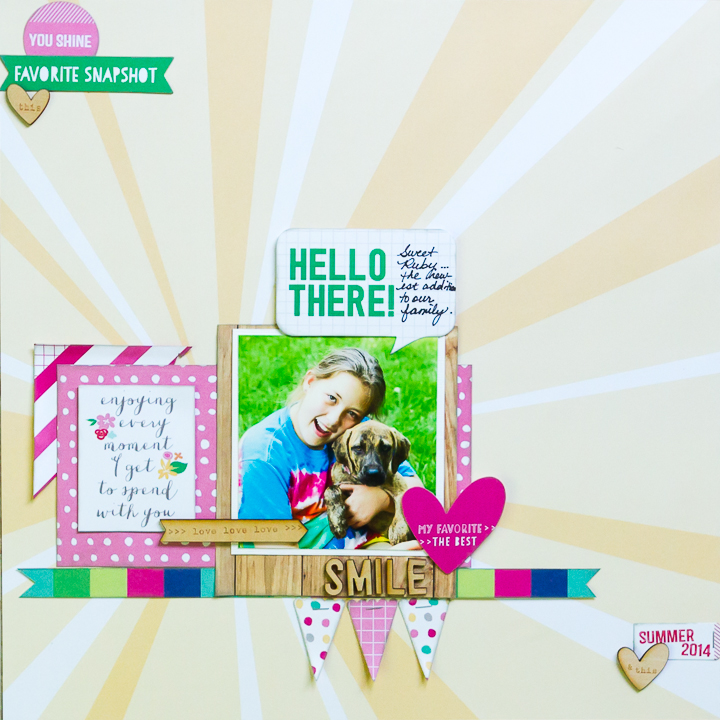
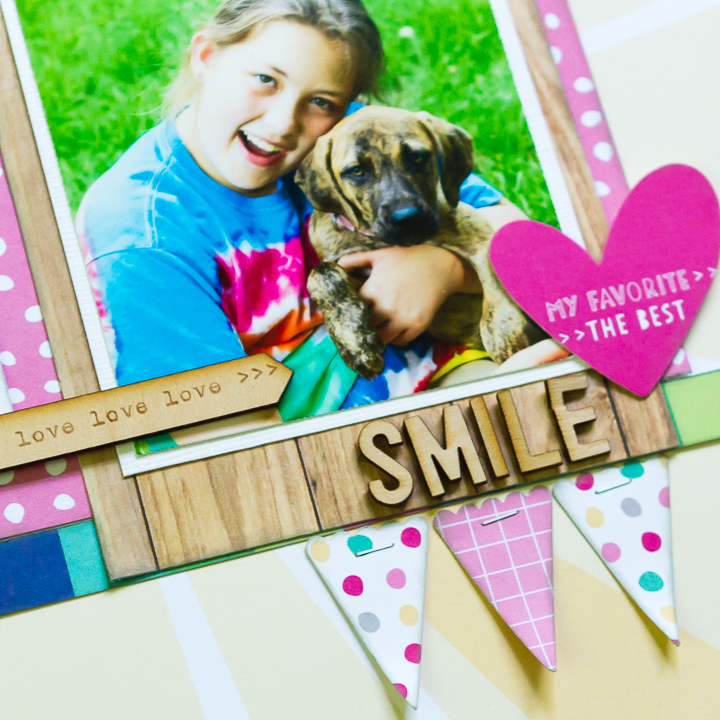
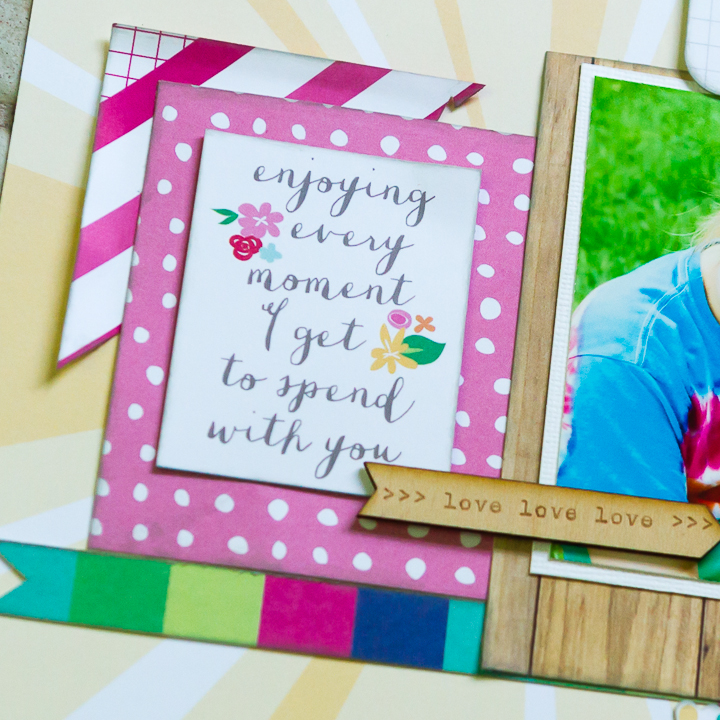
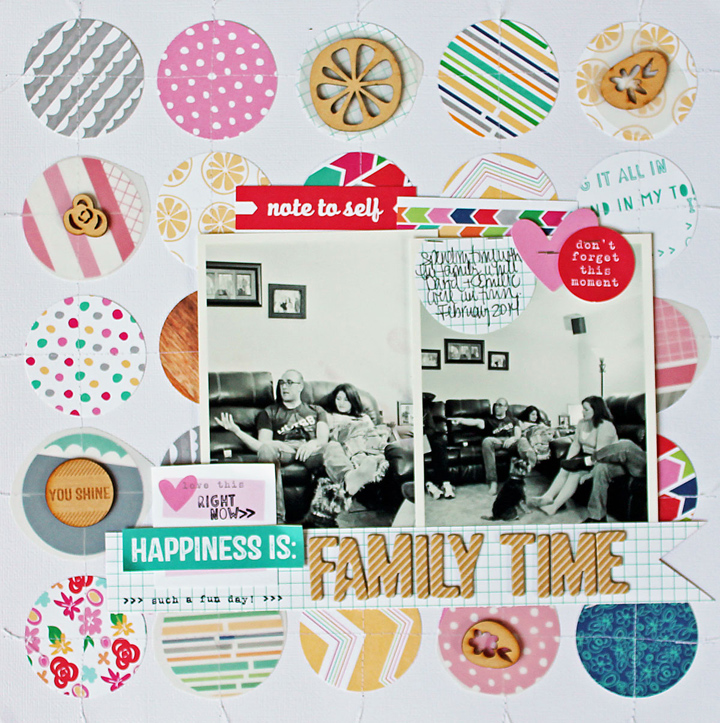
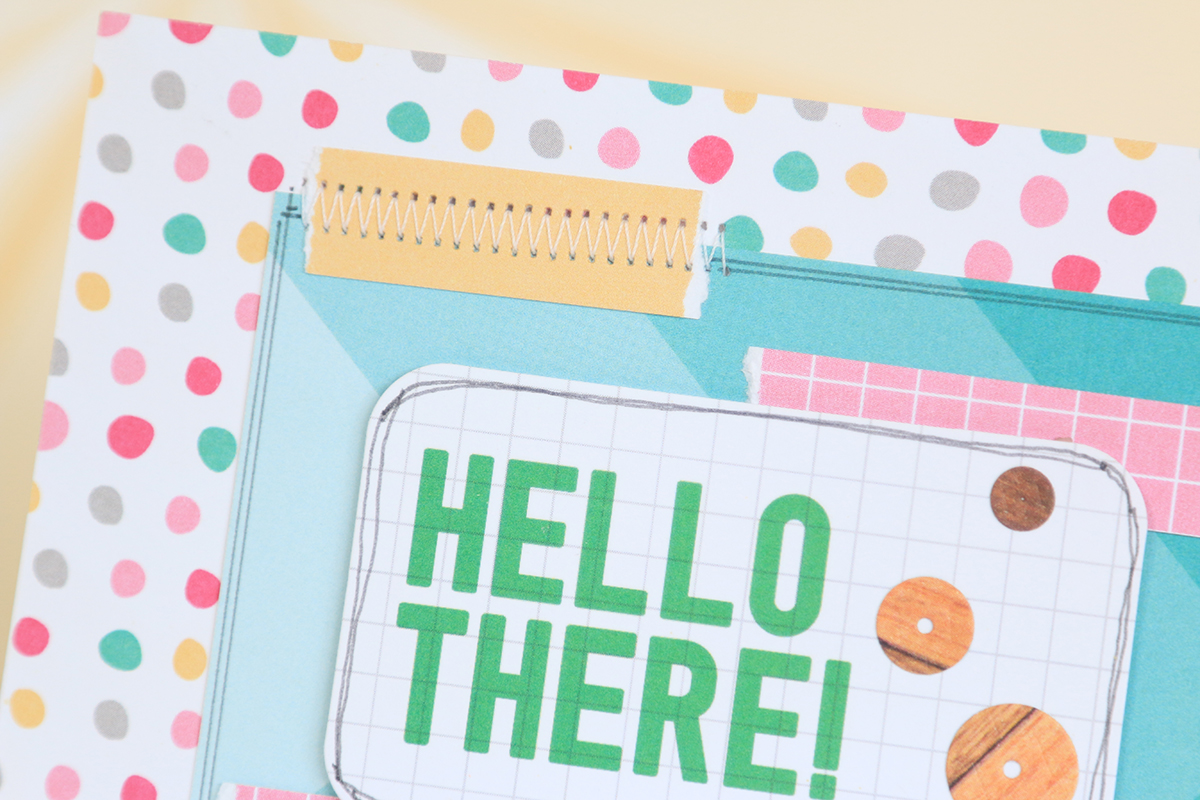
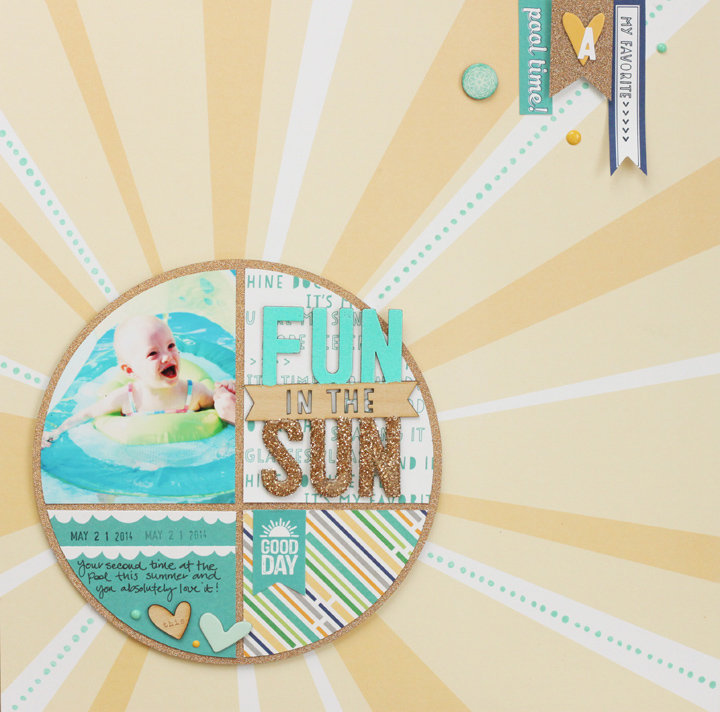
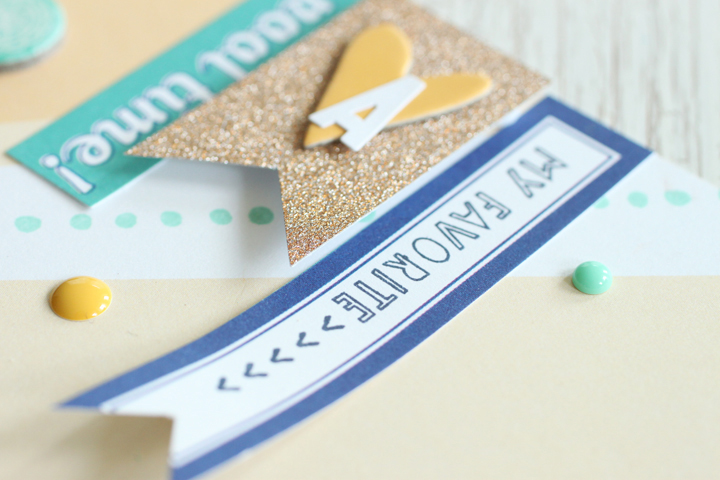
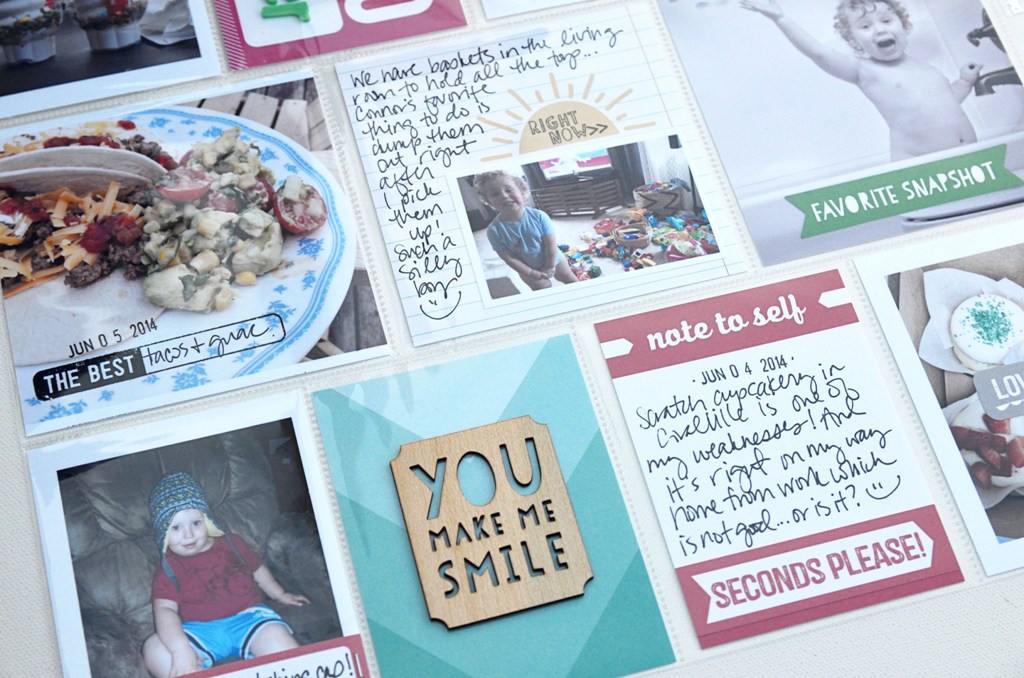
I used some of my favorite products from the new Shine collection on
this layout.  The first was the stamps.  Using white cardstock, gesso, and
an old credit card, I spread a thin layer of gesso across the cardstock.
Making sure the gesso was thick enough, I used the dotted line and the
citrus stamp to stamp into the gesso to leave an impression.  Tip:  have a
container of water near by to drop those messy painted acrylic stamps in the
water so that the paint does not dry on them.  Let the gesso dry, then add
watercolors to them.  You will see the impressions even more from the
stamps.  Cut them apart, then layer along the side of the layout and stitch
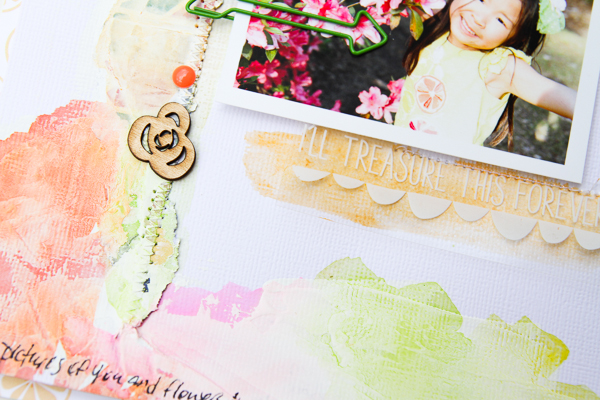
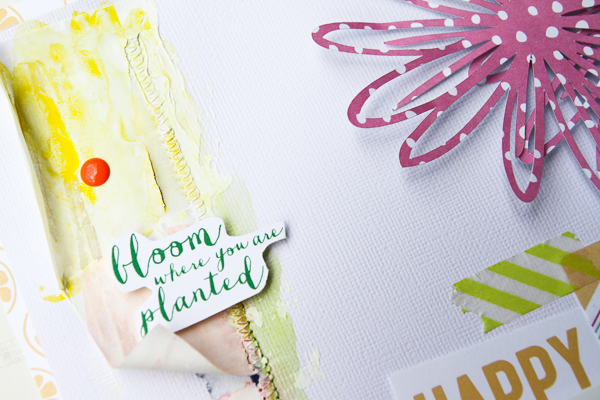
in place.  I used the same dotted line stamp to make my flower stems.  For
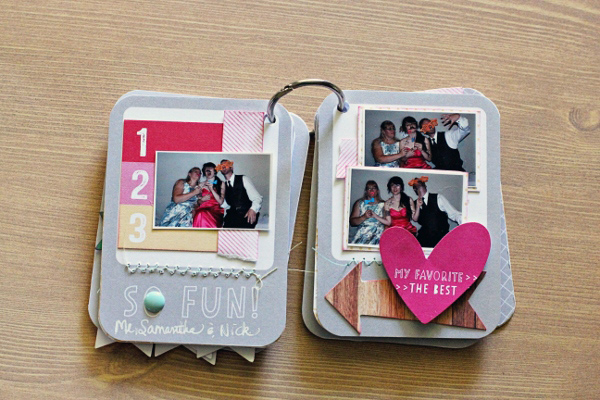
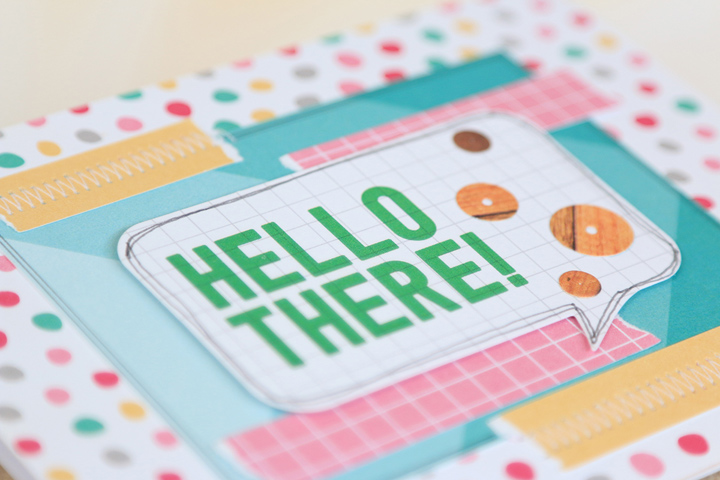
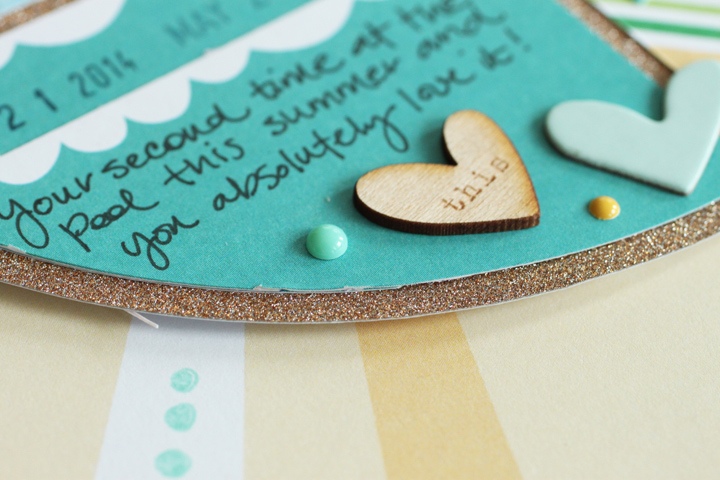
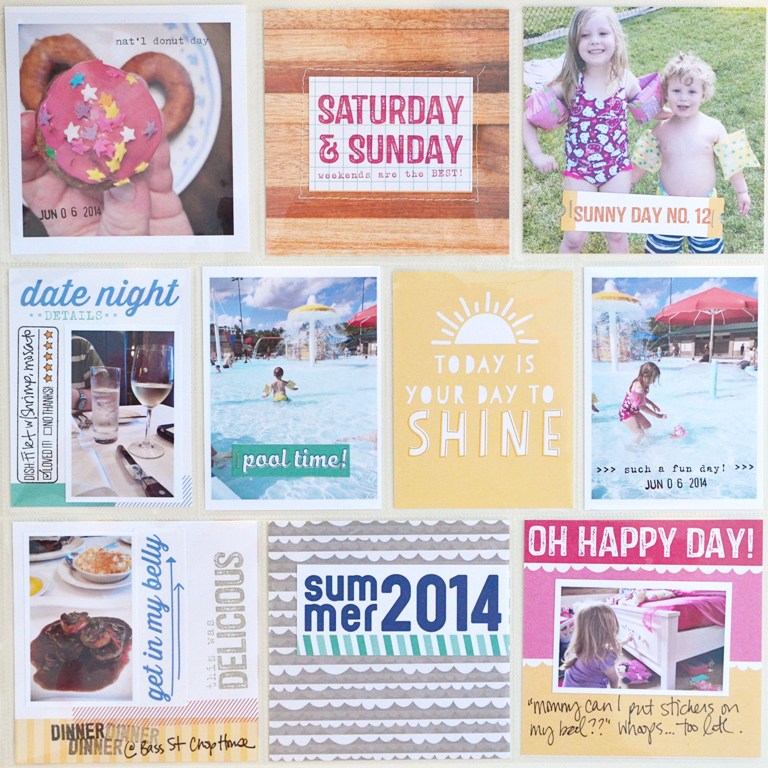
the left side of the layout, I layered patterned paper and cut strips of
vellum, and stitched in place.  I didn’t like how it looked, so as I held
the paper, I ripped the vellum and pattern paper along the stitched line.  I
loved this not-planned result.  So I added more gesso to it, let dry, and
then added more watercolors.  I absolutely love the effect it gave.  You can
still see a little of the pattern paper peek through and the vellum curl up.
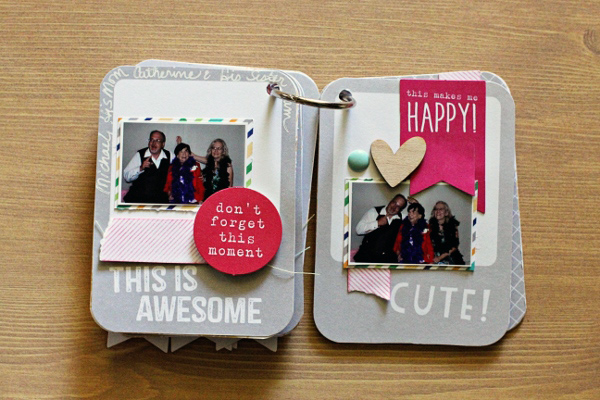
Using my scissors and not being precise, I trimmed all sides of my layout,
and adhered to a piece of Shine pattern paper.  With doing mixed media on my
scrapbook pages, I find the less perfect is perfect. p2 p3 p4

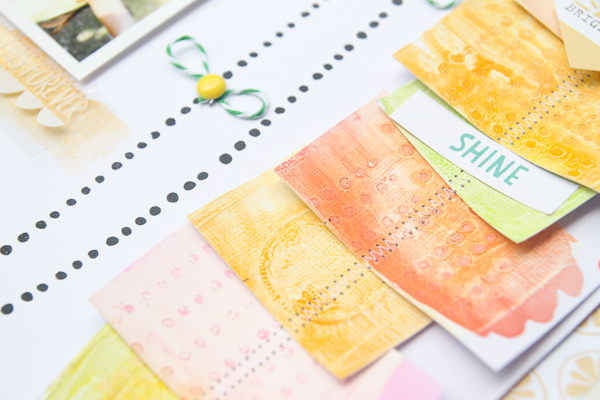
Shine Collection, Shine Summer Wood Veneer, Shine Transparent Tags, Shine
Happiness Is Stamp, Shine Extra Tidbits, May Kit, and July Kit

________________________________________________________________

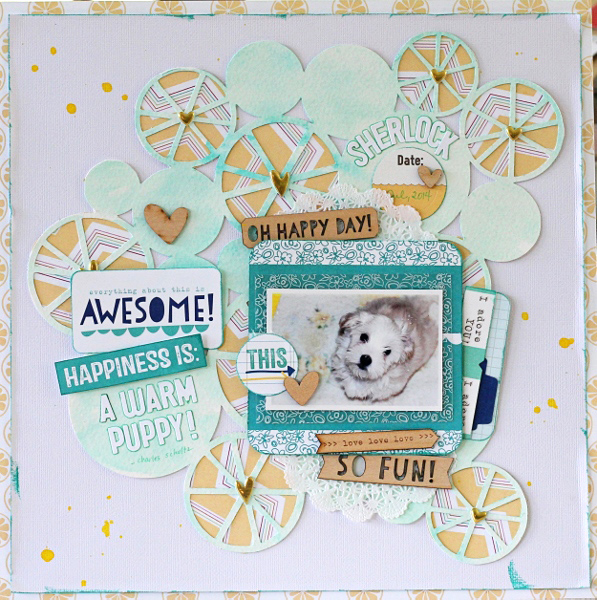
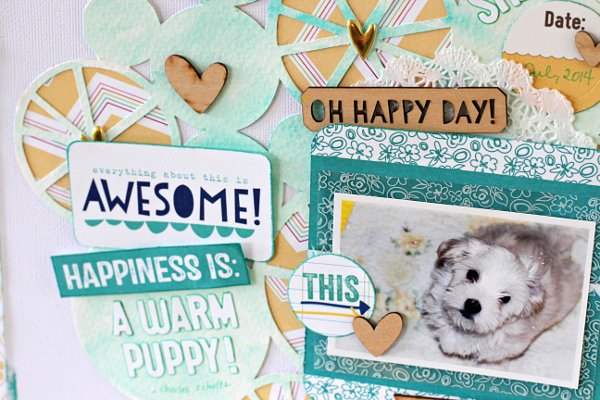
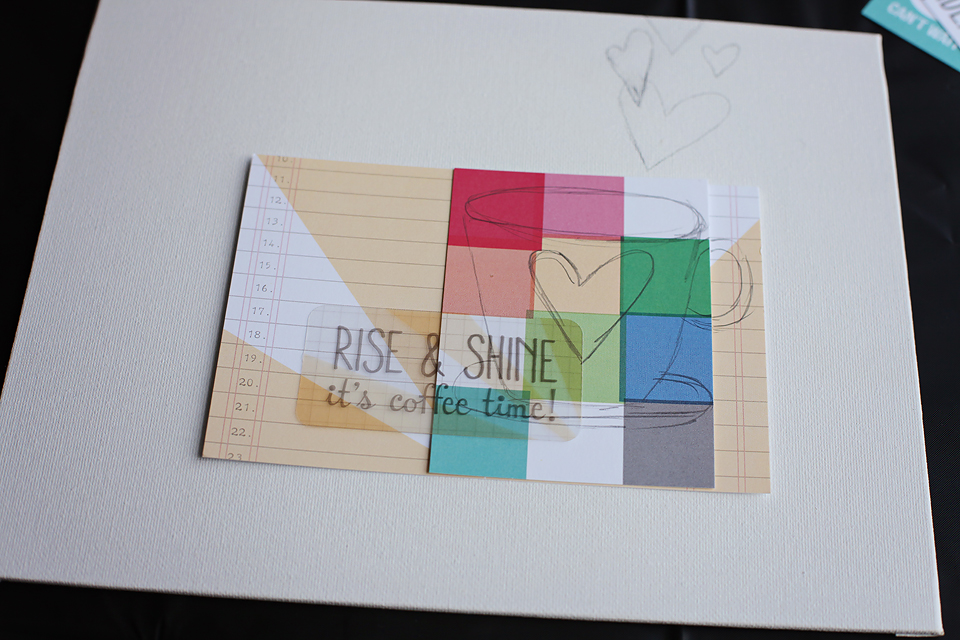
My project started as something fun to do with the kids. I found some 8×10 canvas boards for under $1 a piece, handed each one to the kiddos and let them paint and create. Then I thought, well I want to play too! Sometimes a little creative therapy is just what we need!

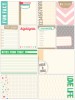
My inspiration came by simply extending the lines & shapes of the cards from the July Exclusive Tag Kit.

IMG_4941

I then used my mist as watercolor paints and blended in an array of color.IMG_4942

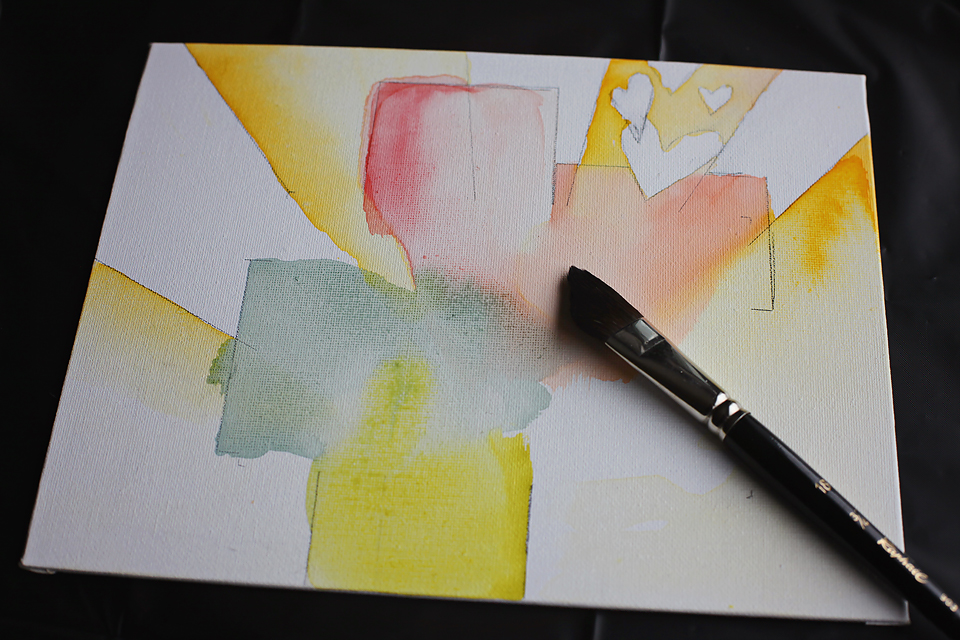
Next, I added my tags & vellum pieces back on, attaching them with mod podge and used black gesso to outline my drawings.IMG_4944

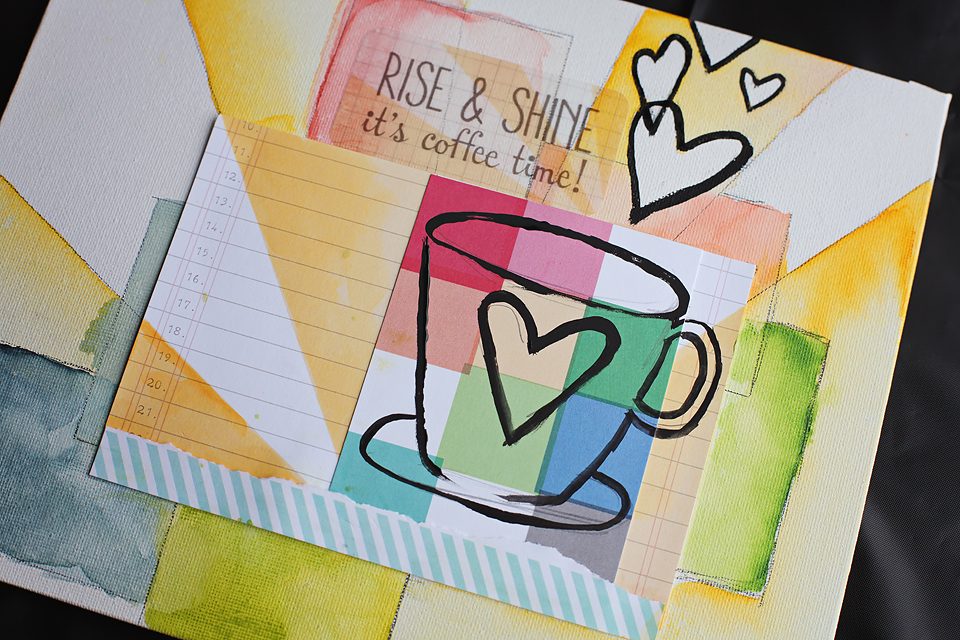
Using a white paint pen within my coffee cup drawing helps highlight and pop it off the colored card.IMG_4946 I finished it off with a coffee quote and a few wood veneer pieces from both the Food collection and my favorite piece : “Let Love Shine” from the Shine collection.IMG_4959 IMG_4957

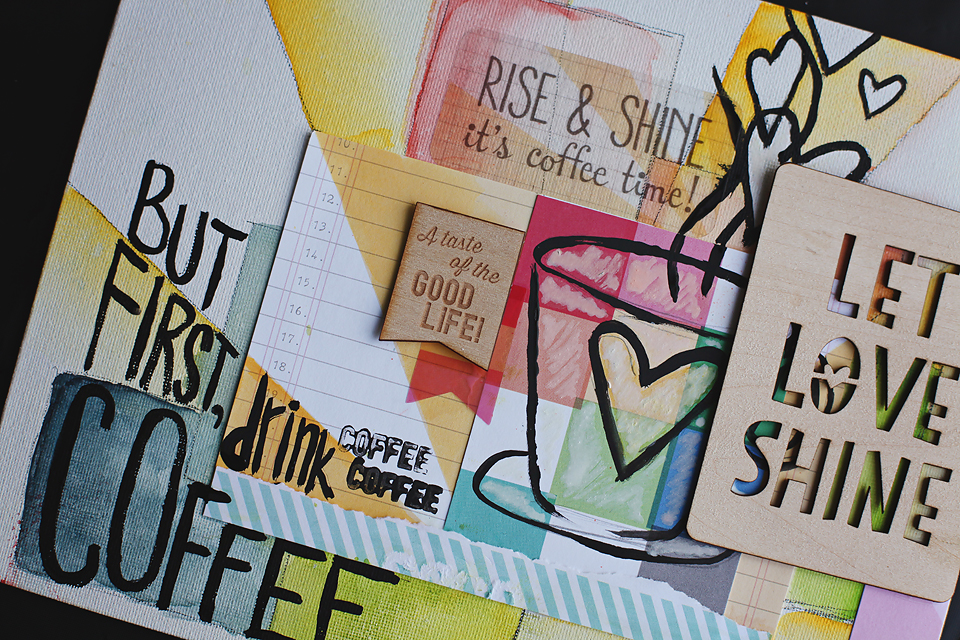
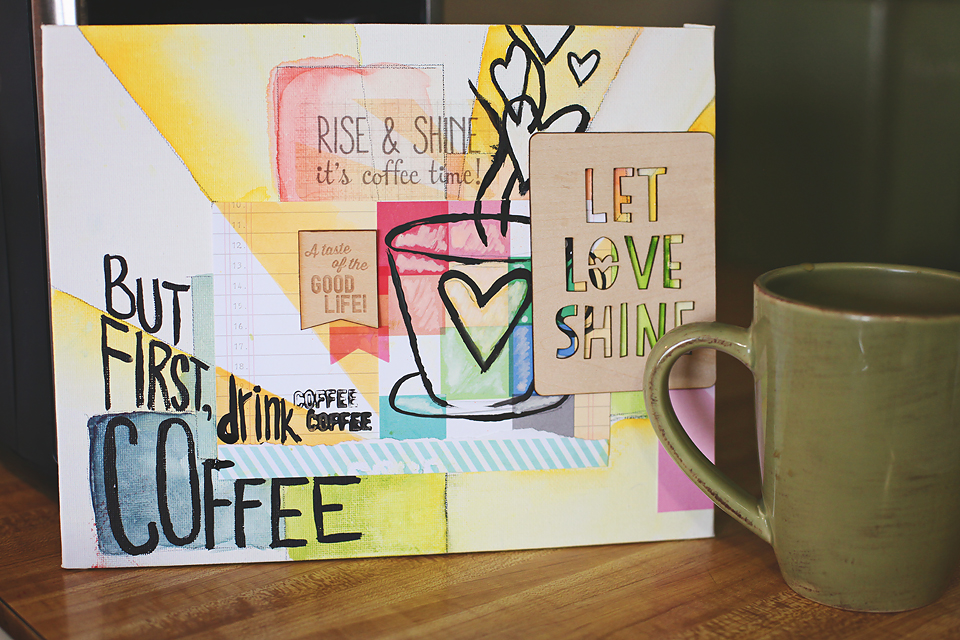
It may not be a perfect piece of art, but it was so fun to sit down, relax and just be creative! I encourage you to take time out of your busy summer to do the same!

Happy Creating ~ Megan
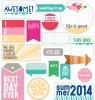
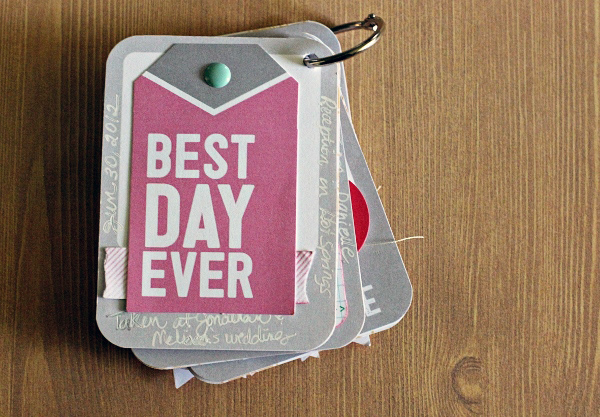
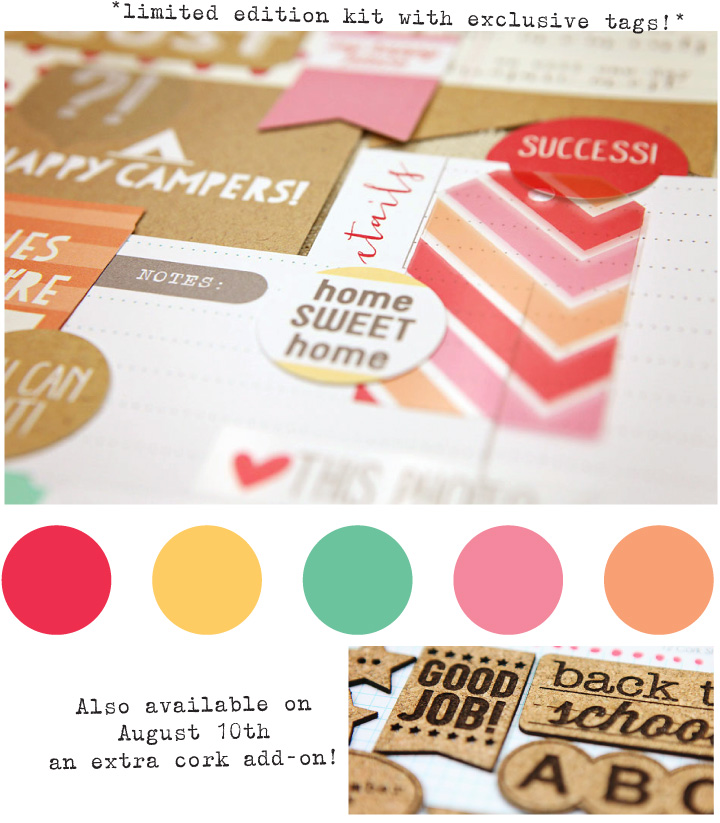