PROJECT LIFE

Today I am sharing a page in my daughter’s childhood pocket page album.IMG_8960

One of my close friends and I decided to surprise our daughters and head down to Florida for a Girls Weekend.  We had a great time escaping the midwest bitter cold, and even snuck a day trip to Disney.IMG_8962

In this spread you will see several “sneaks” of our February 2016 Exclusive Kit!  I loved the variety in this kit.   This kit will be available February 10th (tomorrow) at 8am PST.IMG_9004

I also combined several pieces from our January 2016 Exclusive Kit in the mix.  Since there were several photos and memories, I included an insert by trimming a Design A pocket page in half.  IMG_9007

Be sure to check back here tomorrow at 8am PST for our Exclusive February Kit, and many extras!!IMG_8983

Elle’s Studio Products Used: Elle’s Studio February 2016 Exclusive Kit, Elle’s Studio January 2016 Exclusive Kit, The Best Wood Veneers, Everyday Stamp

A sneak peek at what is coming on February 10th!

EllesStudio-FebSneakPeekHappy February, everyone! We are only two days away from our February reveal and we are so excited for you to see what’s in store. Our February kit is full of fun tags that will spark your journaling and embellish your projects. And, just in case you missed our BIG announcement last month – our kits will now include even MORE 3 x 4 tags! Each kit will now have at least 16 3 x 4 inch tags in it – We worked really hard to be able to increase the amount of 3 x 4 tags you will receive each month, without increasing the price of each kit!

Get ready to pick up this kit for our launch day special pricing of only $9.99 this Wednesday, February 10th, at 8:00 am PST! After the 10th, our kits go back to their regular price of $11.99. These kits can ship first class, so depending on your location, shipping starts out at around $2 for USA, and $6+ for international. But we have a surprise for you:

EllesStudio-FebSneak02
We are giving you the code now so you’ll be ready! Get FREE SHIPPING on all orders $50+, including international address, with coupon code LOVE – This free shipping offer expires on February 15th at midnight and is valid for worldwide addresses. Offer is NOT valid on previous orders or wholesale orders. *Please note: if you are paying with PayPal, you will first visit PayPal to enter your information in, and then when you are returned to our site you will be able to enter the free shipping code. If you have any trouble, please contact us at info@shopellesstudio.com

If you haven’t signed up for our newsletter, make sure you do to receive a reminder of when everything is available for sale! It’s going to be a BIG day, so set your alarm and mark your calendar! We hope to see you there!

Love Mini Album by Melissa Mann

Good Morning! This is Melissa here with you today and I’m sharing a little mini album that I made using chipboard and vellum envelopes!

EllesStudioMini_MLM1
To create my album, I started with two pieces of chipboard sized down to about 4 x 5 1/2″. I was debating on what to use as my inside pages. I had some vellum envelopes laying on my desk that I had forgotten about and inspiration struck! I folded several of the envelopes in half, slipped them in between the two chipboard pieces, and then sewed it all down leaving about a 1/2″ spine. I covered the front and back chipboard pieces with pattern paper. Before I glued them down, I sewed around the outside edge of each block of paper and stitched down one of the white cardstock hearts that I cut out using my Silhouette Cameo.

EllesStudioMini_MLM2
I found four photos of my husband that I wanted to use inside my mini and converted them to black and white. I printed these off using my Canon Selphy. The 3×4 cards from the upcoming February 2016 kit (available on February 10th) and 2015 kits worked perfectly inside my mini.

EllesStudioMini_MLM3
As a rule, I used a lot of stitching on most all paper blocks and 3×4 cards and left long strings to create texture. I also used the envelopes that were open on one end to fill with sequins and then sewed them up. I sewed strips of gold glitter ribbon and white eyelet trim down each side.

EllesStudioMini_MLM4EllesStudioMini_MLM5EllesStudioMini_MLM6
I found 5 quotes online and typed them up on various 3×4 cards and labels. These were adhered inside my album and further embellished with stickers, flair, and tags.

EllesStudioMini_MLM7EllesStudioMini_MLM8EllesStudioMini_MLM9I hope you enjoyed a look at this little mini album! I know I certainly enjoyed making it!
EllesStudioMini_MLM10EllesStudioMini_MLM11Products used: Elle’s Studio February 2016 kit + coordinating extras (available on February 10th), Shine Paper Collection, January digital cut files, Heart Cluster cut files, Hugs & Kisses printables, Thankful Stickers, Cienna Paper Collection

Love by Michelle Wedertz

Love
Love themed layouts are always a joy for me to put together. For this project, I wanted something bright and airy, so I chose to pair this sweet picture of my girls with the beautiful floral paper, the “Precious” wood veneer, and a sticker all from the Cienna collection.

Love3
I also managed to sneak in a few pieces from the upcoming exclusive February kit (coming to the shop on February 10th) to complete my layout!

Love2Supplies used: Cienna Paper Collection, Let’s Eat Paper Collection, Cienna Stickers, and Cienna Wood Veneer.

We’d love to see your love themed projects! Share them with us in our Member Gallery or on Instagram with the hashtag #ellesstudio!

With All My Heart by Jill Sprott

Let’s face it: winter is hard on the color-loving soul — that is, until the bright red reprieve known as Valentine’s Day comes around. When February arrived, my scrappy little heart skipped a beat, and I soon found myself rummaging through my Elle’s Studio stash in search of all things pink and red and heart-shaped. The result? A layout about something that endures regardless of the season: love.
EllesStudio-JillSprott-Layout
My daughter owns a comfy and adorable red-heart sweater, which she was wearing when I snapped a photo of her. Instead of using a single photo on the page, I sized the photo down and  included a series of images in order to create a heart pattern through the repeated photos. That pattern within the images reinforces the sentiment on the page: “I adore you…with all my heart.” (by the way, the wood veneer circle, adore you banner, and red/pink journaling tags are a peek at what’s coming to the Elle’s Studio shop in a few days on February 10th!).

EllesStudio-JillSprott-Layout01
The pinks and reds on the page are from various Elle’s Studio collections, as well as from the February kit (available February 10th). The “Thankful” and “Joyful” collections aren’t limited to Thanksgiving and Christmas — they can totally work for Valentine’s Day pages, too!

In my search for all things heart-related, I quickly realized that Elle’s Studio includes hearts in practically every collection, in one form or another.

EllesStudio-JillSprott-Layout02Products used:  Thankful Bits and Pieces, Thankful Cork Shapes, Thankful Stickers, Joyful Paper Collection Pack, January kit, and February Kit and Extras (coming February 10th)

Regardless of whether you’re a fan of Valentine’s Day, Elle’s Studio makes it easy for you to put your heart on the page.


Good Morning, All! Alissa here today and I’ve got my take on this fabulous sketch! The original layout was created by Jen Schow and I love everything about it!

EllesStudio-SketchThursday-01-28-16
The layers are my favorite part! I also love that Jen included a vertical and a horizontal photo on the same page with layers and made it work well.

EllesStudio-AlissaFast-sketch-01
I stuck pretty close to the sketch, with only one photo and I moved the title to the bottom of the page.

EllesStudio-AlissaFast-sketch-02
I used a lot of goodies from the January kit and those awesome vellum snowflakes from the November 2015 kit.

EllesStudio-AlissaFast-sketch-03Products used: Joyful Paper Collection, Let’s Eat Paper Collection, Exclusive January Kit, Vellum Hearts, Letter & Number Stickers – white, and Exclusive November Kit.

EllesStudio-AlissaFast-sketch-04
I can’t wait for the black letters coming soon with the new collection! In the meantime, I colored the white ones with a black sharpie. Easy peasy!

Now, it’s your turn to create something awesome with this week’s sketch. I can’t wait to see them all! For a chance to win a $10 gift certificate to our shop, create any type of project inspired by today’s sketch, upload it to the Member gallery and leave a comment here with the link by February 10th. A random winner will be selected and posted with the next sketch on February 11th.

5245_4090_14539330517485_big
And, congrats to our randomly selected winner this week! Jill created this “Snow Lodge” layout from our previous sketch! Please email us at info@shopellesstudio.com to claim your prize!

New Love themed Items are in the shop!

EllesStudio-LoveThemedLaunch01
Did you get a chance to check out the new love themed items we just added to our shop? There is a fun mix of items for your scrapbook layouts, pocket pages, cards, mini albums, and more!

EllesStudio-LoveThemedLaunch02
Our Love You stamp is a 4 x 6 inch stamp that has some great sentiments on it to let someone know how much you love them. I’ve been using it to make some special cards, along with custom pocket page tags, and on a sweet little mini album I’ll be sharing on Instagram soon!

EllesStudio-LoveThemedLaunch03
We also added some fun acrylic pieces in white, pink, red, and black. These are fun to mix and match, and are just the right size for embellishing your projects!

EllesStudio-LoveThemedLaunch04
This release also included a new printable, along with fun cut files. The first cut file is our Sweetheart cut file that includes lots of hearts with cut out words, along with extra hearts for layering! And then our second cut file includes these pretty clusters of hearts in four different combinations.

EllesStudio-LoveThemedLaunch05
And, because we love YOU and appreciate your support SO MUCH, we created these FREE Valentine cards that you can use to create your own Valentines, and a FREE cut file that you can use to make cupcake toppers with!

Thanks for stopping by on this exciting day!

Project Life Pocket Pages with Nancy Damiano

EllesStudio-NancyDamiano-ProjectLife01
Hi Nancy here, with a peek at some pocket life pages created with the January 2016 Kit. I’ve also mixed in a few of the back sides of the 2016 Calendar 3×4 Tags for a little variety. These two spreads are on totally different topics, on one side we have date night from February 2015 and on the right my birthday weekend in July 2015. While I don’t create pocket life in any chronological order, I do store them in date order.

EllesStudio-NancyDamiano-ProjectLife02
This side was created all around the colors of the blue and green stripe card. It’s my favorite! I added the Elle’s Studio Letter Stickers in white, teal and mint to add a title and sewed a word bubble from the January kit to add texture.

EllesStudio-NancyDamiano-ProjectLife03
On the opposite side, the Adore You Acrylic and Vellum Hearts add texture and a pop of color to the pink and purple design. I personalized the coffee cup in the donut card with a pink letter sticker and stapled a sentiment from the January kit to add text.

EllesStudio-NancyDamiano-ProjectLife04
I love how this lilac Date Night card takes center stage here. It was the perfect spot for my story and a little stamping in a matching lilac ink. The vellum hearts are stapled in the center with mini staples to give them a little pop off the page.

EllesStudio-NancyDamiano-ProjectLife05Products used:  Elle’s Studio January 2016 KitAdore You AcrylicVellum Hearts, Letter and Number Stickers –White, Teal, Mint, and 2016 Calendar 3×4 Tags

The exclusive January kit was perfect for some of my favorite stories. With a beautiful color palette, acrylic words and vellum hearts it’s the perfect kit for pocket life scrapbooking!

Journaling with Jill Sprott

This month’s Elle’s Studio kit offers a reminder of the many things in this world that go together perfectly — like X’s and O’s, donuts and coffee, and words and tags!

EllesStudio-JillSprott-01
I created this layout of my favorite pair — my two dogs — prompted by the “We Go Together” tag from the January kit. The journaling begins with a list of commonly known complementary pairs, and moves into canine-related complementary pairs. From there, I reflected on the symbiotic relationship between my pups and how the two of them make our household whole.

EllesStudio-JillSprott-We-Go-Together-detail-journaling
Because the photo was taken in full sunlight during the late afternoon, the colors are kind of one-note, with the exception of two pink tongues. That bit of pink, paired with the pink donut in the “We Go Together” journaling card, inspired the color scheme of this page.

I layered two sheets of Elle’s Studio patterned paper over a piece of kraft (that is, fur-colored) cardstock, choosing a mix of pink polka dots and a pink grid pattern. To unite the two sides, I layered tags in the space between.

The final touch was the addition of a stamped donut garland, created using the January exclusive stamp.

EllesStudio-JillSprott-We-Go-Together-detail-close-ESSupplies used:  Elle’s Studio January kit, You’re the Sweetest Stamp Set, Joyful Paper Collection Pack, and Thankful Collection Pack

I worked in aqua “frosting” here and there, which sets off the pink even more.

In so many ways, this layout is all about pairs that go together happily, like my scrappy little heart and Elle’s Studio.

Stamping a background with Meghann Andrew

Hello! It’s Meghann here with you today to share a beautiful background technique that can easily be used on a card or layout this month using the amazing “You’re the Sweetest” stamp set. I typically use this technique with watercolor ink, but this time I decided to try a different medium, Gelatos.

EllesStudio-CardTutorial-MeghannAndrew01

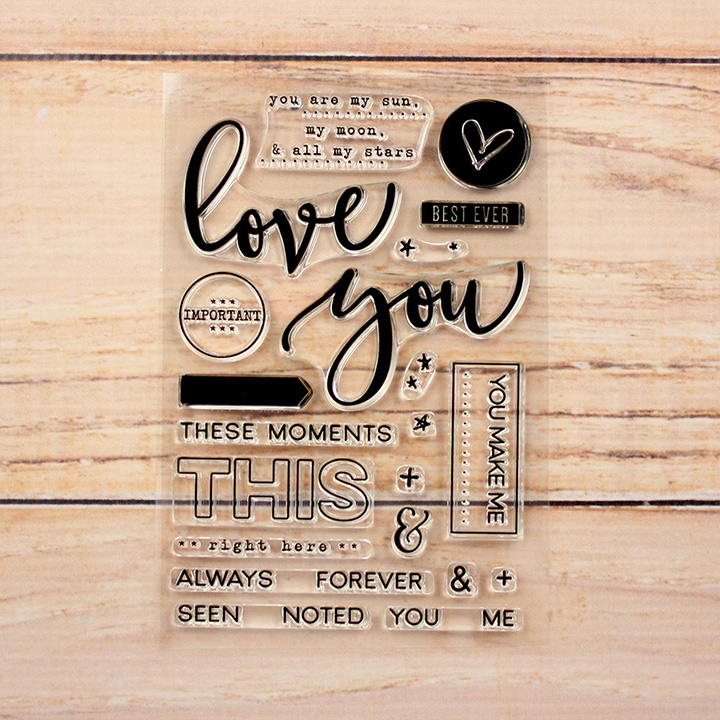
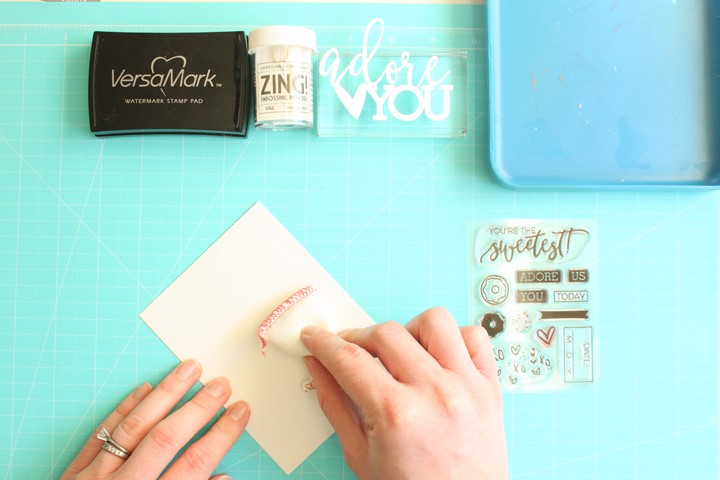
To begin, I gathered a few stamping and embossing supplies: embossing ink, white embossing powder, “You’re the Sweetest” stamp set, a piece of watercolor paper cut to 4” x 5-1/4”, and an Embossing Buddy, a powder primer in a small cloth sack that helps make your embossing impression more clear. I went ahead and primed the entire surface of my watercolor paper before stamping.

EllesStudio-CardTutorial-MeghannAndrew02

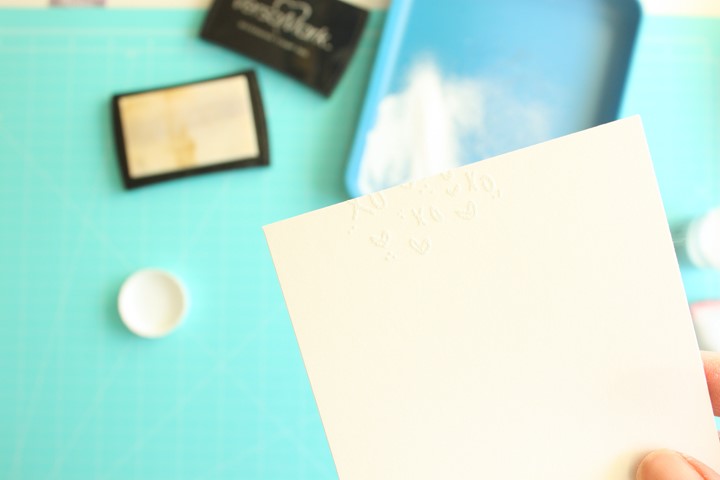
Using embossing ink, I started stamping the hearts & “XO” image onto my paper, but since the ink was clear, I couldn’t see where to stamp the next image so that they would make a complete background, like Elle did on this great video.

EllesStudio-CardTutorial-MeghannAndrew03

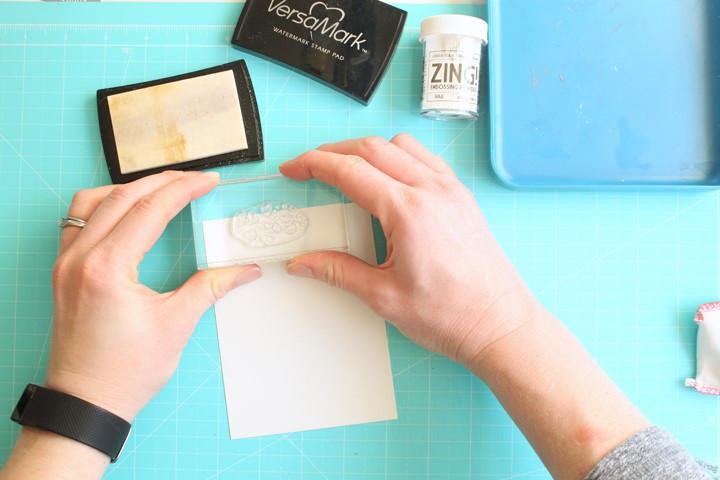
To be able to see my image, I went ahead and covered it with the white embossing powder.

EllesStudio-CardTutorial-MeghannAndrew04

As you can see here, the textural difference in the image covered with powder before heat embossing was perfect for seeing where to stamp the next image.

EllesStudio-CardTutorial-MeghannAndrew05

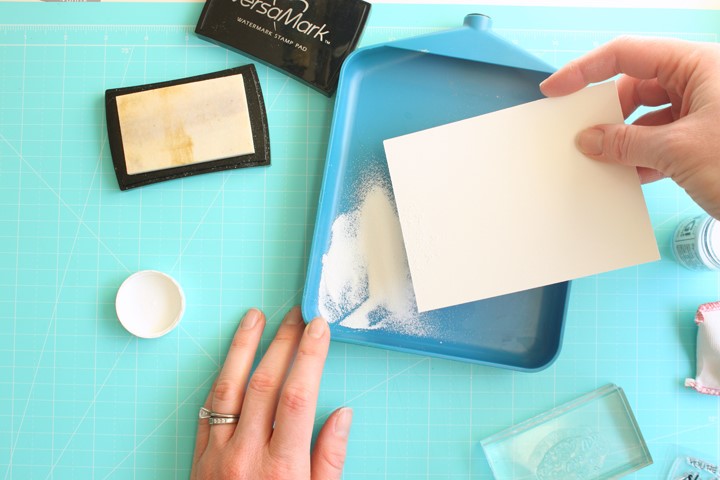
Following Elle’s video, I stamped the image three times and covered with powder before heat embossing.

EllesStudio-CardTutorial-MeghannAndrew06

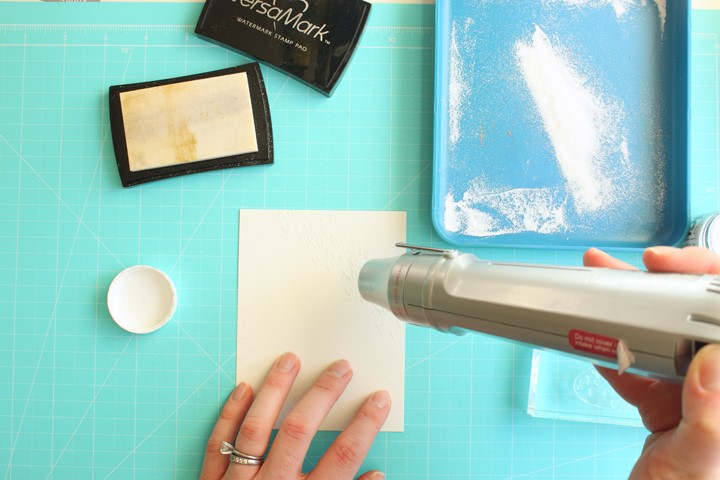
I continued these embossed, diagonal lines of the stamped image until the entire card was covered, being sure to run off the edge of the paper.

EllesStudio-CardTutorial-MeghannAndrew07

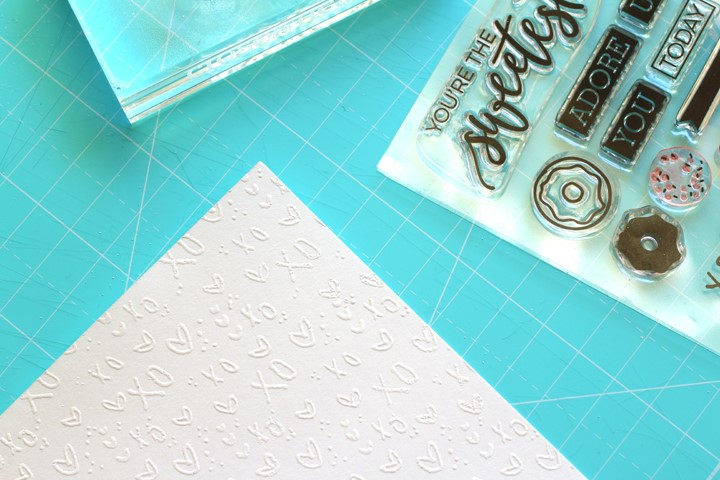
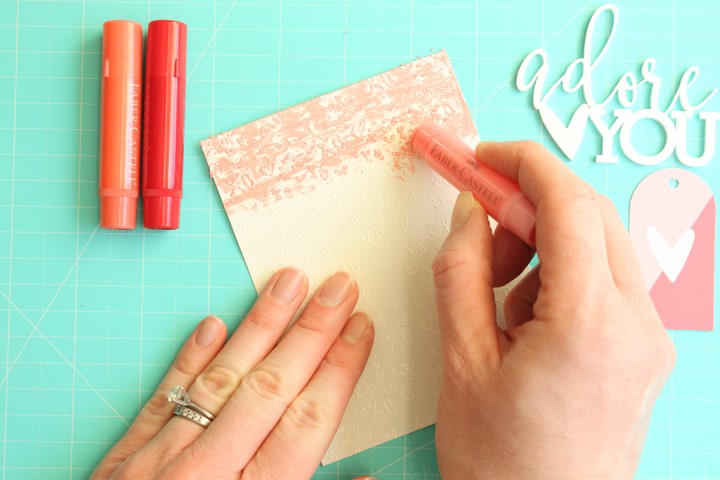
Next, I gathered Gelatos, and scrap paper. I knew I wanted to create an ombre effect on my background, so I chose three colors that worked best together.

EllesStudio-CardTutorial-MeghannAndrew08

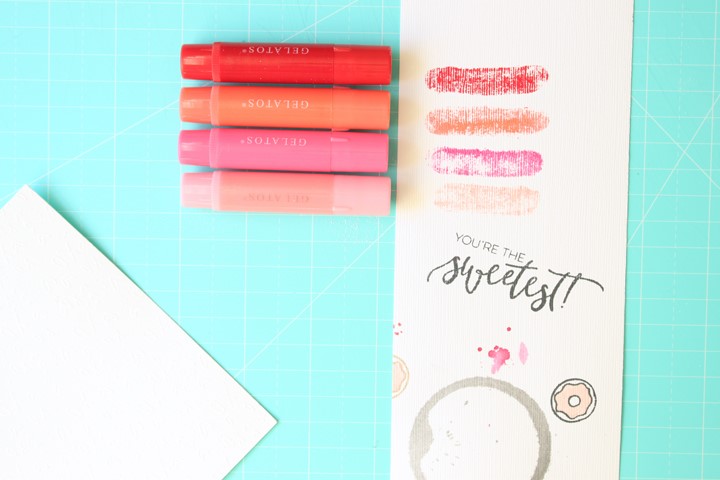
I began by using the lightest pink at the top of the card. Gelatos have a similar texture to crayons, so to get in between the raised, embossed images I colored with the Gelato at an angle.

EllesStudio-CardTutorial-MeghannAndrew09

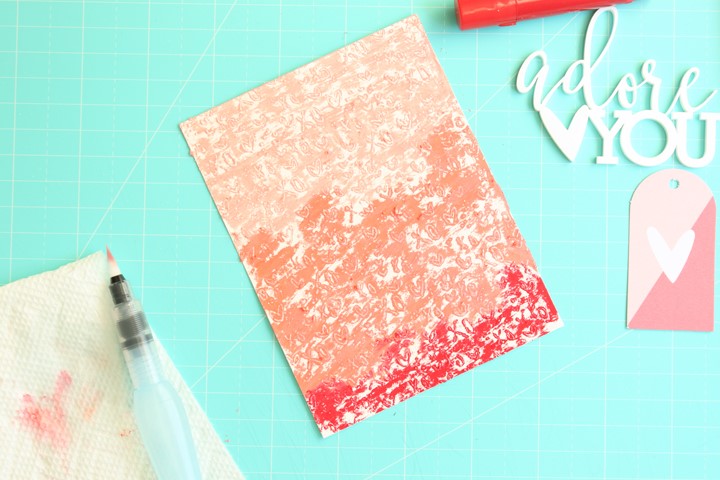
I continued with the two other colors, being sure that I didn’t color in a straight line across the page, so it would be easier to blend the colors together to create seamless color transitions.

EllesStudio-CardTutorial-MeghannAndrew010

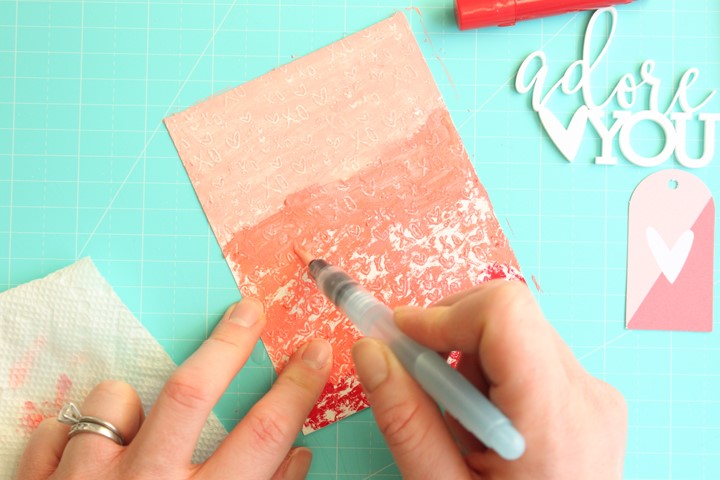
Next, I grabbed a water brush pen, but you could also use a paintbrush and a cup of water. Moving the brush in a horizontal direction across the page, I blended the color into the paper, cleaning the pen on a piece of paper towel whenever the Gelato got too built-up on the brush tip. I did a full pass across the paper, allowed it to dry a bit, then went back and blended the color transitions a bit more before allowing the paper to dry fully.

EllesStudio-CardTutorial-MeghannAndrew011

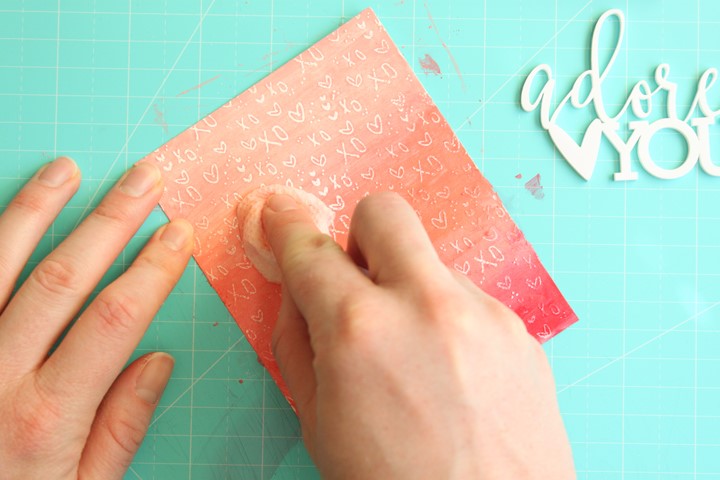
After the paper was dry, I took a dry piece of paper towel and began to wipe off the paper, which rubbed the Gelato colors off of the embossed image.

EllesStudio-CardTutorial-MeghannAndrew012

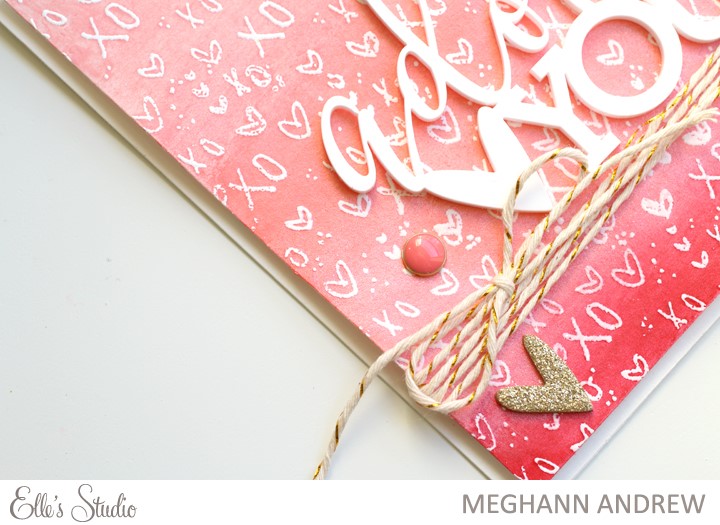
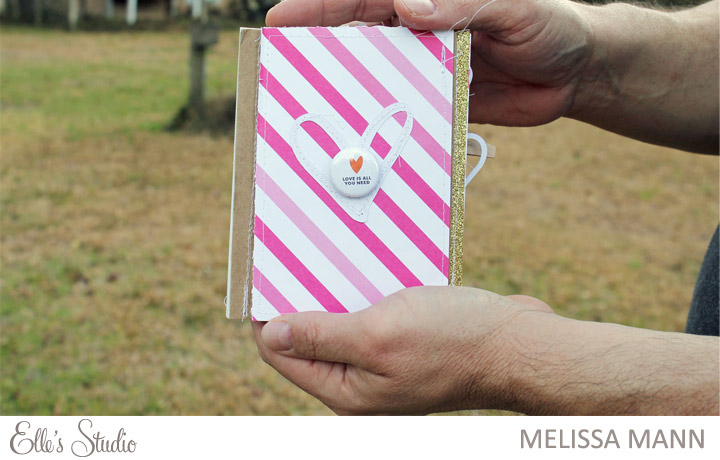
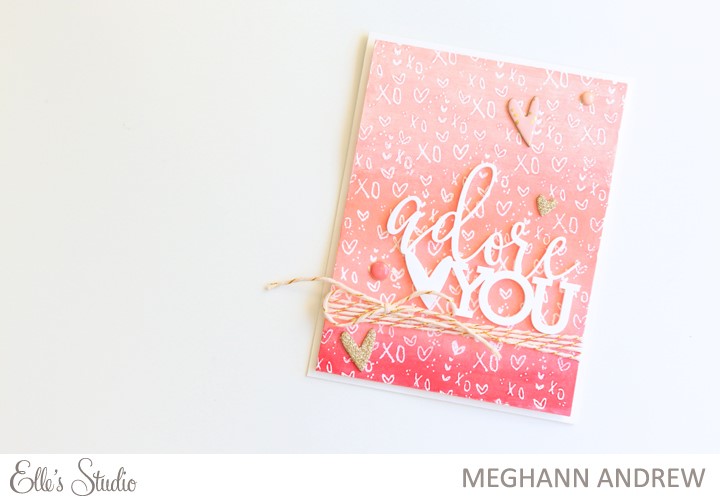
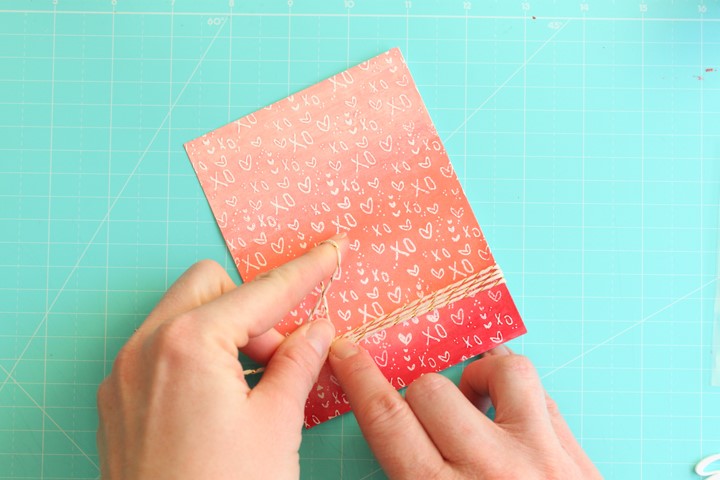
After the entire background was rubbed, I tied some baker’s twine three times around the width of the card and tied into a bow.

EllesStudio-CardTutorial-MeghannAndrew013

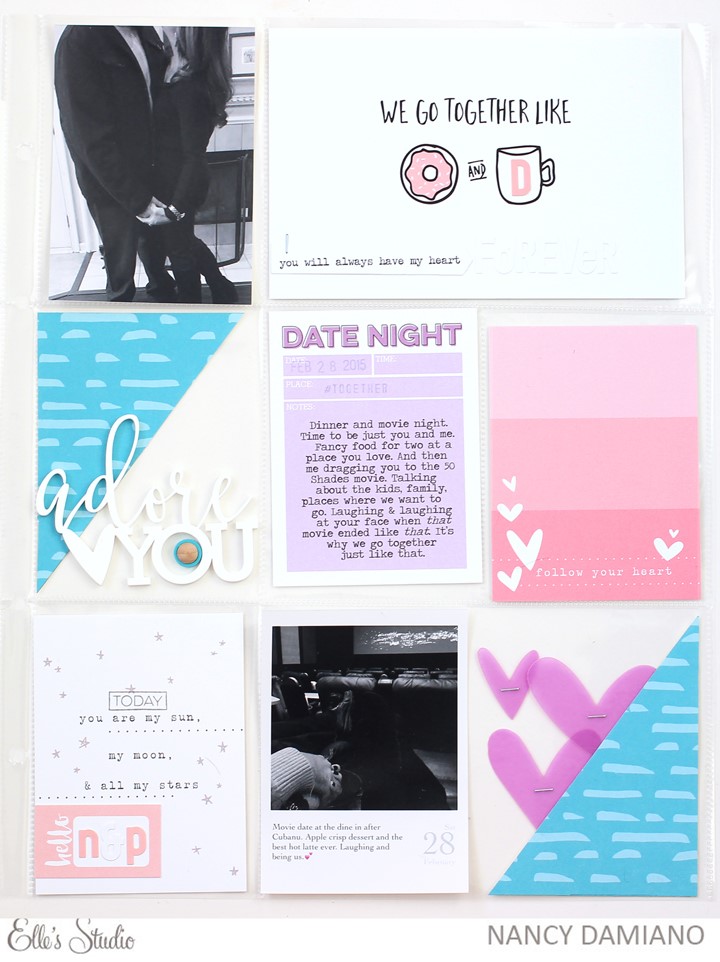
The perfect touch to the card front was the acrylic sentiment “Adore You” that I adhered with small glue dot adhesive. I then embellished with heart chipboard and brads in the same three colors as I used on the background to continue the ombre effect.

EllesStudio-CardTutorial-MeghannAndrew014

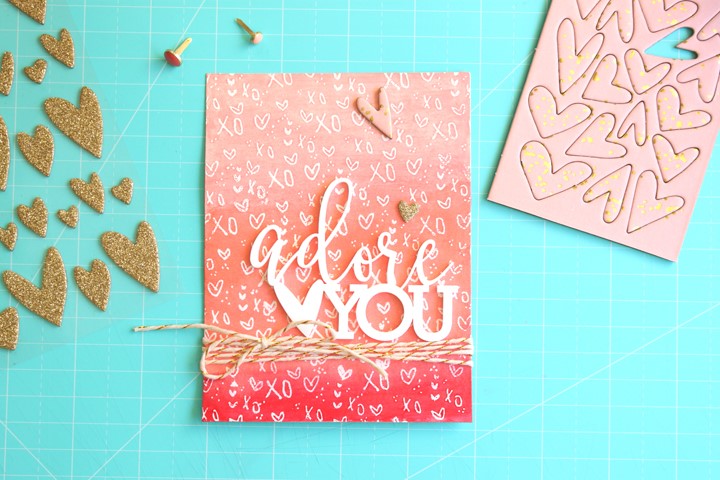
To finish, I adhered the paper to a 4-1/4”  x 5-1/2” folded card using dimensional adhesive. I hope you will give this technique a try, using the lovely background stamp from the “You’re the Sweetest” stamp set!

EllesStudio-CardTutorial-MeghannAndrew015