Little Moments Layout with Allie Stewart

Hello there! It’s Allie here today, sharing a layout using the gorgeous new Little Moments collection that will be available in the shop on March 10th, along with the exclusive Elle’s Studio March kit + extras! This is already one of my all time favorite collections! The colors and patterns make heart so happy, and it’s even more stunning in person. My goal was to create a layout using as many patterns as possible

EllesStudio-AllieStewart-LittleMoments
To create this layout, I used the 6″x6″ paper pad to punch out 1″ circles. I used nearly all the patterns! I wanted it to look like confetti, so I layered the circles heavily at the top, and spread them out as they went down the page. I used the Little Moments stamp to add hearts to some of the circles. You can never have too many hearts!

EllesStudio-AllieStewart-LittleMoments2
For my title and layering, I wanted to use that teal journaling card and the acrylic title. After I had those placed, I added my photos and layers. I usually choose my photo last when it comes to my layouts, and this time was no exception. I used the snippets, cut outs, and die-cut back for my embellishments, and completed the look with a few of the wood pieces. I can’t get enough of those!

EllesStudio-AllieStewart-LittleMoments1
This is one of my all time favorite layouts because Little Moments is just so darn pretty.  I can’t wait to see what YOU create with it! Don’t forget to mark your calendar/planner for March 10th when it’s available in the Elle’s Studio shop, along with the March kit + extras! It’s going to be a BIG day!
Elles-Studio-LittleMoments

Layout Process Video with Jen Schow

EllesStudio-JenSchow-LittleMomentsHello! Jen here sharing a layout that uses a mix of bits from the February kit as well as a bunch of new products from the Little Moments collection. You know how when you get pretty new things, you just want to use them all? That’s how I felt about these gorgeous Little Moments goodies, so I layered up a bunch on this page about my daughter, who just turned ten.

EllesStudio-JenSchow-LittleMoments2 EllesStudio-JenSchow-LittleMoments3
One of my favorite things about the layout is the “Currently” list on the left side. The Jonah labels are perfect to cut up and use individually, but I love the impact of using the entire strip. I stamped a little line from The Story Of stamp set on each one, wrote a header on the line, and journaled beneath it. You can watch the whole layout come together in the process video I created:

Products used: February 2016 kit, Everyday Stamp, The Best Wood Veneer, Always Printables2016 Calendar Cards, Little Moments 6×6 Paper Stack, Little Moments 12×12 Papers, Little Moments Bits and Pieces, Little Moments Wood Veneers, Black Letters and Number Stickers, Jonah Labels, Jonah Stamp Set, and The Story Of Stamp Set.

Thanks for joining us today!

Printable Highlight with Alissa Fast

Good Morning, All! Alissa here today and I’ve got the Always Printables on show for you all. I always love the printable sheet Elle creates each month to go along with the monthly kit. They’re a great way to stretch your kit to scrap lots and lots of fun projects. Today I’ve got a 6×12 pocket page to share.

EllesStudio-AlissaFast01
I love pocket pages to tell my stories and Elle’s kits and printables are perfect for pocket pages.

EllesStudio-AlissaFast02
I used a 4×6 card from the February kit for the title card, the new awesome black alphas from the Little Moments collection (coming soon!) and the tiny green hearts are from the Always printable sheet.

EllesStudio-AlissaFast03
Another card from the February kit and a banner from the printable sheet for the journaling.

EllesStudio-AlissaFast04
I love fussy cutting out elements from the printable cards. The little hearts are from a bigger 1×1 square on the sheet.

EllesStudio-AlissaFast05
Lots more fussy cutting from the cards on the printable sheet. Oh, and the best part is you have as many as you want, once you purchase the printable,  because you can print as many as you need to create the projects that you love!

Now, it’s your turn to create something awesome with this month’s printable sheet. I can’t wait to see!

Have a great day!

In Your Planner with Maggie Massey

Hey everybody! Maggie here with a peek into my planner and how I’m using the February Kit (and a few extras) to decorate it!

I use my planner mostly as a way to document our everyday, complete with photographs and embellishments…so the “PHOTOGRAPHS” card from the February Kit was a wonderful way to introduce some of the photos my daughter had from her winter church retreat.

EllesStudio-MaggieMassey-InYourPlanner-1
A few “bigger” things happened this week in January, so I used this days-of-the-week card from the February Kit (decorated with a few stamps) to highlight some of the more important events…(don’t look too closely – even our bigger weeks are pretty boring during the winter…).

EllesStudio-MaggieMassey-InYourPlanner-2
For the start of February I did a couple of fun things…

My planner comes with photo pockets for the beginning of each month…so I cut down 2 of the 3×4 cards from the February Kit (so they would fit into the 3×3 pockets), and added one of my favorite recent photos.

EllesStudio-MaggieMassey-InYourPlanner-3
This “FEB” card is probably my very favorite from this month’s kit. I added a bit of color to it with a water brush and some watercolors…

EllesStudio-MaggieMassey-InYourPlanner-4
I printed out my photo to fit onto this little “_/10” card that is also from the February Kit and then I sewed on the little heart pennant…

EllesStudio-MaggieMassey-InYourPlanner-5
I enlarged the green color block card (from the Always printables) and printed it out for my monthly divider. The “documented” stamp (my favorite from the Everyday Stamp Set!) and a few word stickers complete this page…

EllesStudio-MaggieMassey-InYourPlanner-6EllesStudio-MaggieMassey-InYourPlanner-7
At the beginning of each month I like to add a few “current” details. The “LIFE” card (from Always printables), a few stamps and the “THIS HAPPENED” card from the February Kit (to be filled out at the end of the month) make this page so bright and happy!

EllesStudio-MaggieMassey-InYourPlanner-8EllesStudio-MaggieMassey-InYourPlanner-9
The 14th is decorated perfectly with these darling kit embellishments…

EllesStudio-MaggieMassey-InYourPlanner-10
To help separate each week in the month, I used the Tab cut-file and the Print & Cut feature of my Silhouette, to create tabs in kit-coordinating colors. After the tabs were cut I added “week 1, week 2, etc.” to the tabs with white stickers, and because I love to add outlines to stuff, I inlined my alphas with a journaling pen!

EllesStudio-MaggieMassey-InYourPlanner-11I LOVE using my kits to help decorate my planner…it’s really a great way to use up bits and pieces that may not make it onto scrap or pocket pages. Thank you so much for taking a look and don’t forget to share your projects with us in our Member Gallery or on Instagram with the hashtag #ellesstudio!

Project Life with special guest Nicole Harper

Hello there! Here at Elle’s Studio, we are excited to bring you the most amazing inspiration from our 2016 design team using our collections, exclusive kits and add-ons. Last fall, we also introduced Exclusive Kit Mini Courses to give you even more projects from well-loved guests across the industry. But, for 2016 we listened to our fans, and this year, we have decided to give you that same inspiration in guest blog posts throughout the month. I am so happy to introduce our first guest for 2016, one of our favorite designers, Nicole Harper. Let’s see what Nicole has to share with us today!

Hello Elle’s Studio fans! Having long been a fan of Elle’s designs, I was excited to return as a guest for this month! Today I’m sharing a pocket page layout using only the February exclusive kit and add-ons. WOW! This month’s offerings were certainly packed with fun elements! Let’s have a look.

EllesStudio-NicoleHarper-01
I’ve been primarily using pocket pages to document my family’s story for about three years now. It is the perfect fit for us- we are all constantly on the go, sharing photos and moments via texts while apart. In other words, we aren’t experiencing what most folks would consider ‘milestones’ that traditionally might be scrapbooked (for example: the first day of school, going to the zoo, etc). Our daughter is nearly 17, and so many of those moments have passed, but there are still so many that I want to remember, and pocket pages work for me!

This layout shows three very random photos. The large 4” x 6” selfie of my daughter is one that she sent to me on her way to rehearsal. If you have a teenage daughter I would venture to say that you may have an abundance of photos like this as well. Even if your family doesn’t send them to you, ASK for them! Mine are always surprised when they see photos that they thought weren’t ‘anything special’ inside my albums. I answered her text back with a selfie of my own since we both happened to be in our cars, which made us laugh. It was a simple moment, but again, important in our everyday story.

EllesStudio-NicoleHarper-02
Stamps are an addiction of mine, and I LOVE stamping directly onto photos. I have a few colors of Brilliance ink (by Tsukineko) and I stamp on photos all the time! It dries nearly instantly, and adds a fun element to the photo. I loved the clean, simple fonts used in the Everyday stamp set, and paired a couple of the sayings with pale pink embossing powder for a subtle addition to the plain ‘documented’ tag.

EllesStudio-NicoleHarper-03
I have found through teaching across the U.S. that many folks kind of ‘freeze’ when it comes to pocket documenting. They love the look but feel that it isn’t ‘organized’ enough for them to jump in. I follow the same basic design approach to my pocket pages as I do my traditional pages: I utilize the visual triangle and repeat common elements to unify the page. For example, I outline the edges of my journal cards with a fine black marker (I always go around twice, this way it doesn’t matter that my lines aren’t perfect!) and edge my photos with acrylic paint. It ties things together: When you see a white border with color around it, you know it’s a photo on every single pocket page I make. Same for the journal cards! Common techniques repeated bring cohesiveness to your page even when the colors don’t necessarily ‘match’ or the topics are all different.

EllesStudio-NicoleHarper-04

EllesStudio-NicoleHarper-trythis
Often times, I think that maybe people ‘overthink’ things when it comes to pocket page documenting. I always stress to those I am teaching: not every pocket has to be a Picasso and Shakespeare doesn’t have to have made an appearance! Meaning: If I love a design, it’s ok to just slip it into a pocket and let it be. On the 4” x 6” heart pattern tag I simply added a few small tags from the kit, a wood veneer circle from the The Best wood veneers and considered it done. Sometimes journaling is as simple as a date and place, but pockets can also be a GREAT way to get yourself more comfortable with your story telling! If journaling isn’t your strong suit, it is WAY less intimidating to jot a few thoughts down onto a 3” x 4” card than it is a 12” x 12” double-page layout. And if you don’t like it? Toss that card and start over again.

Thank you for allowing me to share a few of my fundamentals for pocket pages! I will be back later this month with a project using the brand new Little Moments collection. It is even more lovely in person. I can’t wait!

EllesStudio-NicoleHarperNicole has been playing with paper since elementary school, when shopping for new supplies quickened her heart a beat. She spends her crafty time creating layouts and filling up pocket pages, but loves hunting for vintage finds whenever she can. She lives in Northeast Ohio with her husband Mike, and their daughter Allison … and is a proud theater mama, medical professional and trusted friend. She wears her heart on her sleeve with her journaling and loves to share the everyday moments that mean the most. You can find Nicole’s teaching schedule here and follow her on Instagram

Cut File Highlight by Gina Lideros

EllesStudio-GinaLideros-LoveYouLayout01
Hi everyone, Gina here! I really loved the heart in this month’s cut file set. I placed it into a new document in my Silhouette Studio software and repeated the heart several times, by using the copy + paste option.  I started by using the heart cut file at the original size and then increased it, each time I duplicated a new line on my page.

EllesStudio-GinaLideros-LoveYouLayout02
I loaded white cardstock into my machine and cut all of my heart pieces.

EllesStudio-GinaLideros-LoveYouLayout03
Next, I backed heart cut file pieces with different patterned papers from the Joyful and Thankful collections. I arranged cut file hearts with patterned papers across a white cardstock page. Then I used a mini stapler to staple many of the embellishments down.  Next, I added bits and pieces from the February kit + extras across my page.  Next, I splashed white paint and black ink across the page.  I then printed a small wallet sized black and white photo and adhered it to the page.

EllesStudio-GinaLideros-LoveYouLayout04
I finished off my design  by using a sewing machine and white thread to sew down several of the embellishments throughout the page.

EllesStudio-GinaLideros-LoveYouLayout05
We hope this inspires you to put your cut files to use! And, don’t forget to share your projects with us in our Member Gallery or on Instagram with the hashtag #ellesstudio!

Card Tutorial by Daniela Dobson

Love-you-by-Daniela-Dobson
Welcome to the Elle’s Studio blog post today. It’s Daniela here to sharing a quick and easy card tutorial using the February kit and stamp.

Love-you-step-1-by-Daniela-Dobson1. Cut a piece of white cardstock 4 x 5 1/4 inches. Add three different colors of mist to the cardstock. Note: You can try this technique with different mediums: watercolor, acrylic paint, colored pencils, markers, distress inks, etc.

Love-you-step-2-by-Daniela-Dobson
2. Stamp half circle from Everyday Stamp with black ink.

Love-you-step-4-by-Daniela-Dobson
3. Mat the cardstock with patterned paper. Cut a strip from one of the cards from the kit and adhere it to the bottom. Cut the labels apart and adhere them to the card. Add pink heart, Feb. 14 circle, and buttons. Adhere everything to a white cardstock card base.

Love-you-step-5-by-Daniela-Dobson
4. Add twine and tie into a bow to complete it!

Love-you-close-by-Daniela-DobsonProducts used: February kit, Everyday Stamp, and Cienna Paper collection

We hope this card inspires you to pull out your stash and combine some mixed media with your scrapbooking! Don’t forget to share your projects with us in our Member Gallery or on Instagram with the hashtag #ellesstudio!

Cards with the Everyday Stamp Set by Jamie Leija

1602Feb-BestCards10ONLINE
I really loved the Everyday stamp set mainly because I’m obsessed with circles. They’re just so versatile! I also loved all of the sentiments that so nicely fit in that center stripe.

The jumping off point for the cards was the circle paired with “The Best” sentiment. It made me think of a blue ribbon prize. So that’s what I made!

1602Feb-BestCards02ONLINE
I stamped the circle in blue, stamped over it with lines and added “The Best” in black ink. Then I used my 1.5in. circle punch to cut it out. It left a nice little border. I cut down some scraps of patterned paper and adhered them to the back which imitates ribbon. I adhered them down on top of the label and used foam adhesive to give it a bit more dimension.

1602Feb-BestCards01ONLINE
I also knew I wanted to make these even more dimensional. So I used my circle punch to create a little “window” on the front of my card. I stamped another circle through that “window” and onto the inside of my card. I like the little detail it adds! And, part of the inside of the card is now decorated and pretty.

1602Feb-BestCards04ONLINE

I finished the cards with more stamping: the scallop boarder on the top paired with a patterned paper punched circle and my favorite “scale of __ to 10” stamp from the set. I also cut a triangle from scraps to anchor and balance the design.

The whole card was made with scrap patterned paper and stamps, so it was quick and easy to replicate over again. The colors changed slightly but that bright blue was consistent.

1602Feb-BestCards03ONLINE
No envelope left behind is one of my mottos. I love to decorate the envelopes that go along with the cards. I imagine it’s fun when these arrive looking all festive. I want people to want to tear into them when they see them in the mailbox! I used the circle stamp and the “Important” sentiment, plus a bit of silver mist.

These were so fun to make! And I’m excited to send them off to friends and family.

We’d love to see how you use your stamps on your projects! Share them with us in our Member Gallery or on Instagram with the hashtag #ellesstudio!

Sketch Thursday

EllesStudio-SketchThursday-2-11-16
Happy Sketch Thursday, everyone! Today we are mixing it up with a card sketch inspired by Maggie’s fun “to the moon and back” card! We wanted to show how you could take a sketch and use it for any type of project (card, layout, pocket pages, etc.) so we asked Kay to play along with the sketch and show how you can use this card sketch to inspire a layout! How fun is that?!

Forever
Kay used our Cienna collection to create this layout, above, and stuck pretty close to the card sketch. You can see the border around the layout, along with the tag and layers, and hearts!

The details on this layout are amazing – here are a couple close up photos:

Forever1forever2Forever3Products used: Cienna Paper Collection, and Cienna Bits and Pieces.

Now it’s your turn to create something inspired by this week’s sketch – it can be any type of project, too! For a chance to win a $10 gift certificate to our shop, create any type of project inspired by today’s sketch, upload it to the Member gallery, and leave a comment here with the link by March 2nd. A random winner will be selected and posted with the next sketch on March 3rd.

4289_4100_14545939855873_bigAnd, congrats to our randomly selected winner this week!  Marian created this “Enjoy Life” layout from our previous sketch! Please email us at info@shopellesstudio.com to claim your prize!

Our February Kit + Extras are here!

EllesStudio-FebruaryKit01
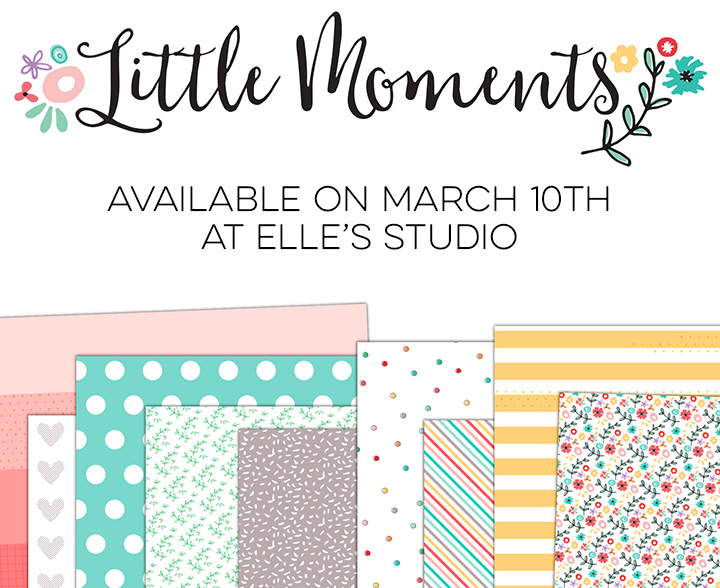
We are excited to kick off this month with a new kit + add-ons! Our February exclusive kit is full of tags, exclusively designed by us, to help you share your stories in your scrapbooking layouts, Project Life albums, cards, planners, and more! When designing our kits, we love to think of tags that can be used as prompts to help make it easier for you to get your story started and documented, and this kit is full of that and more!

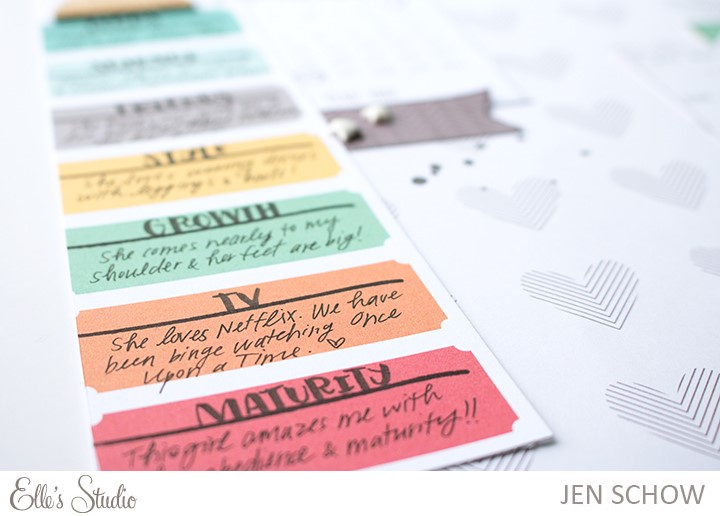
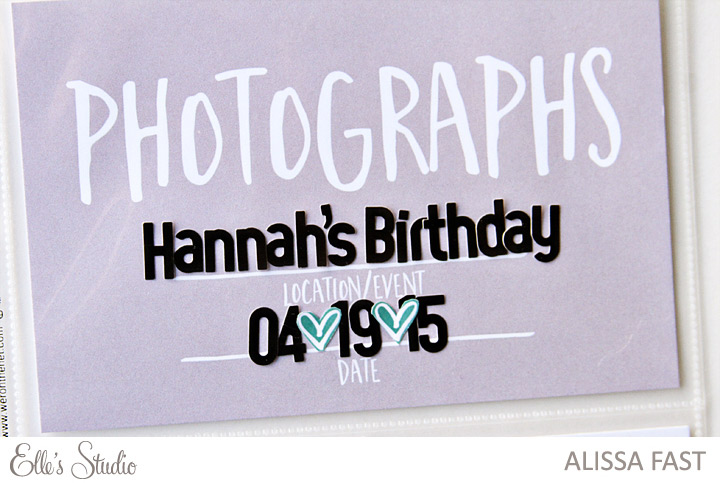
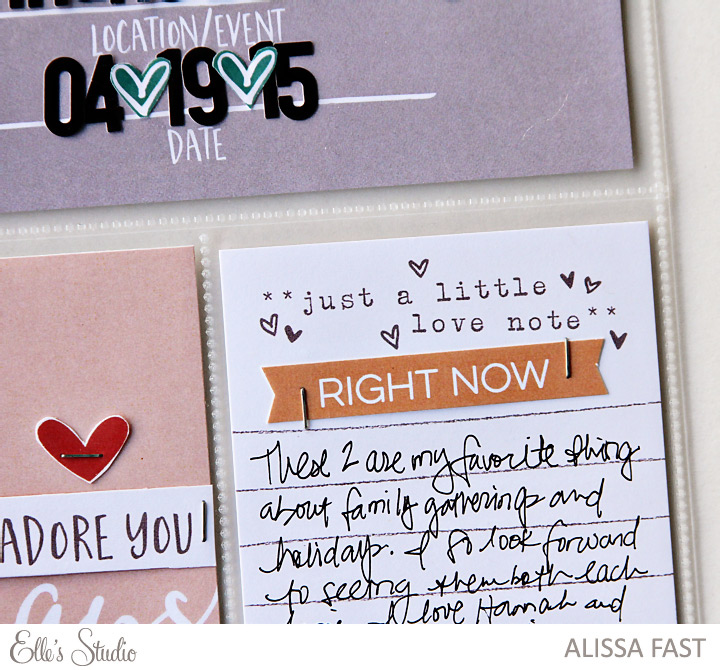
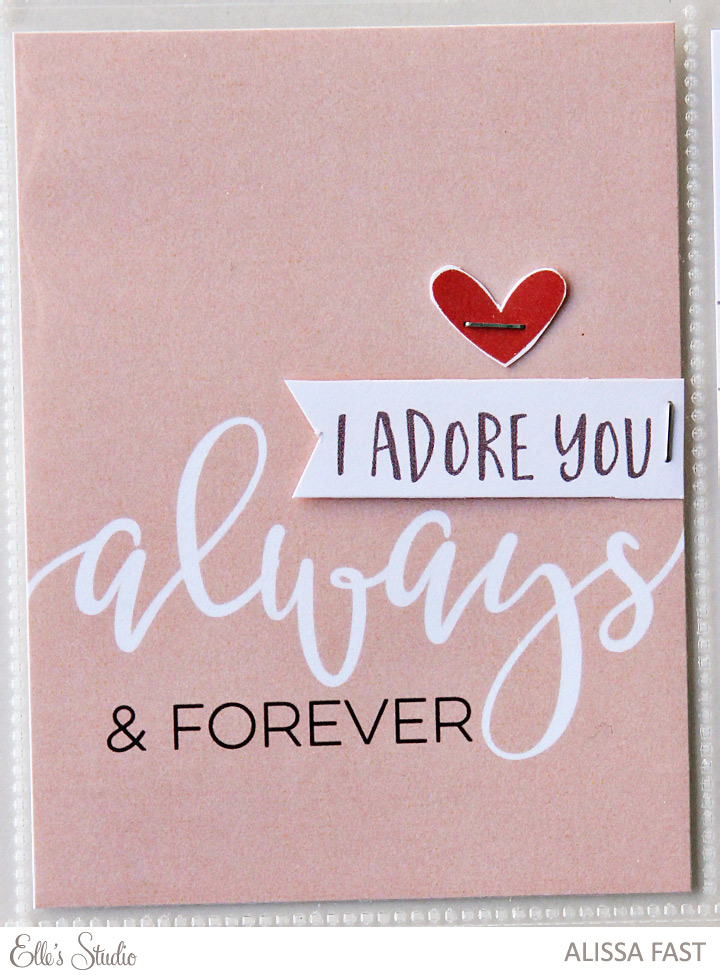
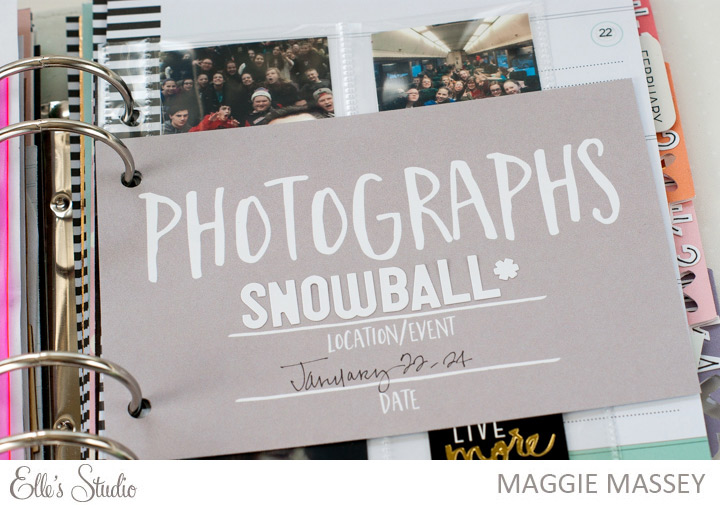
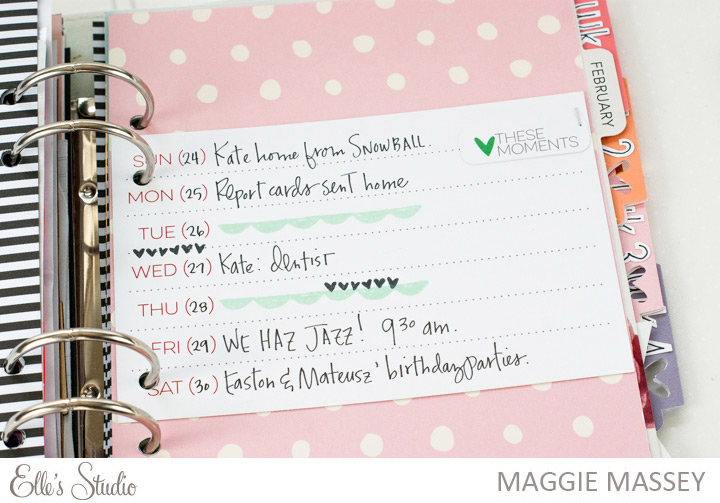
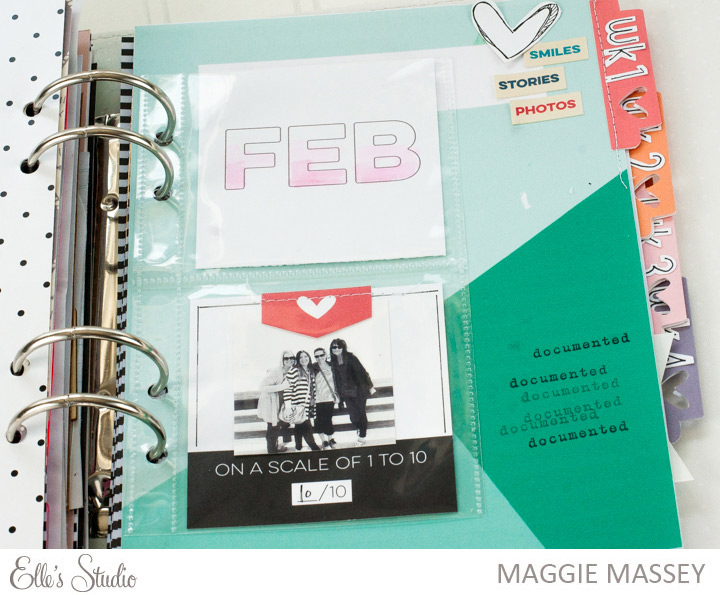
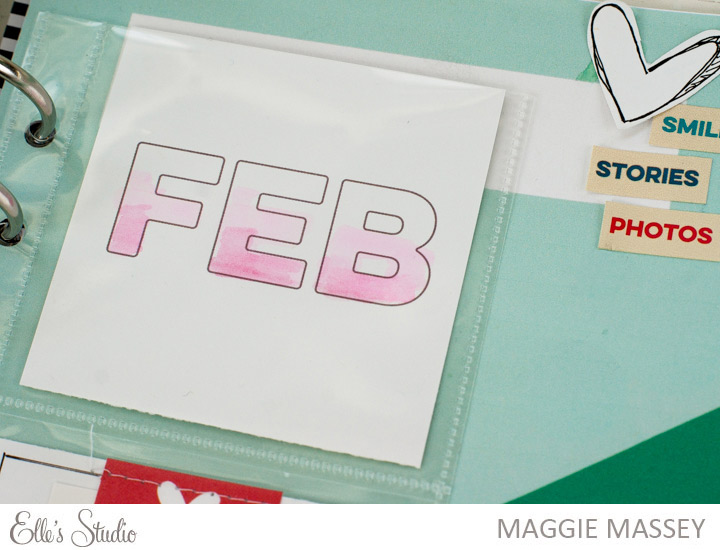
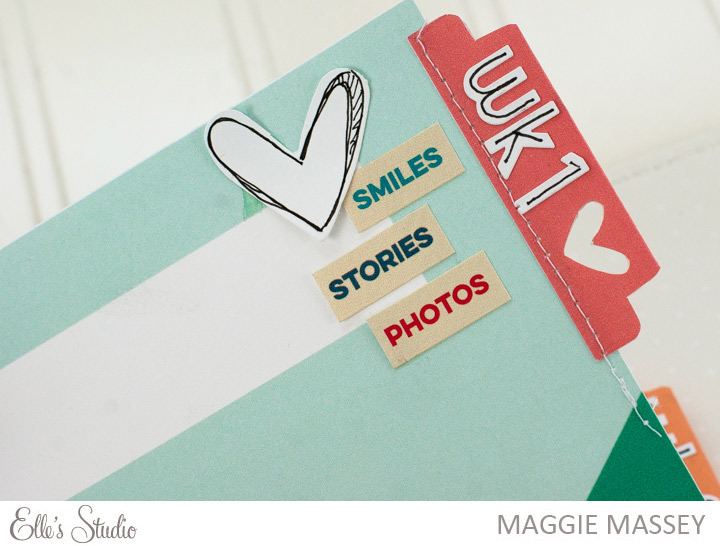
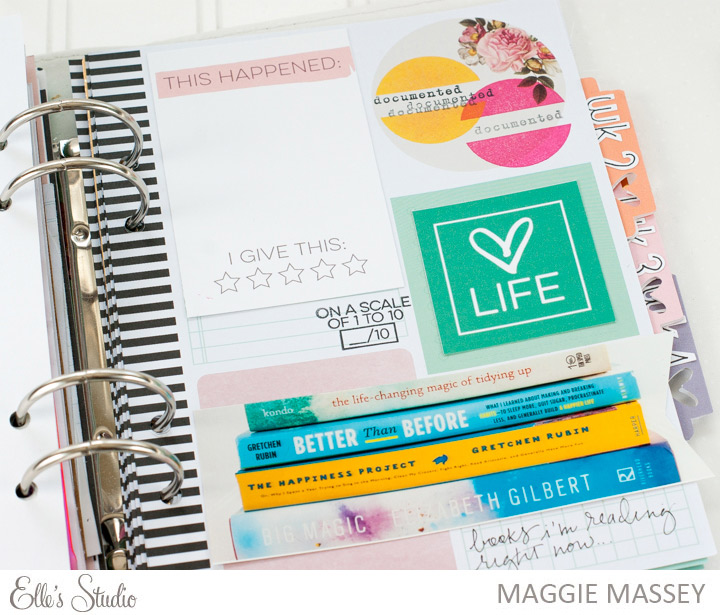
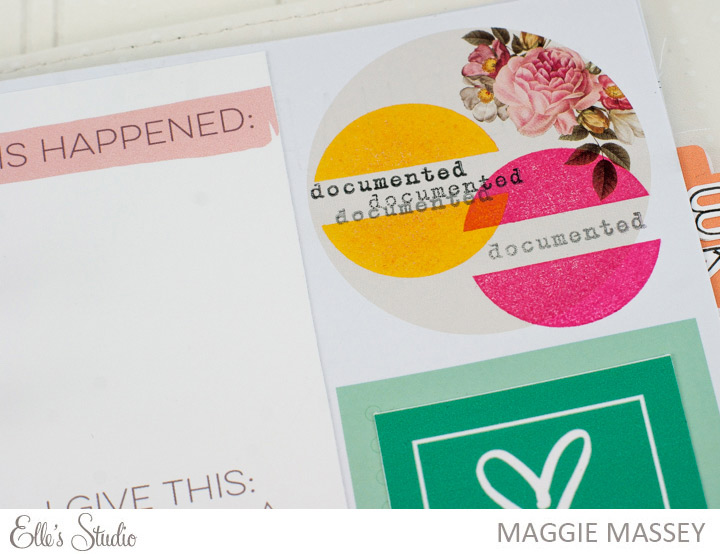
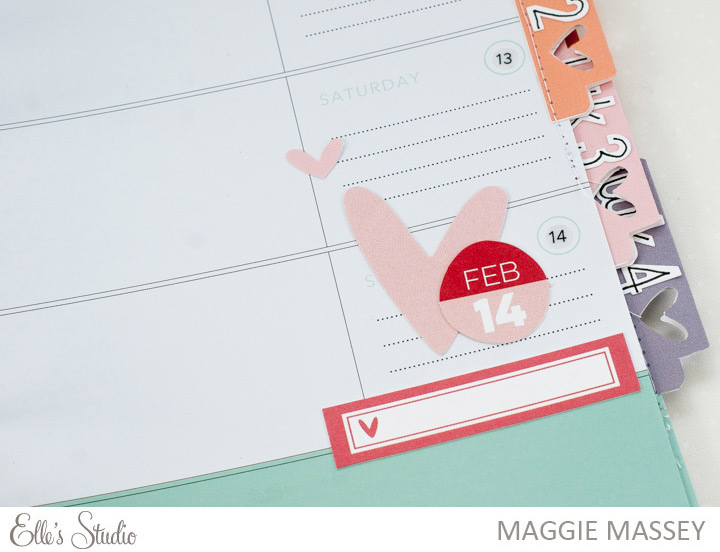
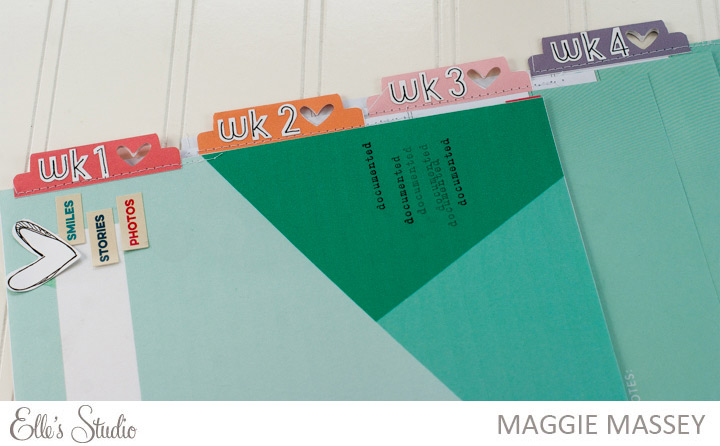
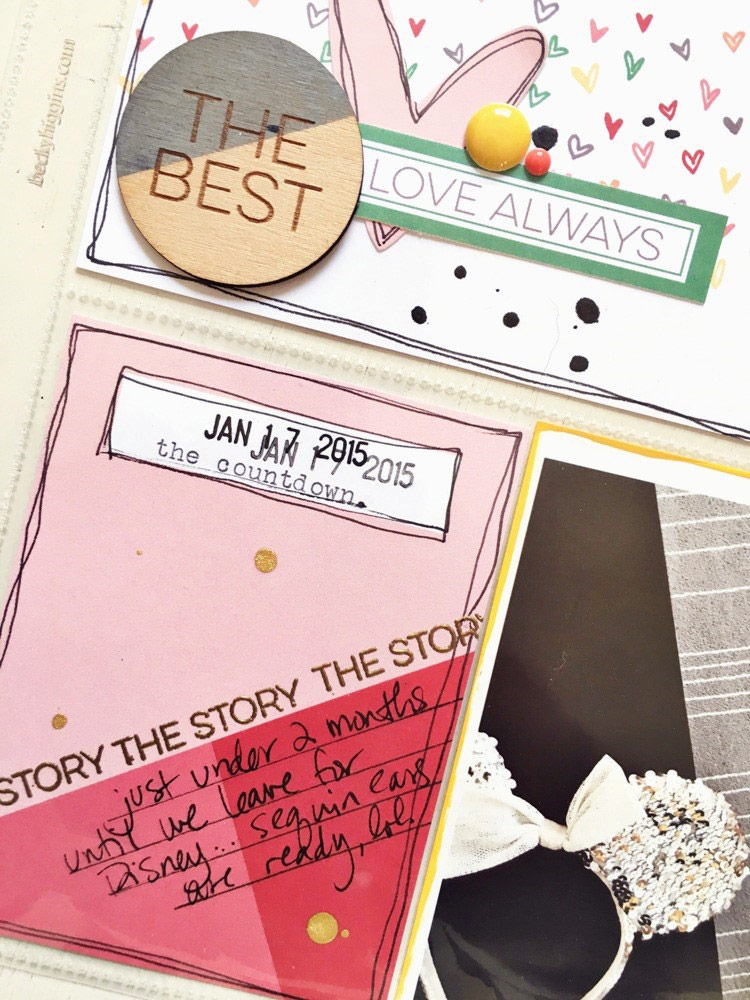
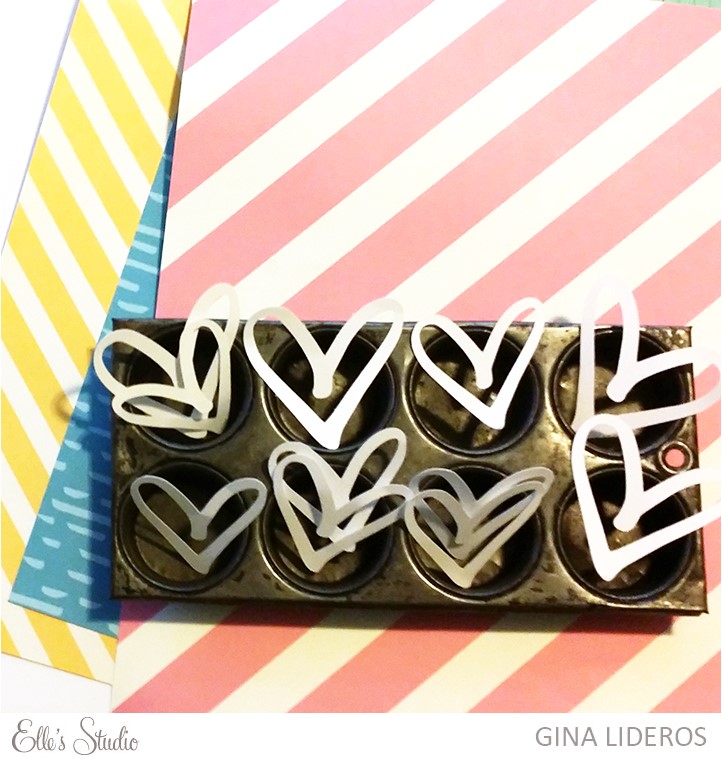
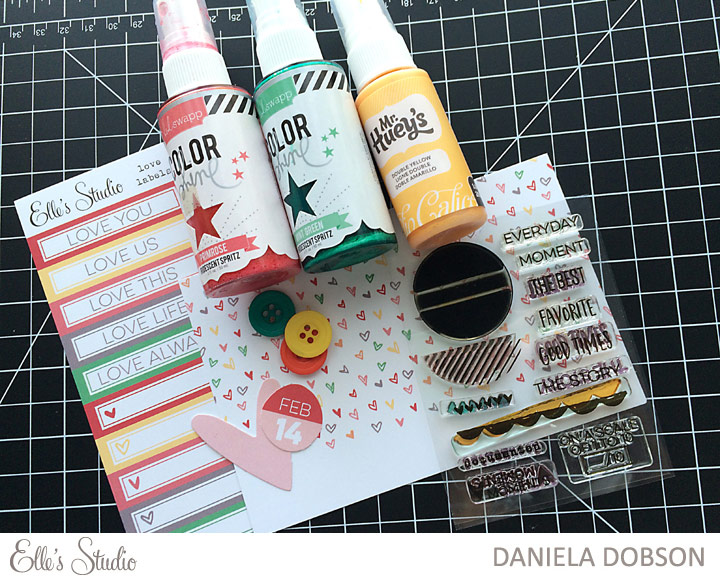
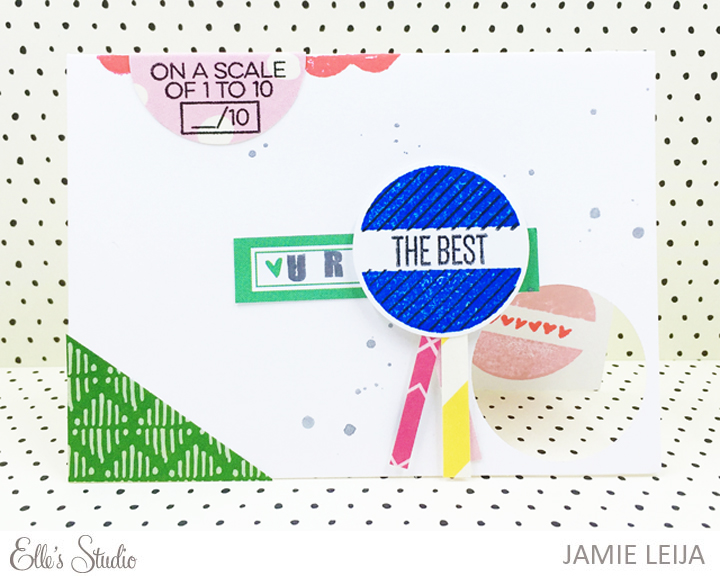
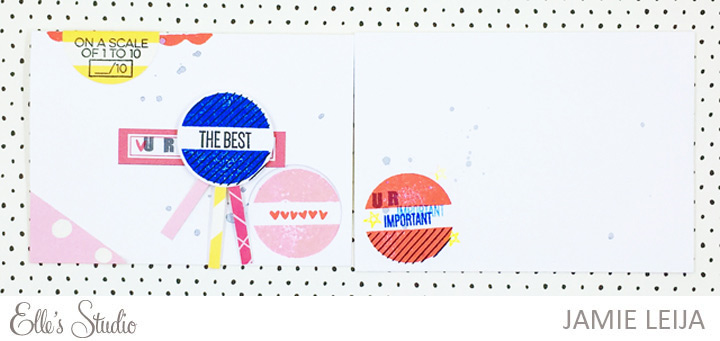
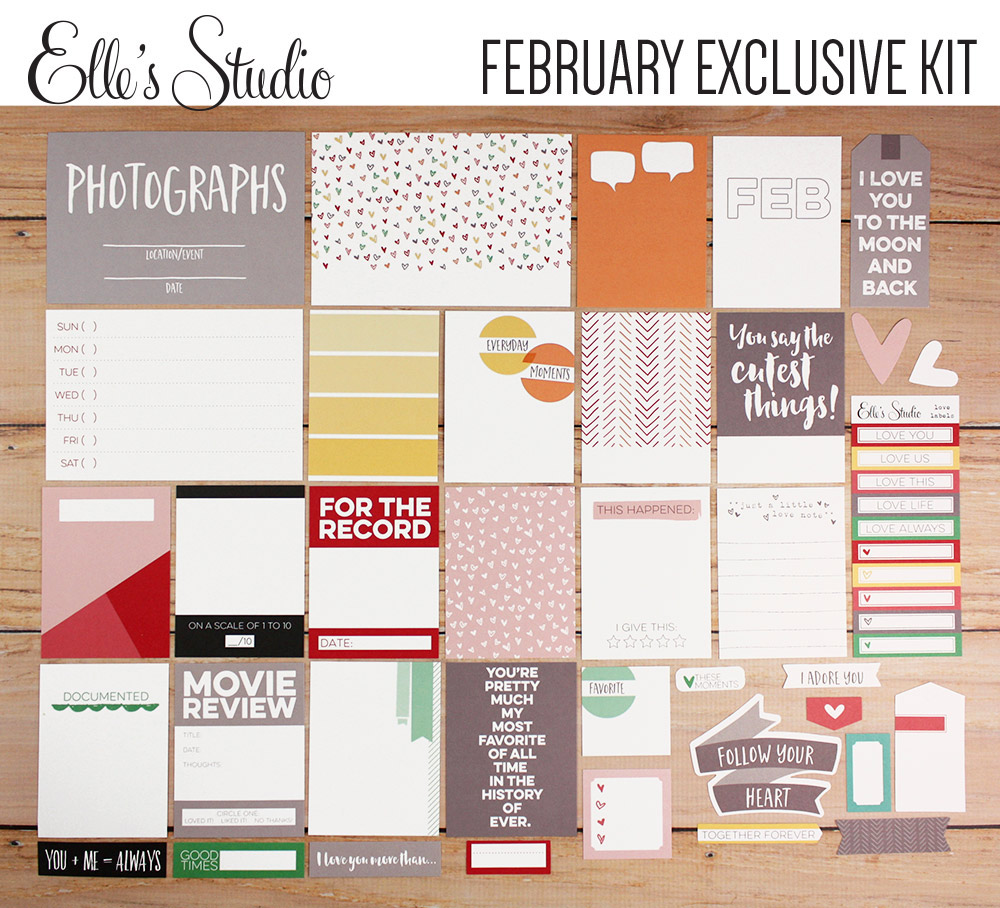
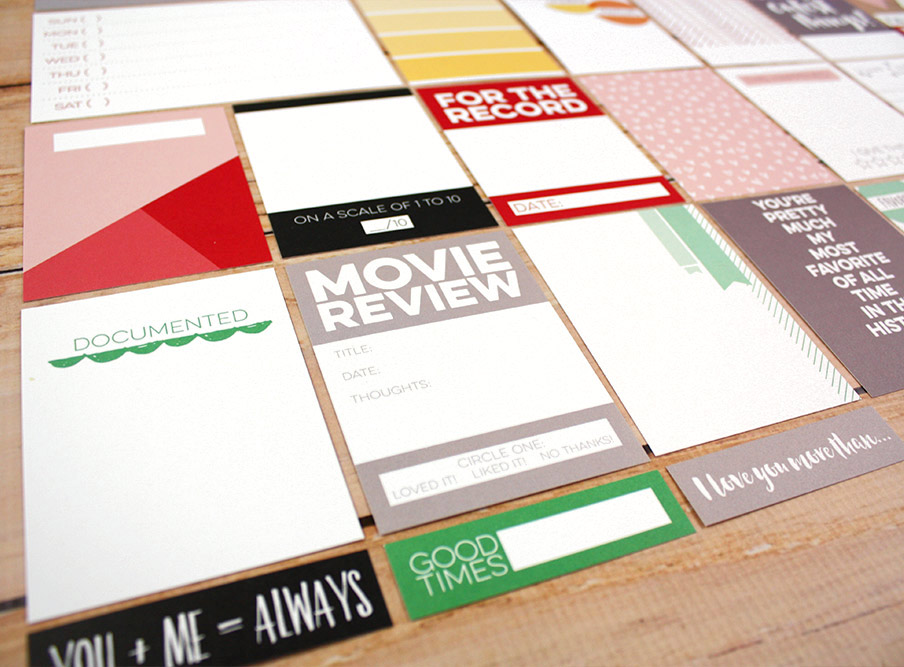
February’s kit, shown above and below, is packed full of fun journaling, die cuts, and embellishment tags. And, in case you missed our BIG announcement last month – We are excited to share that our kits have grown even BIGGER and now include at least 16 3 x 4 inch tags to help you get your story documented! We worked really hard behind-the-scenes to be able to increase the amount of 3 x 4 tags you will receive each month, without increasing the price of each kit! Our kits now give you even more options for capturing and documenting your stories.

EllesStudio-FebruaryKit-SNEAKPEEK-01
Just a reminder that our kits are limited and once they sell out we will not be restocking. Look for a new kit each month on the 10th at 8:00 am PST, and as a special bonus to celebrate launch day, kits will be on sale for $9.99 for today only, regular price after that will be $11.99. These kits can ship first class: shipping for USA residents will start around $2 and goes up from there, depending on the weight of what is in your cart. For overseas, it will run about $8+ depending on your location.

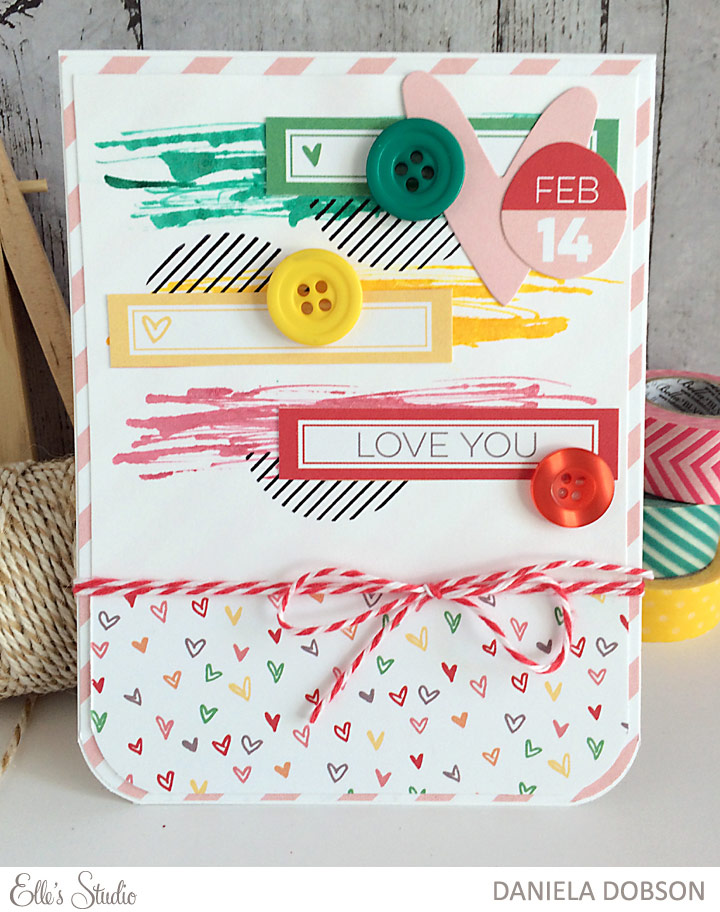
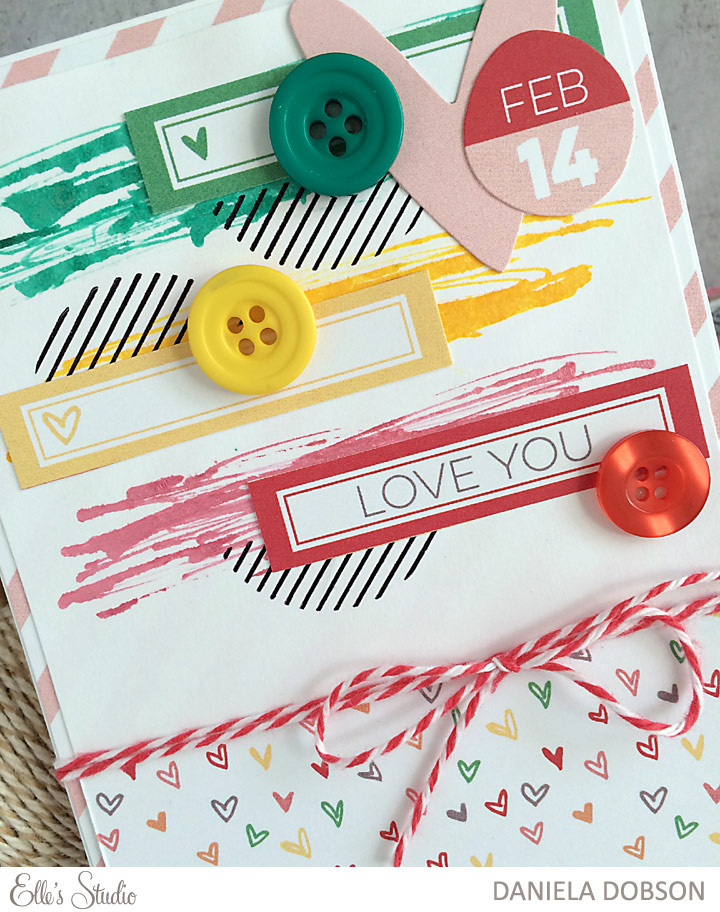
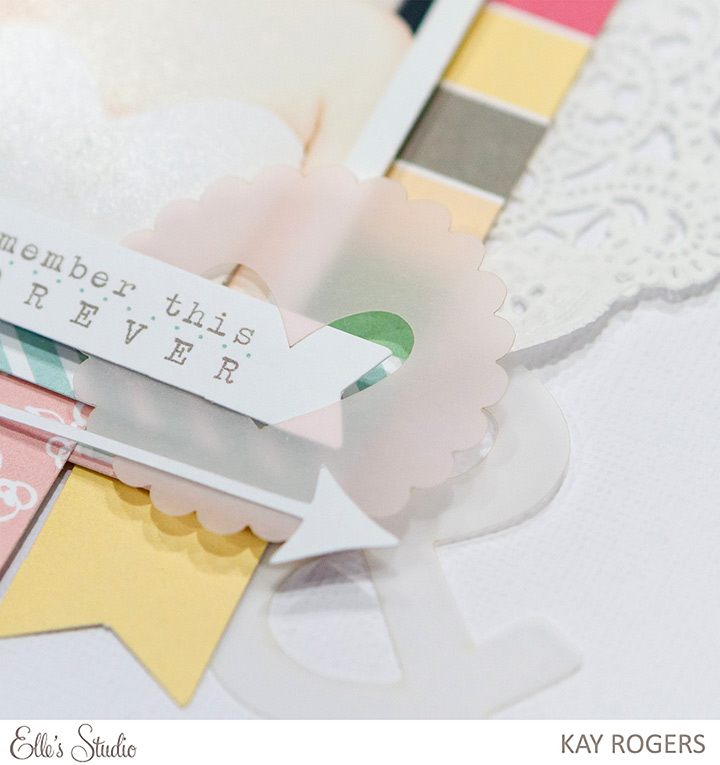
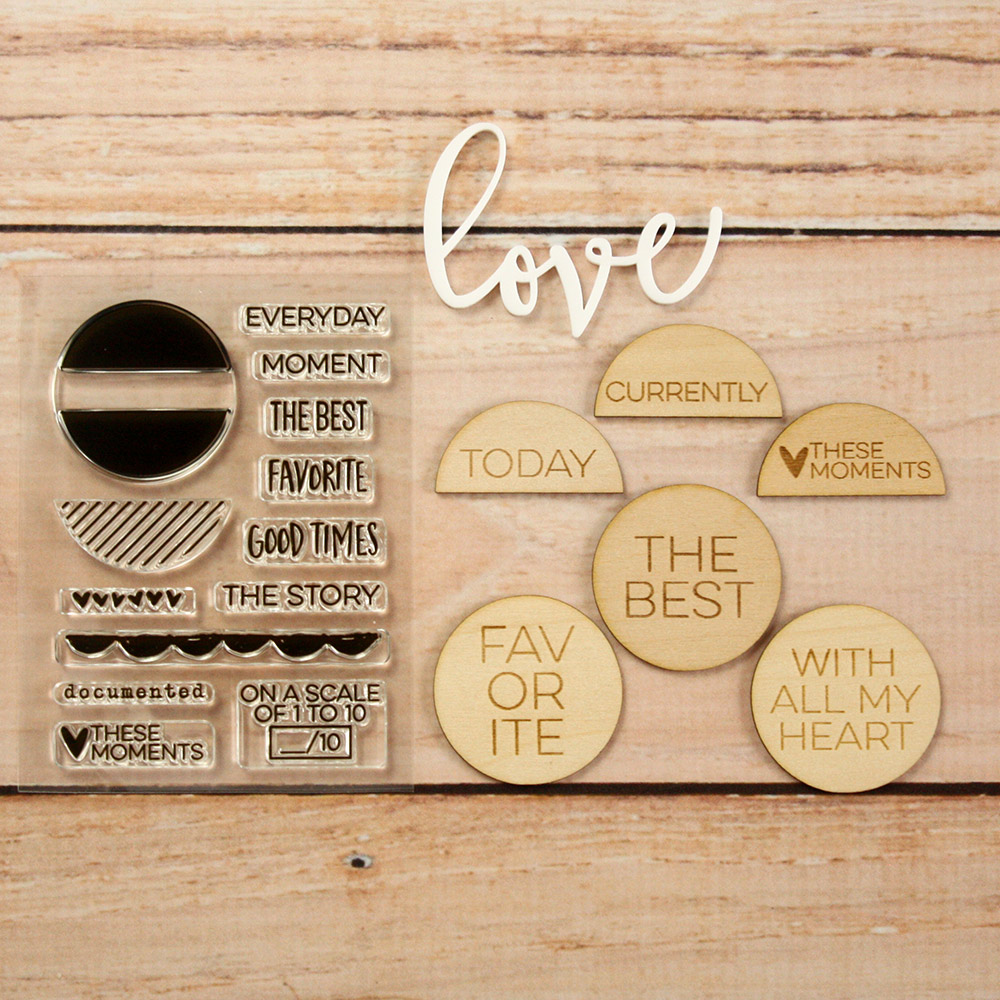
Coordinating with our kit this month, we have a brand new stamp that has a ton of versatile stamping options for all kinds of projects! Along with a new set of wood veneers, and a white Love acrylic piece:

EllesStudio-FebruaryExtras
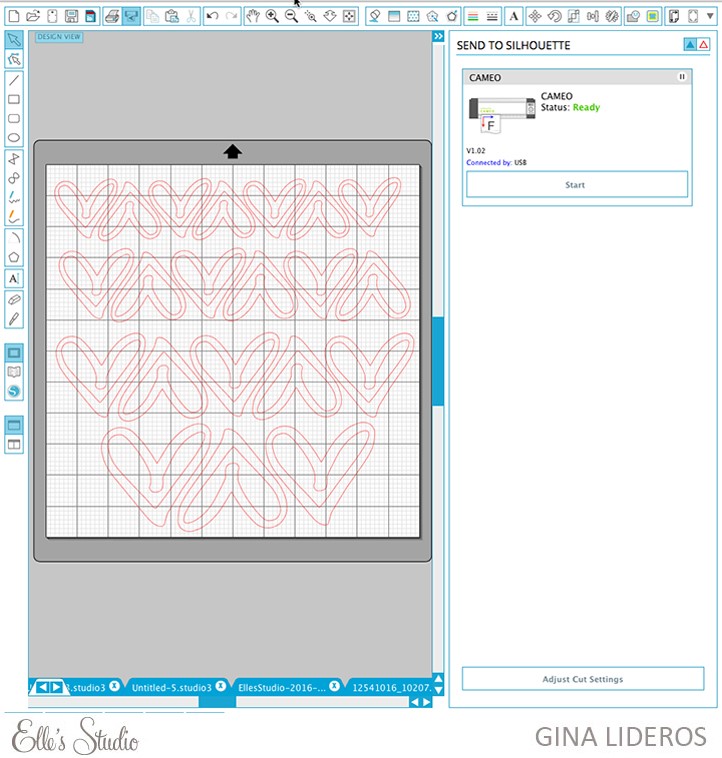
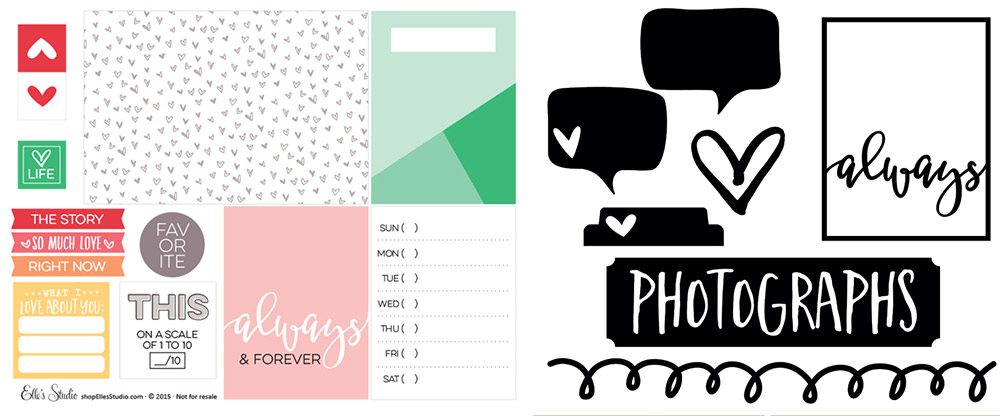
We also have some coordinating printables and cut files – once you download these files, you can use/print them over and over again!

EllesStudio-February2016-Digitals
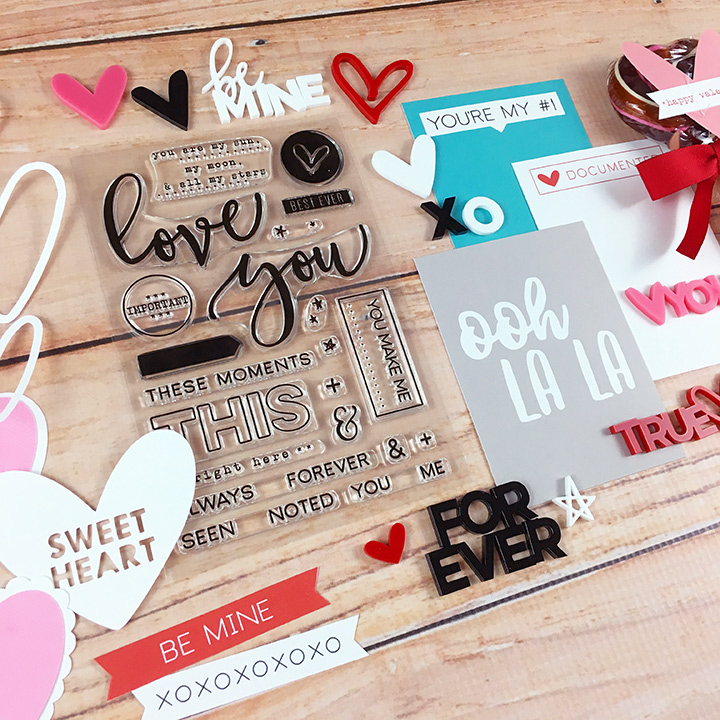
If you are looking for more love themed items, these exclusives that were recently released will have you covered! There’s a 4 x 6 inch stamp, acrylics, printables, and cut files! A couple of the digital options are FREE, too!

EllesStudio-LoveThemedLaunch01
And, because love is in the air and we LOVE you guys so much, we wanted to do a FREE shipping special just for you:

EllesStudio-FebSneak02
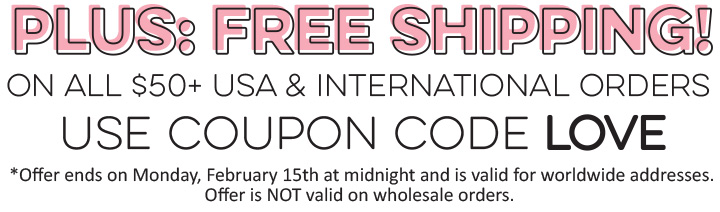
Get FREE SHIPPING on all orders $50+, USA and International, with coupon code LOVE This free shipping offer expires on February 15th at midnight and is valid for worldwide addresses. Offer is NOT valid on previous orders or wholesale orders. *Please note: if you are paying with PayPal, you will first visit PayPal to enter your information in, and then when you are returned to our site you will be able to enter the free shipping code. If you have any trouble, please contact us at info@shopellesstudio.com

EllesStudio-FebGallery
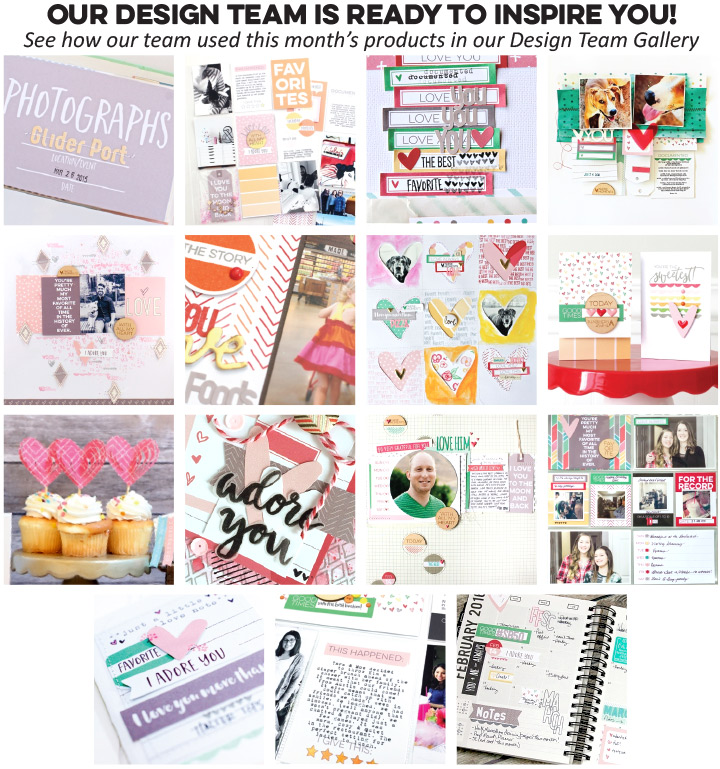
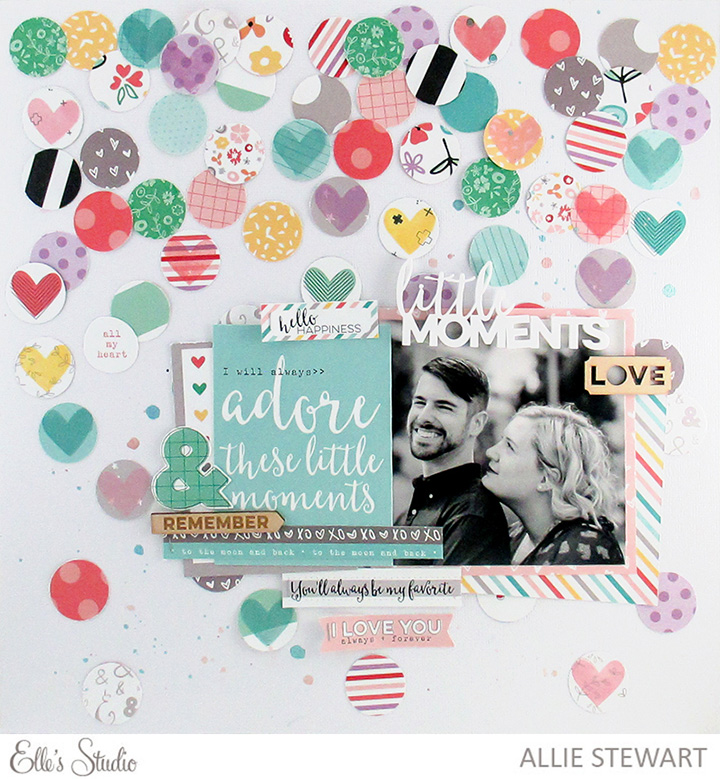
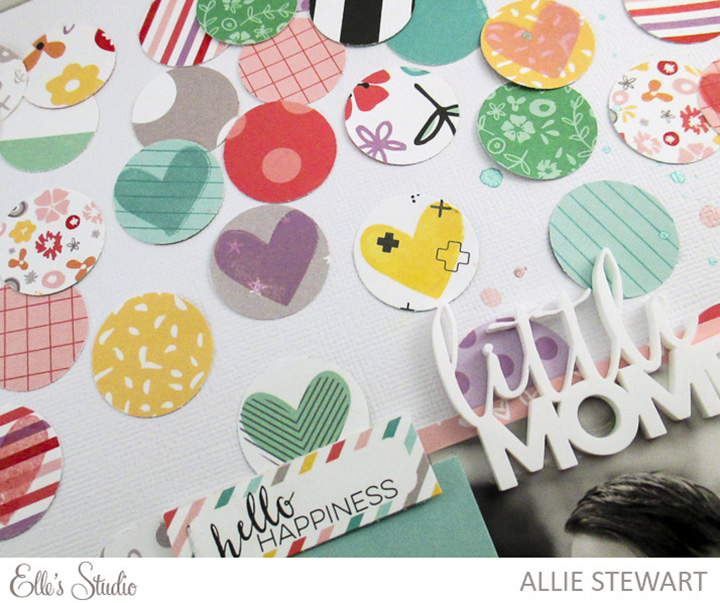
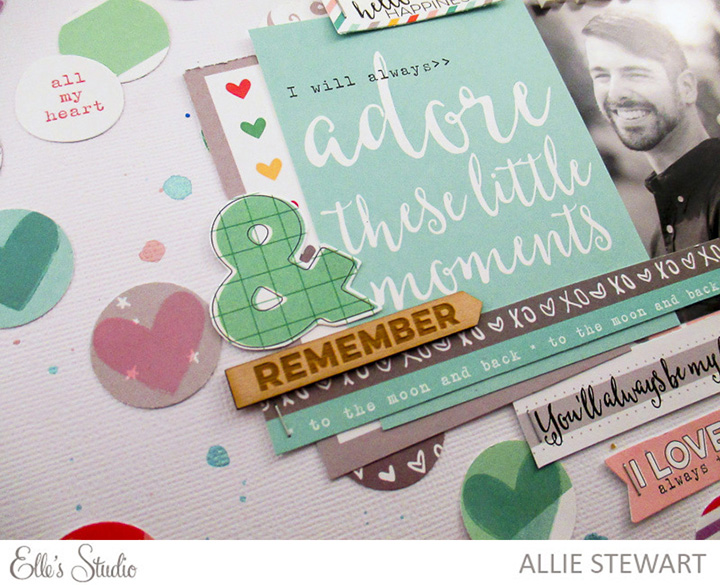
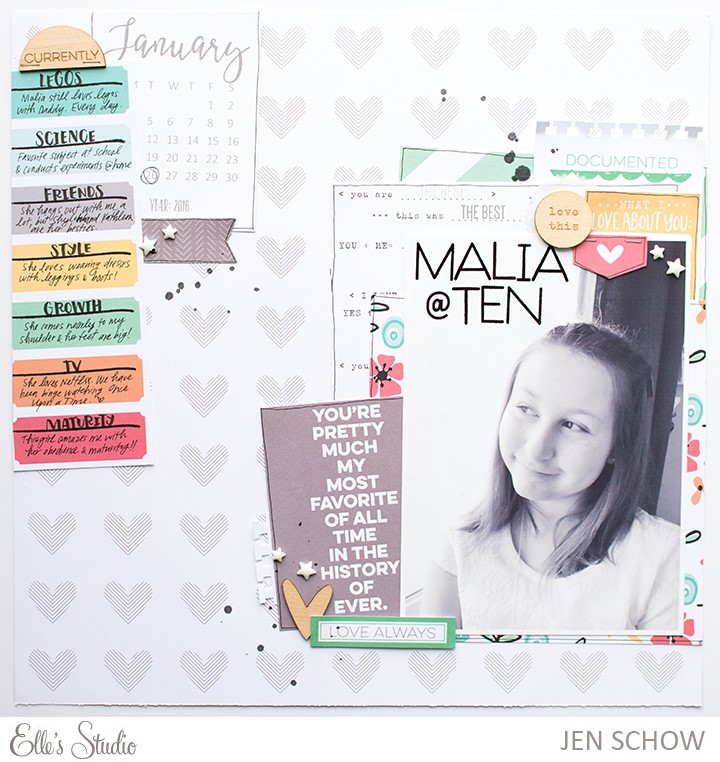
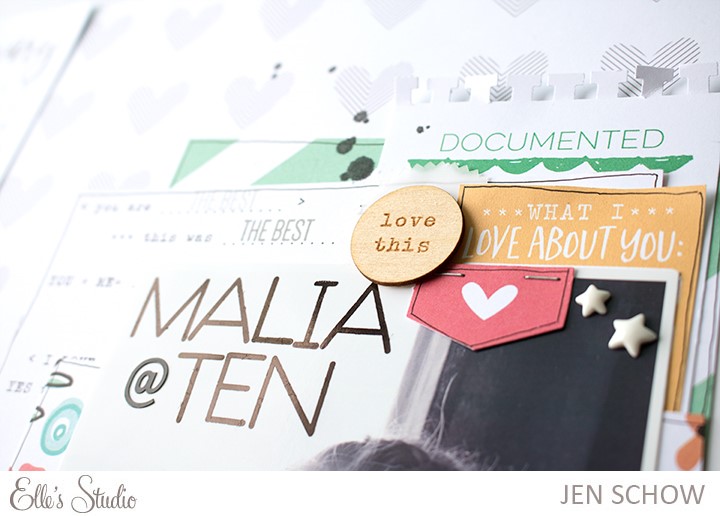
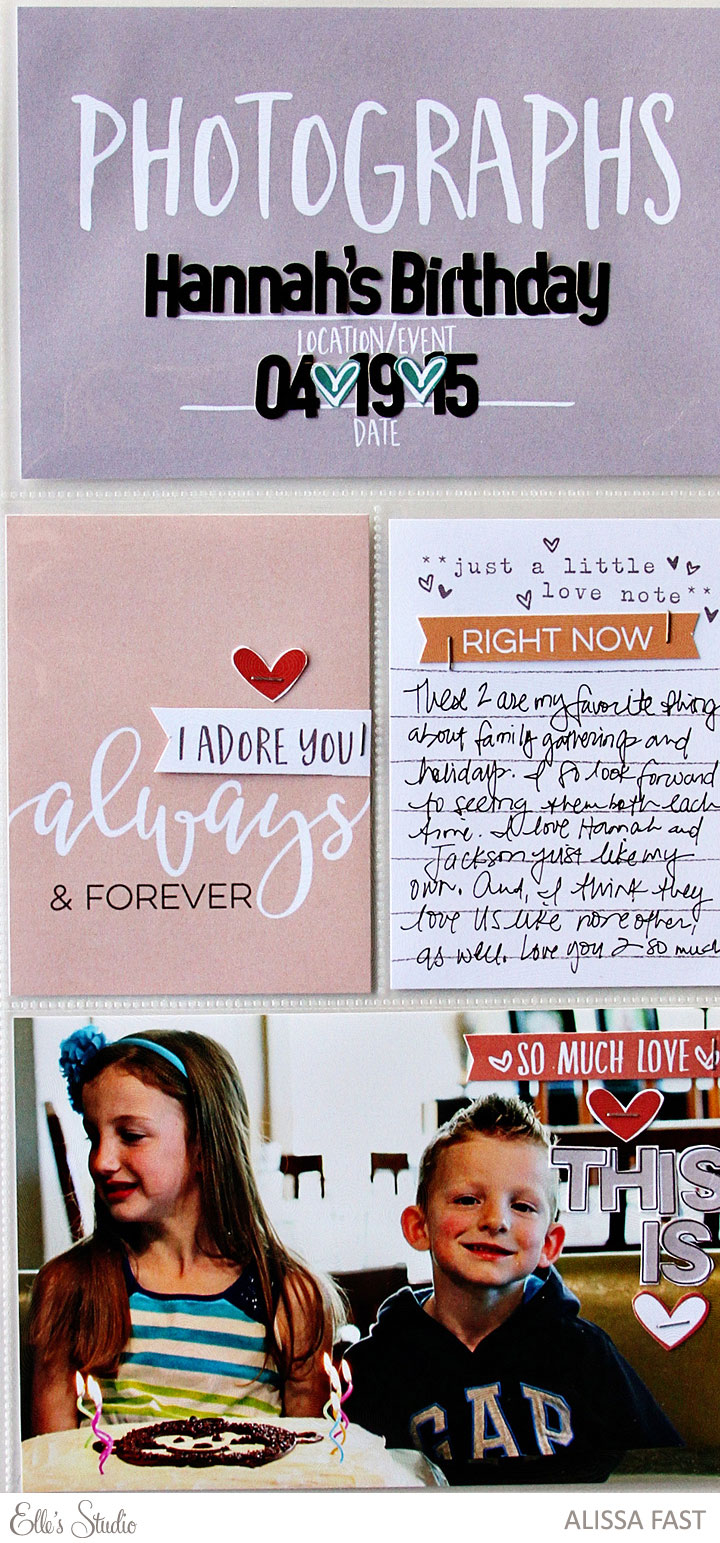
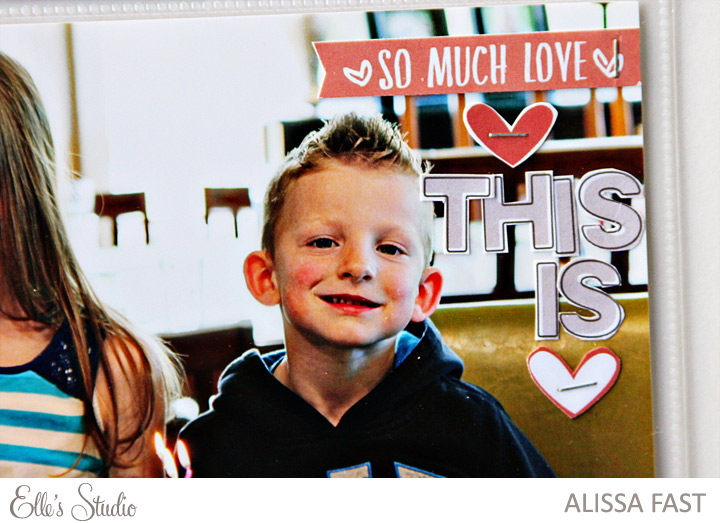
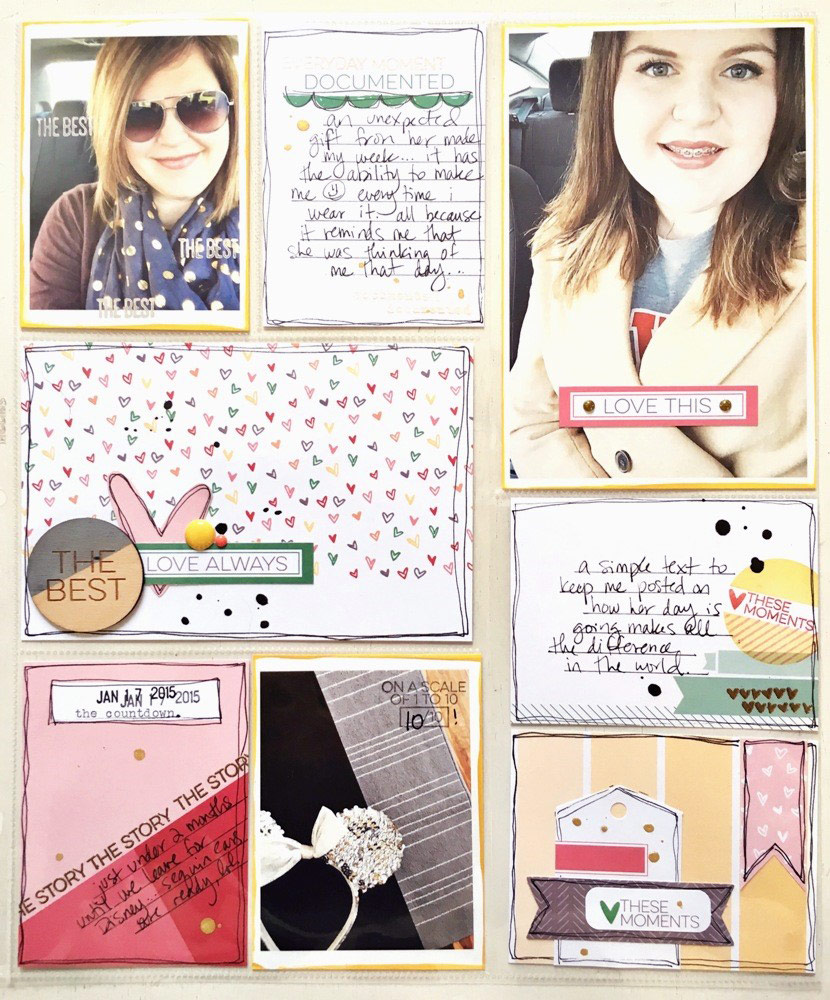
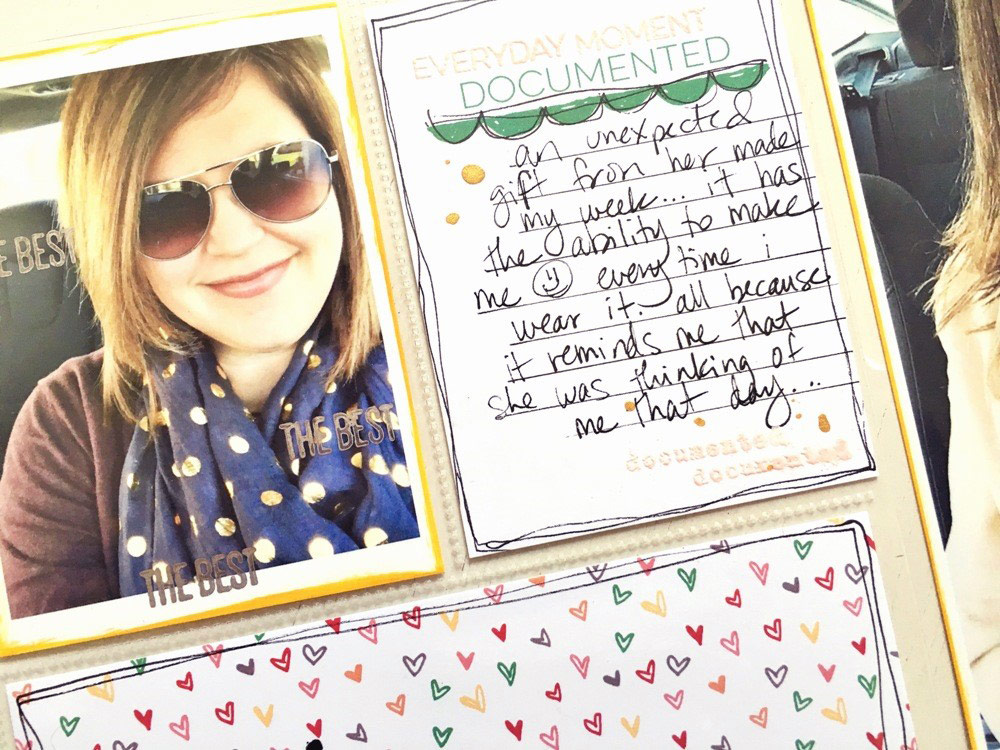
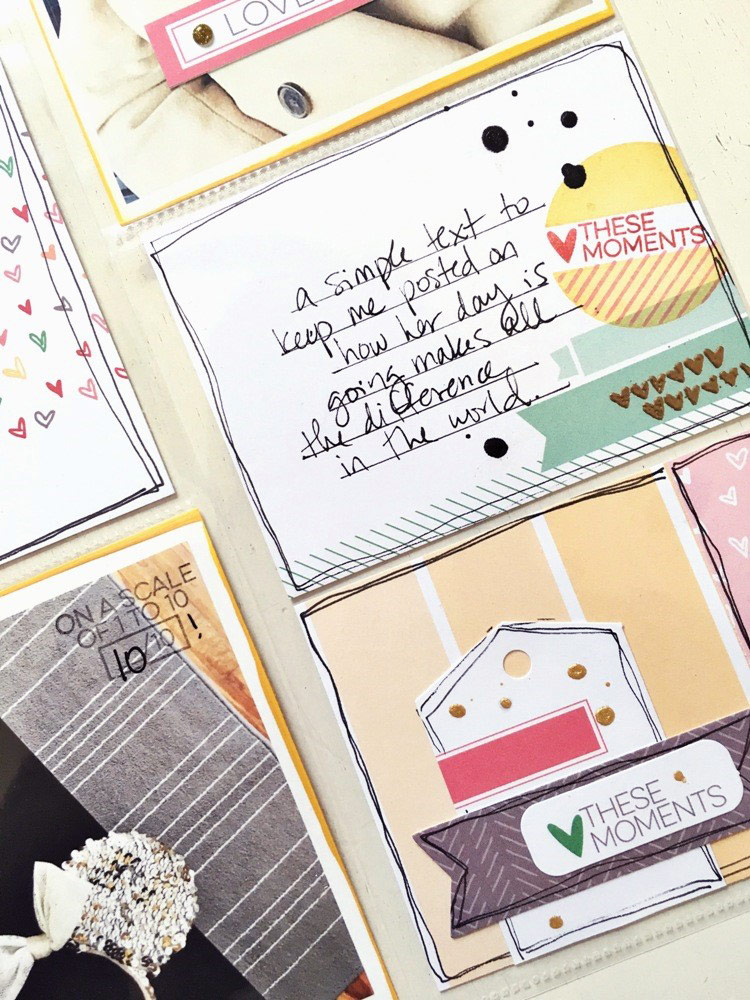
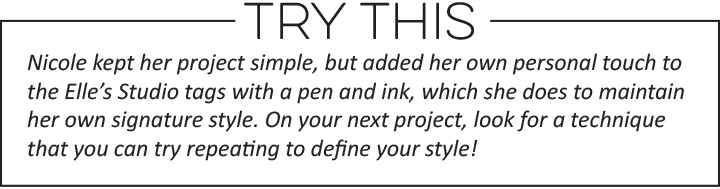
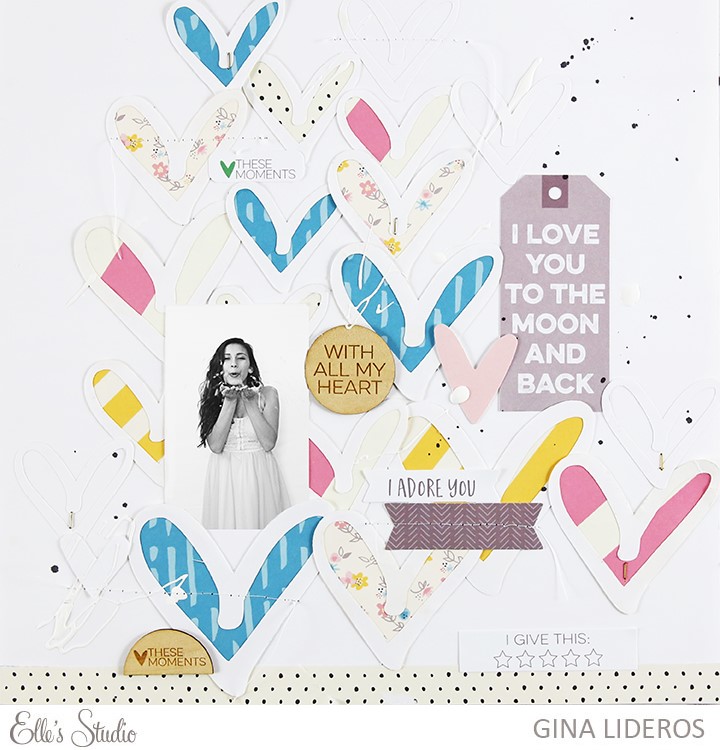
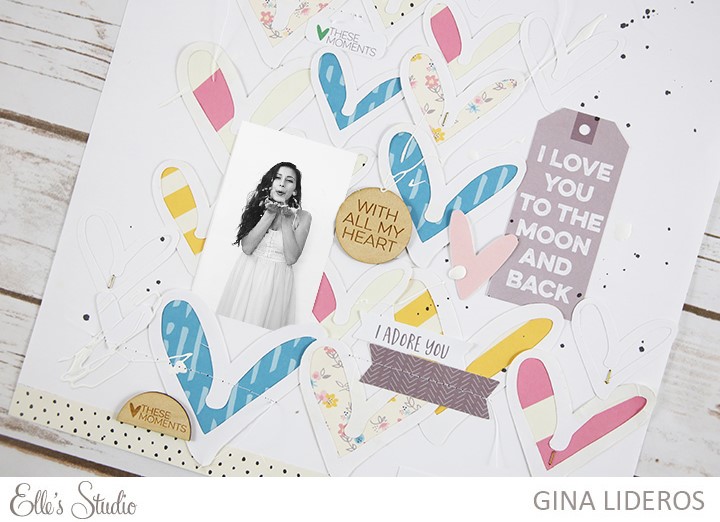
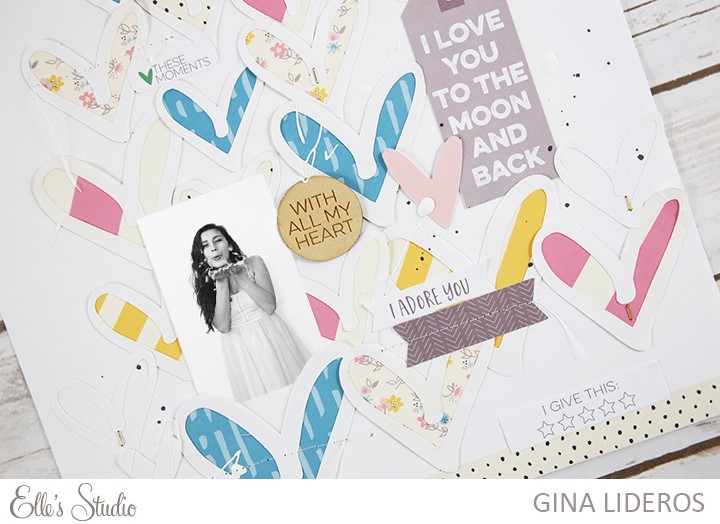
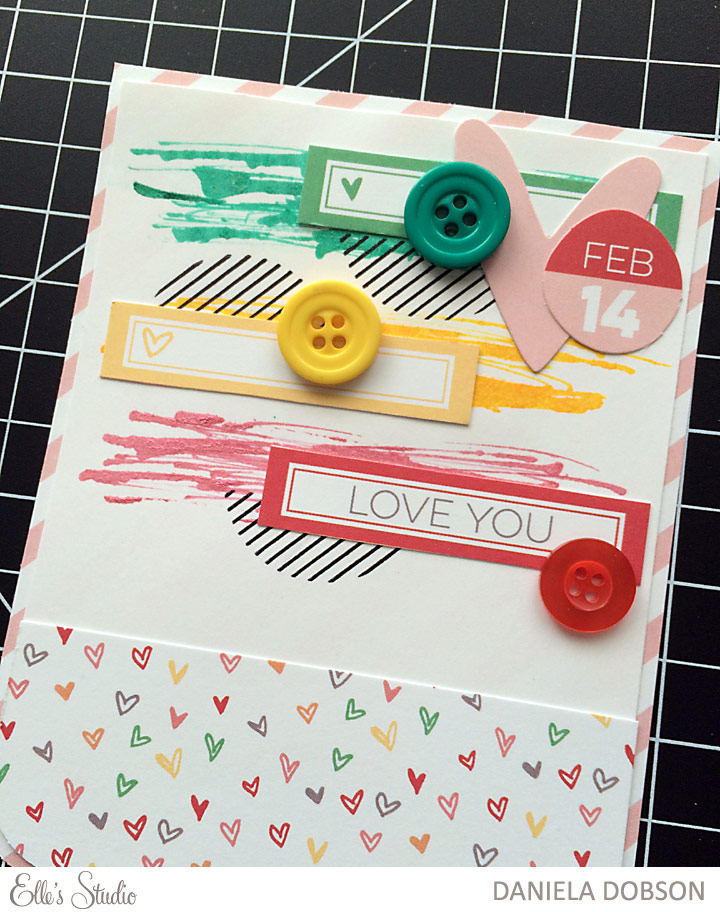
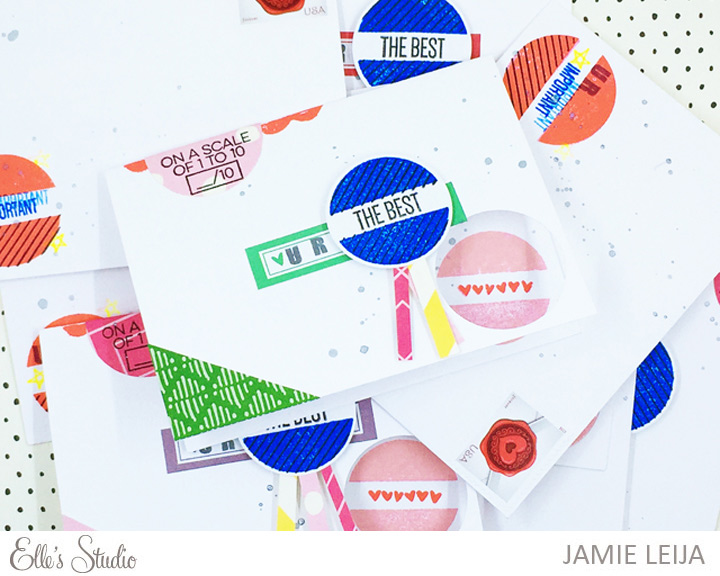
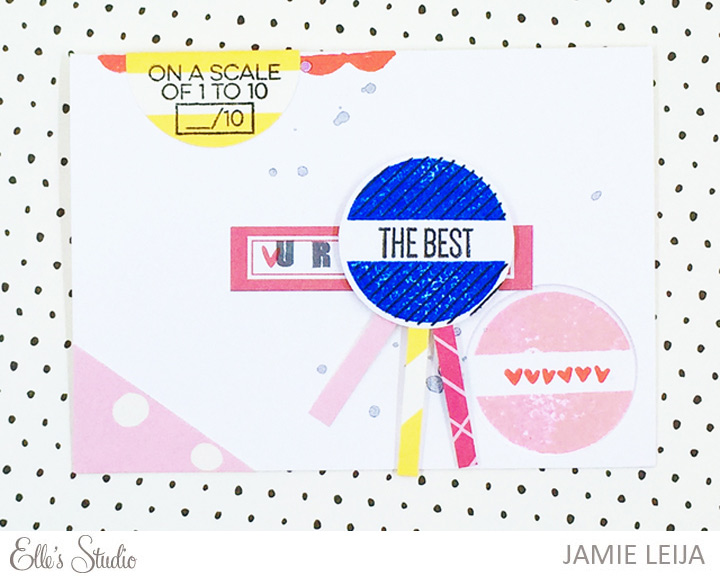
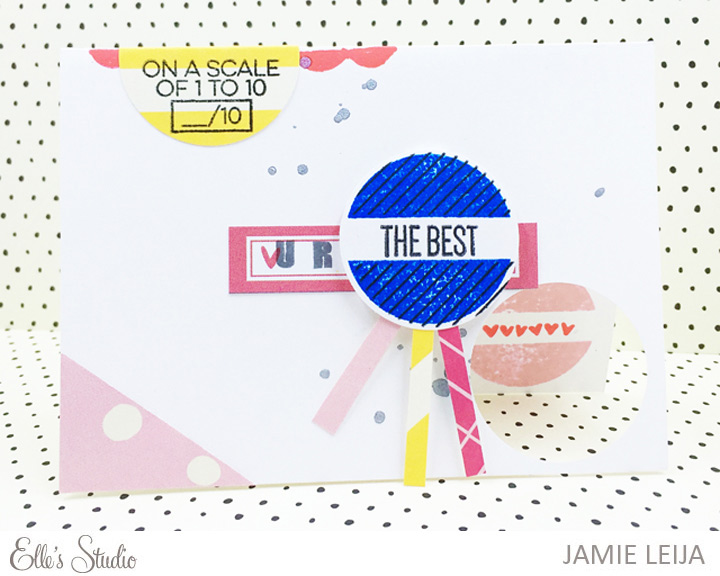
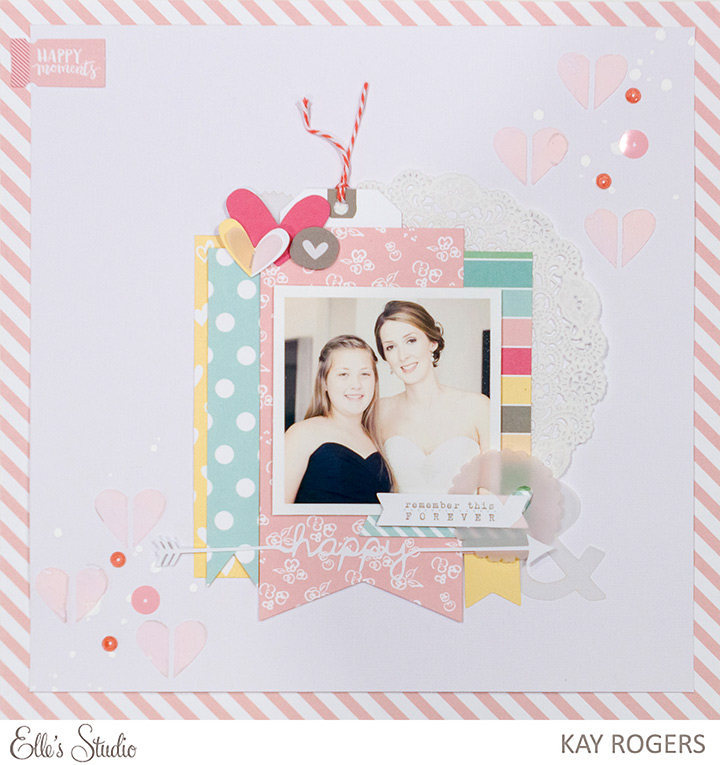
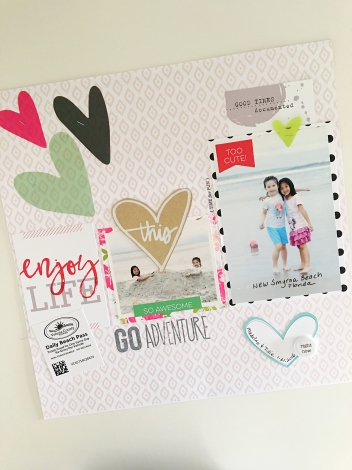
Since today is the 10th, that means we also have some brand new inspiration for you in our Design Team Gallery from our Design Team! If you are looking for inspiration on how to use our new products on your layouts, Project Life pages, planner, cards, and MORE you’ll want to check out our Design Team Gallery to see what they’ve created. Don’t forget, you can bookmark your favorites, leave comments, and see close ups of our design team’s projects, too!

Our team will also be contributing to our blog all month long, along with our special guest Nicole Harper! We are looking forward to sharing even more inspiring content with you!

Thank you for joining us again during this exciting month – we can’t wait to see what you create with these new products!