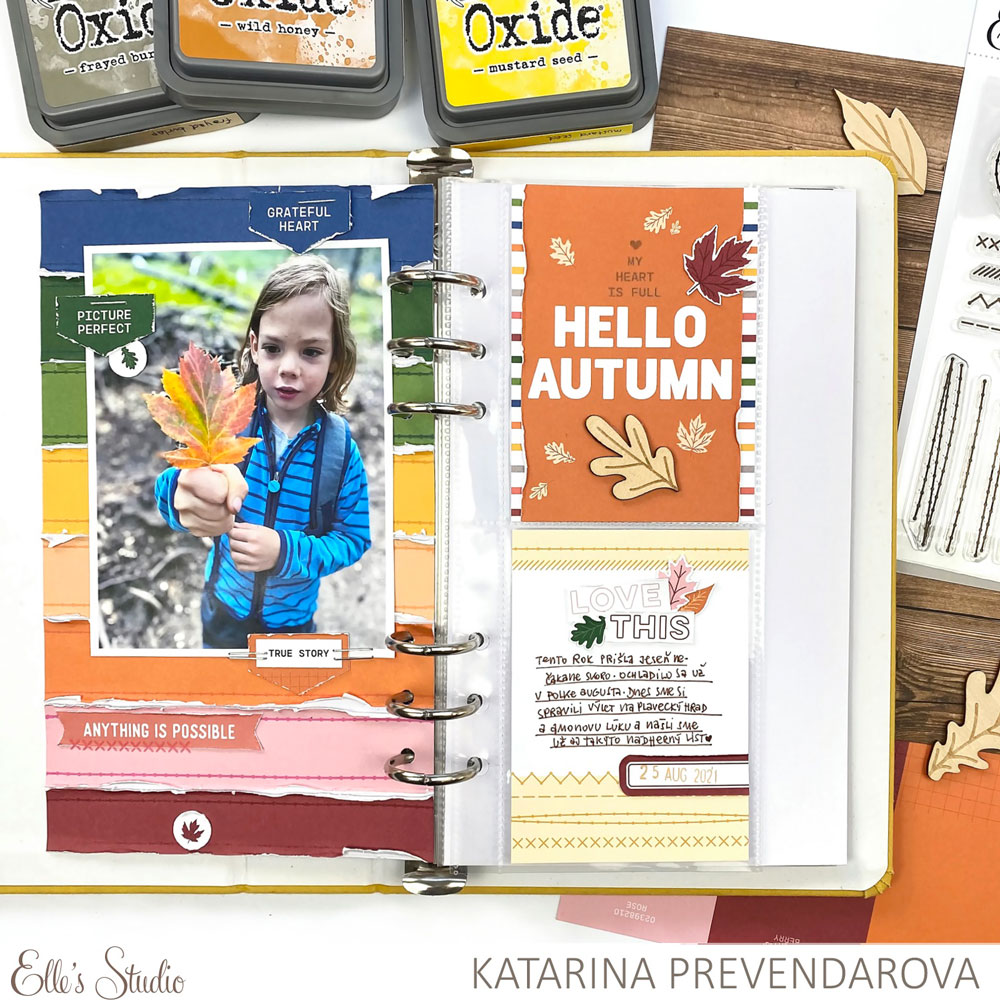
Hi Elle’s Studio friends! It’s Katarina back with you, bringing more inspiration and tips on how you can use your September kit and add-ons in a traveler’s notebook.
Supplies | September 2021 Kit, Banner Stickers, Wood Veneer Leaves, Thankful Paper Stack, Home Sewn Stitches Stamp, Thankful Stamp
Today I wanted to share a handful of tips with you on how to make a nice traveler’s notebook spread. These will not be new to some of you, however, I believe you will still find them useful!
1. Create texture without adding bulk
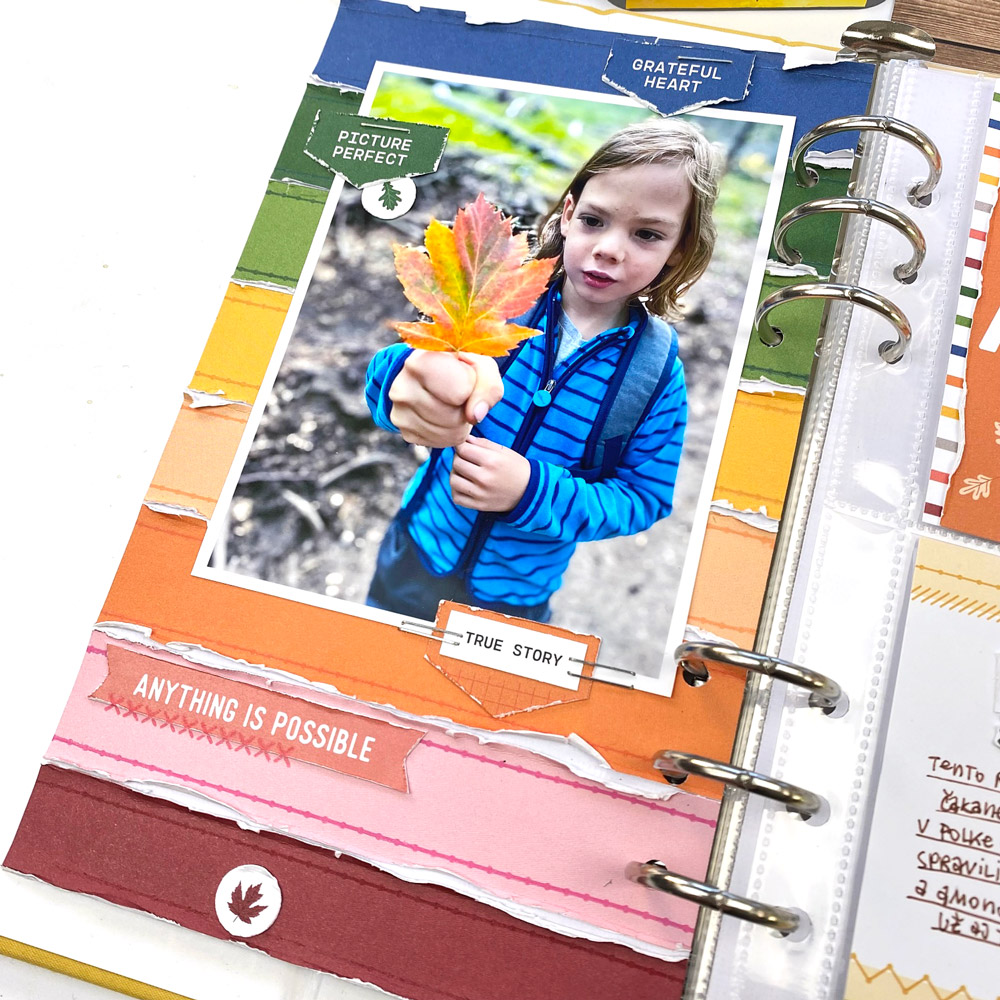
While a traveler’s notebook doesn’t go very well with a lot of layers or 3D elements, you can still create lots of texture without adding too much bulk. Here I cut the colorful striped paper from the Thankful Paper Stack into strips, adhered them onto a piece of white cardstock and distressed the edges of my stripes. You can also distress the edges of your die cuts or other embellishments.
Another technique to add texture is by stitching. You can hand stitch, use your sewing machine, or if you don’t feel like pulling out your sewing machine or just love stamping as much as I do, you can use the fantastic new Home Sewn Stitches Stamp, which includes so many gorgeous stitches—I just love it! Here I used it to stamp tone-on–tone to add a stitching detail on my paper strips.
Additionally, you can use your stapler to add even more texture.
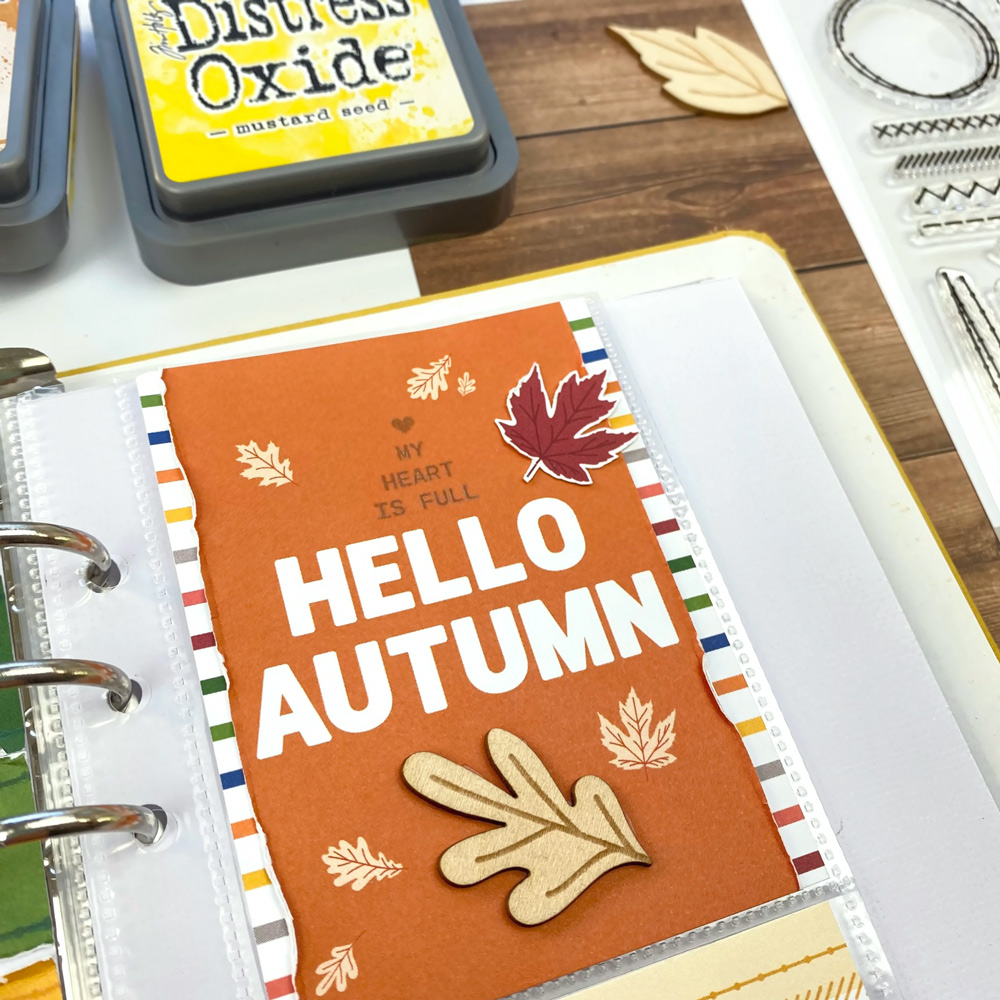
2. Stamping
I already wrote about stamping above, but I needed to give it a separate paragraph, because stamping really is a big thing when it comes to traveler’s notebooks. You can add pops of color using different colored inks, or even create your own pattern by repeat stamping. You can stamp on your photos, too which really gives a beautiful effect. Two perfect things about stamps are that stamping adds zero bulk and you can use your stamps over and over.
3. Tone on tone
One fun technique to use in a TN is embellishing with tone-on-tone color. I always enjoy matching my die cuts, stickers and other products with patterned papers or mixed media backgrounds.
4. Create your own embellishments
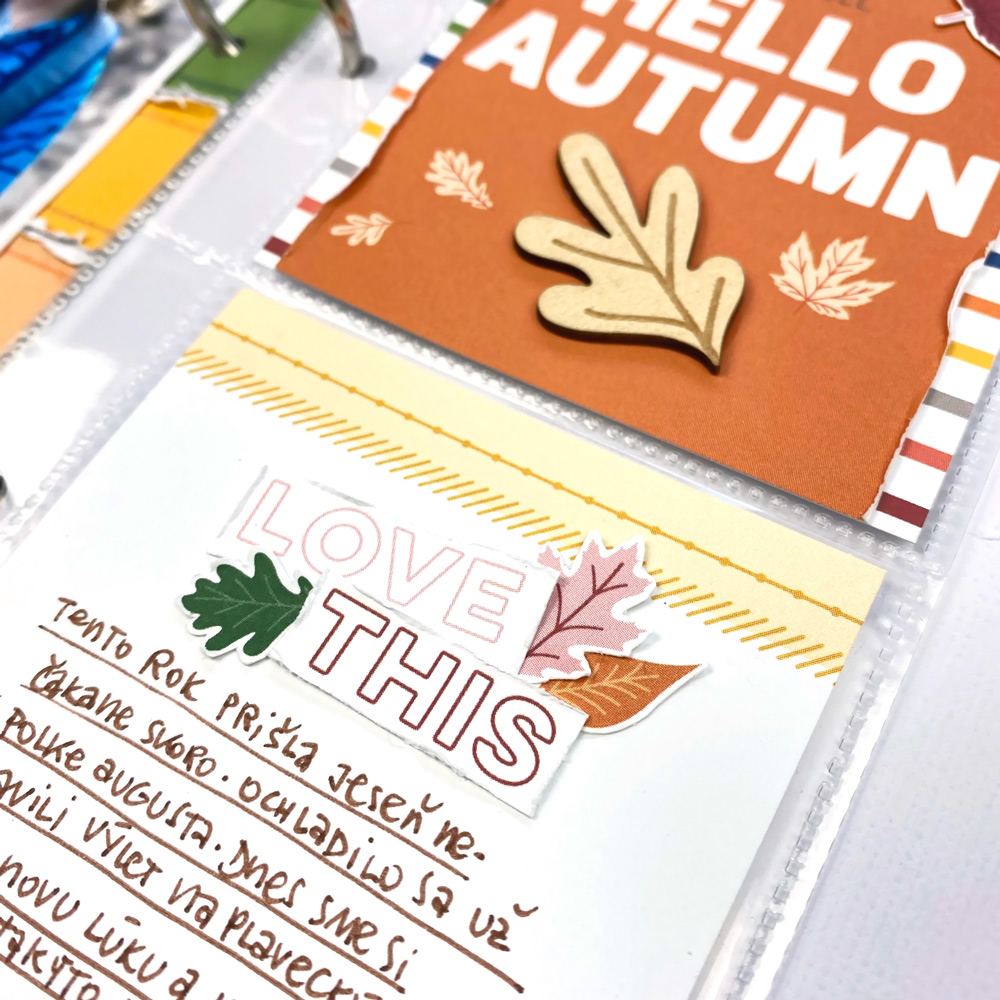
You can use your patterned papers or journaling tags to create your own flat embellishments. There are many techniques for that. Here, I fussy cut leaves from a journaling tag to add them to the two tags that I used for my spread—all from the September Kit. Also, I fussy cut the words “love this” from a patterned paper from the Thankful Paper Stack to add a nice detail to my journaling tag. You can also use your metal dies and die cutting machine.
5. Repetition and visual triangles
Repetition is one of my favorite techniques. Here I used three tab die cuts of the same shape from the September Kit and placed them around my photo, tone-on-tone, creating a visual triangle.

That is it from me today, friends. I really enjoyed putting this colorful autumnal traveler’s notebook spread together. I hope it inspires you to also put your hands on the beautiful September kit and add-ons and create something pretty in your traveler’s notebook. Don’t forget to share your creations with us on Instagram, using the hashtag #ellesstudio or in our Elle’s Studio Facebook Group. We love seeing what you create!
Have a wonderful day!