Hello, there! It’s Jennie McGarvey with another layout in my memory planner. I’m extra excited to share this with you this week because, well, I’m a bit behind in my memory planner thanks to summer. Isn’t that an odd attitude? I love being a little behind (not years or anything!) because it ensures I have plenty to work on—I’m not soon to run out of details to document and stories to tell.
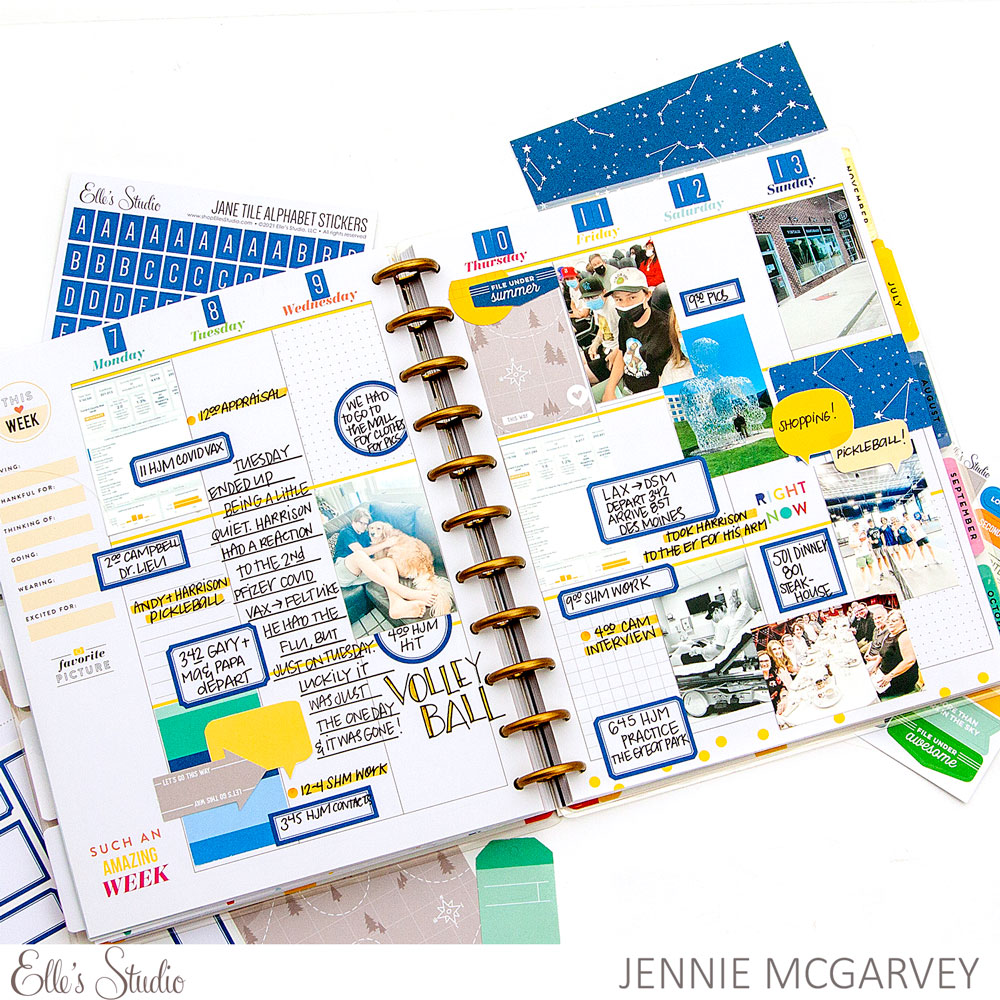
Supplies | July 2021 Kit, Navy Cardstock Label Stickers, Jane Tile Alphabet Cardstock Stickers – Navy, Adventure Paper Stack
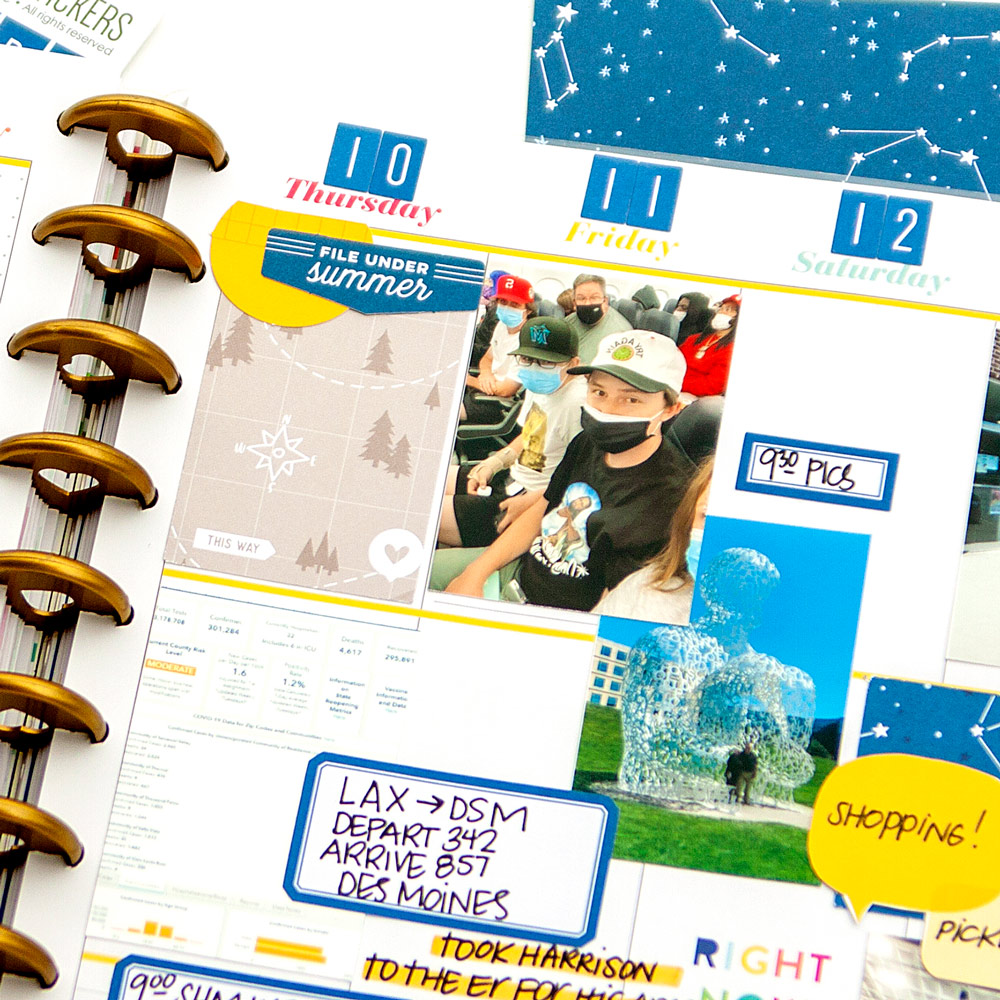
I started by adding the dates to the layout. I used the Jane Tile Alphabet Cardstock Stickers in navy to add those dates and the simple stickers did two things. First, they made the dates really stand out. I love that it makes the dates not just a detail that fades into the background, but really something that looks intentional. I also liked that these coordinated perfectly with the Navy Cardstock Label Stickers. They definitely play off each other when you look at this layout.
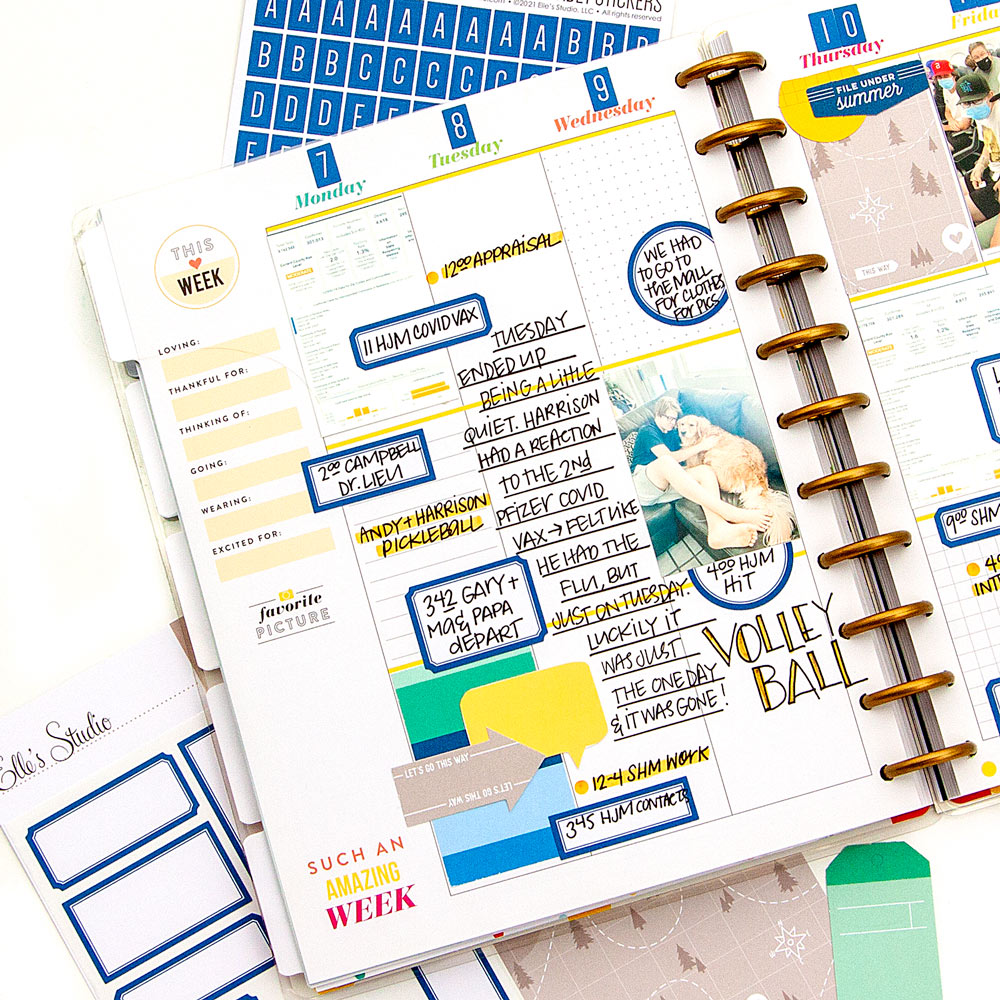
Now that we’ve discussed the building blocks, what if we discuss the details? You can see I used the Adventure Paper Stack and the striped paper on the lower left-hand corner was the building block for this week. I loved the colors and it was going to work to tie all of the embellishing together. However, you cannot leave the patterned paper alone—you have to add some embellishments which was easy to do with the July 2021 Kit. The arrow die-cut was meant to be the piece of interest, and it really ended up that way. Plus, the soft grey coordinated perfectly with the right-hand side and the map patterned paper from the Adventure Paper Stack. I love it when a layout is well-balanced.
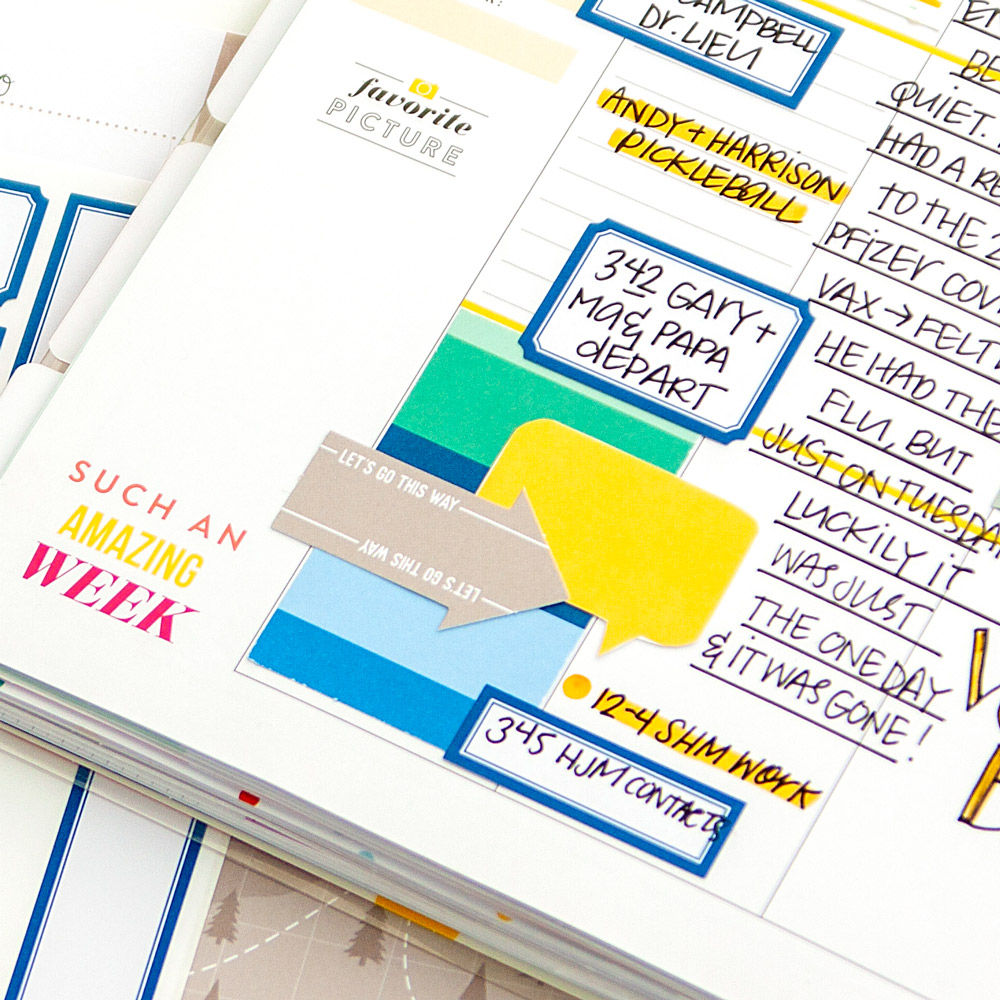
Not only did the grey provide balance for both pages, but obviously the Navy Cardstock Label Stickers as well. I didn’t stop there! I had cut up the speech bubble 3 x 4 inch tag from the monthly kit and used the speech bubbles as accents on both sides of the layout! Did you catch the speech bubbles? I loved them for not only documenting activities, but for layering, as well.
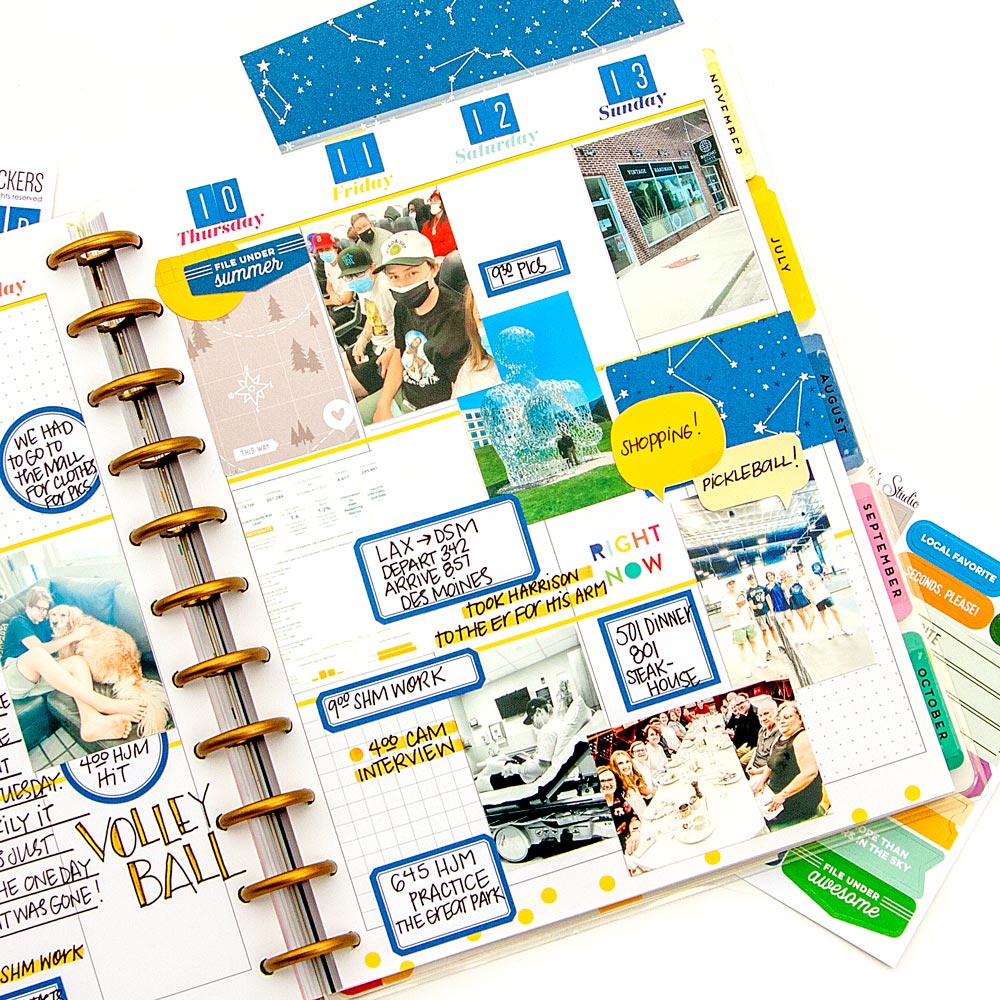
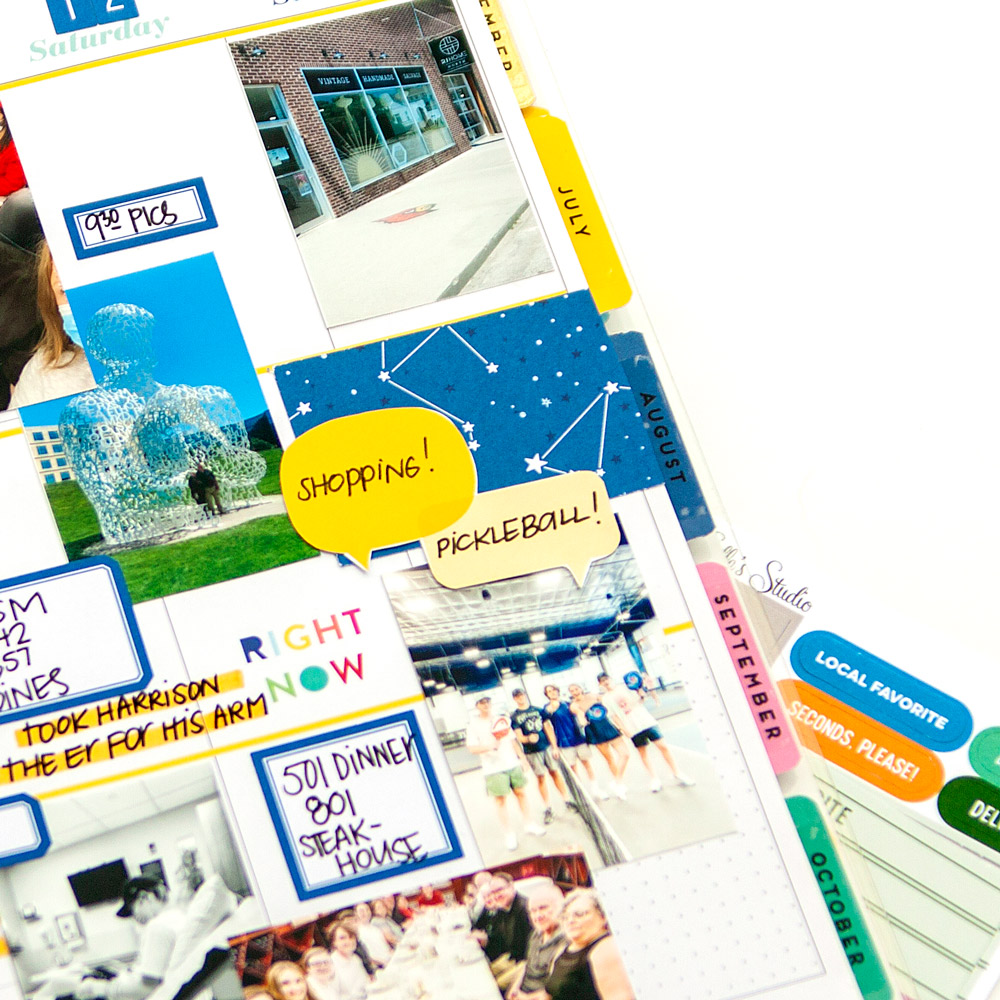
Speaking of layering, it’s a staple in every page. My favorite way to do that is with 3 pieces. I start with a background, often a subtle pattern like the grey paper in this cluster. Then, I add an anchor piece which I did here with the yellow circle. [I did trim it to have the circle sit flush with the planner line.] Finally, the accent piece, which is the perfect tab! I love that it just gives the hint of summer without being over the top!
I’m so happy to have shared this gateway to summer memory planner layout with you. I shared the secret about being behind in my projects and how I build a cluster. Do you have any unusual thoughts about memory keeping or any techniques or tips you always use in your projects?

Show us your memory planner pages adorned with our products! Join our Facebook Group and post there for other Elle’s Studio fans to “ooh” and “aah” over, or share on Instagram using the hashtag #EllesStudio!
