We love labels here at Elle’s Studio, and this month’s Neutral Die Cut Labels are the perfect pack of gray and black labels that coordinate with any color scheme in an assortment of shapes and sizes! Let’s take a look at five different ways that our team used them on their projects this month:
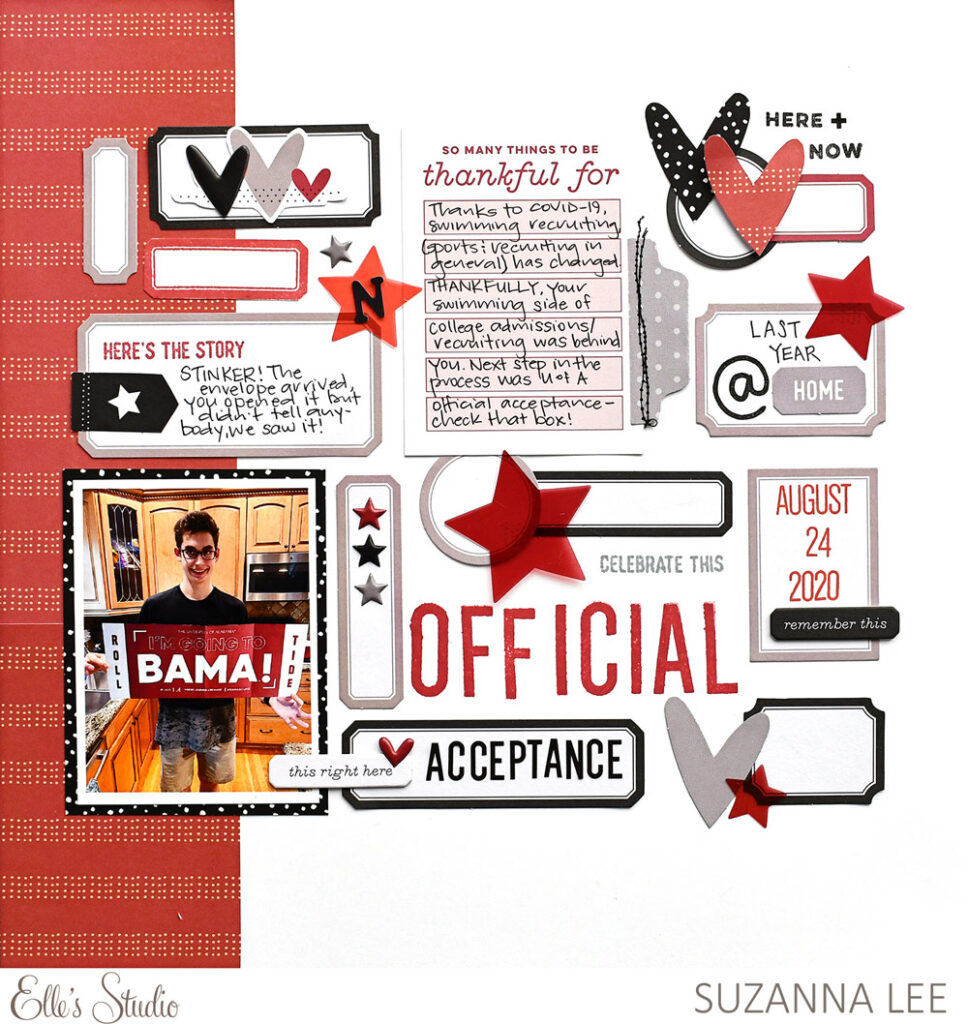
- Create a grid background of labels, the way that Suzanna did here! This variety of shaped labels, arranged vertically and horizontally and topped with our other fun add-on embellishments create one fantastic layout!
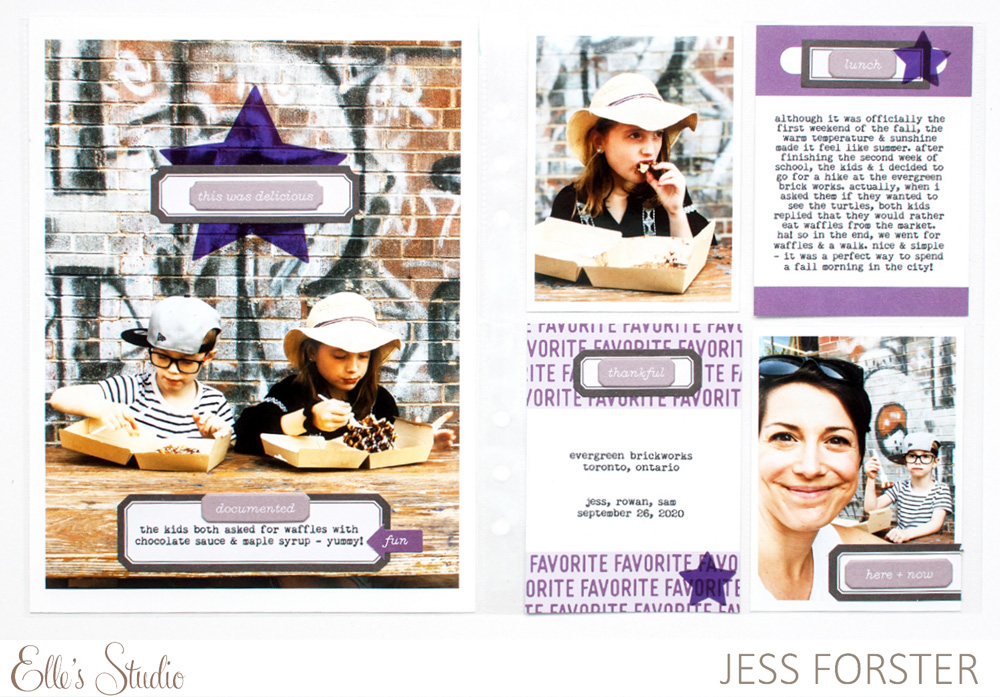
2. Repeat to create movement across your page or spread, as Jess Forster did here on this gorgeous pocket page spread. Repeating black Neutral Die Cut Labels in an odd number with our Thankful Chipboard Label Stickers created the perfect repeating element to carry your eye around her project, filled with beautiful photos and a great story.
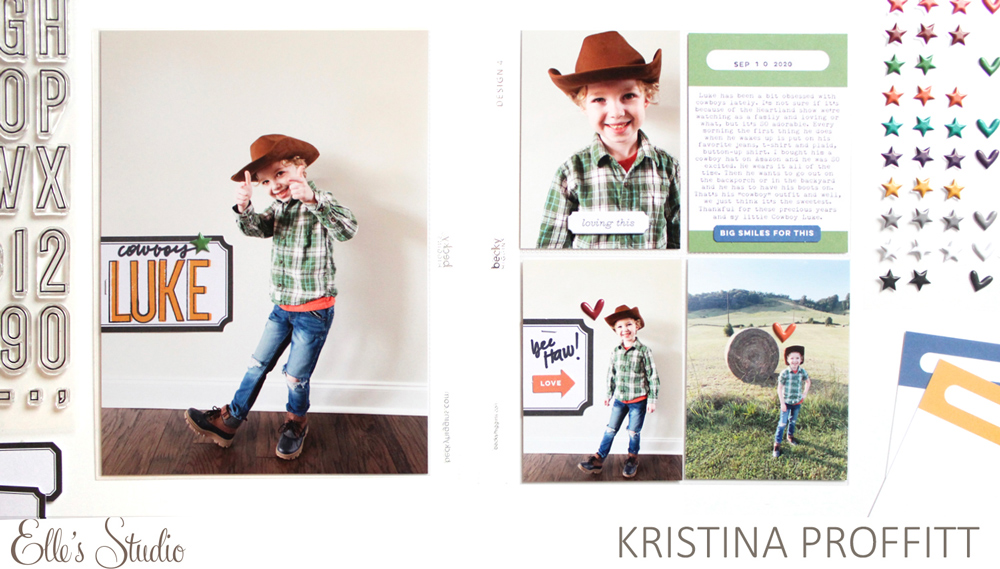
3. Cut them and add them to the edge of a photo, a tag, or patterned paper! We love the way that Kristina used the large black label here to hold her sweet title on the white space of her photo on the left, then repeated the same technique on the right to add a fun sentiment on a similar photo. These labels really make those photos the focal points of her spread.
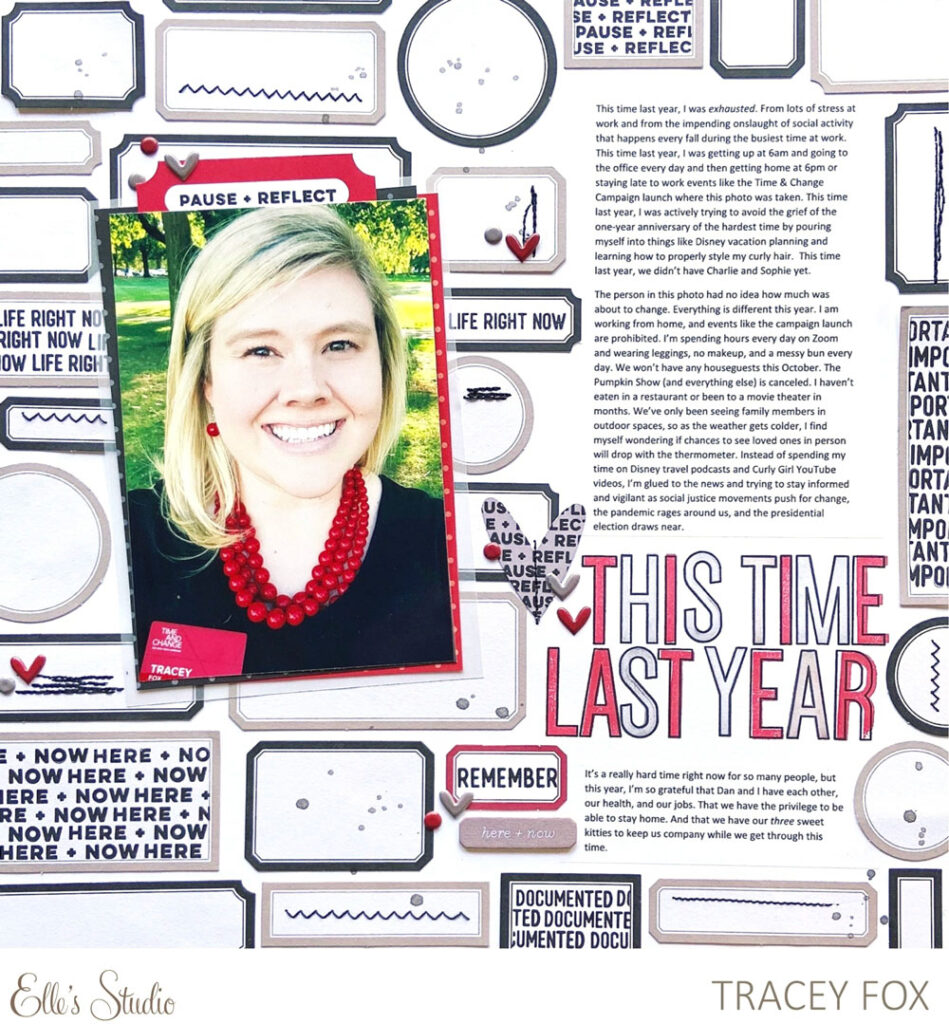
4. Add stamping inside of them, like Tracey has done on this layout using our Documented Stamp. By masking off the edges using washi tape. you can stamp repeatedly in the center of your label, creating a graphic and bold design!
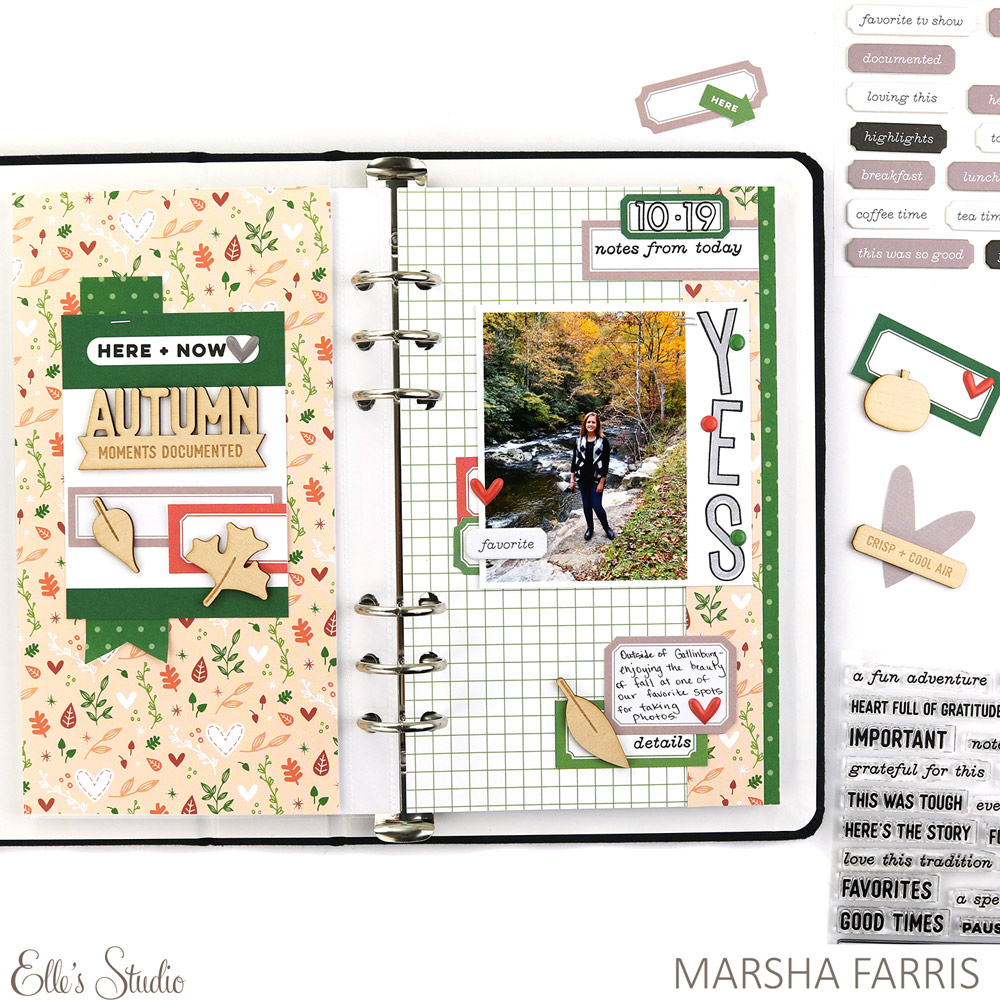
5. Layer your labels! Marsha Farris did a great job at layering our Neutral Die Cut Labels with our colorful October Labels and tags from our October 2020 Kit, in three different areas to add additional layers to her traveler’s notebook spread. These neutral labels can combine with any color scheme you choose!
We hope this inspires you to pull out your Neutral Die Cut Labels and get crafty this weekend! Share what you create using them with us by posting in our Elle’s Studio Facebook Group, or on Instagram using the hashtag #EllesStudio!
