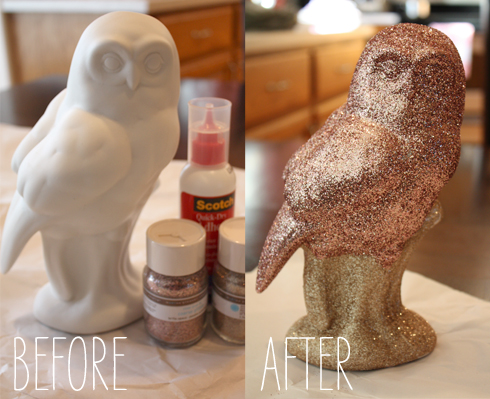
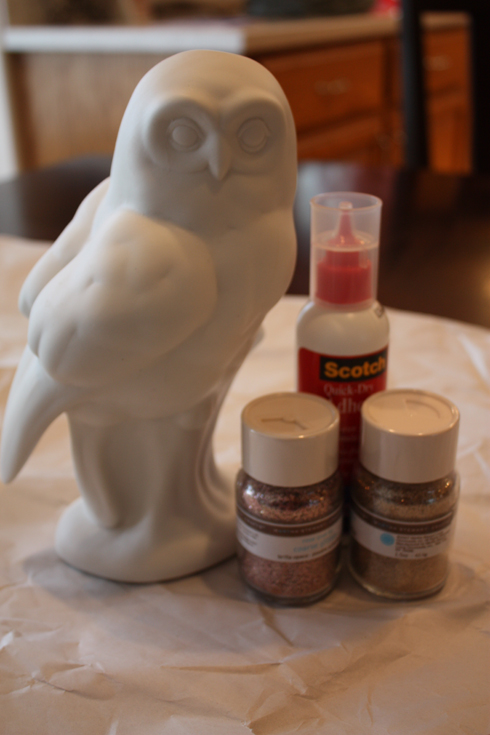
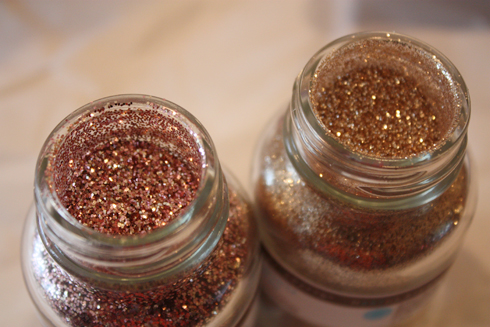
I had this white owl hanging around the house for awhile, trying to find the perfect spot to put it in… But it just looked so plain and needed something to spice it up. Then, I purchased the Martha Stewart Glitter Pack (half price at our local craft store in town!!) and saw the pink and gold glitter in the kit and the idea just hit me!
The BEST part of this tutorial is… you can glitter anything! Literally, anything you can put glue on you can glitter! Think of all the fun stuff you could pick up at second-hand stores and glitter?!
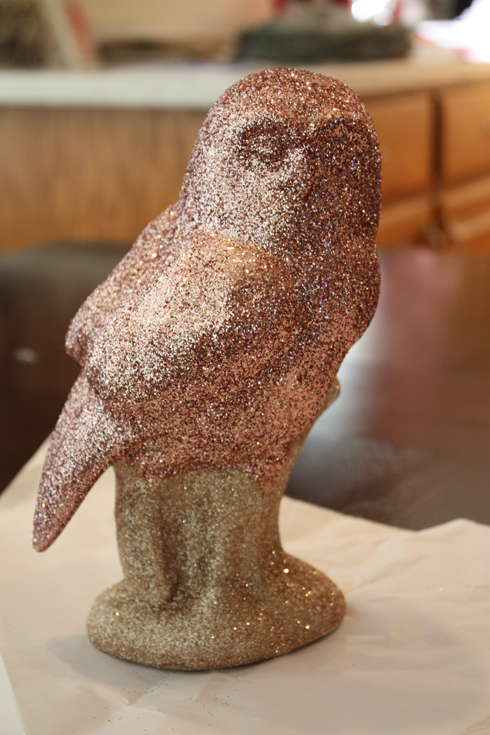
This little guy needed some glitter! I could have covered the entire thing in the same color, but wanted the piece of wood he was sitting on to be gold instead.
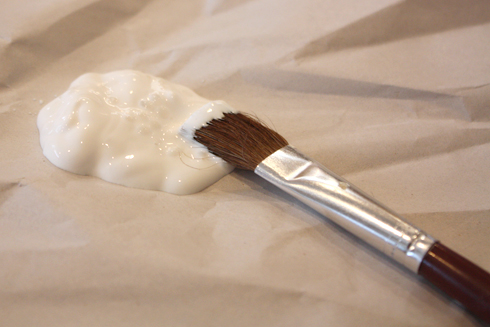
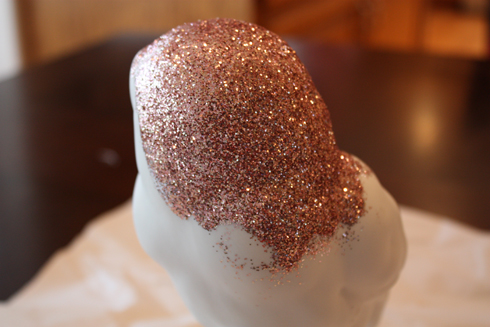
Start with your glitter opened and your glue ready. You’ll want to paint your glue on with a paint brush in a nice thick layer.
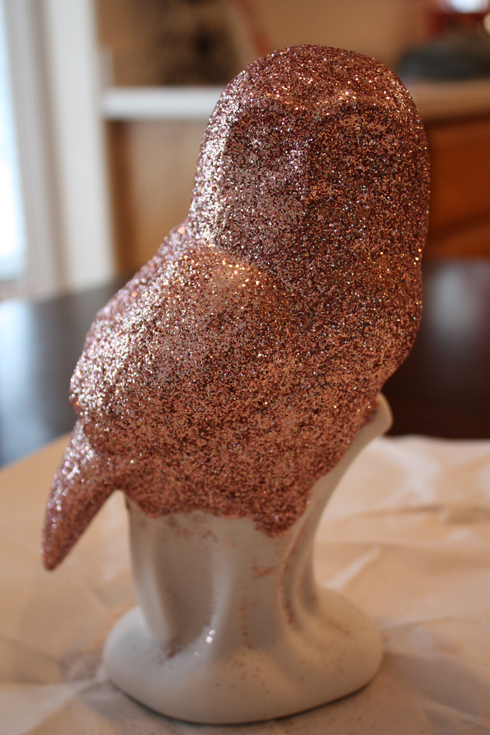
Work in small patches at a time so the glue doesn’t dry on you. And, when doing multiple colors of glitter, you’ll want to start at the top and work down.
Once you have all of the one color done, you’ll want to let it dry a little before you start with the second…
Make sure you let it dry overnight and you’re done! I just LOVE how the glitter catches the light – it looks so pretty! I’m now in full glitter mode 🙂 Thinking about tea cups and tea pots… monograms… oh man!
Happy glittering!
xo, Elle

Comments