A great, versatile stamp set can be used for so many different projects, and our 6″ x 8″ All the Details Stamp is perfect for adding to layouts, creating your own embellishments, and the stamps are perfectly sized to fit in your pockets, too! Today Susan Brochu is showing us just how perfect this stamp is in use on a pocket page layout. Let’s see how she used it:
Hello everyone! It’s Susan here today to highlight the All the Details Stamp. There are so many versatile words and phrases on this set, and the sentiments work equally well for everyday life and special occasions. I used the set in a variety of ways for my pocket page spread about Mother’s Day 2016.
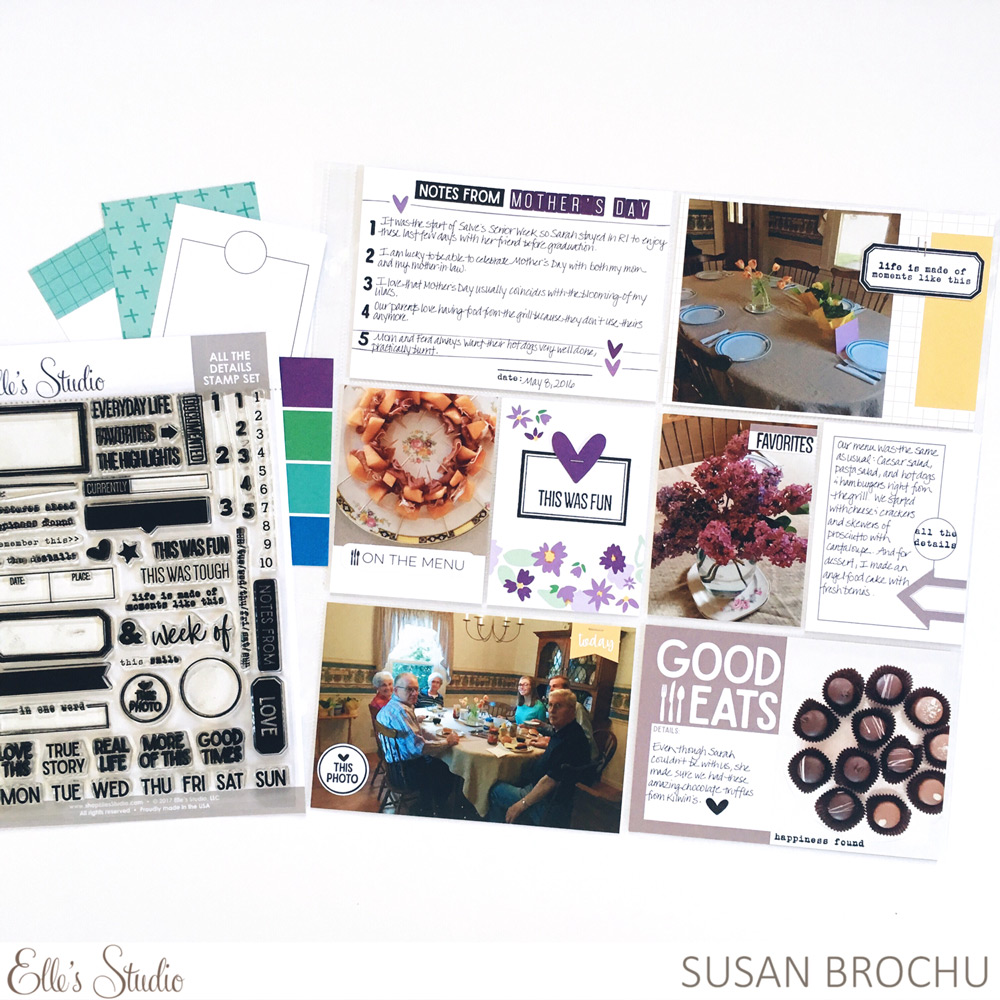
Supplies | February Kit, Dark Purple Cardstock Alphabet Stickers, All the Details Stamp
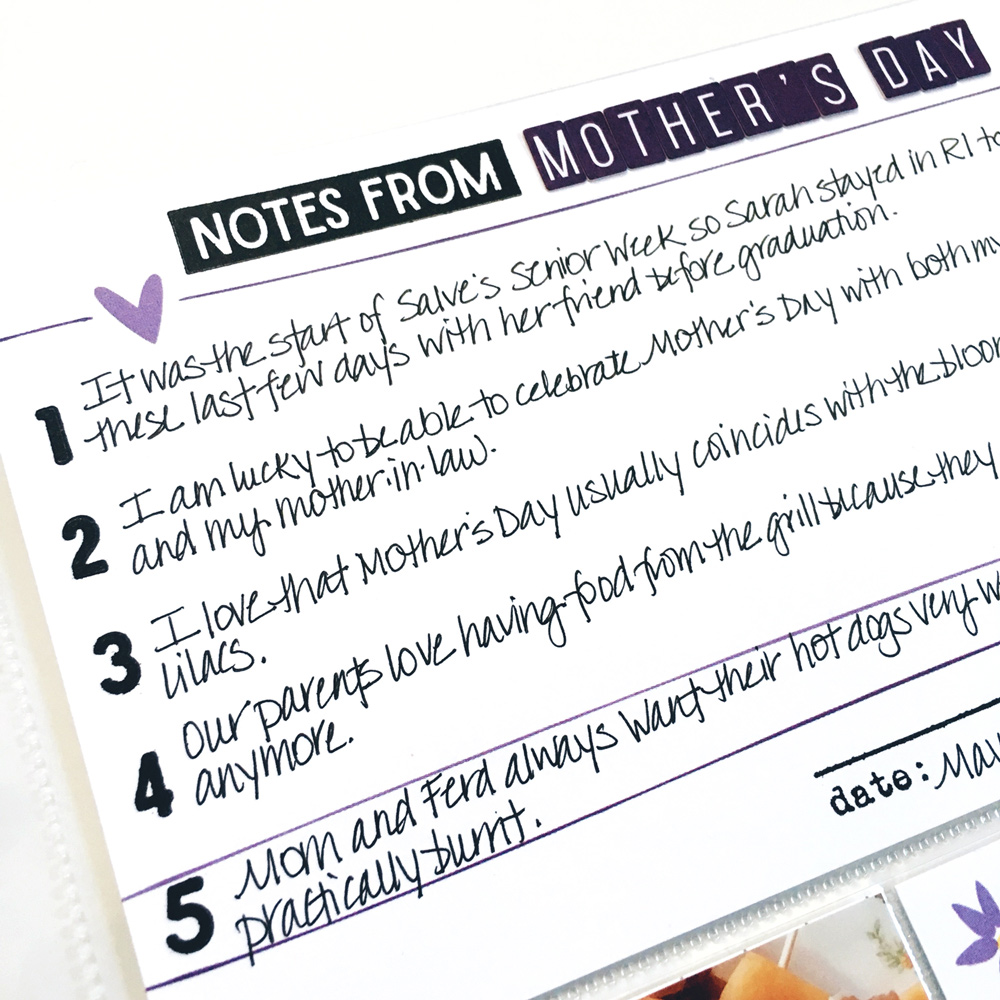
I started by making a title card with three of the stamps on the set. I selected the 4″ x 6″ tag with the purple hearts from the February Kit, and then stamped “notes from” along with the Dark Purple Cardstock Alphabet Stickers to make my title card. I sometimes find it easier to list some details about the photos instead of writing a long block of journaling, and so I added the 1-5 numbers from the stamp set to help me do just that. My last touch on that tag was to add the date stamp with the line and then write in the date. I enjoy being able to personalize a card and the All the Details Stamp has plenty of options to help me!
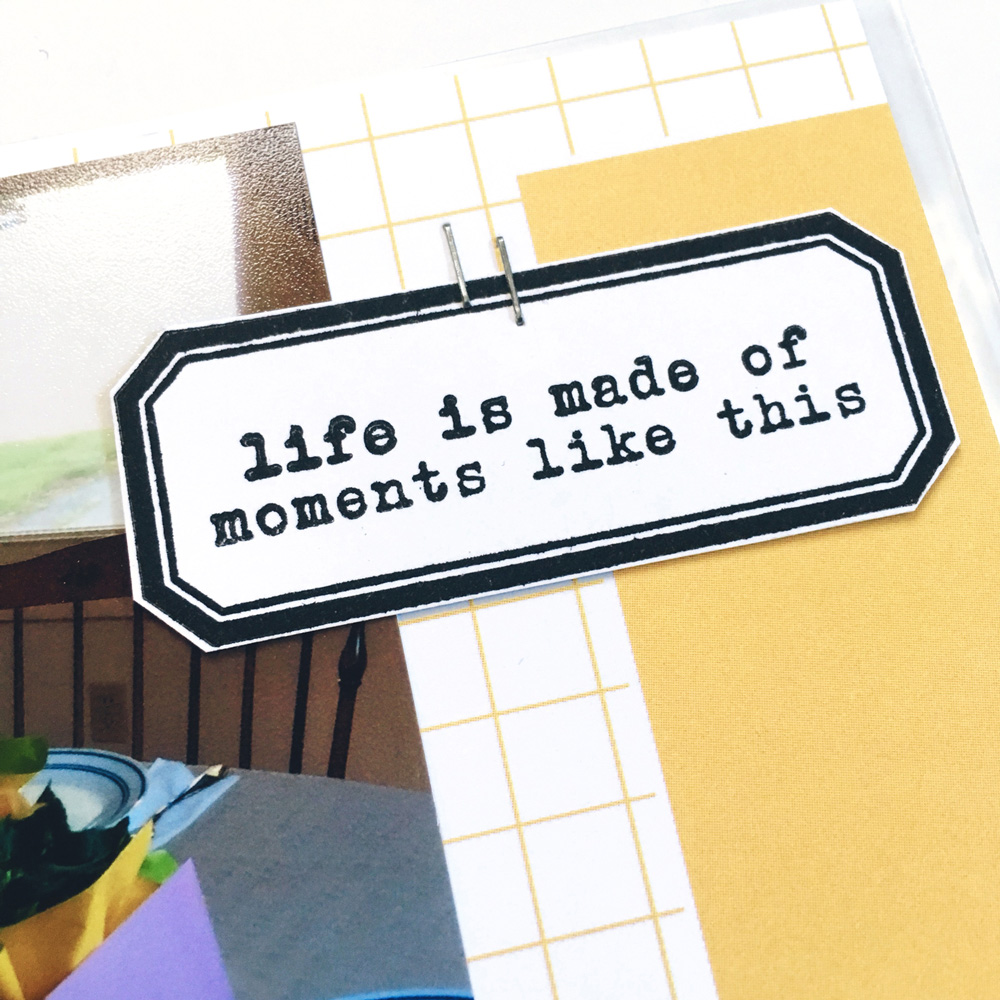
I love to use labels on top of photos to give me a nice spot to write a few words, and the All the Details Stamp has some great options. I stamped two of the rectangular labels onto white cardstock and cut them out. I stamped a sentiment (also from the set) on each of them and placed one on a photo and another on a 3″ x 4″ tag.
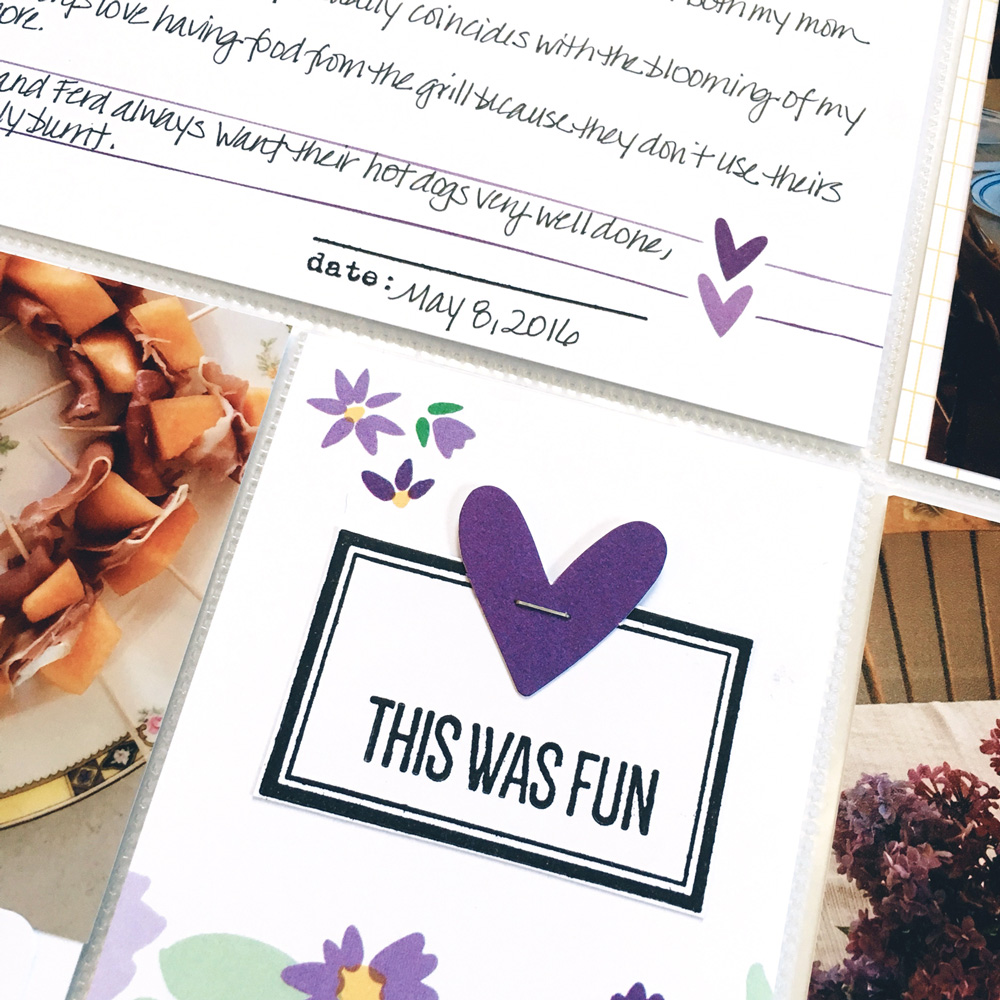
Now my next suggestion might cause some of you to cringe a little: don’t be afraid to cut your stamps! It’s a little scary at first but as long as you have sharp scissors it’s very easy to do. I really wanted to stamp something in the circle on one of the 3″ x 4″ tags from the February Kit, but the phrase I wanted to use was just a bit too long. I cut it, rearranged the two pieces onto my acrylic block and stamped them into the circle—a perfect fit!

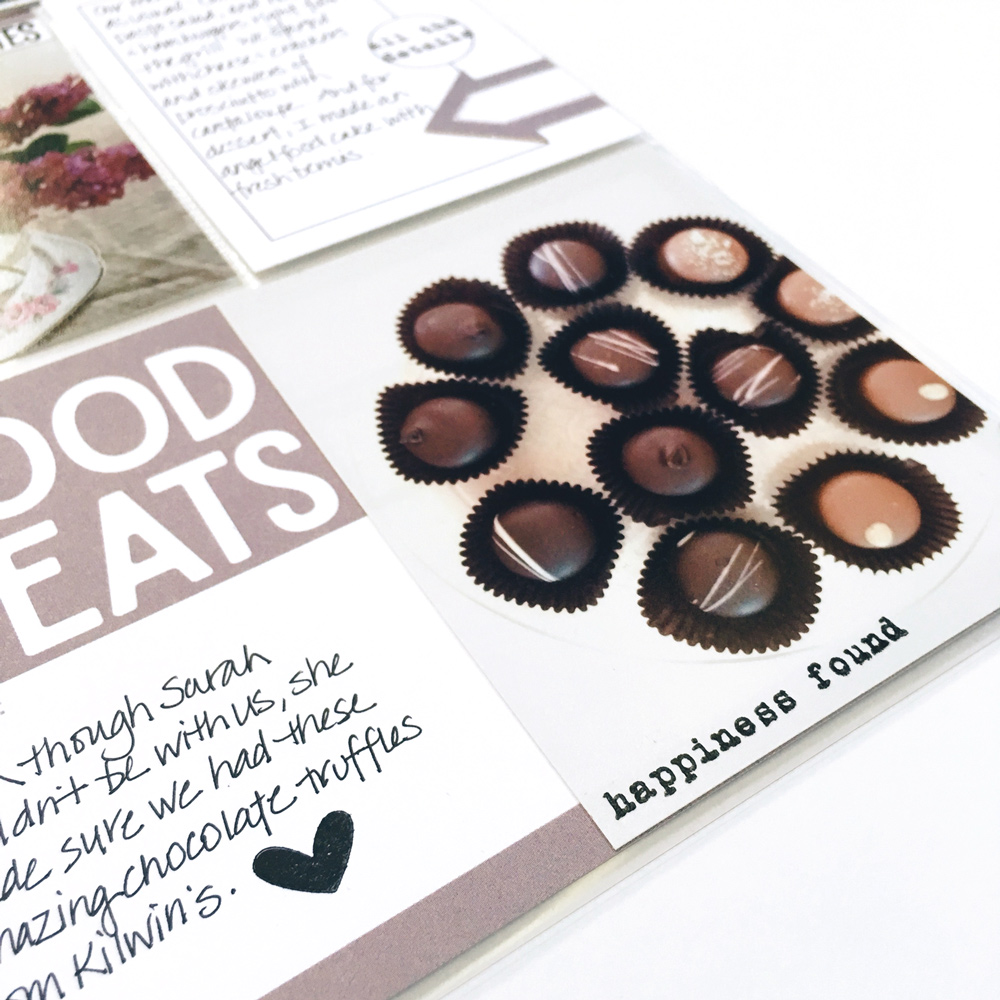
Don’t forget to use your stamps on your photos, too. The “happiness found” stamp was the perfect sentiment to include on the photo of chocolate truffles. I use a solvent-based ink like Staz-on for stamping on a photo’s slick surface, and I’ll usually practice first on extra photos I hold onto for just that purpose.
I hope you’ve seen how versatile the All the Details Stamp can be—this is definitely one I’ll be reaching for again and again!

All the Details Pocket Page with Susan Brochu

Comments