
We’re still in love over here with our January Kit and extras, and today, to continue our Celebrating Love Week, we have the fabulous Heather Leopard to share a beautiful new layout that she created with these fun supplies. You’re sure to fall in love with her page design, and it may just inspire you to pull out your circle punch! Let’s take a look.
Hi everyone. It’s Heather Leopard with you today, reminiscing about a trip my love and I took a few years ago. We were lucky enough to visit Paris for our anniversary and had a chance to leave our mark—an inscribed lock on the Pont des Arts bridge. Since we’re celebrating love week on the blog this week, I only thought it fitting to create a layout about that day!
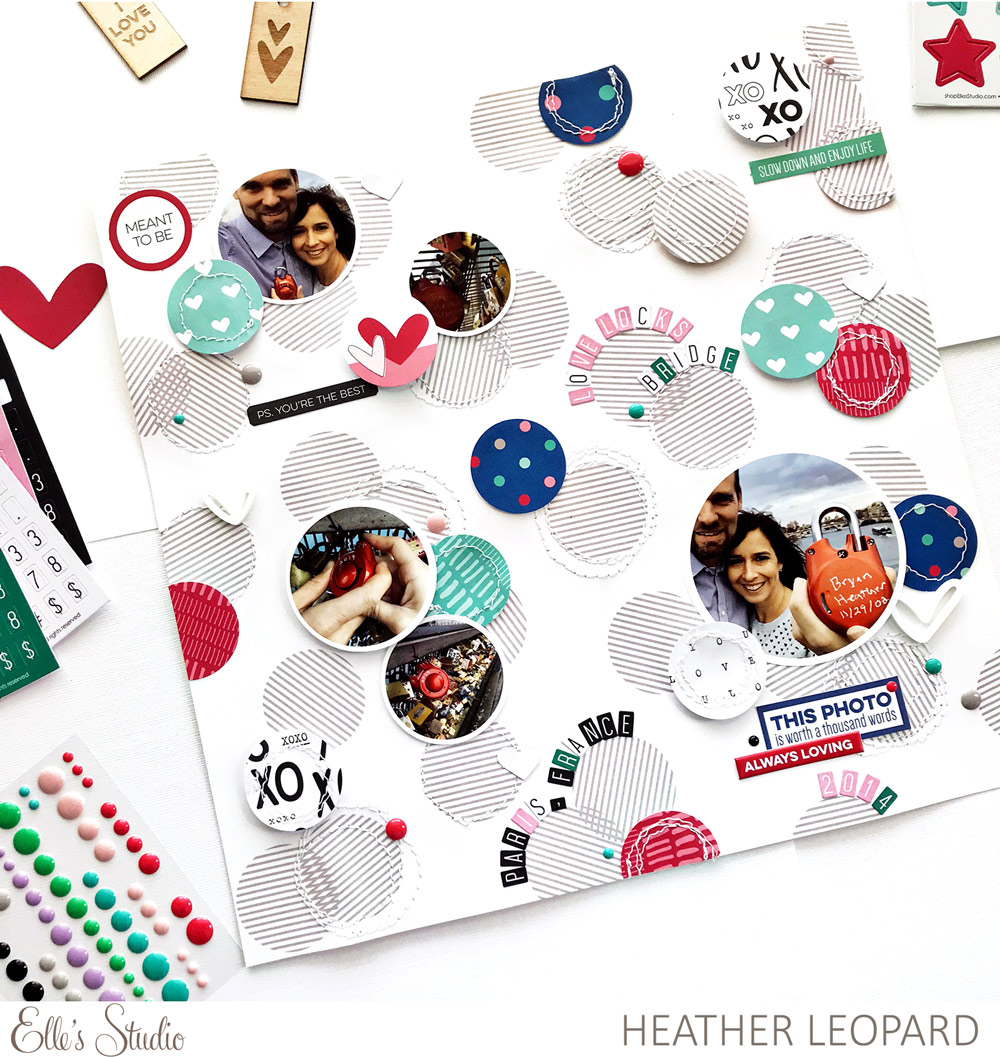
Supplies | January 2018 Kit, XOXO 6″ x 6″ Paper Stack, Love You Die Cuts, Hugs and Kisses Puffy Stickers, Hand Drawn Acrylic Hearts, Pink Cardstock Alphabet Stickers, Black Cardstock Alphabet Stickers, White Cardstock Alphabet Stickers, Dark Teal Cardstock Alphabet Stickers, Enamel Dots, Family Fun 12″ x 12″ Paper Collection
This layout was inspired by the background patterned paper from the Family Fun 12″ x 12″ Paper Collection. Those striped circles called out to me, so I went all in with the circular design. I even printed my photos as circles!
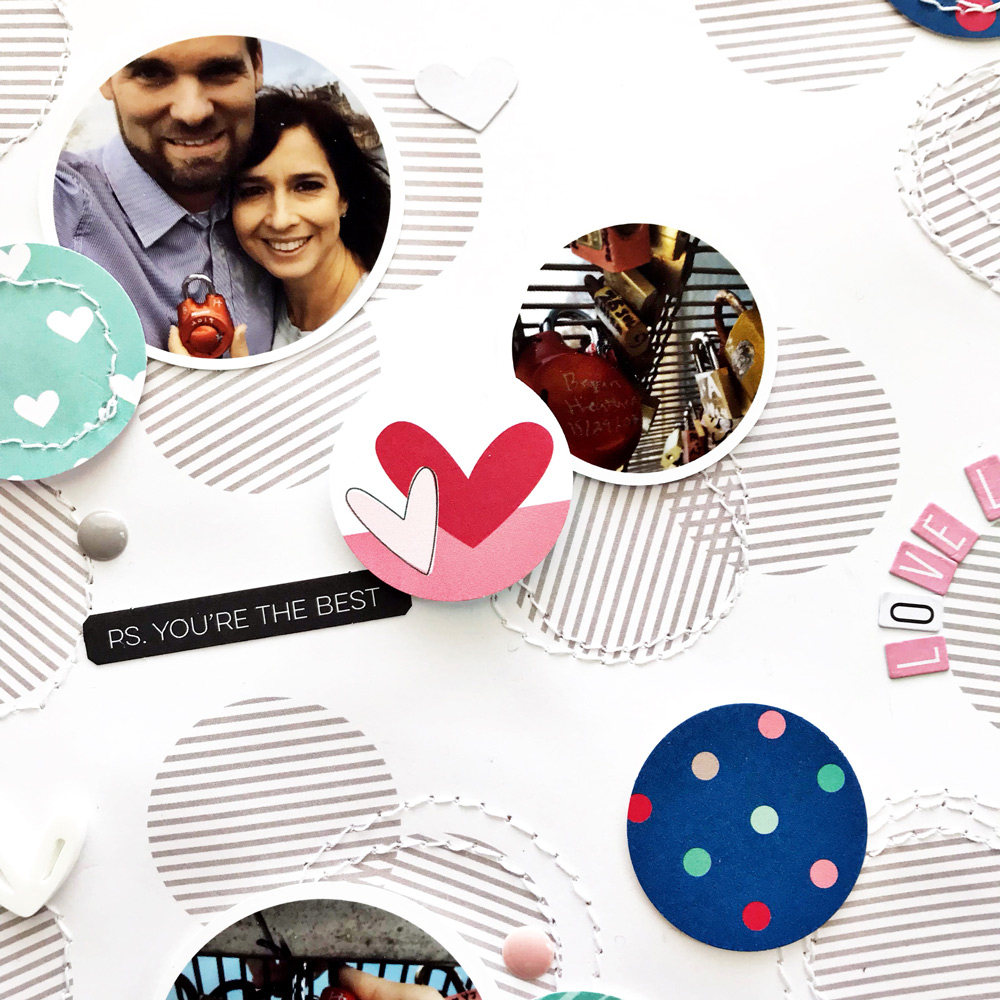
I knew I would cover up a lot of the background, but I still wanted to highlight the pattern that gave me the inspiration so I stitched circles around a little less than half of the circles on the background, not worrying if they were perfect and actually intentionally stitching them a bit wonky.
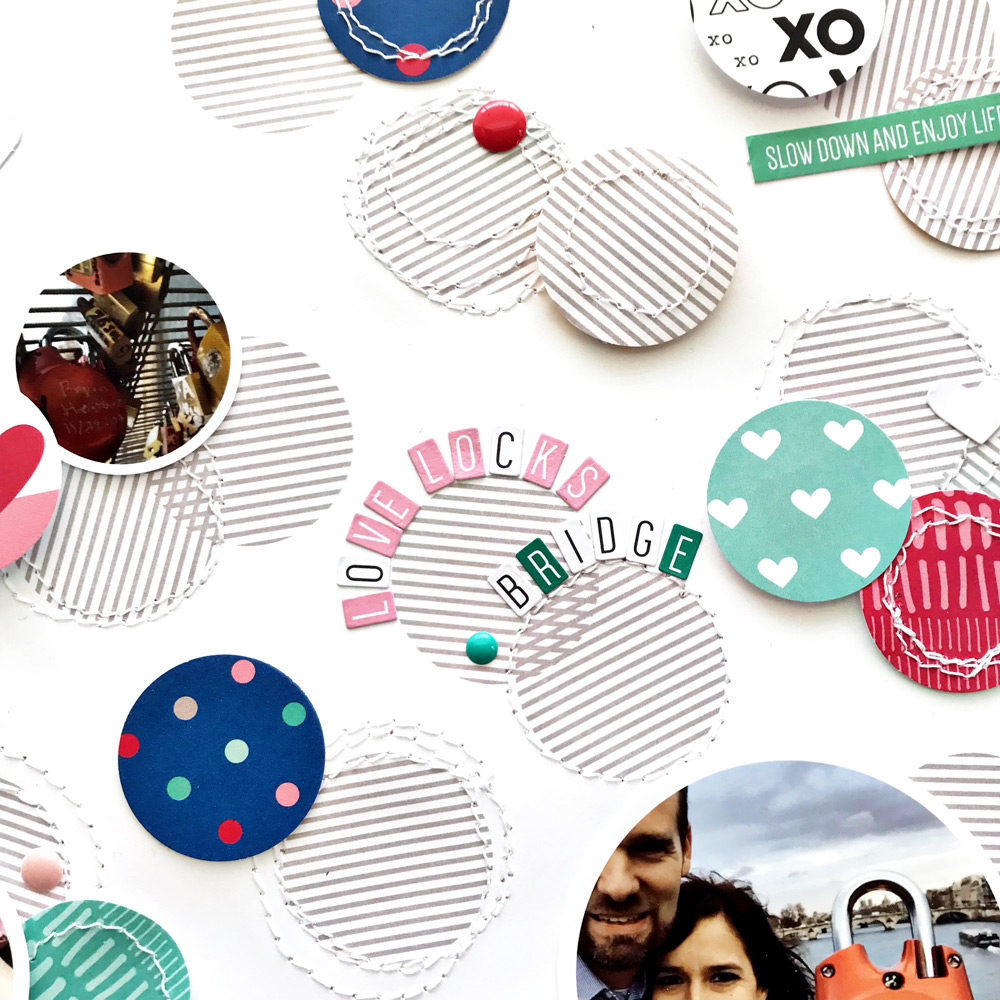
Next, I punched additional circles out of a second sheet of the same pattern as well as colorful patterns from the XOXO 6″ x 6″ Paper Stack. I stitched around half of those as well and scattered them around the page along with my photos.
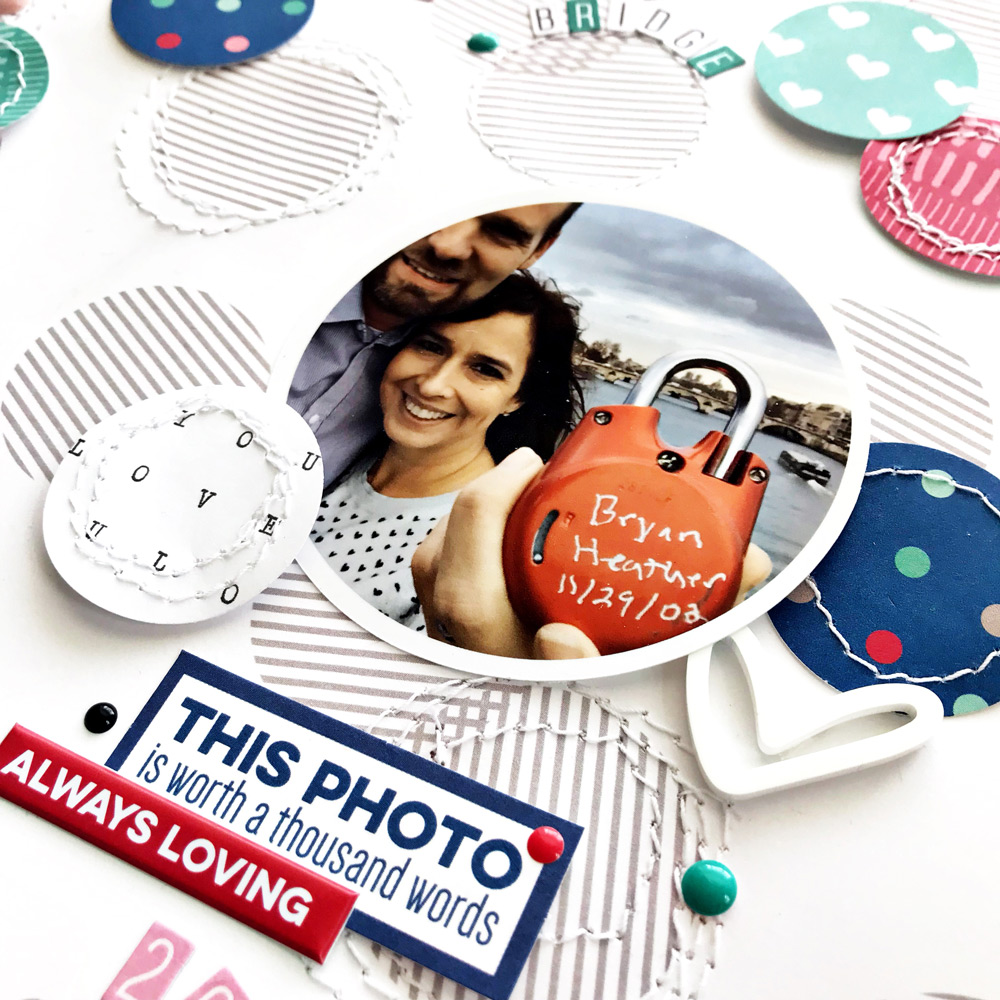
Some circles were adhered straight to the background paper, while others were popped up using foam dots, layering over others where it made sense.
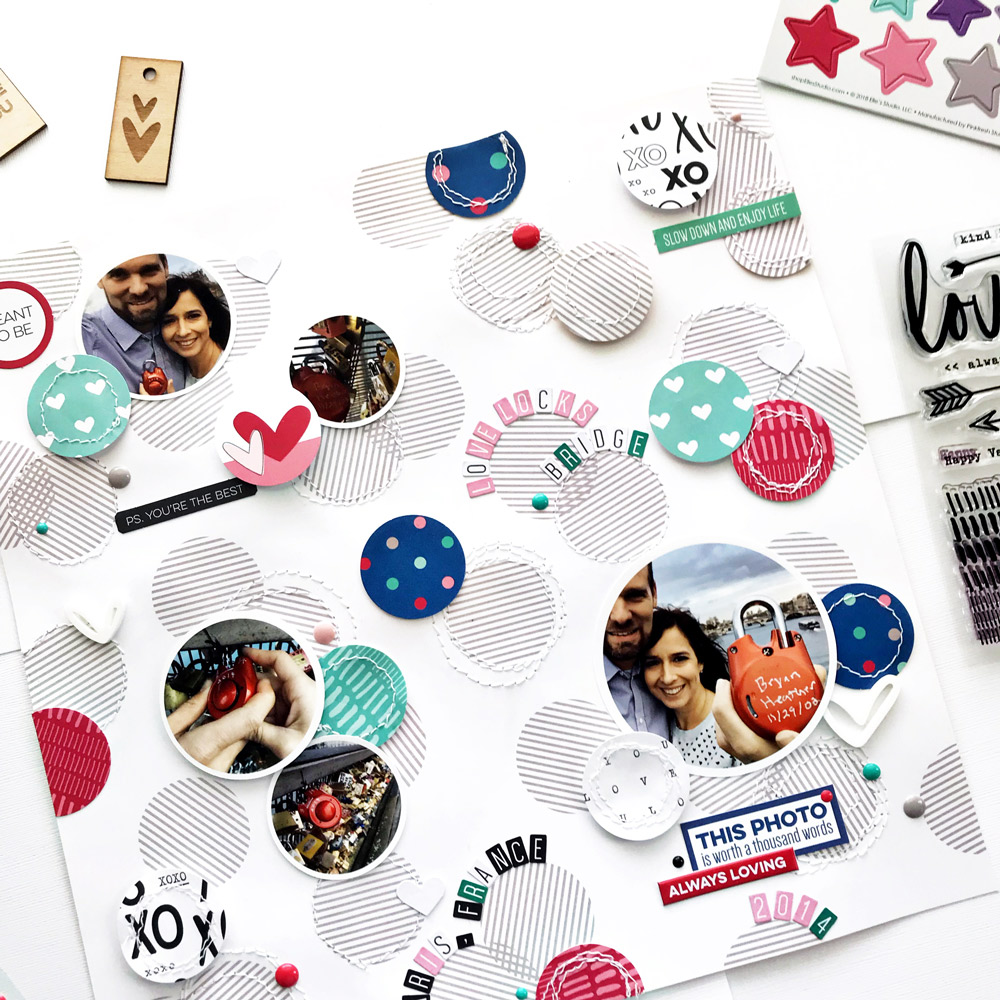
I added circle Enamel Dots because there just weren’t enough circles on my layout already! I also added a few die cut sentiments from the Love You Die Cuts and puffy stickers from the Hugs and Kisses Puffy Stickers to finish off the embellishing. The only things left were to add a title, location, date and journaling. I used the cardstock alphabet stickers to add everything but the journaling. The journaling will go in the circle right in the middle but I’ll add that once I have the perfect words.
I think the circular photos in this instance really keep the design looking cohesive. I hope I’ve inspired you to try working with shaped photos; they’re a ton of fun!

Celebrating Love Week: A Layout with Heather Leopard

Comments