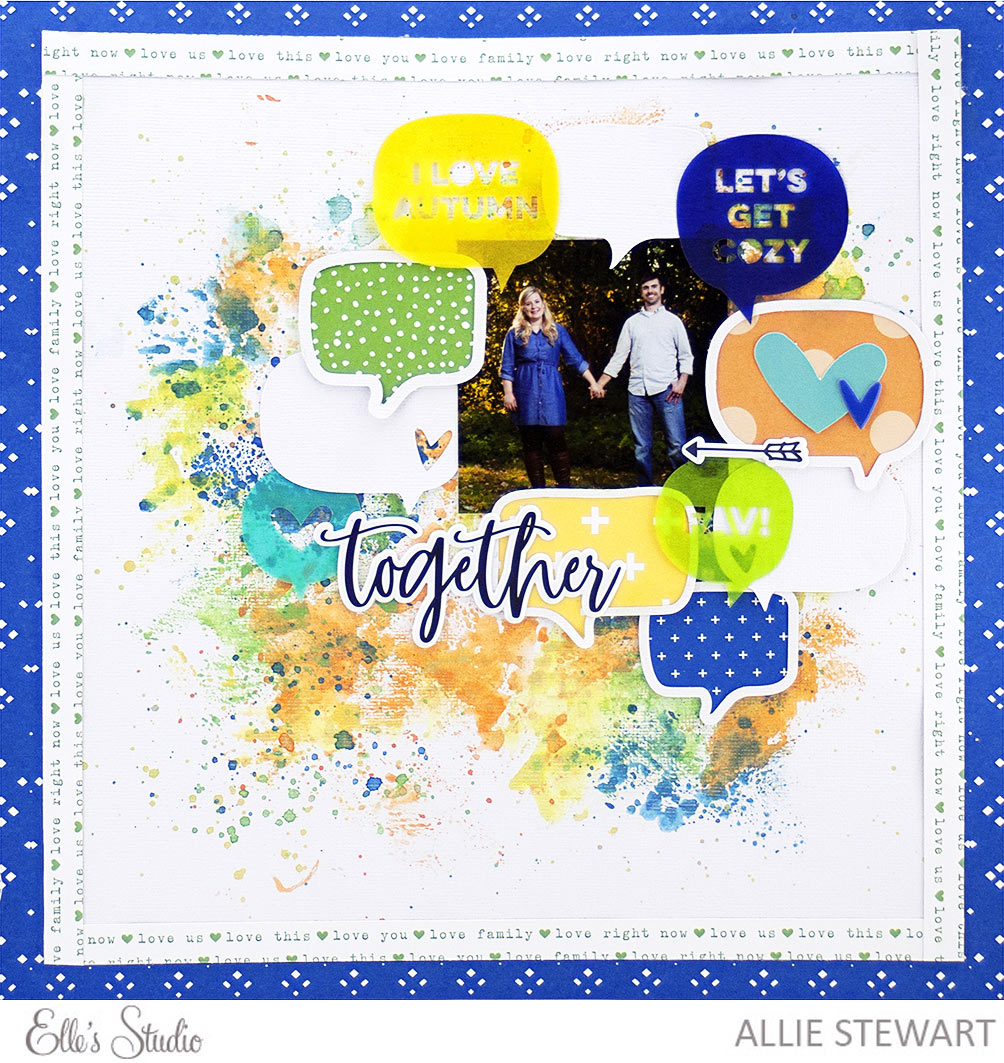
Sometimes a popular theme or graphic can leave you stuck on how to use it. Speech bubbles are often filled with journaling or a funny quote, but today, Allie Stewart is showing us how she used them to frame her photo, and we love the result! Let’s take a look.
Hello there, and happy Fall! I’m here today to share a layout inspired by the Vellum Speech Bubbles in the October release. When I saw the speech bubbles, they reminded me of a previous Elle’s Studio cut file from February 2017 that also had speech bubbles, so I decided to combine the two and make a page full of speech bubbles!

Supplies | October 2017 Kit, Vellum Speech Bubbles, February 2017 Digital Cut File, Family Fun Puffy Stickers, Family Fun 12″ x 12″ Paper Collection, Family Fun 6″ x 6″ Paper Stack
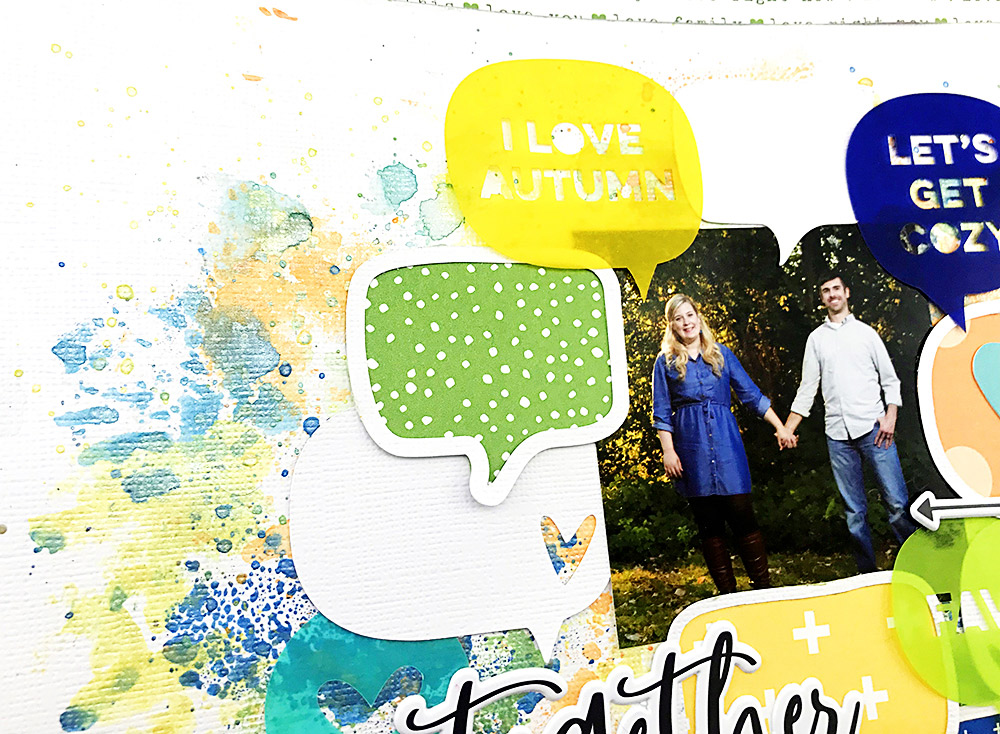
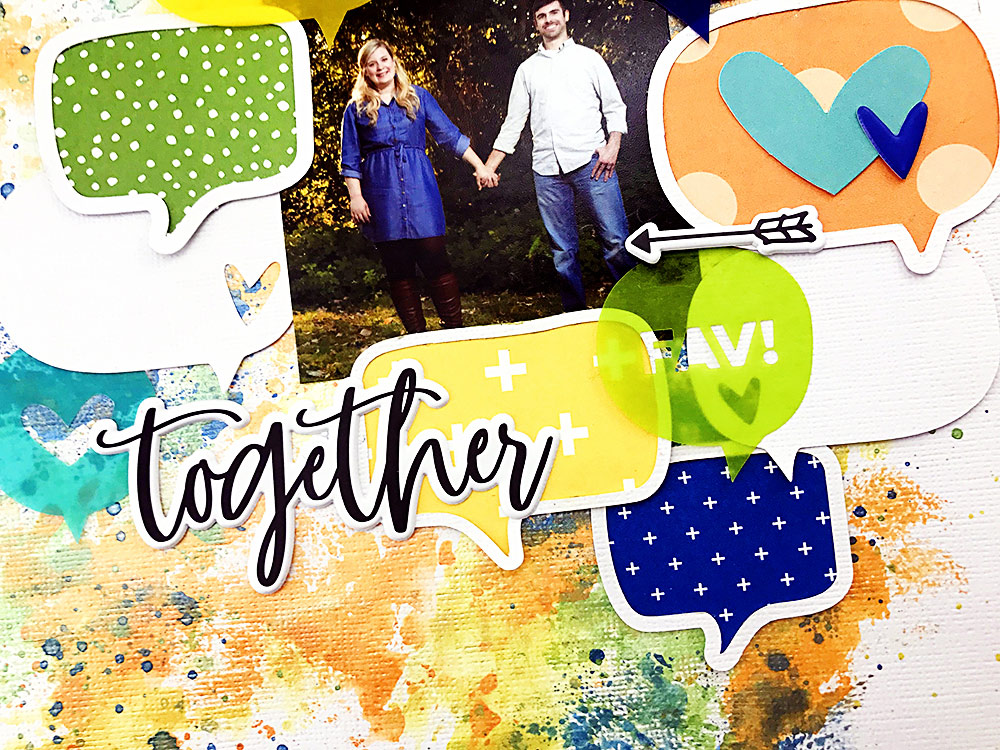
To start this page, I took out my shimmer watercolors and and used the packaging technique to create a background with the same colors as the vellum speech bubbles. Next, I used the February 2017 Digital Cut File and the offset tool to cut out solid and outlined speech bubbles. I backed the outlined speech bubbles with coordinating patterned papers from the Family Fun 6″ x 6″ Paper Stack, and arranged all the speech bubbles around my photo.

Since the layout was pretty busy, I kept the title simple by using the single “together” puffy sticker from the Family Fun Puffy Stickers. I matted the background I created onto the blue patterned paper from the Family Fun 12″ x 12″ Paper Collection. I attempted to sew around it, but my sewing machine broke halfway through and I had to improvise. I used 1/2″ strips of the woodgrain paper “B” side to create another mini border, and the layout was complete.

I had a lot of fun making a layout using speech bubbles! They aren’t something I tend to gravitate towards, so it was nice thinking outside the box. Thanks for joining me today!
Speech Bubble Challenge with Allie Stewart

Comments