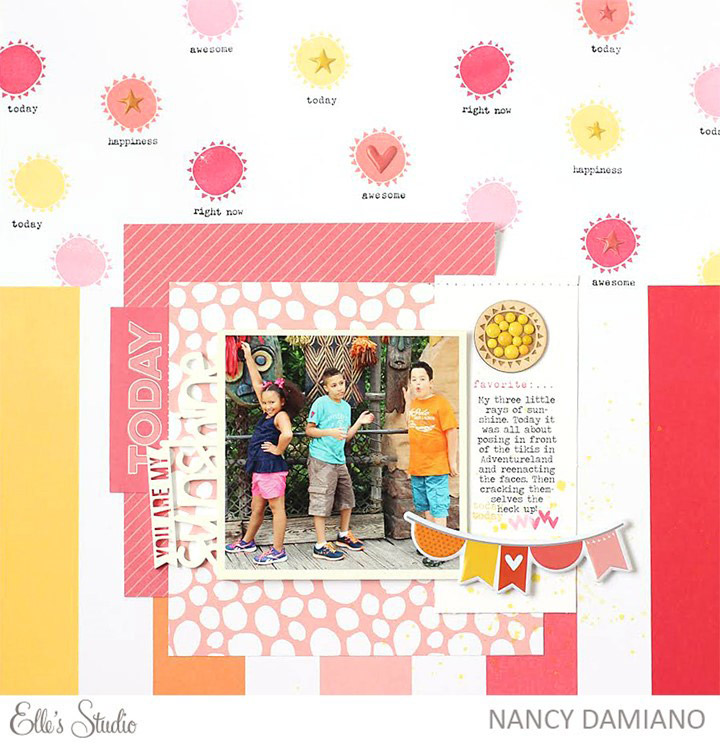
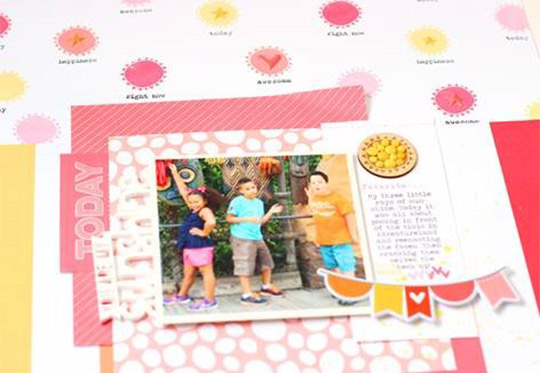
Hi everyone, Nancy here today with some stamping fun and the beautiful Sunny Days collection. My favorite icon from this collection is the bold, solid sun with tiny rays. I wanted to highlight the design and match it up to the fun vibe of the collection. Using the bold color palette found in this stripe pattern, I used the solid sun stamp to create a coordinating background. It’s my favorite way to use stamps in my scrapbooks.
 Products used: Sunny Days 12 x 12 paper, Sunny Days 6 x 6 paper, Sunny Days Puffy Stickers, Sunny Days Acrylic, Sunny Days Stamp, and Sunny Days Wood Veneer
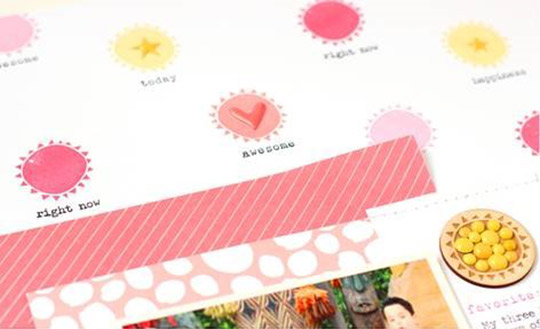
I use pigment inks when stamping solid images. They give me a nice, even coverage that is touch to achieve with dye based ink. Just be careful, because they take a bit longer to dry. I like to use my heat gun to set the ink just after stamping. That way I don’t end up with smudges, just beautiful even circles of color.

I also used the text stamps found in the Sunny Days stamp set to add some words just underneath the little suns. For movement and some texture, add some of the puffy stickers from the collection to the center of the sun images. I also added enamel dots in varying colors and sizes to the veneer sun shape to dress it up. Clustering enamel dots is a fun way to add color to wood veneer.

Using a simple stamp + some text is a fun way to create a custom background. Choose colors from a collection and run with the design, it’s that easy! We’d love to see how you are using our stamps! Make sure you use the #EllesStudio hashtag on your projects when posting on Instagram for a chance to be featured on our feed!
