Let’s welcome our February guest designer, Nicole Harper, back to the Elle’s Studio blog today with a beautiful layout using the new Little Moments collection that will be in stock on March 10th, along with our March kit + extras. We love Nicole’s simple, and playful style, which pairs so perfectly with ES product. Let’s take a look at how her layout came together, and in case you missed it, be sure to check out the pocket page project that she shared with us earlier in the month.
Hello again, Elle’s Studio fans! There are so many fun elements in the Little Moments collection that I had a hard time narrowing down what I wanted to use, which isn’t a bad problem to have, right?!
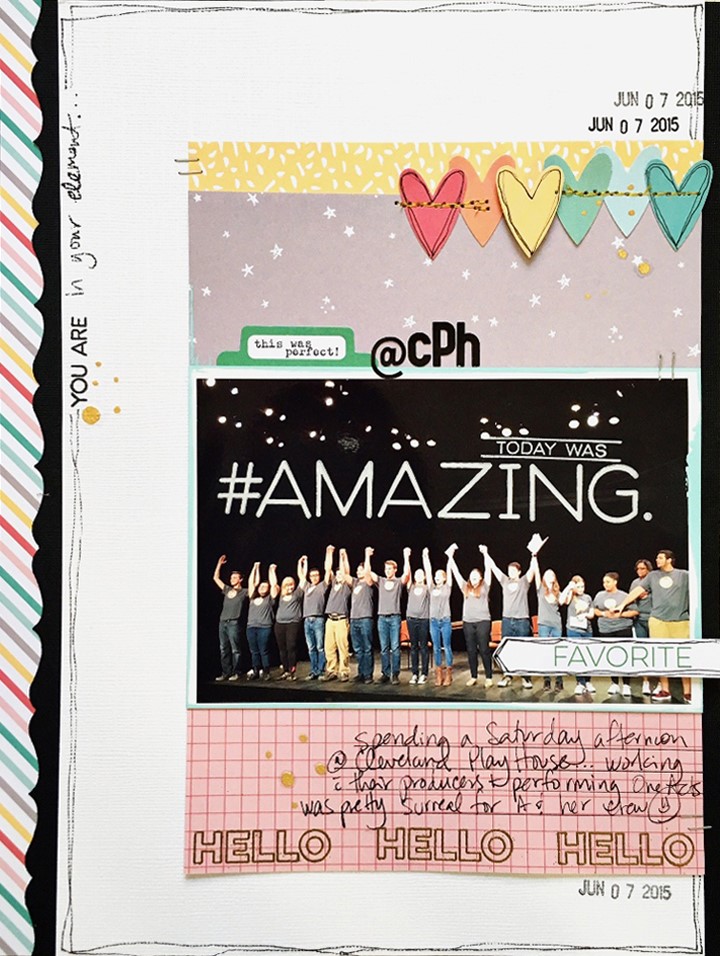
I’ve been wanting to document this photo from last summer for a while, and I’m so glad I waited. This collection had just the right amount of spunk to document a very cool moment. Our daughter’s thespian troupe was invited to attend a private workshop at the Cleveland Play House, which was a HUGE deal, and at the end of the day the parents were invited to come watch them perform a series of one act plays. It’s pretty neat to see your child and her friends live on a prestigious stage, even if it was a casual affair!
I opted to keep the layout fairly simple, and used several pieces of paper from the Little Moments 6” x 6” paper stack, which is packed full of beautiful colors and patterns.
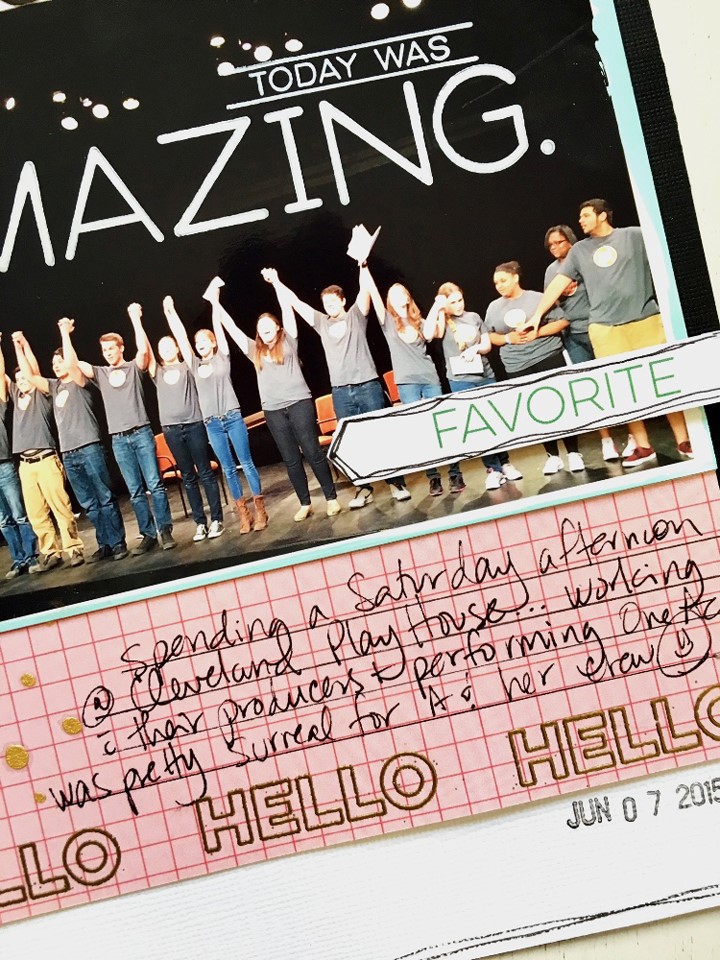
“The Story of” stamp set, which coordinates with the Little Moments collection, has quite a few sentiments that can be used over and over again. I LOVE stamps, but consider them an investment. This is the exact kind of set I would opt for if I were shopping, as I know I will get so much use out of it. Clean, classic fonts, phrases that can be paired with just about anything, and nothing too themed or trendy. There is some good stuff right here in this set!
I paired the ‘hello’ outline stamp with gold embossing powder on the pink graph paper and repeated it along the bottom edge. I placed the “favorite” tag so that it pointed to my daughter in the photo.
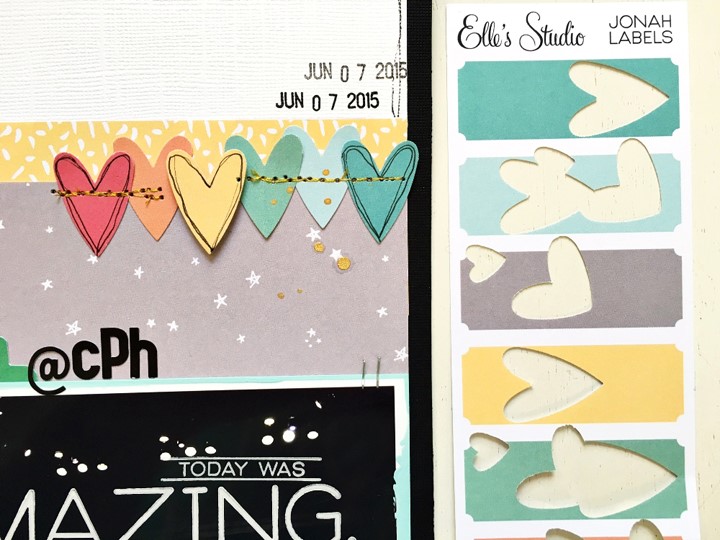
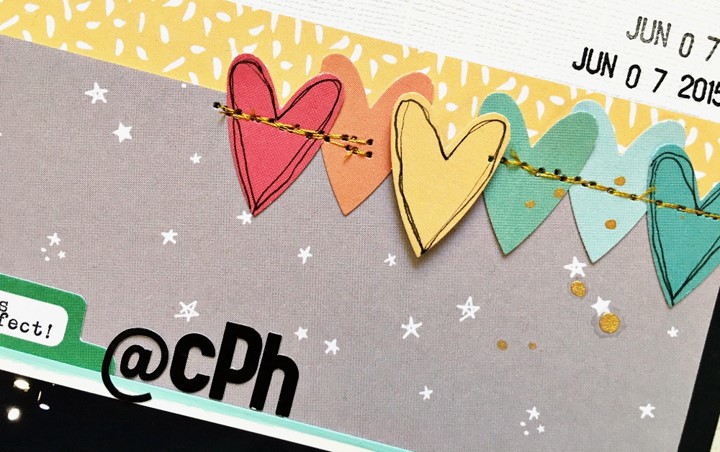
I punched hearts from the Jonah labels, lined them up and stitched them at the top edge of the grey star paper, which I had to use! I loved the Jonah labels, but knew that if I tried cutting them out, they would look ‘off.’ So I grabbed a punch and still got to use them, just in a different way.
 Also of note, the Jonah alphabet stamp set… YOU NEED IT. I used Brilliance ink in Moonlight White and used the alphabet set to stamp directly onto my photo. Look at how great the image comes out!!
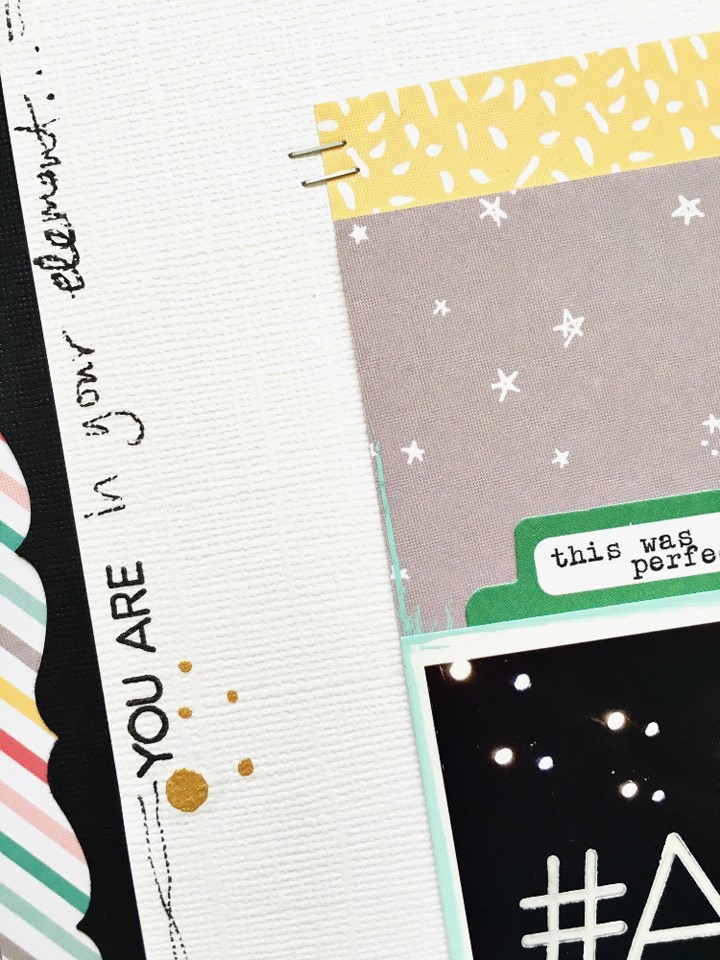
Finally, I reached for the “The Story Of” stamp set again to stamp along the left edge of the layout. I love to add a bit of journaling in unexpected places, and this set is a great jump-start to do that. I just used the ‘you are’ stamp and filled in the rest of my statement. Easy!
 Thank you again for having me as the guest for February, and I hope to see some of you this year at one of the events I will be teaching at!
 Nicole has been playing with paper since elementary school, when shopping for new supplies quickened her heart a beat. She spends her crafty time creating layouts and filling up pocket pages, but loves hunting for vintage finds whenever she can. She lives in Northeast Ohio with her husband Mike, and their daughter Allison … and is a proud theater mama, medical professional and trusted friend. She wears her heart on her sleeve with her journaling and loves to share the everyday moments that mean the most. You can find Nicole’s teaching schedule here and follow her on Instagram.
